Rich Homemade Bone Broth Recipe | Simple Beef Soup Bones Broth
You can make rich, sippable beef bone broth at home with just a few simple ingredients and a long, gentle simmer. It tastes deep and savory, turns silky when chilled, and makes every soup, stew, or pan sauce taste better.
I’ll walk you through exactly how to pick the right bones, build layers of flavor, and simmer for maximum body and clarity. You’ll get a broth that gels, freezes beautifully, and beats anything store-bought.
Why This Beef Bone Broth Works
This method keeps things simple while coaxing maximum flavor from beef soup bones.
- Roasting builds flavor: Browning bones and aromatics creates a deep, roasted base that tastes restaurant-quality.
- Right bones = natural gel: Marrow bones, knuckles, and oxtail release collagen that sets into a spoon-coating broth.
- Low, steady simmer: Gentle movement extracts goodness without cloudiness or bitterness.
- Acid unlocks minerals: A splash of vinegar helps draw nutrients from the bones without changing the flavor.
- Minimal fuss: You set it up, skim once in a while, and let time do the magic.
Ingredients
- 4–5 pounds beef bones (mix of marrow bones, knuckles, neck bones, and/or oxtail)
- 1 large onion, quartered (leave skin on for color, optional)
- 2 carrots, roughly chopped
- 2 celery stalks, roughly chopped
- 6–8 garlic cloves, smashed
- 2 tablespoons tomato paste (boosts color and umami)
- 2–3 tablespoons apple cider vinegar (or white wine vinegar)
- 2 bay leaves
- 10–12 whole peppercorns
- Handful of fresh parsley or thyme (tie stems or add whole sprigs)
- Cold water to cover
- Kosher salt to taste (season after simmering)
How to Make Beef Bone Broth
1) Roast the Bones and Veg
- Heat oven to 425°F (220°C).
- Spread bones on a large sheet pan. Smear bones with tomato paste.
- Add onion, carrots, celery, and garlic to the pan.
- Roast 30–40 minutes, turning once, until bones and vegetables develop deep brown edges.
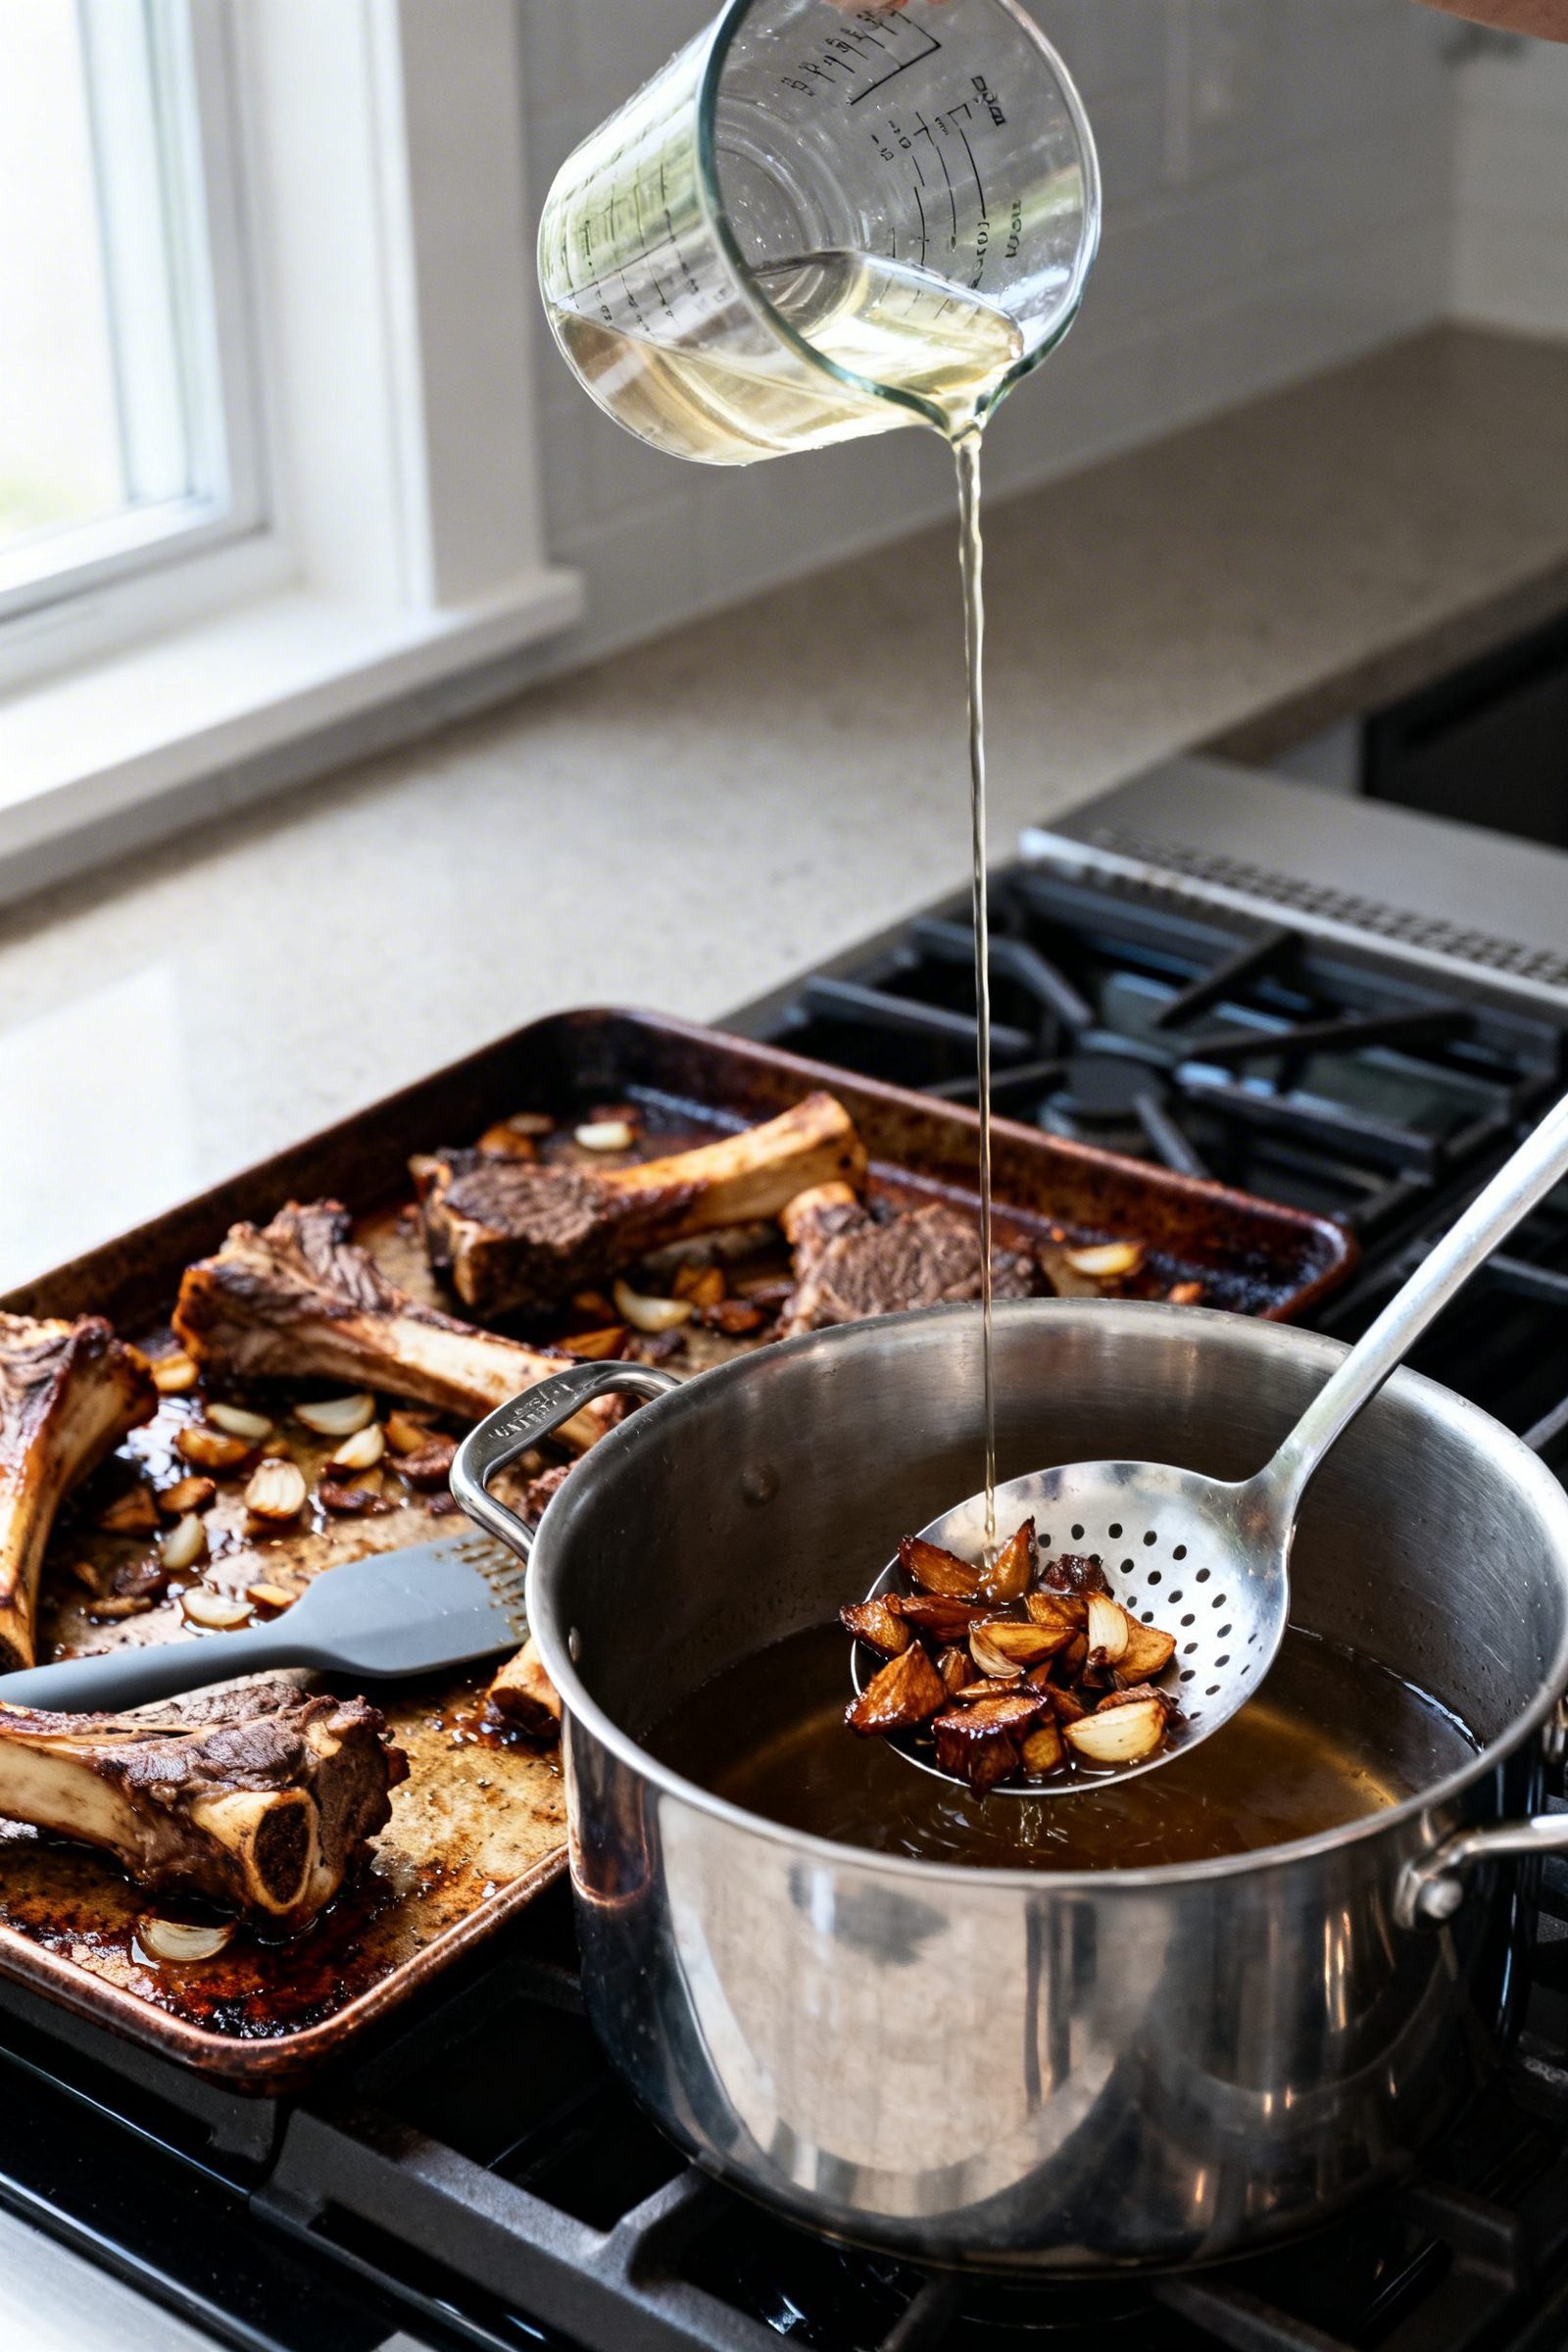
2) Load the Pot
- Transfer roasted bones and vegetables to a large stockpot or Dutch oven.
- Pour a cup of hot water onto the sheet pan and scrape up browned bits. Add to the pot.
- Add vinegar, bay leaves, peppercorns, and herbs.
- Cover with cold water by 2 inches, leaving a couple inches of headspace.
3) Simmer Low and Slow
- Bring to a bare simmer over medium heat. Do not let it boil hard.
- Skim and discard gray foam during the first 30–45 minutes for a clearer broth.
- Reduce heat to the lowest setting so small bubbles occasionally rise.
- Simmer uncovered 12–18 hours on the stove, or partially covered if it evaporates too quickly. Add hot water as needed to keep bones submerged.
- For a slow cooker: set to Low for 18–24 hours. For an Instant Pot: 2–3 cycles of 2 hours each, natural release, refreshing water level as needed between cycles.
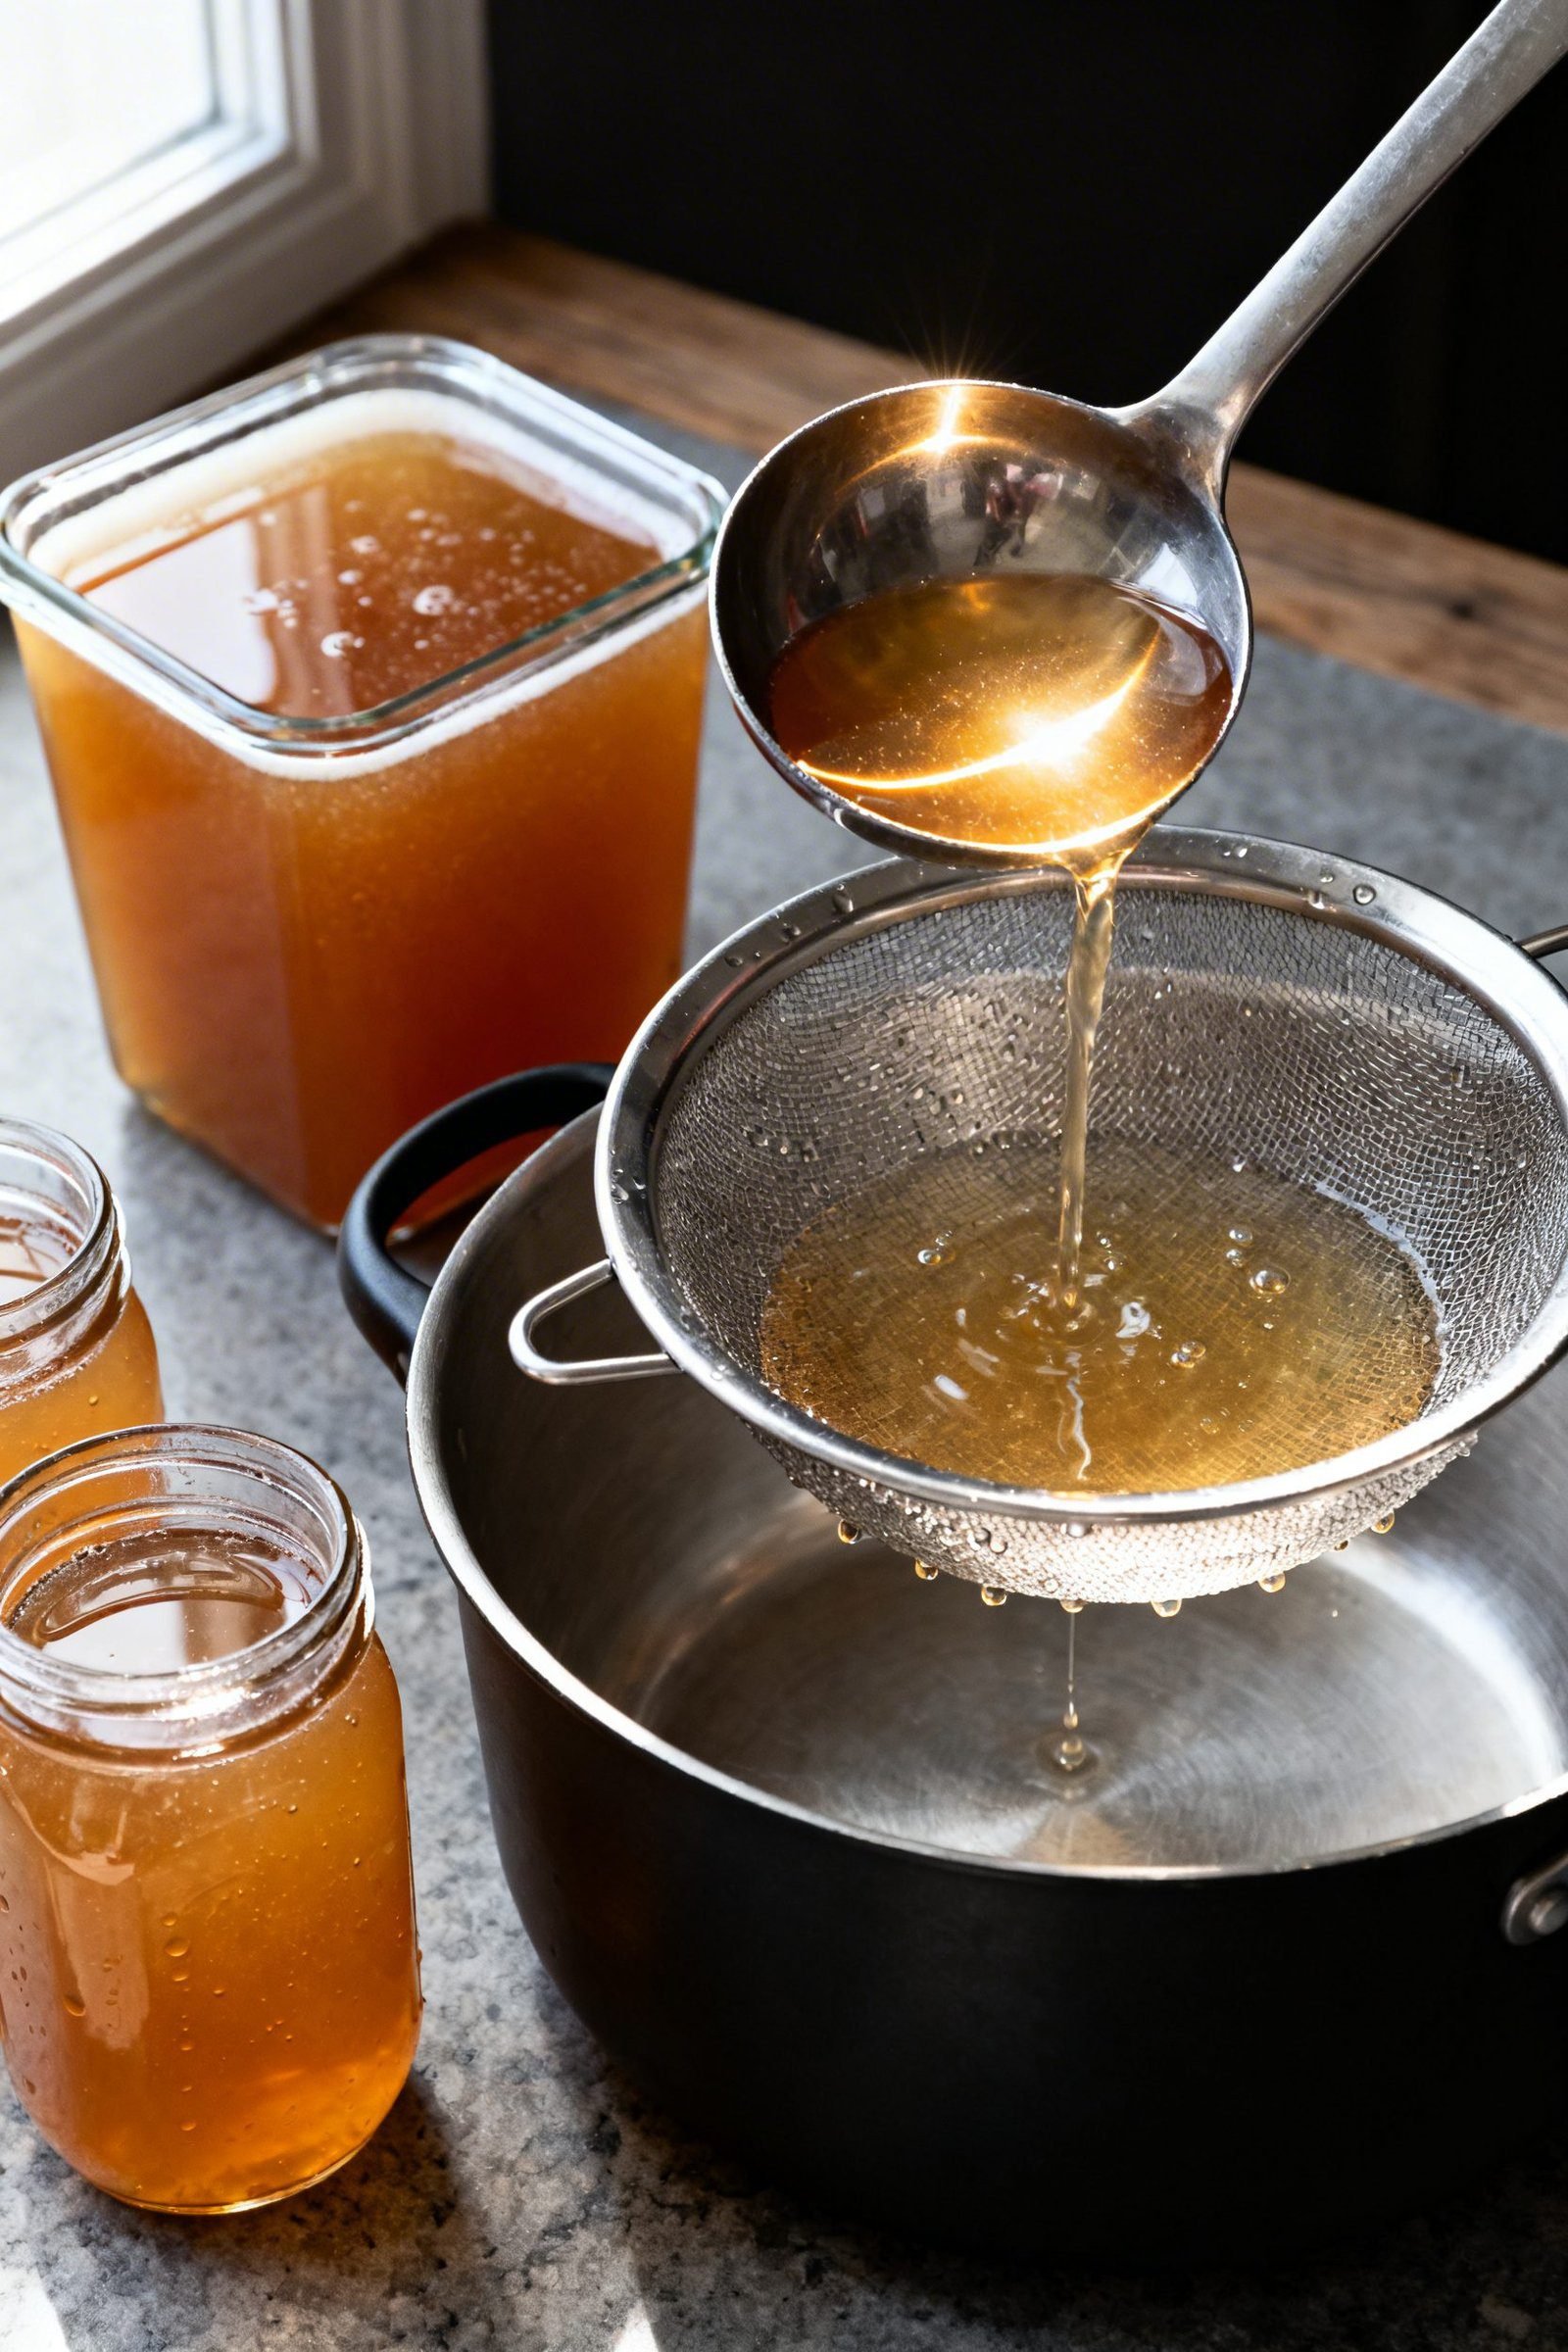
4) Strain and Finish
- Turn off heat. Use tongs to remove large solids.
- Strain through a fine-mesh sieve or cheesecloth into a clean pot or large bowl.
- Cool quickly: set the bowl over an ice bath and stir until steam subsides.
- Refrigerate overnight. Scrape off the solidified fat cap (save for cooking if you like).
- Season broth with salt to taste just before using or storing.
How to Store Beef Bone Broth
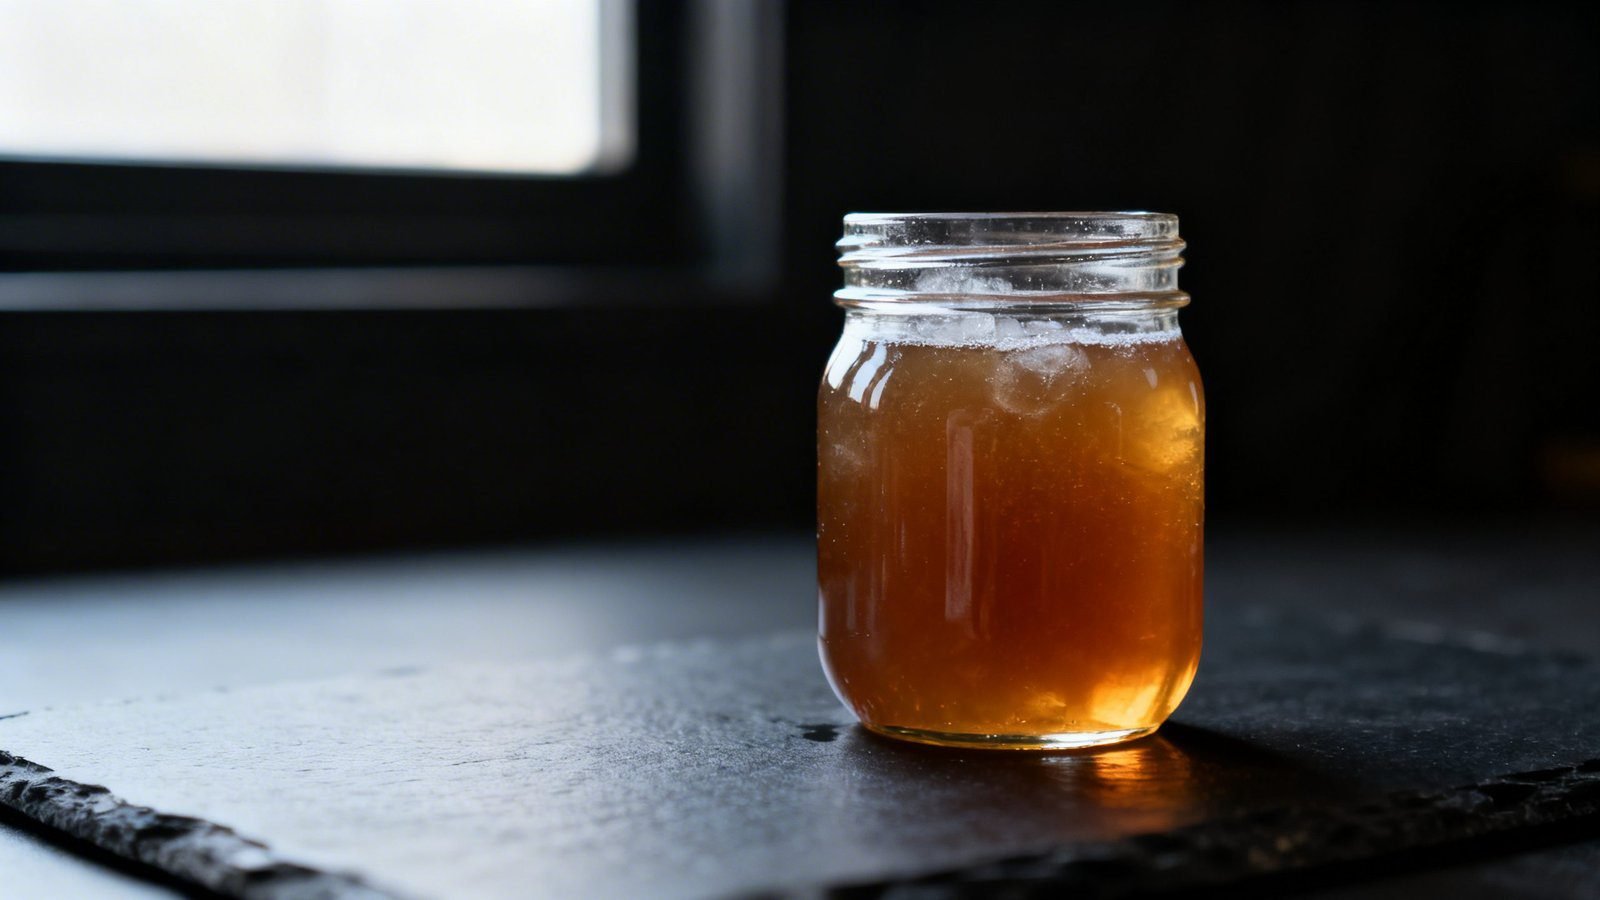
- Refrigerator: Store in airtight jars up to 5 days. It may gel—this is ideal.
- Freezer: Portion into quart containers or silicone trays. Freeze up to 6 months.
- Ice cube method: Freeze in cubes for easy deglazing and sauces.
- Leave headspace: Liquids expand when frozen. Leave 1 inch at the top of containers.
- Label clearly: Write date and “unsalted” if you didn’t season yet.
Benefits of Homemade Beef Bone Broth
- Big flavor, small list: Simple ingredients turn into a rich, layered base for soups, stews, and gravies.
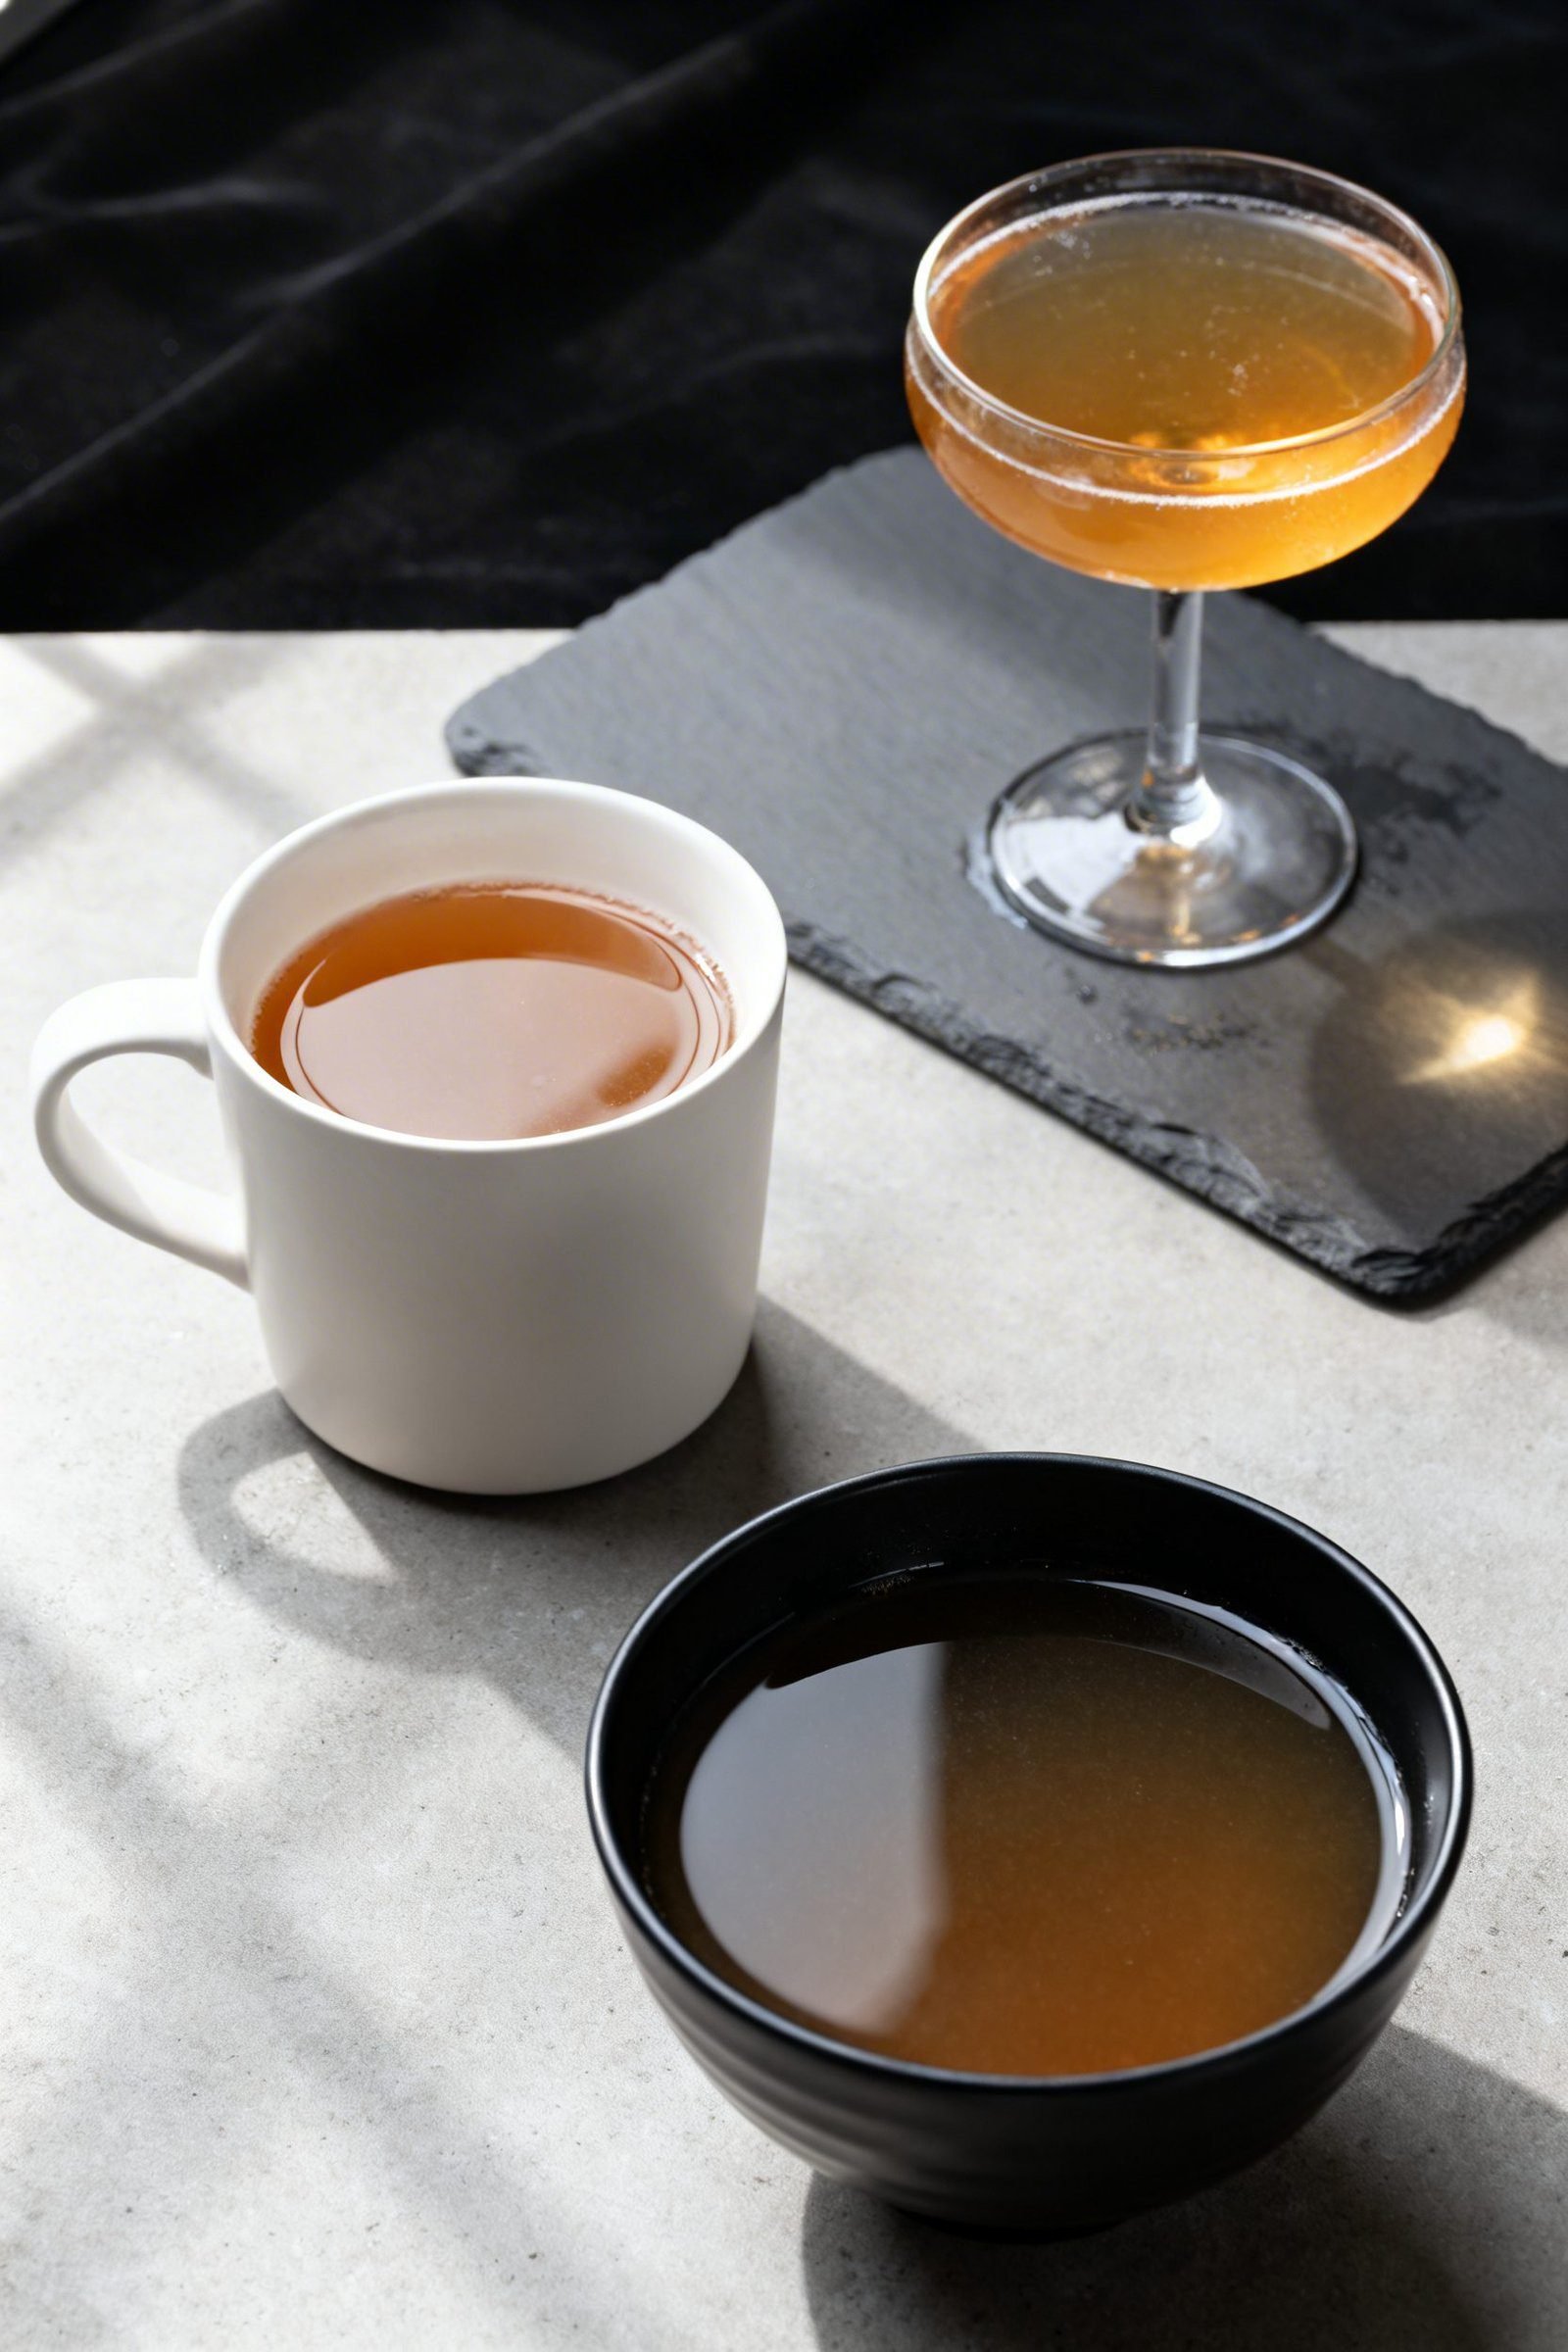
- Collagen-rich body: The broth sets into a gentle gel when chilled, which makes glossy sauces and satisfying sipping mugs.
- Budget-friendly: Soup bones cost less than steaks, and you stretch them into multiple meals.
- Custom seasoning: You control salt and aromatics, so it fits any recipe or diet.
- Less waste: Use veggie trimmings and bones that might otherwise get tossed.
What Not to Do
- Don’t boil hard: A rolling boil emulsifies fat into the liquid and creates a cloudy, greasy broth.
- Don’t skimp on bones with joints: You need knuckles, feet, or oxtail for natural gel.
- Don’t skip the roast: Unroasted bones make a flat-tasting broth.
- Don’t overseason early: Long simmering concentrates salt. Season at the end.
- Don’t rush the cool-down: Cool quickly, then refrigerate. Slow cooling risks spoilage.
Variations You Can Try
- Ginger–Garlic Sipping Broth: Add sliced ginger, extra garlic, and a splash of soy or coconut aminos at serving.
- Roasted Mushroom Boost: Add dried porcini in the last 2 hours for an umami bomb.
- Herb-Forward: Add rosemary, extra thyme, and a strip of lemon peel in the final hour.
- Spiced Broth: Toss in star anise, clove, and a cinnamon stick for a pho-leaning profile.
- Tomato-Rich: Double the tomato paste and add a chopped tomato in the last hour for a redder, slightly sweeter broth.
FAQ
How do I get my broth to gel?
Use a mix of marrow bones and joint bones like knuckles, feet, or oxtail, keep a gentle simmer, and cook long enough to extract collagen. Chill fully to see the gel.
Why is my broth cloudy?
You boiled too hard or skipped skimming. Keep the heat low and skim during the first 45 minutes.
Can I reuse the bones?
Yes, but the second batch tastes lighter. Add a few fresh bones or extra aromatics to boost flavor.
Do I need vinegar?
A small splash helps pull minerals and collagen. You won’t taste it, and it improves body.
Is it okay to pressure cook?
Absolutely. Pressure cooking extracts fast. Run 2–3 cycles of 2 hours each for a deeper, rounder flavor.
How much salt should I add?
Season to taste after simmering. For sipping, start with 1 teaspoon kosher salt per quart, then adjust.
Can I make it without roasting?
Yes, but you’ll get a lighter, less complex broth. Roasting adds depth and color worth the extra step.
Conclusion
With a handful of humble beef bones, a hot oven, and time on low heat, you’ll cook a broth that tastes luxurious and works in everything from weeknight soups to special-occasion sauces. Make a big batch, freeze it in portions, and pat yourself on the back every time dinner needs a little extra magic.
Rich Homemade Beef Bone Broth
Deep, savory beef bone broth made by roasting bones and aromatics, then simmering low and slow for a gelatin-rich, versatile broth.
Ingredients
- 4–5 pounds beef bones (mix of marrow bones, knuckles, neck bones, and/or oxtail)
- 1 large onion, quartered (leave skin on for color, optional)
- 2 carrots, roughly chopped
- 2 celery stalks, roughly chopped
- 6–8 garlic cloves, smashed
- 2 tablespoons tomato paste
- 2–3 tablespoons apple cider vinegar (or white wine vinegar)
- 2 bay leaves
- 10–12 whole peppercorns
- Handful of fresh parsley or thyme (tie stems or add whole sprigs)
- Cold water to cover
- Kosher salt to taste (season after simmering)
Instructions
- Heat oven to 425°F (220°C).
- Spread bones on a large sheet pan and smear with tomato paste; add onion, carrots, celery, and garlic to the pan.
- Roast 30–40 minutes, turning once, until bones and vegetables have deep brown edges.
- Transfer roasted bones and vegetables to a large stockpot or Dutch oven.
- Deglaze the sheet pan with a cup of hot water, scraping up browned bits, and add to the pot.
- Add vinegar, bay leaves, peppercorns, and herbs; cover with cold water by about 2 inches, leaving headspace.
- Bring to a bare simmer over medium heat; do not boil hard.
- Skim gray foam during the first 30–45 minutes for a clearer broth.
- Reduce heat to the lowest setting so small bubbles occasionally rise; simmer uncovered 12–18 hours, adding hot water as needed to keep bones submerged. (Slow cooker: Low 18–24 hours. Instant Pot: 2–3 cycles of 2 hours each, natural release, refreshing water level as needed.)
- Turn off heat and remove large solids with tongs.
- Strain through a fine-mesh sieve or cheesecloth into a clean pot or large bowl.
- Cool quickly over an ice bath, then refrigerate overnight.
- Scrape off the solidified fat cap (reserve if desired) and season broth with salt to taste before using or storing.