Mead Making | Simple DIY Mead Recipe for Beginners
Curious about making mead at home? You’re in the right spot. This simple DIY mead recipe walks you through the exact steps I use to turn honey, water, and yeast into a crisp, golden sip you’ll be proud to share. No complicated gear, no head-scratching terminology—just clear instructions and tips that actually help.
We’ll start with a clean base mead (called a “traditional mead”), then I’ll show you how to tweak sweetness, add fruit or spice, and avoid the common hiccups that slow down beginners. If you can sanitize a jar and stir, you can make mead.
Why This Easy Homemade Mead Recipe Works
- Few ingredients, big flavor: Honey, water, and yeast transform into a balanced, aromatic drink with minimal fuss.
- Beginner-friendly process: You’ll use simple equipment, clear timing, and fail-safe steps that prevent off-flavors.
- Flexible sweetness: Adjust honey and fermentation time to land dry, semi-sweet, or sweet results without guesswork.
- Reliable fermentation: Proper yeast choice, nutrients, and temperature control keep your bubbles lively and clean-tasting.
- Small-batch friendly: Make one gallon to learn the ropes before scaling up.
Ingredients

For a 1-Gallon Batch (about 4–5 bottles)
- 3 pounds (1.36 kg) raw honey – light wildflower or orange blossom for a clean, classic flavor
- 1 gallon (3.8 L) chlorine-free water – spring or filtered works best
- 1 packet wine/mead yeast – Lalvin D-47, 71B, or EC-1118 all work great
- 1 teaspoon yeast nutrient – optional but highly recommended for a healthy ferment
- 1 Campden tablet (optional) – to sanitize must if using raw/unfiltered water
Equipment You’ll Need
- 1-gallon glass carboy or a food-grade fermentation bucket
- Airlock and bung that fit your vessel
- Sanitizer (Star San or similar no-rinse)
- Large sanitized funnel
- Hydrometer + test jar (optional, but helpful)
- Siphon (auto-siphon) and bottling wand
- Wine bottles or swing-top bottles with corks/caps
How to Make This Simple DIY Mead
1) Sanitize Everything
- Clean and sanitize your carboy, funnel, airlock, bung, and any tools that touch the must. This single step prevents funky flavors.
2) Mix the Must (Honey + Water)
- Warm the honey jar in a bowl of hot water to loosen it. Do not boil honey.
- Pour about half the water into the carboy using the funnel.
- Add all the honey. Cap the carboy and swirl until the honey dissolves.
- Top up with remaining water, leaving a few inches of headspace for foam.
- Optional: Crush and dissolve 1 Campden tablet into the must. Wait 24 hours before pitching yeast.
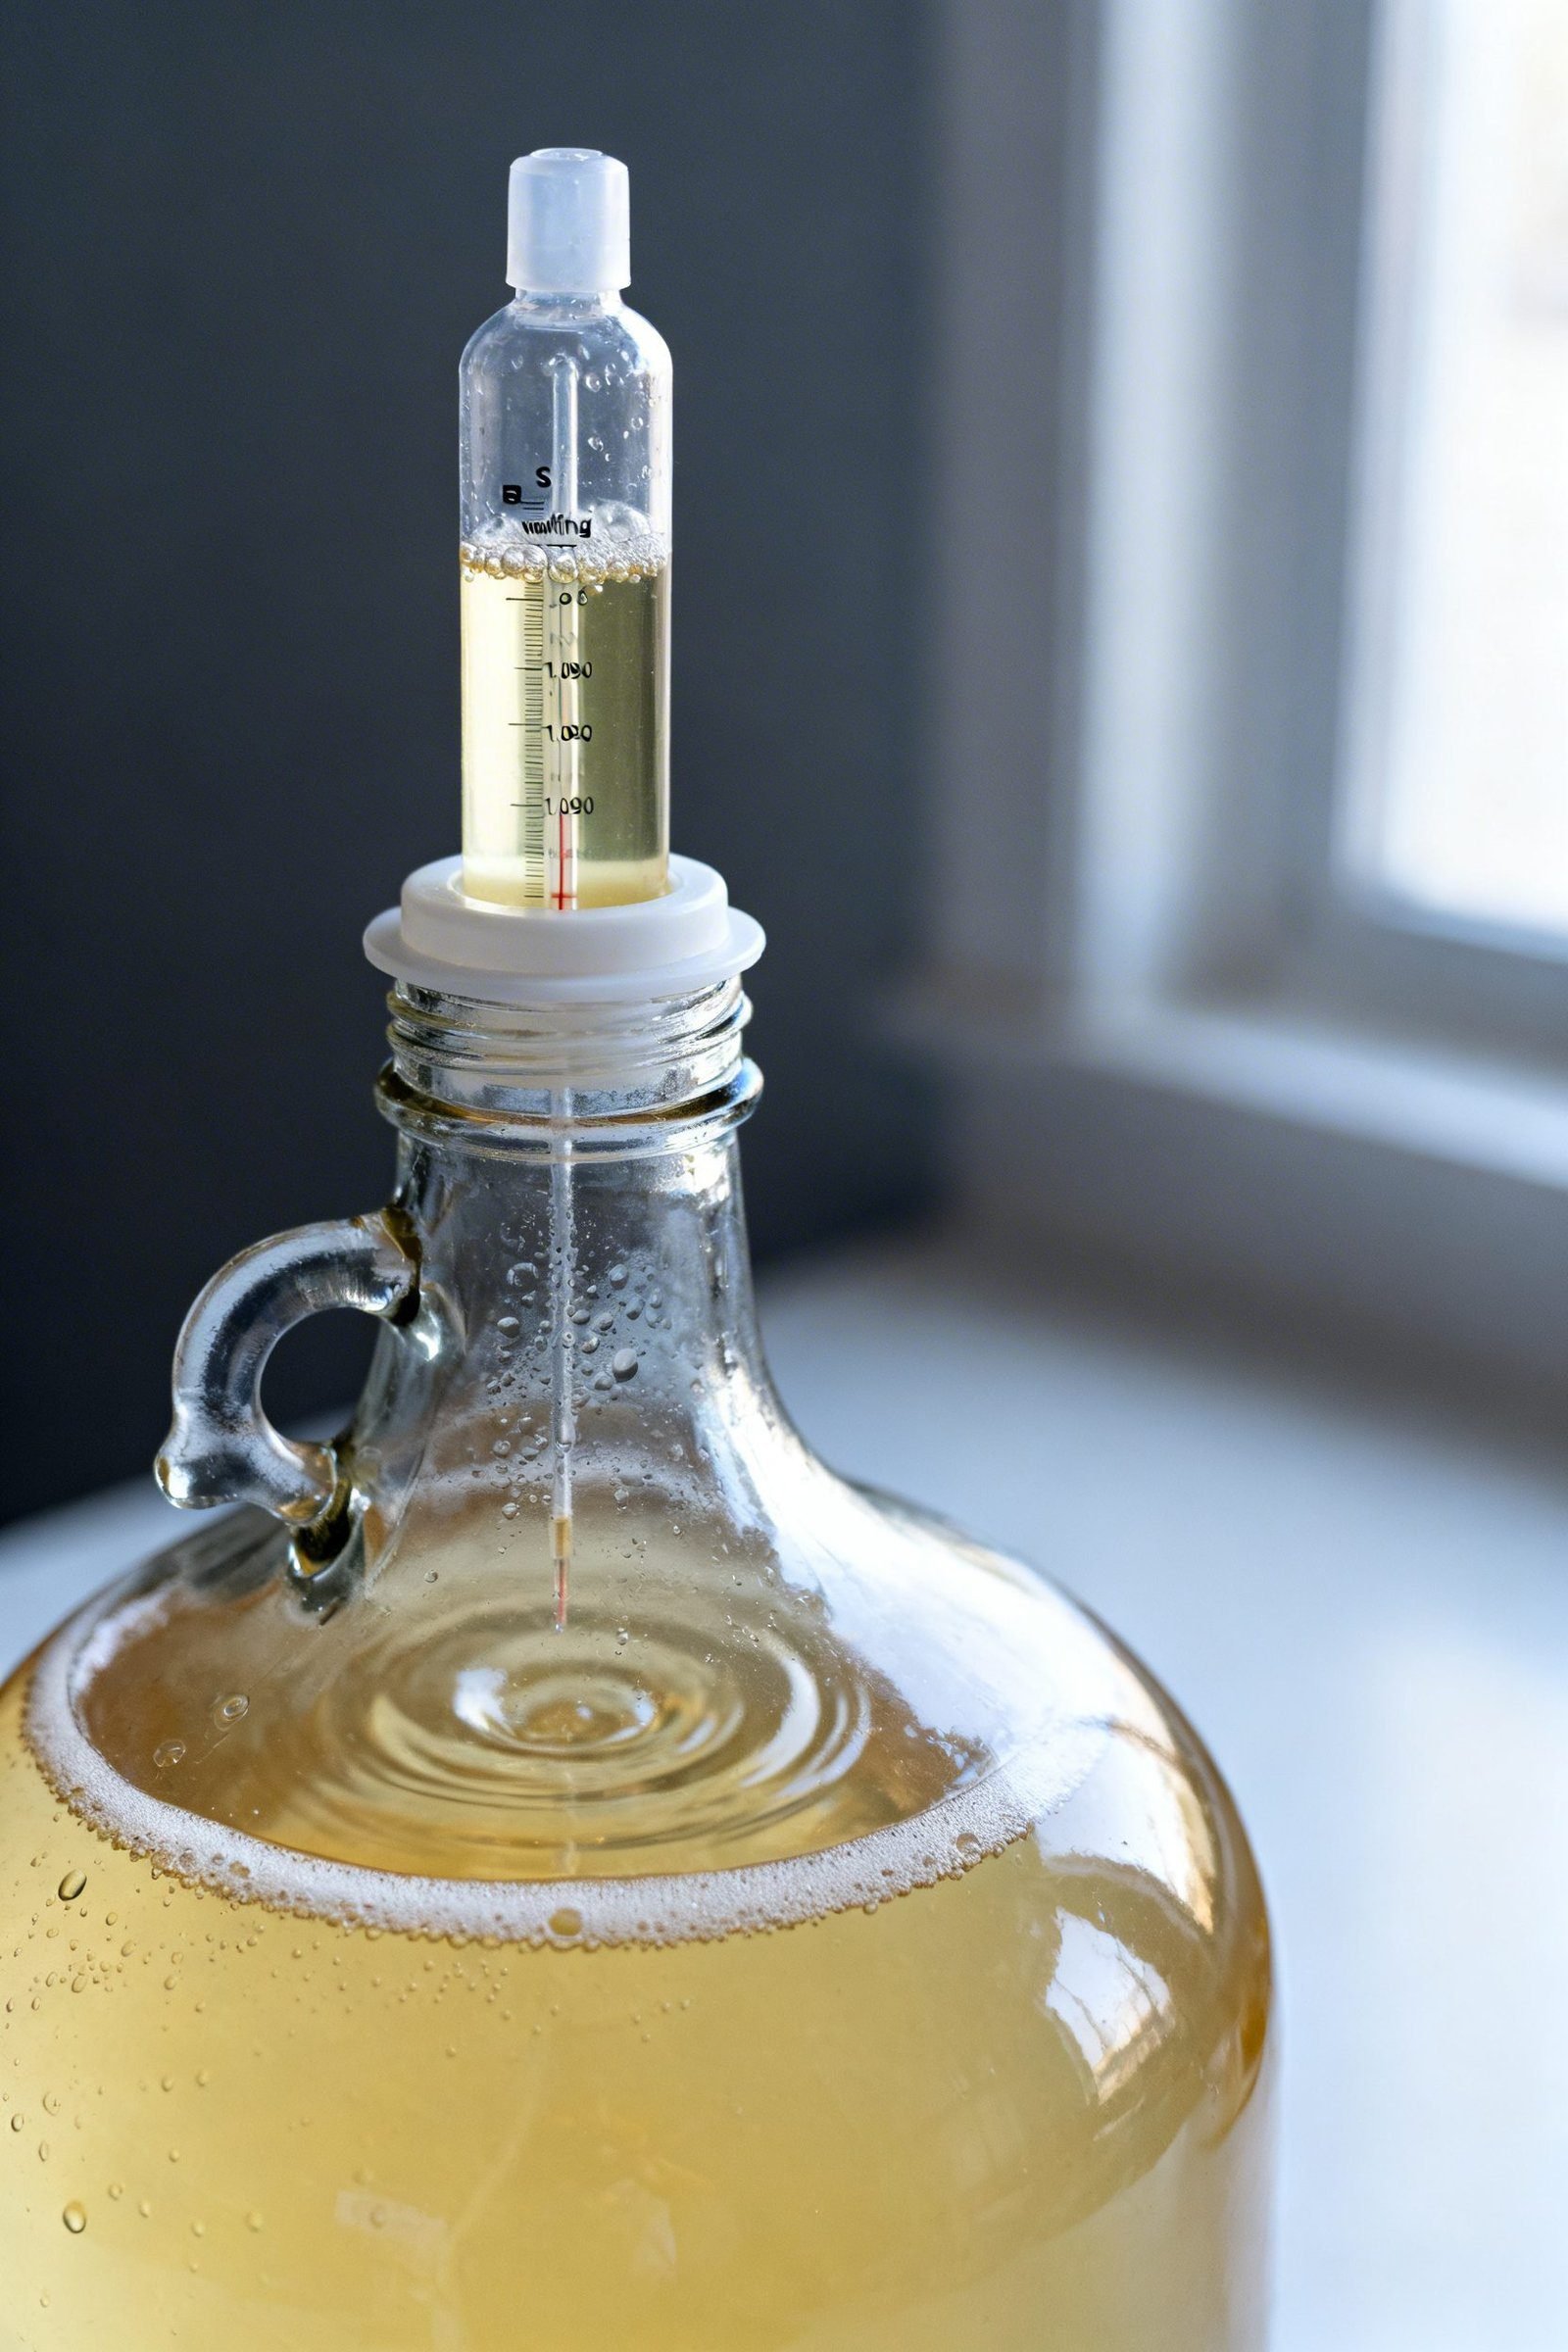
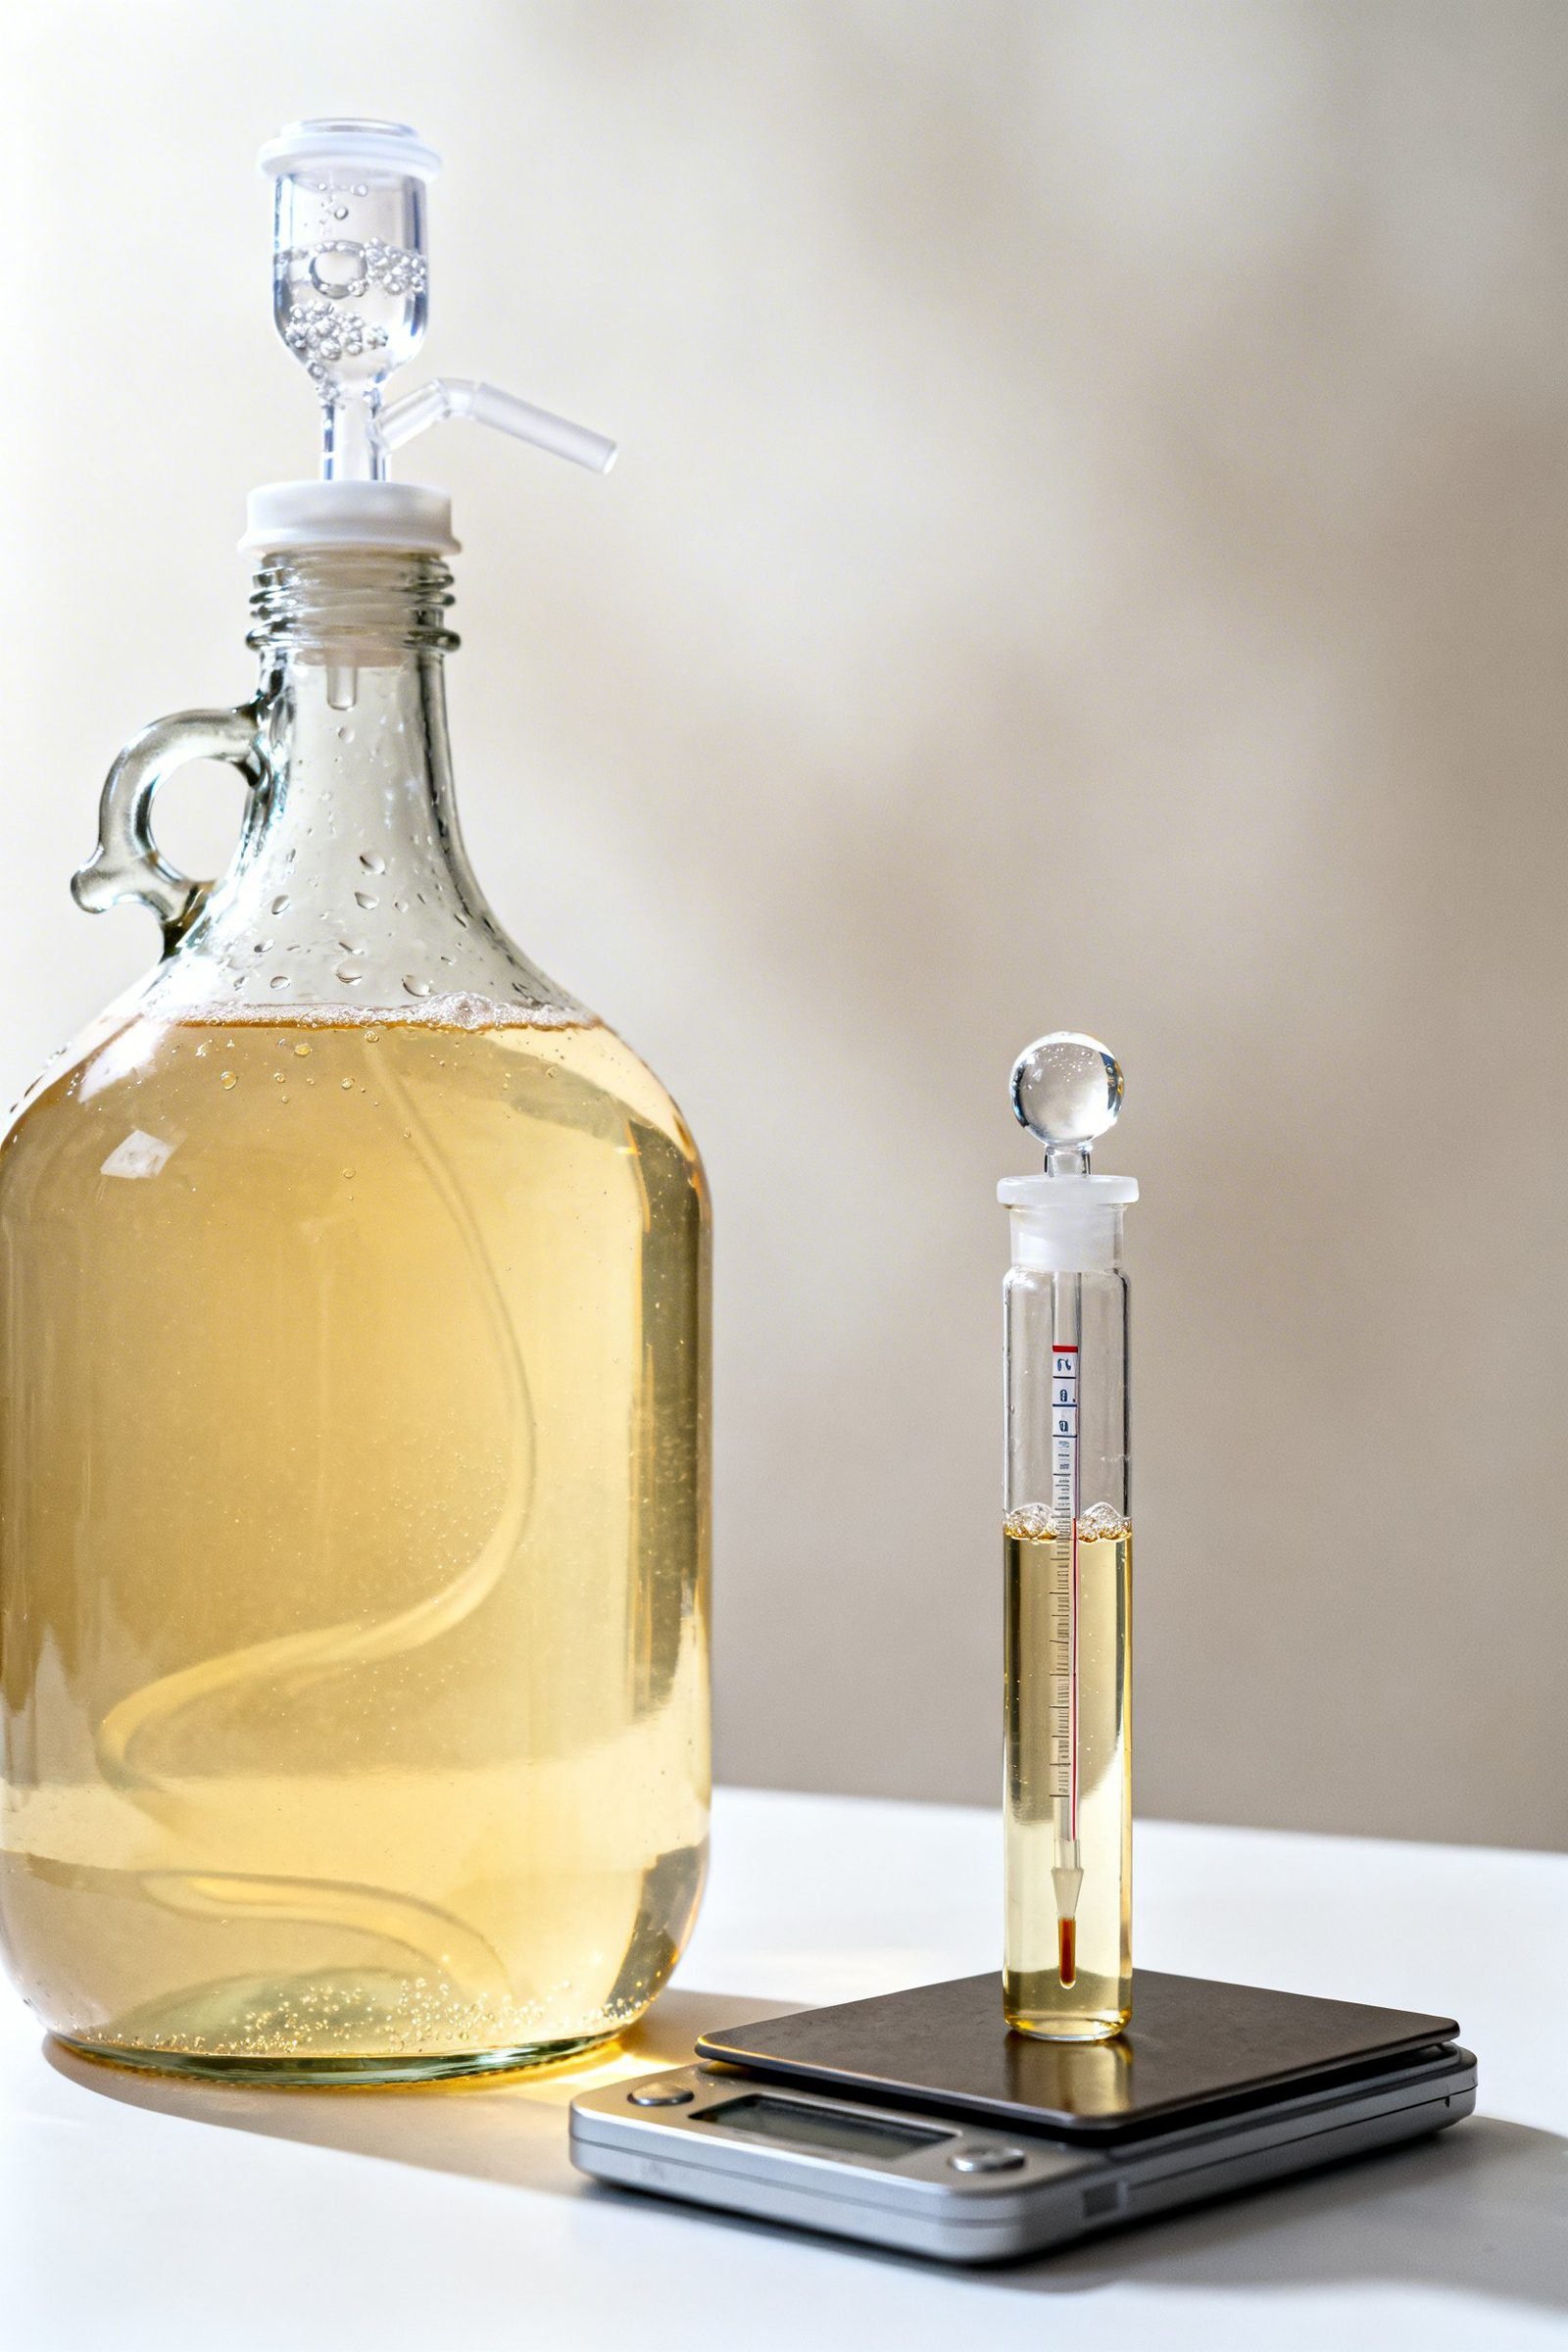
3) Check Gravity (Optional but Useful)
- Take a hydrometer reading. Target OG: 1.085–1.100 for a balanced, ~11–13% ABV mead.
- Too low? Add a bit more honey. Too high? Add a little water.
4) Pitch the Yeast
- Rehydrate yeast if the packet instructs it, or sprinkle directly into the must.
- Add 1 teaspoon yeast nutrient. Swirl gently to mix.
- Fit the bung and fill the airlock with sanitizer solution.
5) Primary Fermentation (1–3 Weeks)
- Keep the carboy at 60–70°F (16–21°C). Consistent temp gives a clean ferment.
- For the first 3–4 days, degass and aerate once daily: briefly remove the airlock and swirl or stir gently to release CO₂ and help the yeast.
- Watch the bubbles. Fast, steady bubbling means active fermentation. It will slow as sugars drop.
6) Rack to Secondary (Clear and Mature)
- When bubbling slows significantly and sediment piles up (usually 10–21 days), siphon the mead off the lees into a clean, sanitized carboy.
- Top up with a little sanitized water or mead to minimize oxygen space.
- Attach airlock and let it clarify for 4–8 weeks, racking again if a thick lees layer forms.
7) Sweeten or Stabilize (Optional)
- For a dry mead, bottle as-is once clear and still.
- For semi-sweet or sweet, stabilize first with potassium metabisulfite and potassium sorbate, then stir in honey to taste. Avoid bottle bombs.
8) Bottle and Age
- When clear and no airlock activity remains, siphon into clean bottles.
- Cork or cap tightly. Label with date and style.
- Age at least 1–3 months. Flavor softens and complexity blooms with time.
How to Store Your Homemade Mead
- Short term: Keep bottles upright in a cool, dark place (55–65°F / 13–18°C).
- Long term: Store on their side only if corked and fully stabilized. Darkness and steady temps protect flavor.
- After opening: Refrigerate and drink within 1–2 weeks. Use a wine stopper to limit oxygen exposure.
- Sediment safety: A little sediment is normal. Pour gently to leave it behind.
Benefits of Making Mead at Home
- Control over sweetness and strength: Dial in dry, semi, or dessert levels and adjust ABV by changing honey weight.
- Better ingredients: Use local raw honey, clean water, and high-quality yeast for fresher flavor.
- Cost savings: Homemade mead often costs less per bottle than store-bought craft mead.
- Customization: Infuse fruit, spice, or herbs to create unique bottles you can’t find anywhere else.
- Satisfying craft: Watching honey turn into a sparkling, aromatic drink feels amazing.
What Not to Do
- Don’t skip sanitation: Any residue or dirty tools can ruin a batch.
- Don’t rush fermentation: Bottling before it’s done can cause gushers or exploding bottles.
- Don’t overheat honey: Boiling drives off aroma and delicate floral notes.
- Don’t neglect nutrients: Stressed yeast create off-flavors. Add nutrient as directed.
- Don’t shake after secondary: Oxygen at this stage can cause stale, cardboard flavors.
Variations You Can Try
- Melomel (fruit mead): Add 1–2 pounds of crushed berries or stone fruit during secondary. Rack off fruit after 2–3 weeks.
- Cyser (apple mead): Replace part of the water with preservative-free apple juice or cider for autumn vibes.
- Metheglin (spiced mead): Steep cinnamon, clove, vanilla, or ginger in secondary. Start small and taste weekly.
- Session mead: Use 1.5–2 pounds honey for a lighter, faster-drinking mead (~5–7% ABV). Carbonate in bottles or a keg if you like bubbles.
- Oak-aged: Add sanitized oak cubes or spirals to secondary for vanilla and toast notes. Taste every 1–2 weeks.
FAQ
How long does mead take?
Active fermentation lasts 1–3 weeks. Clearing and conditioning may take 1–3 months. Many meads taste great at the 3–4 month mark, and they keep improving with more time.
What yeast should I use?
Lalvin 71B gives fruity, soft results. D‑47 adds body but prefers cooler temps. EC‑1118 ferments clean and strong, great for dry meads or stuck fermentations.
My mead tastes hot or harsh. What now?
Age it. Time smooths alcohol warmth. If it still tastes sharp after a couple months, back-sweeten slightly or add a touch of oak for roundness.
Can I carbonate mead?
Yes. Either naturally prime like beer (careful with stabilization and gravity) or force-carb in a keg. Ensure fermentation has finished before priming to avoid overcarbonation.
Do I need a hydrometer?
No, but it helps. You can track fermentation progress and calculate ABV. Without it, watch airlock activity and wait for full clarity and no sediment drop before bottling.
Is raw honey safe?
Yes, when combined with proper sanitation and healthy yeast. If concerned, use a Campden tablet or gently heat water (not boiling) to dissolve honey.
Conclusion
You can make excellent mead at home with simple tools, good honey, and a bit of patience. Follow the steps, keep everything clean, and let the yeast do the heavy lifting. Once you taste your first finished batch, you’ll want to start another—maybe a berry melomel or a cozy spiced metheglin. Raise a glass to your new favorite DIY beverage.
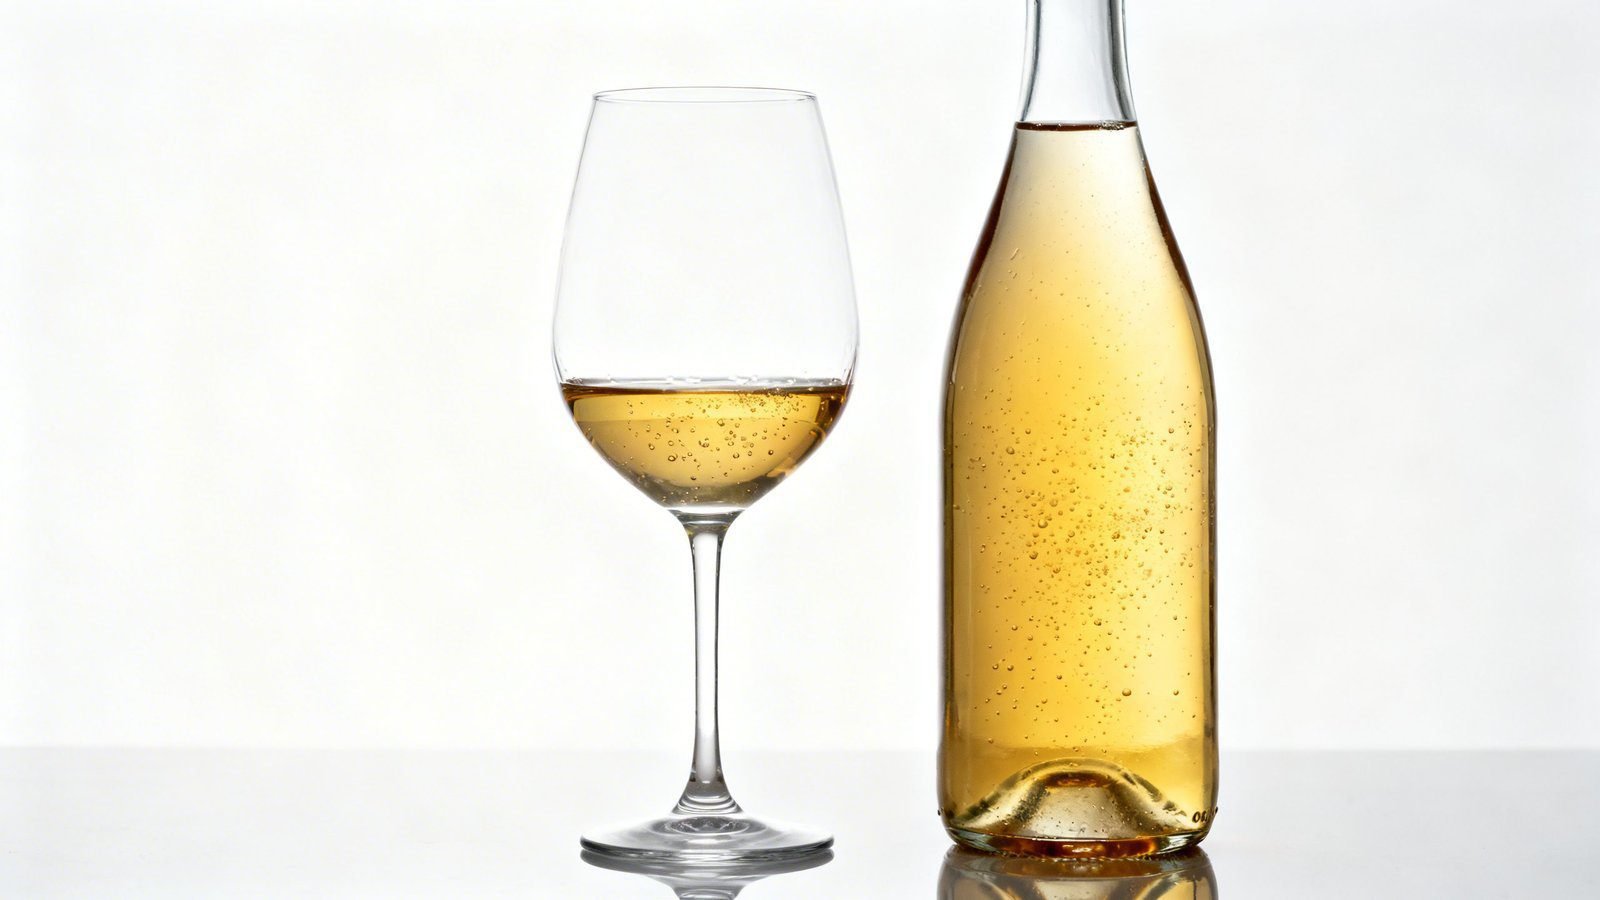
Simple DIY Traditional Mead (1-Gallon)
A beginner-friendly 1-gallon traditional mead made from honey, water, and yeast with clear steps from sanitizing to bottling and aging.
Ingredients
- 3 pounds (1.36 kg) raw honey (light wildflower or orange blossom)
- 1 gallon (3.8 L) chlorine-free water (spring or filtered)
- 1 packet wine/mead yeast (Lalvin D-47, 71B, or EC-1118)
- 1 teaspoon yeast nutrient (optional but recommended)
- 1 Campden tablet (optional, if using raw/unfiltered water)
- Sanitizer (Star San or similar, for equipment)
Instructions
- Sanitize all equipment including carboy, funnel, airlock, bung, and tools.
- Warm honey jar in hot water to loosen (do not boil).
- Pour about half the water into the sanitized carboy using a funnel.
- Add all the honey, cap, and swirl until fully dissolved.
- Top up with remaining water, leaving a few inches of headspace.
- Optional: Crush and dissolve 1 Campden tablet into the must; wait 24 hours before pitching yeast.
- Optional: Take a hydrometer reading; target OG 1.085–1.100. Adjust with honey or water as needed.
- Pitch yeast (rehydrate if instructed on packet or sprinkle directly).
- Add 1 teaspoon yeast nutrient and swirl gently to mix.
- Fit bung and airlock (filled with sanitizer solution).
- Primary fermentation: Keep at 60–70°F (16–21°C) for 1–3 weeks; for first 3–4 days, degas/aerate daily by gently swirling or stirring.
- When bubbling slows and lees accumulate (10–21 days), rack off sediment into a sanitized carboy.
- Top up to minimize headspace, attach airlock, and clarify 4–8 weeks; rack again if thick lees form.
- Optional sweetening: For dry, bottle as-is once clear and still. For semi-sweet/sweet, stabilize with potassium metabisulfite and potassium sorbate, then add honey to taste.
- Bottle when clear and no airlock activity remains; siphon into clean bottles and cork or cap.
- Label and age at least 1–3 months before drinking; flavor improves with time.