Easy Rosemary Garlic Artisan Bread | Crusty No-Knead Bread
If you’ve ever wanted bakery-quality bread with a shatteringly crisp crust and a tender, fragrant interior, this Easy Rosemary Garlic Artisan Bread is your new go-to. It’s no-knead, hands-off, and delivers big flavor with minimal effort. Mix it in five minutes, let time do the heavy lifting, and bake it in a hot Dutch oven for that classic artisan look and crunch.
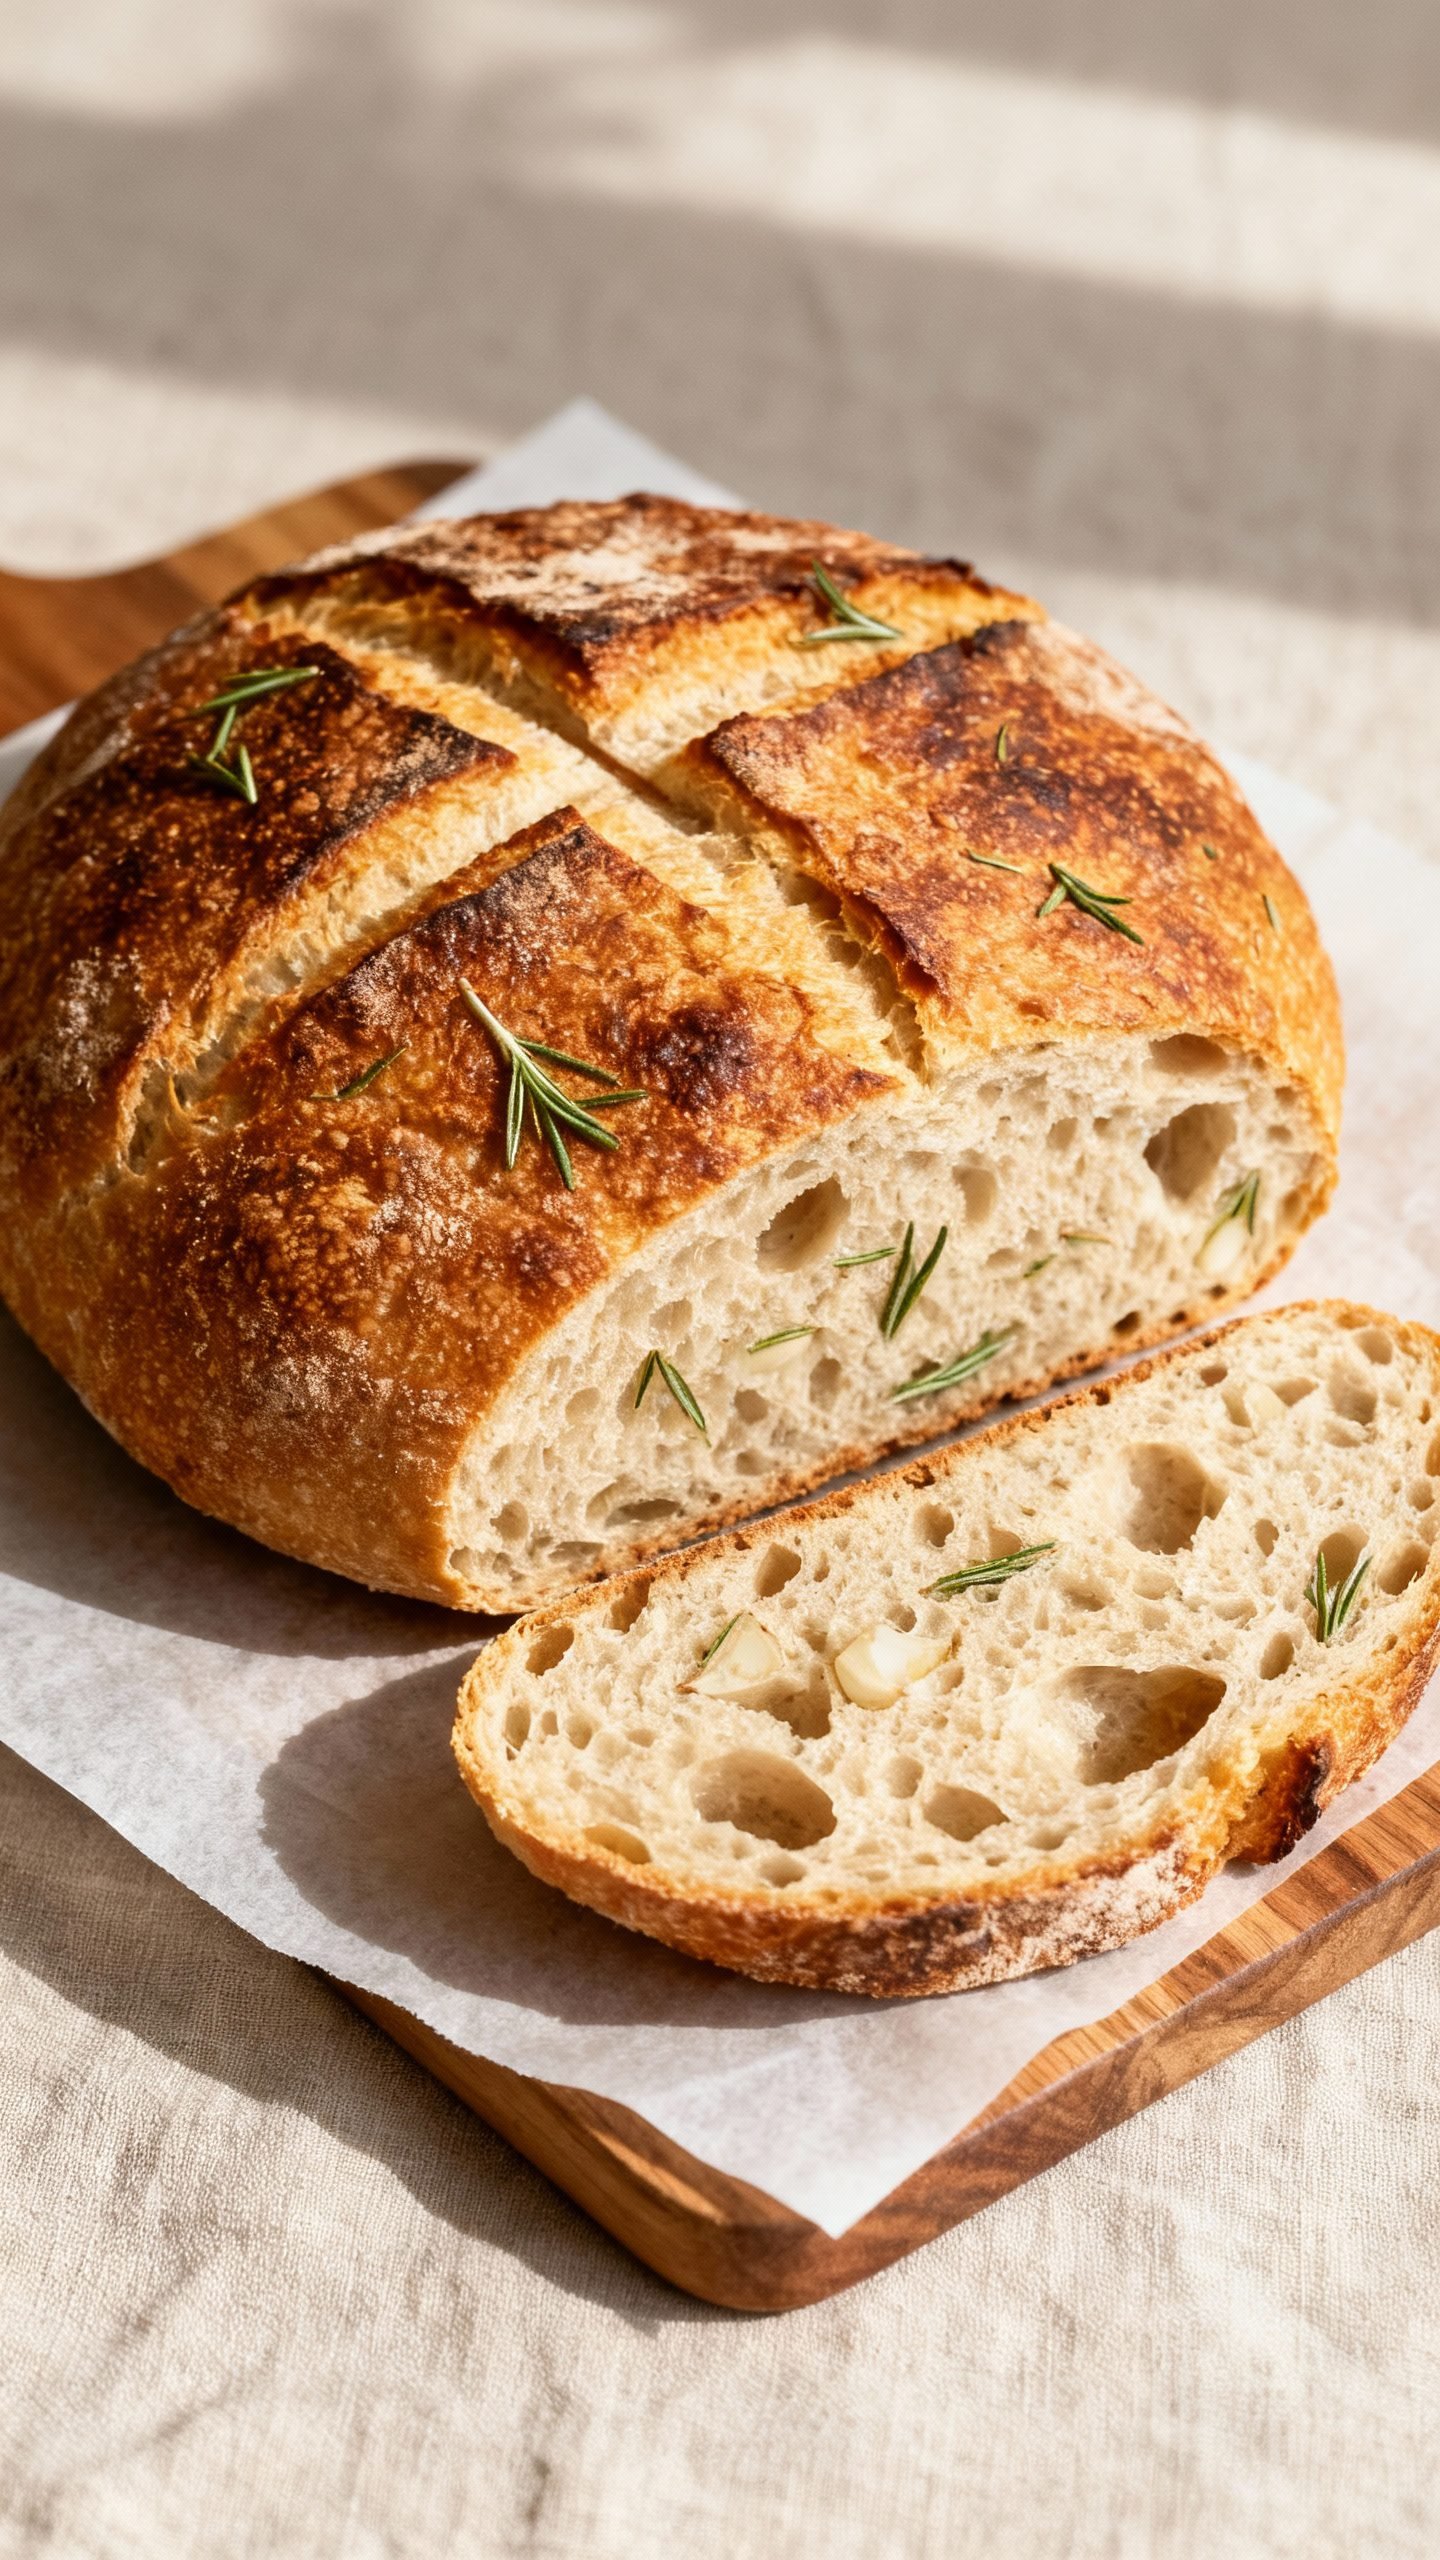
We’re talking savory garlic, fresh rosemary, and a golden crust that sings when you tap it. I reach for this loaf when I want something impressive without babysitting dough. Serve it warm with salted butter or olive oil, pair it with soup, or build the best grilled cheese of your life. Let’s bake some magic.
Why This Rosemary Garlic Bread Turns Out So Good
- No-knead method builds gluten through time – an overnight rest develops structure and flavor without elbow grease.
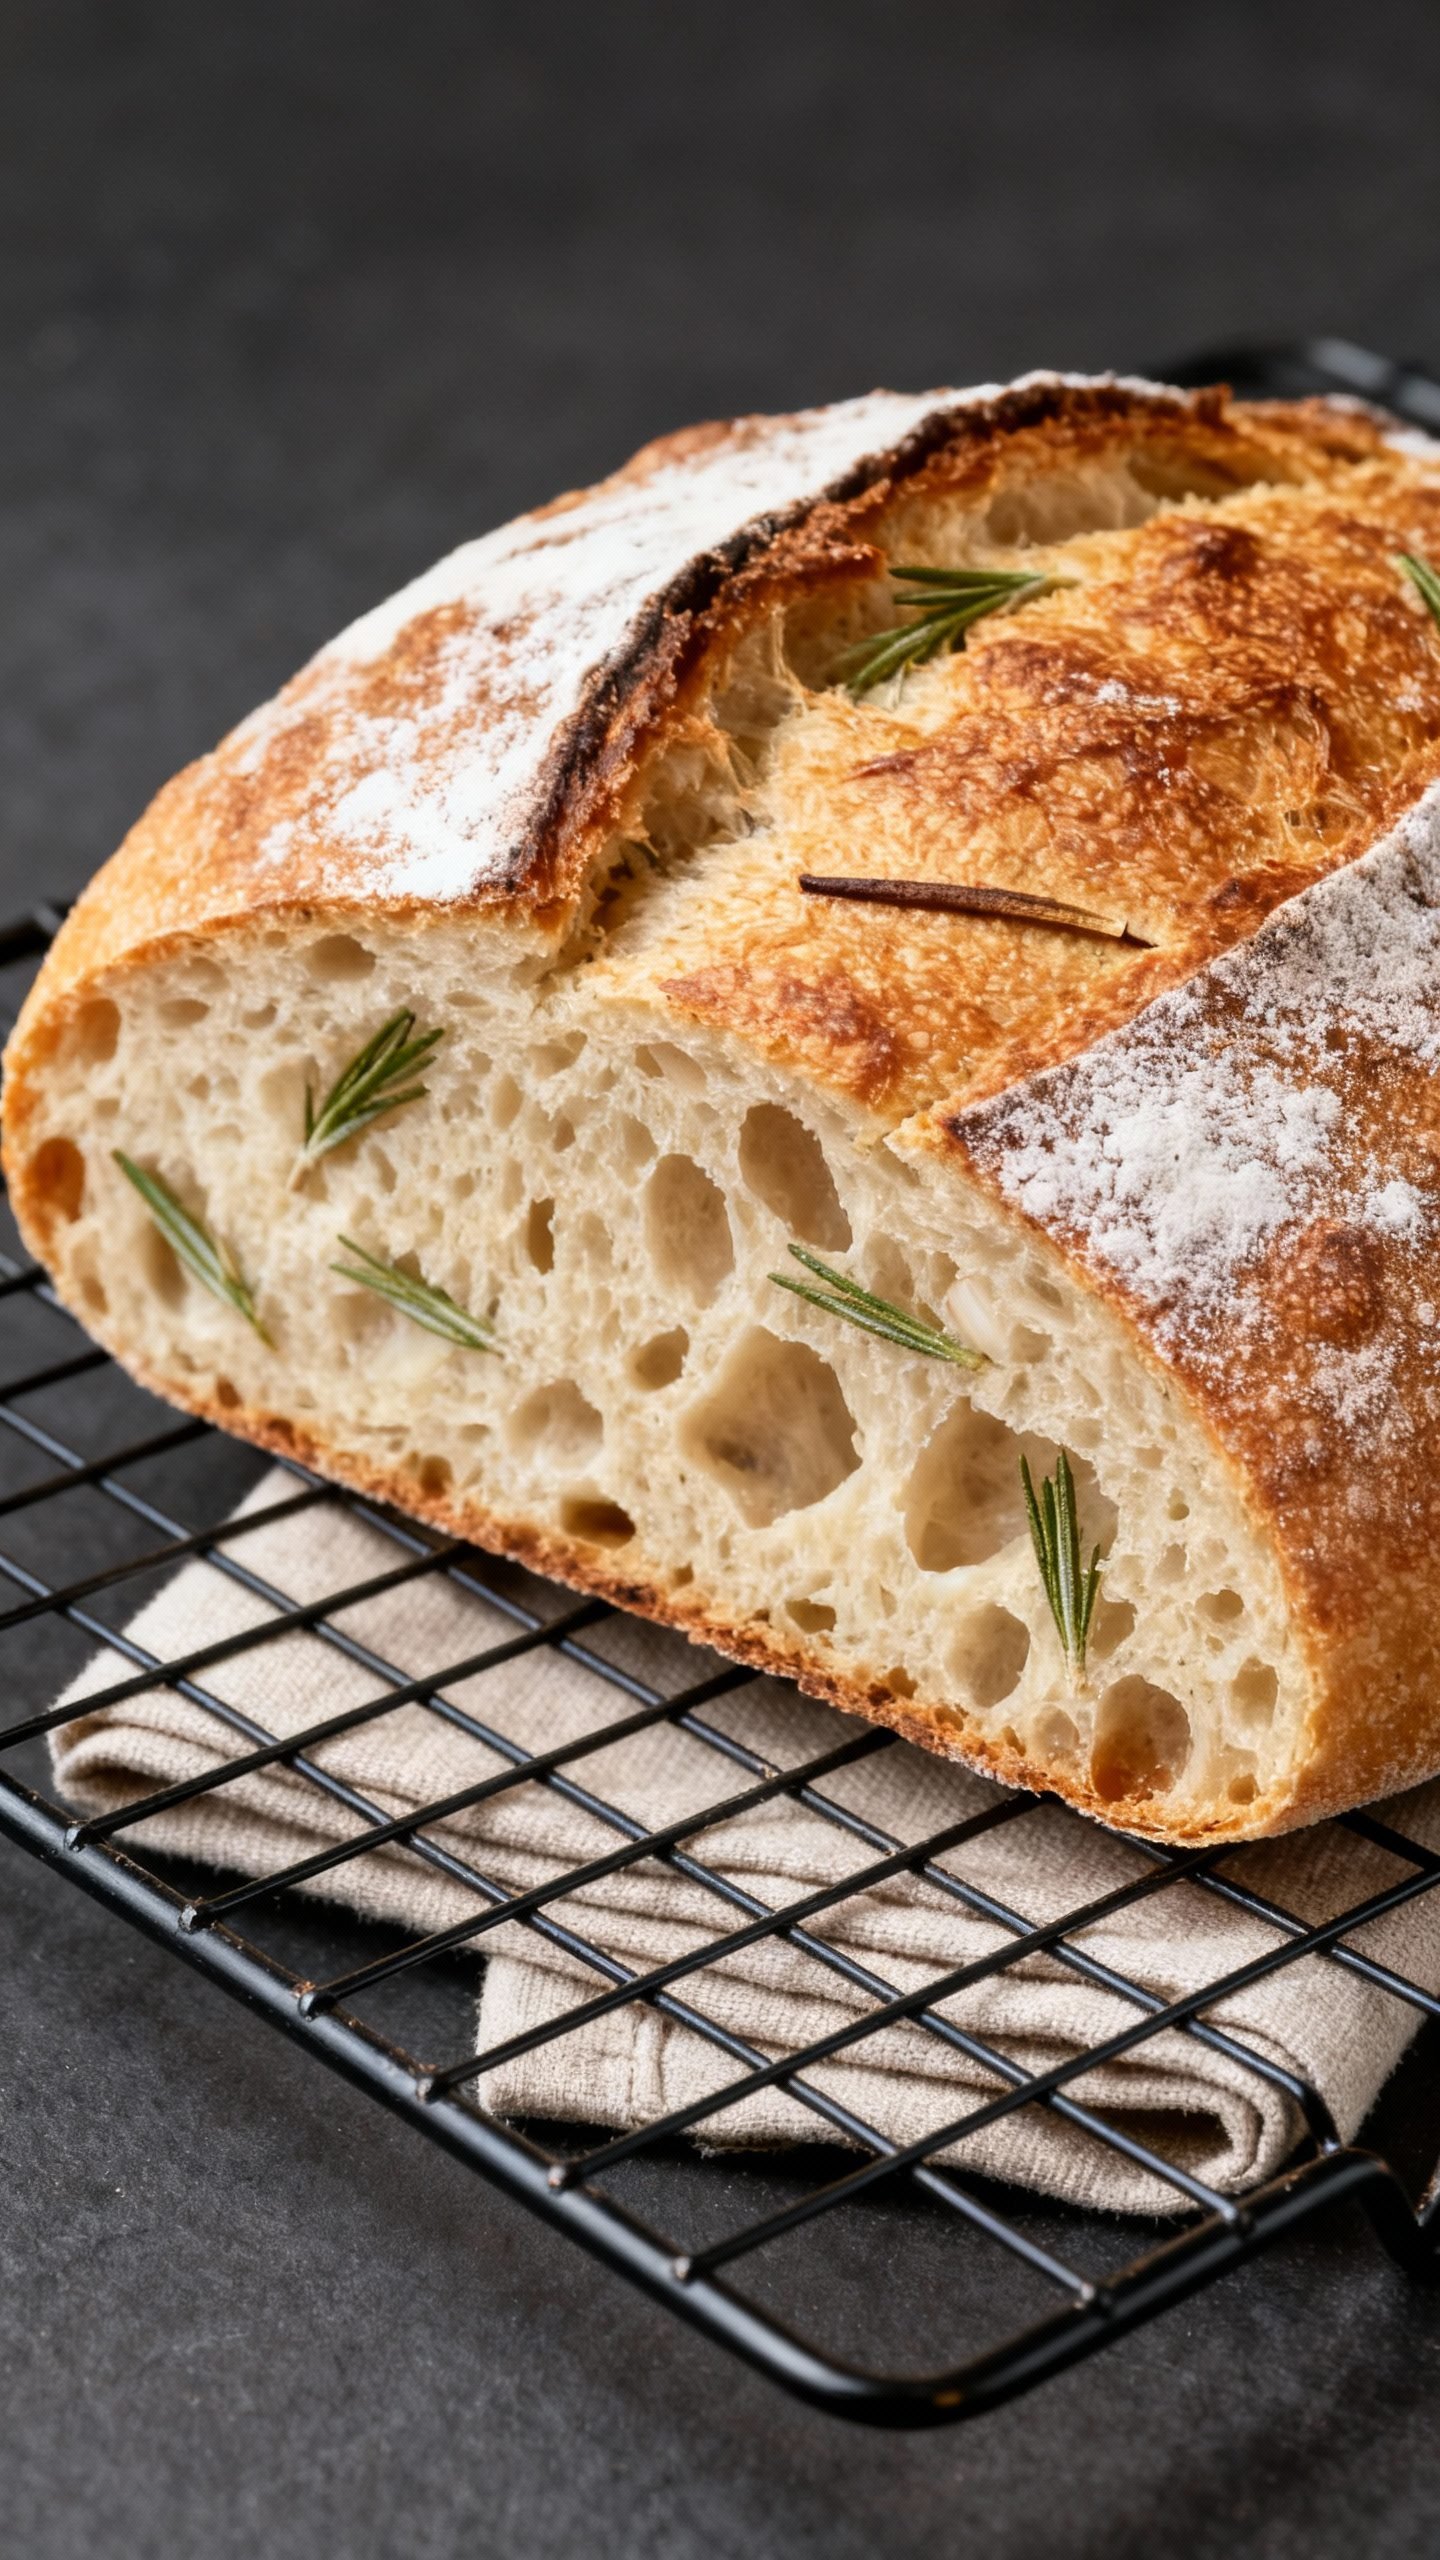
- High hydration gives an open crumb – a wetter dough creates those beautiful irregular holes and a light, moist interior.
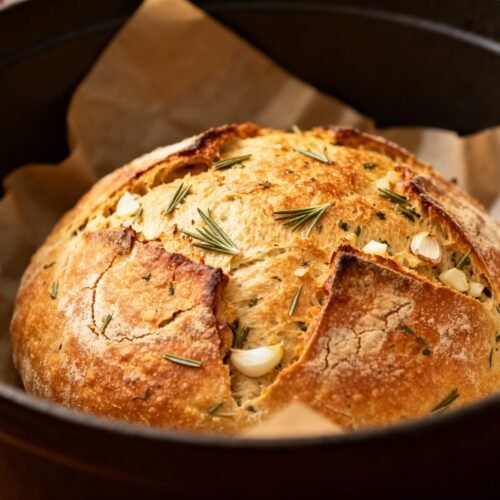
- Hot Dutch oven = pro-level crust – steam traps inside and sets a blistered, deep-golden crust.
- Garlic and rosemary infuse the dough – fresh herbs and sautéed (or raw) garlic bring bold aroma and savory depth.
- Foolproof for beginners – the method relies on time and temperature, not technique, so you get consistent results.
Ingredients
- Bread flour – 3 cups (360 g). High-protein flour supports structure and chew.
- Warm water – 1 1/2 cups (360 ml), about 100–105°F. Warm, not hot.
- Instant yeast – 1/2 teaspoon. Quick and reliable rise.
- Kosher salt – 1 1/2 teaspoons. Enhances flavor and strengthens gluten.
- Fresh rosemary – 1–2 tablespoons, finely chopped. Earthy and piney, not overpowering.
- Garlic – 3 cloves, minced. Use raw for sharper bite or lightly sauté for mellow sweetness.
- Olive oil – 1 tablespoon. Adds subtle richness and helps disperse garlic.
- Optional add-ins – pinch of black pepper, lemon zest, or flaky salt for topping.
- For shaping – extra flour or fine cornmeal to prevent sticking.
How to Make This No-Knead Rosemary Garlic Artisan Bread
1) Mix the dough (5 minutes)
- In a large bowl, whisk flour, salt, and instant yeast.
- Stir in warm water and olive oil until a shaggy, sticky dough forms. No kneading.
- Fold in rosemary and garlic with a spatula. The dough should feel sticky and loose.
2) Let it rise slow and steady
- Room temperature method: Cover the bowl tightly and let the dough rest 12–18 hours at room temp until doubled and bubbly on top.
- Faster method: Give it 2–3 hours at warm room temp (75–80°F). Flavor develops less but still tasty.
3) Shape gently
- Dust your counter with flour. Turn the dough out with a spatula.
- Lightly flour your hands. Tuck edges toward the center to form a round ball. Handle it gently to keep gas bubbles.
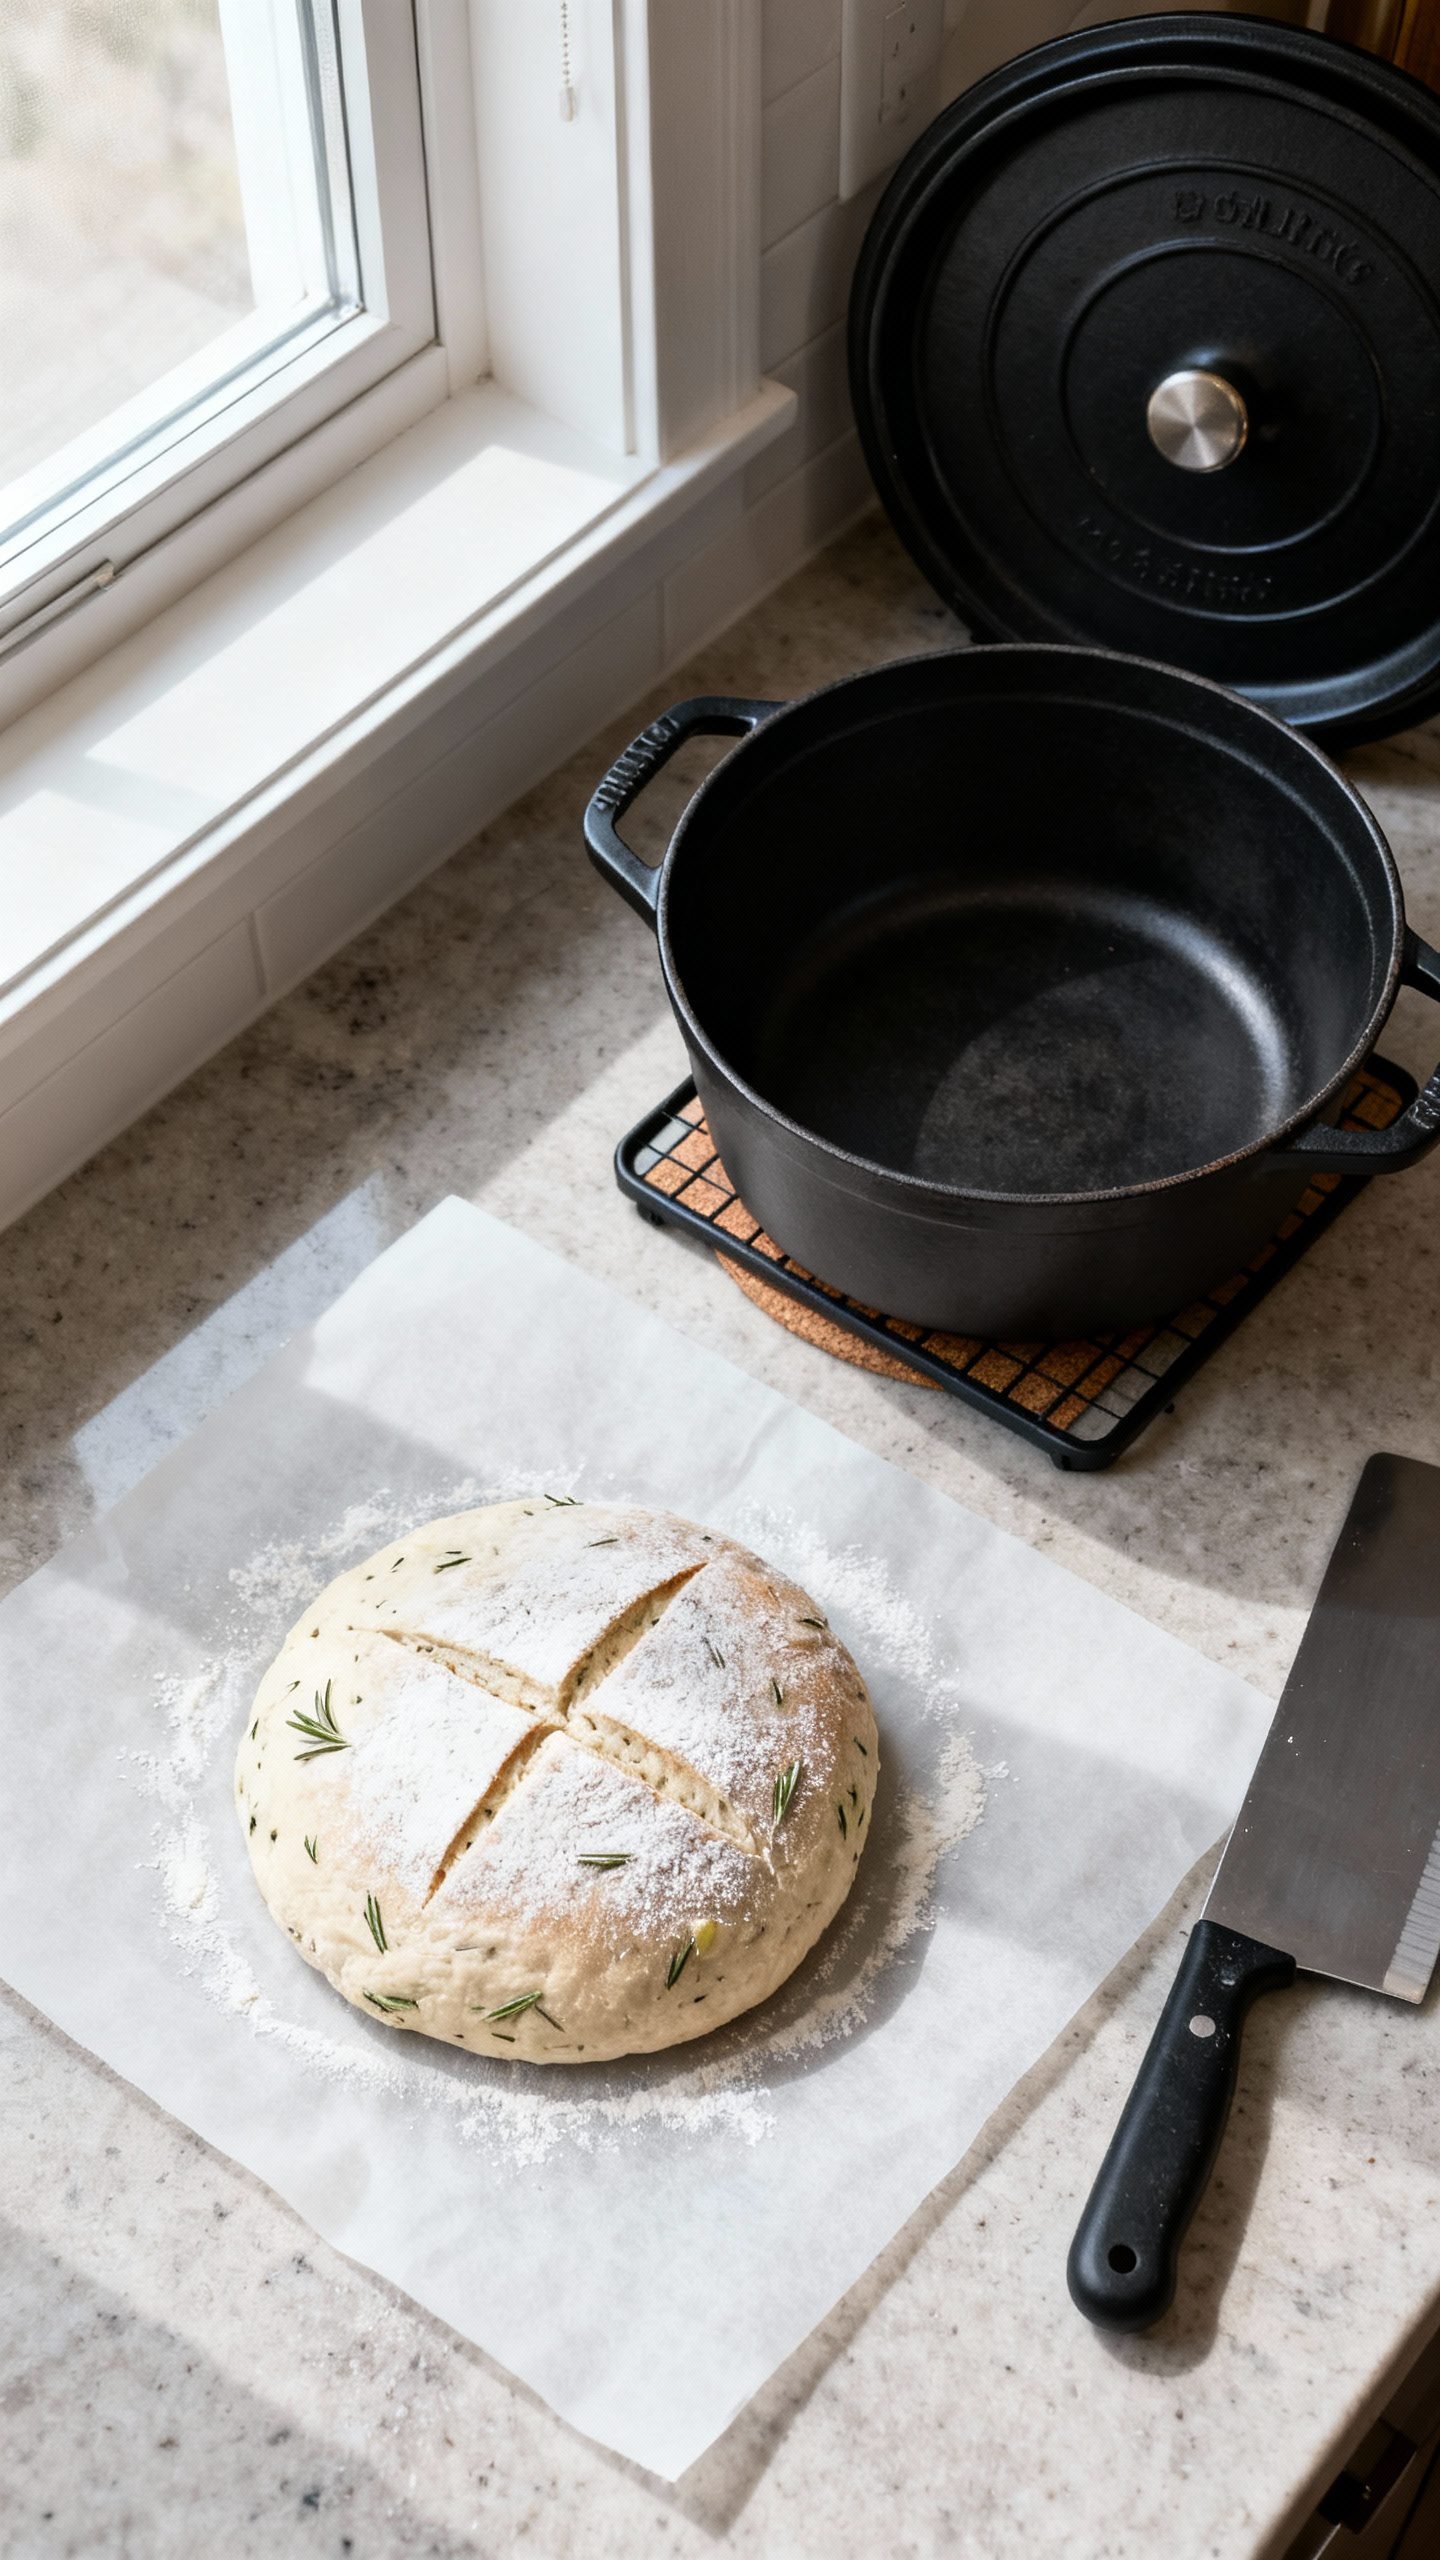
- Set the seam side down on a piece of parchment dusted with flour or cornmeal. Cover and rest 30–45 minutes.
4) Preheat the oven and pot
- Place a 4–6 quart Dutch oven with lid in your oven. Preheat to 450°F (232°C) for at least 30 minutes.
- While it heats, sprinkle the dough top with a little flour and score a shallow X with a sharp knife or lame.
5) Bake for that crisp artisan crust
- Carefully remove the hot pot. Lift the dough on parchment and lower it into the pot. Cover with lid.
- Bake covered for 30 minutes, then uncover and bake 12–18 minutes more, until deep golden and crackly.
- Check doneness: internal temp should read 205–210°F, and the loaf should sound hollow when tapped.
- Cool on a rack at least 45–60 minutes before slicing to set the crumb.
Keys to success
- Hydration matters: If dough looks dry, add 1–2 tablespoons water. If soupy, dust with a tablespoon of flour.
- Don’t overwork it: Minimal handling preserves gas bubbles for an open crumb.
- Heat equals crust: A fully preheated Dutch oven makes all the difference.
- Cool before slicing: Cutting too soon compresses the crumb and makes it gummy.
How to Store Your Artisan Loaf
- Room temperature (best for 2–3 days): Store cut side down on a board and loosely cover with a clean towel or paper bag. This keeps the crust crisp.
- Avoid plastic at room temp: Plastic traps moisture and softens the crust.
- Freeze for longer storage: Cool completely, slice, then wrap tightly in foil and stash in a freezer bag. Freeze up to 3 months.
- Reheat: Toast slices from frozen or bake the whole loaf at 350°F for 10–12 minutes to refresh the crust.
Why Make This No-Knead Rosemary Garlic Bread
- Minimal effort, big payoff – You stir, you wait, you bake. That’s it.
- Restaurant-quality crust at home – Steam in the Dutch oven gives that blistered, crackly finish.
- Flavor that tastes slow-crafted – Long fermentation builds complexity with barely any work.
- Versatile and crowd-pleasing – Serve with soups, salads, pasta, or a cheese board.
- Budget-friendly – Bakery loaves cost more. This one delivers for pennies per slice.
Common Mistakes to Avoid
- Water too hot – Anything above 120°F risks killing the yeast. Aim for warm bath water, not hot.
- Skipping the preheat – A lukewarm pot means a dull crust. Heat that Dutch oven thoroughly.
- Overloading with garlic or herbs – Stick to the amounts. Too much add-in weighs down the dough.
- Cutting too soon – Let the loaf rest so the interior finishes setting.
- Sealing warm bread in plastic – Condensation makes the crust soggy.
Tasty Variations to Try
- Parmesan rosemary: Fold in 1/2 cup finely grated parmesan and a pinch of black pepper.
- Lemon garlic: Add 1 teaspoon lemon zest and finish with flaky salt before baking.
- Olive and herb: Mix in 1/3 cup chopped, well-drained kalamata olives and 1 tablespoon mixed herbs.
- Roasted garlic: Swap raw garlic for 1–2 tablespoons mashed roasted garlic for sweetness and depth.
- Everything seasoning: Sprinkle the top with everything bagel seasoning after scoring.
- Whole wheat blend: Use 2 cups bread flour + 1 cup white whole wheat flour; add 1–2 tablespoons extra water if needed.
FAQ
Can I use active dry yeast instead of instant?
Yes. Use the same amount. Bloom it in the warm water for 5–10 minutes until foamy, then mix with the dry ingredients.
What if I don’t own a Dutch oven?
Use a heavy oven-safe pot with a tight lid, a cloche, or a preheated pizza stone with an inverted metal bowl on top to trap steam. You can also place a pan of hot water on the lower rack for added moisture.
How sticky should the dough be?
Sticky but not pourable. It should cling to your fingers but hold a loose shape. Adjust with a tablespoon of water or flour as needed.
Can I shorten the rise time?
Yes. Use slightly warmer water (not hot) and let it rise in a warm spot until doubled and bubbly, about 2–3 hours. Flavor improves with longer fermentation, though.
How do I get bigger holes in the crumb?
Keep the dough wetter, handle it gently, and avoid degassing during shaping. A thorough preheat and strong oven spring also help.
Is fresh rosemary required?
Fresh tastes best, but dried works. Use 1 teaspoon dried rosemary and rub it between your fingers to release oils.
Why did my crust soften after cooling?
Trapped moisture causes this. Re-crisp by baking at 350°F for 8–10 minutes. Next time, store cut side down and avoid plastic.
Can I double the recipe?
Yes, but bake in two loaves to avoid a gummy interior. Overcrowded pots lead to uneven baking.
Conclusion
This Easy Rosemary Garlic Artisan Bread gives you the best kind of kitchen confidence: minimal effort, maximum reward. You mix a simple dough, let time build flavor, and pull a crackling, fragrant loaf from the oven like a pro. Once you taste that rosemary-garlic aroma and hear that crisp crust, you’ll keep this recipe on repeat. Grab your bowl, warm some water, and let the dough work its magic for you.
Easy Rosemary Garlic Artisan Bread | Crusty No-Knead Bread
Ingredients
Ingredients
Instructions
Instructions
- In a large bowl, whisk flour, salt, and instant yeast.
- Stir in warm water and olive oil until a shaggy, sticky dough forms. No kneading.
- Fold in rosemary and garlic with a spatula. The dough should feel sticky and loose.
- Room temperature method: Cover the bowl tightly and let the dough rest 12–18 hours at room temp until doubled and bubbly on top.
- Faster method: Give it 2–3 hours at warm room temp (75–80°F). Flavor develops less but still tasty.
- Dust your counter with flour. Turn the dough out with a spatula.
- Lightly flour your hands. Tuck edges toward the center to form a round ball. Handle it gently to keep gas bubbles.
- Set the seam side down on a piece of parchment dusted with flour or cornmeal. Cover and rest 30–45 minutes.
- Place a 4–6 quart Dutch oven with lid in your oven. Preheat to 450°F (232°C) for at least 30 minutes.
- While it heats, sprinkle the dough top with a little flour and score a shallow X with a sharp knife or lame.
- Carefully remove the hot pot. Lift the dough on parchment and lower it into the pot. Cover with lid.
- Bake covered for 30 minutes, then uncover and bake 12–18 minutes more, until deep golden and crackly.
- Check doneness: internal temp should read 205–210°F, and the loaf should sound hollow when tapped.
- Cool on a rack at least 45–60 minutes before slicing to set the crumb.
- Hydration matters: If dough looks dry, add 1–2 tablespoons water. If soupy, dust with a tablespoon of flour.
- Don’t overwork it: Minimal handling preserves gas bubbles for an open crumb.
- Heat equals crust: A fully preheated Dutch oven makes all the difference.
- Cool before slicing: Cutting too soon compresses the crumb and makes it gummy.