
Vanilla Sweet Cream Coffee Creamer Recipe | All Natural Homemade Creamer
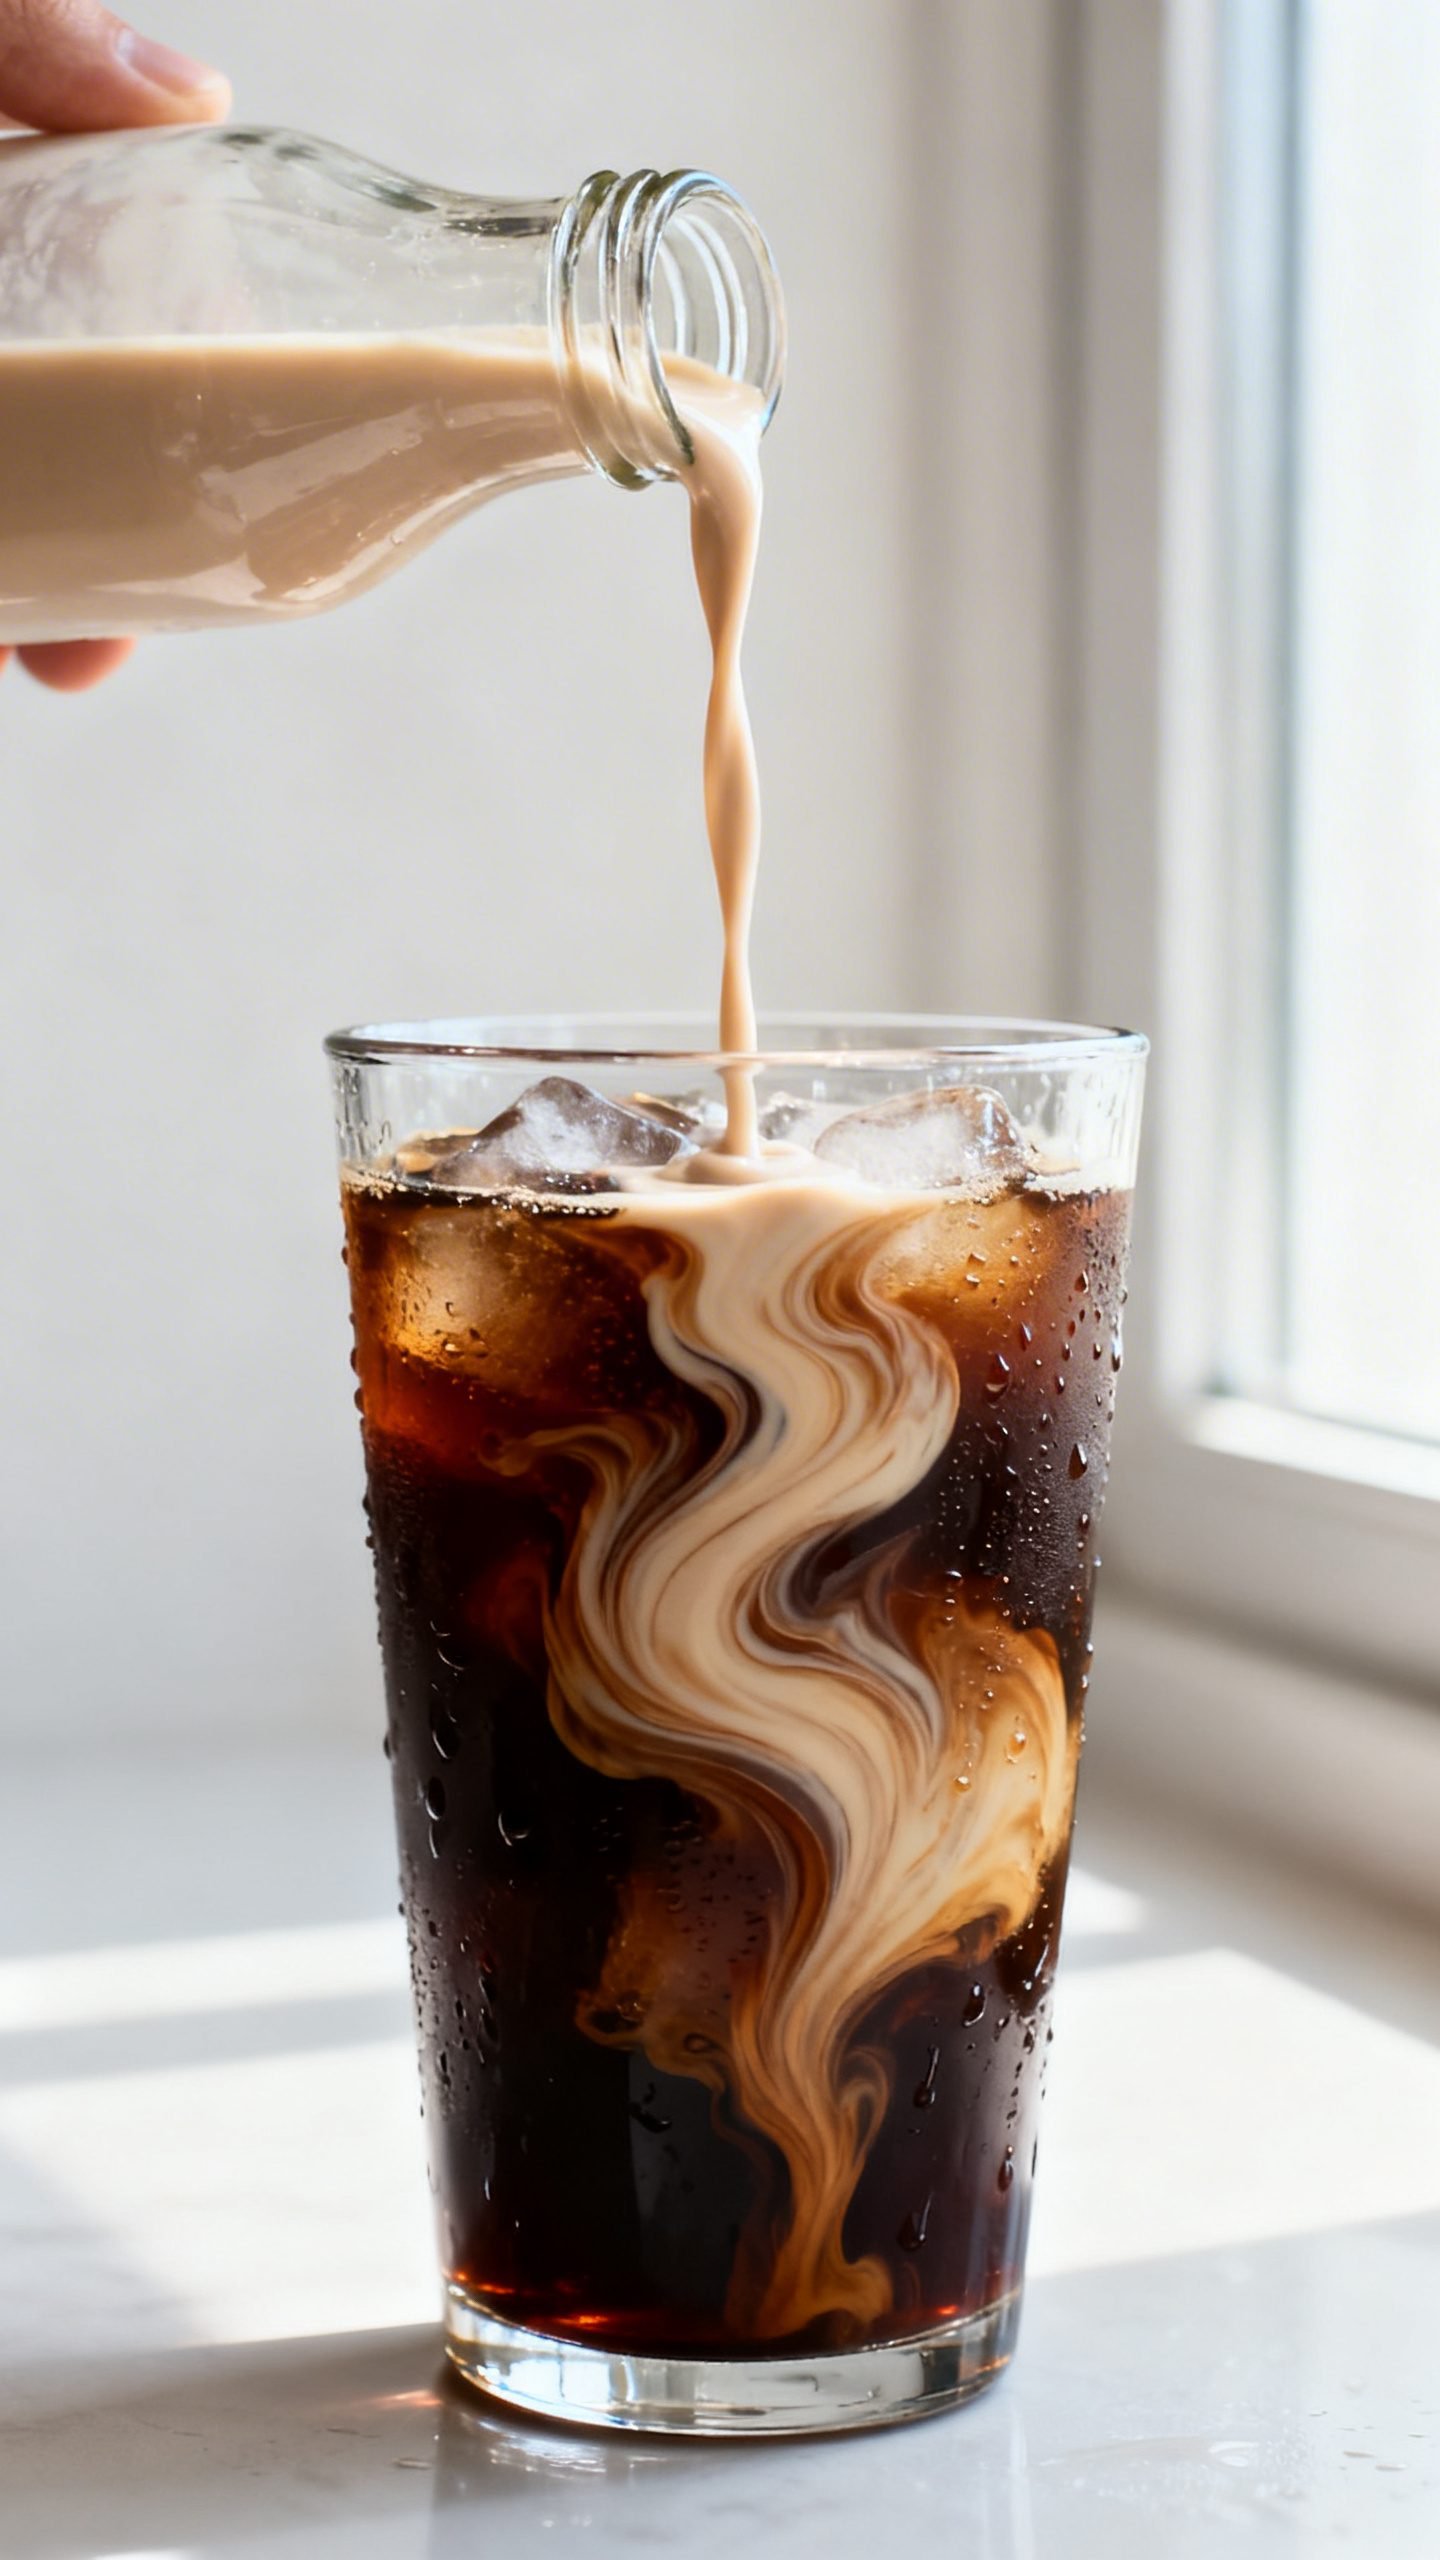
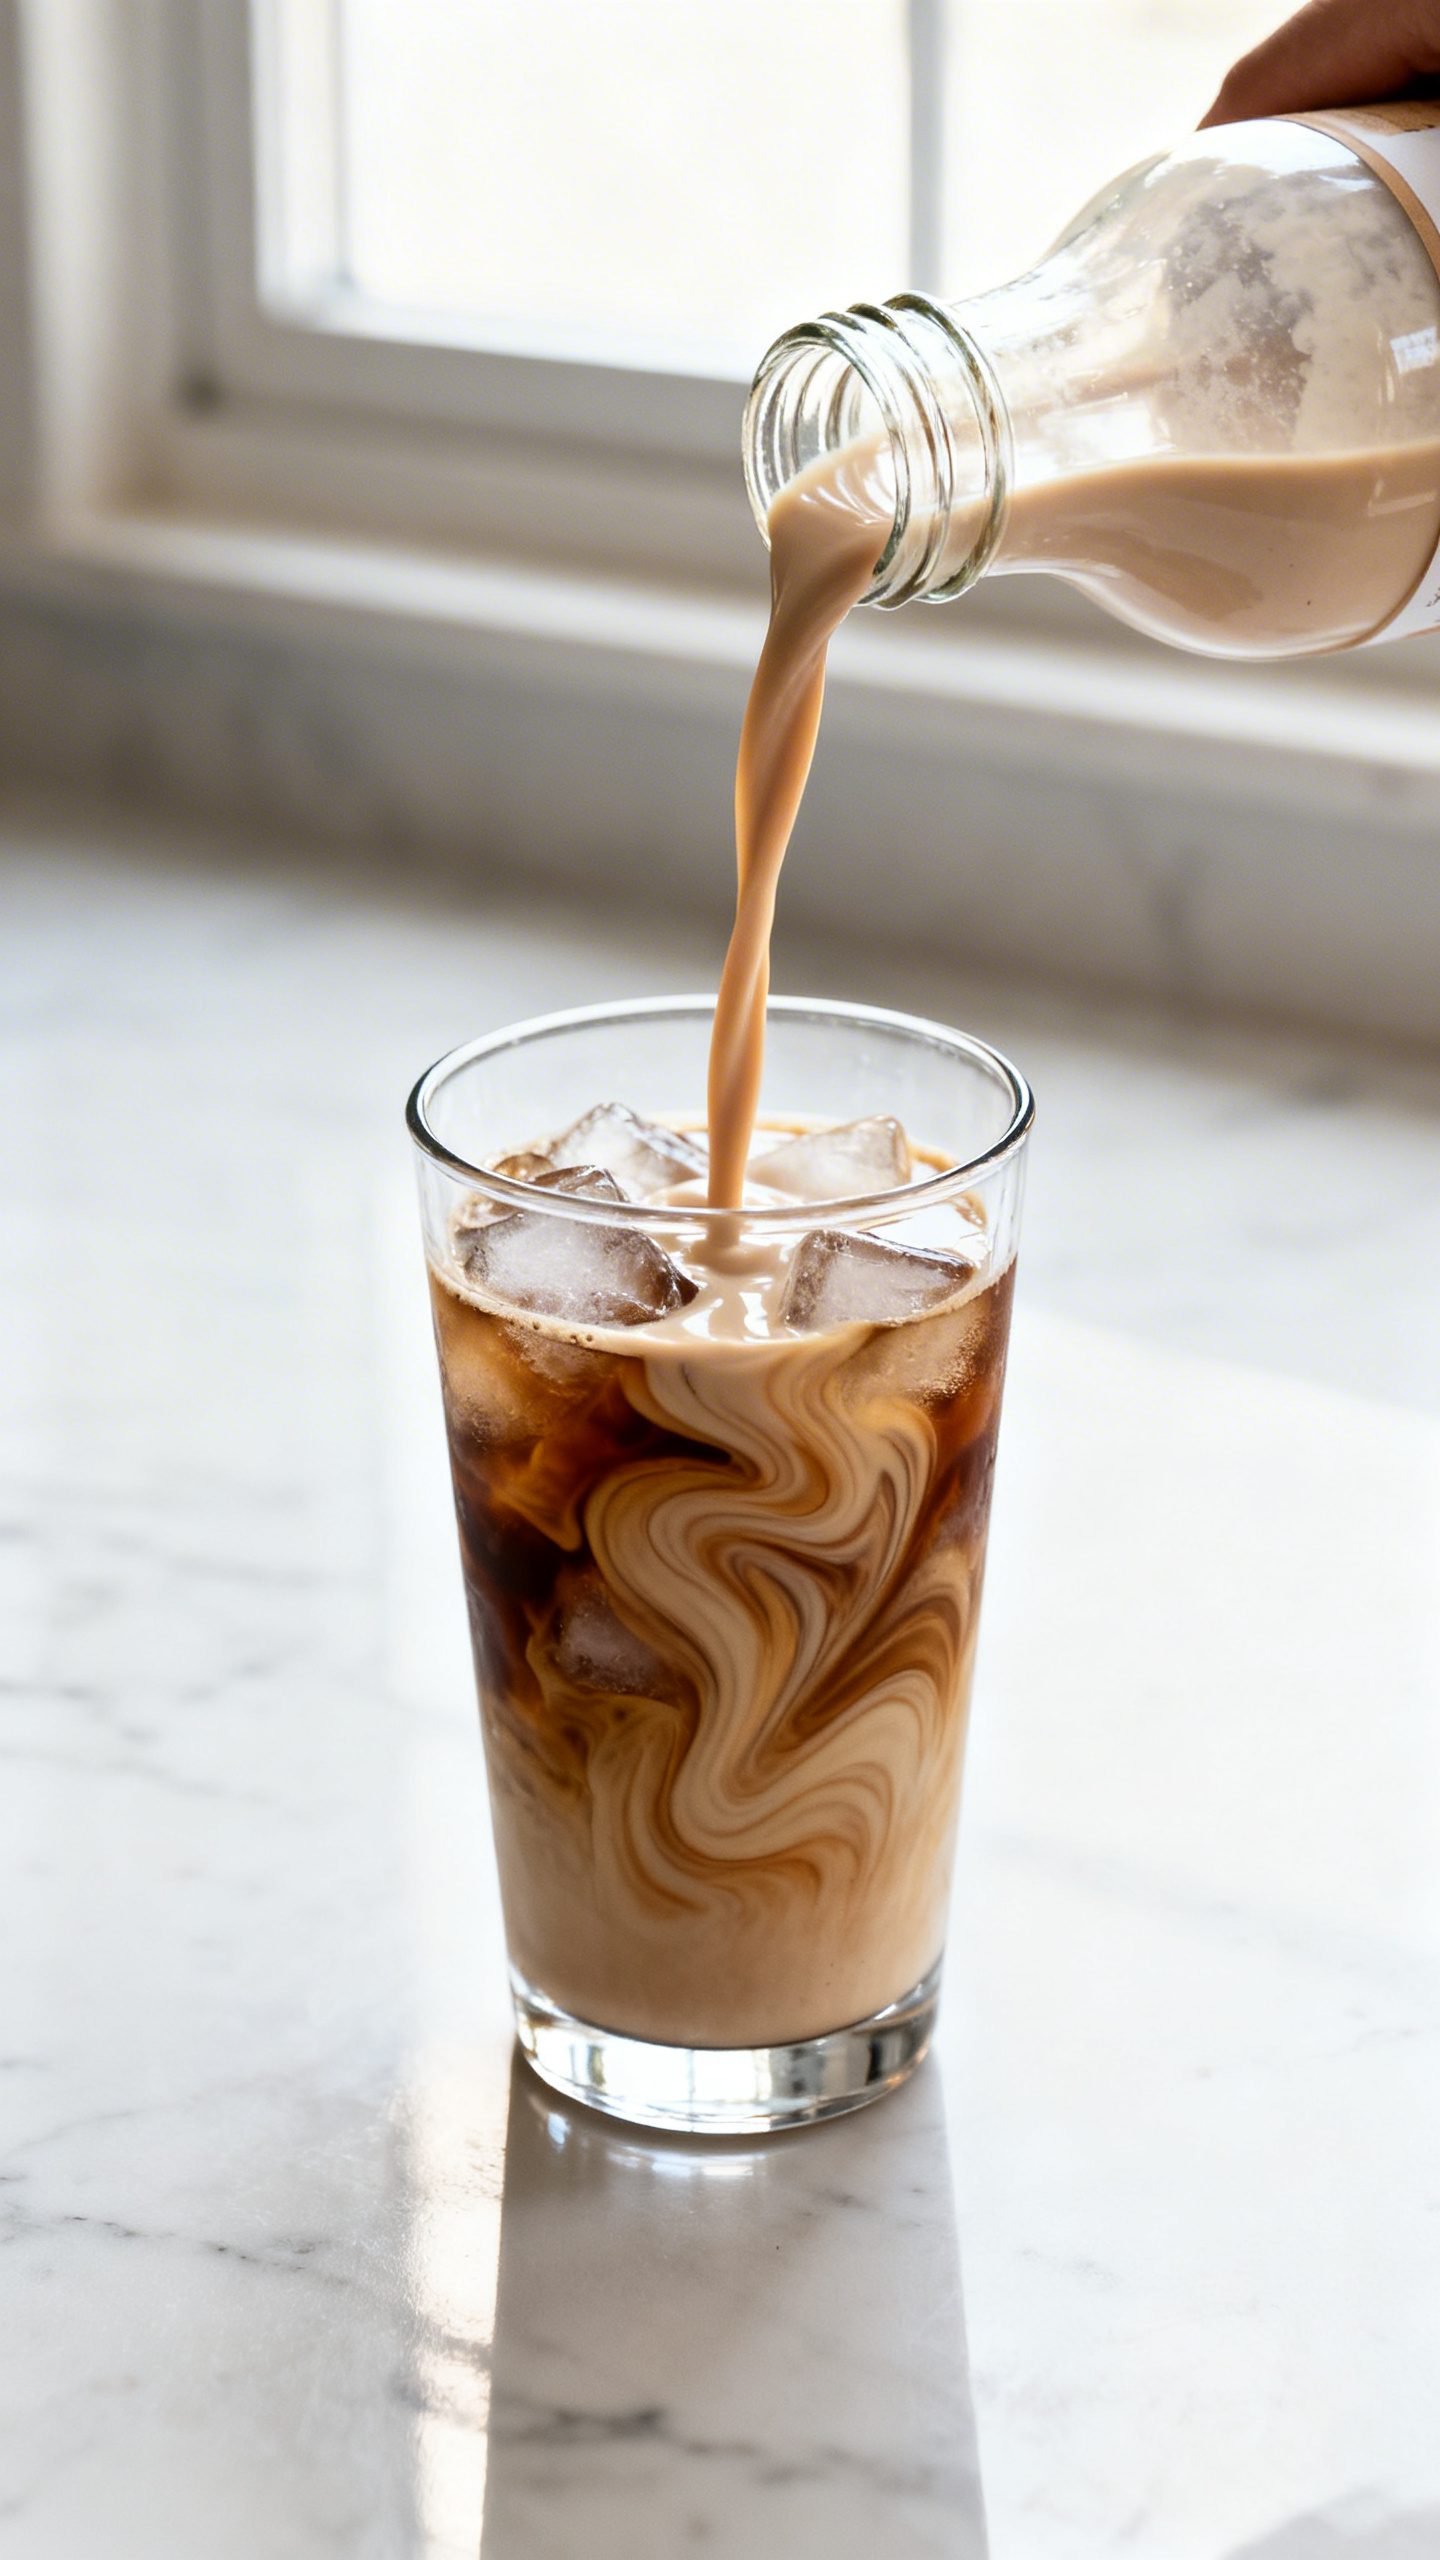
If you love a silky, café-style latte at home, this Vanilla Sweet Cream Coffee Creamer will become your new morning ritual. It tastes like a treat, blends beautifully into hot or iced coffee, and takes just a few minutes to make. You control the sweetness, the vanilla strength, and the quality of every ingredient.
I keep a jar of this creamer in the fridge for busy mornings and slow weekend pours. It uses simple pantry staples, skips weird additives, and delivers that rich, velvety swirl you expect from your favorite coffee shop—without the price tag.
Why This Vanilla Sweet Cream Recipe Works
- Balanced sweetness: It sweetens coffee without tasting cloying. You’ll taste vanilla first, not just sugar.
- Ultra-creamy texture: A mix of dairy and sweetened milk gives a luscious mouthfeel that melts right into coffee.
- All-natural ingredients: Real vanilla, real dairy, and no gums or stabilizers.
- 5-minute prep: Heat, whisk, cool, done. You can make it while your coffee brews.
- Customizable: Adjust sweetness, switch milks, or add flavor twists without changing the base method.
Ingredients
- 1 cup heavy cream – for luxurious body and that café-style richness
- 1 cup whole milk – lightens the cream so it pours and blends easily
- 1/2 cup sweetened condensed milk – adds sweetness and silkiness without graininess
- 1–1.5 tablespoons pure vanilla extract – start with 1 tablespoon; add more for a stronger vanilla finish
- 1–2 tablespoons maple syrup or cane sugar (optional) – for those who prefer a sweeter creamer
- Pinch of fine sea salt – wakes up the vanilla and balances sweetness
Ingredient Notes
- Dairy swaps: Use half-and-half instead of the cream + milk combo for a lighter option.
- Vanilla options: Vanilla bean paste adds gorgeous flecks and a bakery-style flavor; scraped vanilla bean tastes incredible if you’ve got one.
- Sugar choice: Sweetened condensed milk usually covers sweetness. Add syrup only if you like a dessert-level creamer.
How to Make Vanilla Sweet Cream Coffee Creamer

- Warm the base: Add heavy cream, whole milk, and sweetened condensed milk to a small saucepan. Warm over low heat for 3–5 minutes, whisking often, until the mixture feels hot to the touch and fully smooth. Do not simmer or boil.
- Add flavor: Remove from heat. Whisk in vanilla extract (or paste) and a pinch of salt. Taste. Add an extra teaspoon of vanilla if you want a stronger note.
- Adjust sweetness: If you prefer sweeter creamer, whisk in 1–2 tablespoons maple syrup or sugar while the mixture is still warm so it dissolves fully.
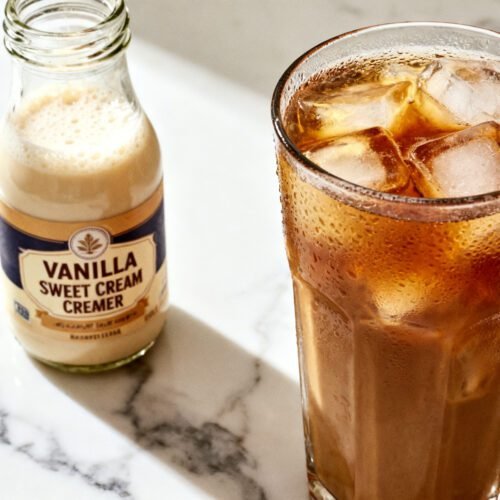
- Cool and store: Let the creamer cool 15–20 minutes. Pour into a clean glass bottle or jar. Seal and refrigerate for at least 1 hour before using so the flavors settle.
Pro Tips for Best Texture
- Low heat only: Gentle warming prevents scorching and keeps the cream silky.
- Whisk often: You’ll dissolve the condensed milk completely and avoid graininess.
- Shake before pouring: Natural ingredients can separate. A quick shake brings it back together.
How to Use It
- Hot coffee: Start with 2 tablespoons per 8 ounces; add more as you like.
- Iced coffee or cold brew: Use 3–4 tablespoons for bolder coffee; it stands up to ice.
- Tea lattes: Earl Grey, English breakfast, or chai love this vanilla cream.
How to Store Homemade Vanilla Sweet Cream
- Refrigerator: Keep in a sealed glass jar for 7–10 days. Label the date so you remember.
- Shake before each use: Separation is normal with real dairy.
- Freezing: Not ideal. Dairy can split after thawing. If you must, freeze in ice cube trays for up to 1 month and blend into iced coffee.
- Signs to toss: Sour smell, curdling, or off taste means it’s time to discard.
Benefits of Making Your Own Vanilla Creamer
- Cleaner label: You skip artificial flavors, oils, and stabilizers.
- Better flavor: Real vanilla and quality dairy create a smoother, more nuanced taste.
- Budget-friendly: One batch costs less than repeated store-bought bottles or café add-ons.
- Fully customizable: Dial in sweetness, thickness, and vanilla intensity to your exact taste.
- Consistent results: Same creamy texture every time with simple pantry ingredients.
What Not to Do
- Don’t boil the mixture: Boiling can scorch dairy and create a cooked-milk flavor.
- Don’t skip the salt: Just a pinch sharpens the vanilla and keeps the sweetness from tasting flat.
- Don’t over-sweeten upfront: You can always add more later. Start moderate, then adjust.
- Don’t store in plastic that holds odors: Use glass to keep the vanilla clean and bright.
- Don’t forget to label: Date the jar so you enjoy it at peak freshness.
Variations You Can Try
Flavor Twists
- Vanilla bean: Split 1 vanilla bean, scrape seeds into the pot, and steep the pod while warming. Strain before bottling.
- Vanilla-cinnamon: Add 1 small cinnamon stick while warming; remove before storing. Cozy, bakery vibes.
- Brown sugar vanilla: Swap maple syrup for 2 tablespoons light brown sugar for a caramel-kissed note.
- Honey vanilla: Stir in 1–2 tablespoons mild honey for floral sweetness.
- French vanilla: Add 1 tablespoon vanilla bean paste plus 1/4 teaspoon almond extract for a pastry-shop aroma.
Lighter or Dairy-Free Options
- Lighter cream: Use 2 cups half-and-half and reduce or skip extra sweetener.
- Dairy-free: Use 1 cup canned full-fat coconut milk + 1 cup unsweetened almond milk; sweeten to taste and use vanilla extract or paste.
- Protein boost: Whisk in an unflavored collagen peptide scoop after cooling for extra body without grit.
FAQ
Can I make it without sweetened condensed milk?
Yes. Warm 2 cups half-and-half with 3–4 tablespoons sugar or maple syrup until dissolved, then add vanilla and salt. The texture will be slightly lighter.
Is vanilla extract or paste better?
Both work. Extract tastes clean and classic. Paste gives a deeper profile and those pretty vanilla specks. Use the same amount and adjust to taste.
How long does it last?
Stored cold in a clean, sealed glass jar, it stays fresh for 7–10 days. Always sniff and taste before using if you’re near the end of that range.
Why did my creamer separate?
Natural separation happens when chilled. Shake well. If it looks curdled or smells sour, discard and make a new batch.
Can I use this in whipped coffee or espresso drinks?
Absolutely. It blends beautifully into cold brew, Americanos, and iced lattes. For foaming, warm gently and froth with a handheld whisk or milk frother.
Conclusion
This homemade Vanilla Sweet Cream Coffee Creamer brings coffeehouse comfort to your kitchen with simple, whole ingredients. You’ll taste real vanilla, enjoy a plush texture, and skip the additives and price tag of store-bought options. Make a batch on Sunday, shake before you pour, and treat every cup of coffee to a creamy, fragrant swirl all week long.
Vanilla Sweet Cream Coffee Creamer Recipe | All Natural Homemade Creamer
Ingredients
Ingredients
- 1 cup heavy cream
- 1 cup whole milk
- 1/2 cup sweetened condensed milk
- 1–1.5 tablespoons pure vanilla extract
- 1–2 tablespoons maple syrup or cane sugar (optional)
- Pinch of fine sea salt
Instructions
Instructions
- Add the heavy cream, whole milk, and sweetened condensed milk to a small saucepan and warm over low heat for 3–5 minutes, whisking often, until hot to the touch and smooth without simmering or boiling.
- Remove from heat and whisk in the vanilla extract and a pinch of salt, then taste and adjust vanilla if desired.
- If you prefer a sweeter creamer, whisk in 1–2 tablespoons maple syrup or sugar while the mixture is still warm to dissolve fully.
- Let the mixture cool for 15–20 minutes, then pour into a clean glass bottle or jar, seal, and refrigerate for at least 1 hour before using.


