
Quick Sourdough Discard Burger Buns | Soft Homemade Hamburger Rolls
You have sourdough discard, a burger craving, and no time for an all-day rise? Meet your new favorite bake: quick sourdough discard burger buns. These soft, fluffy rolls come together fast, rise beautifully, and carry that gentle tang you love from sourdough—no long fermentation required. Think weeknight-friendly dough with bakery-quality results.
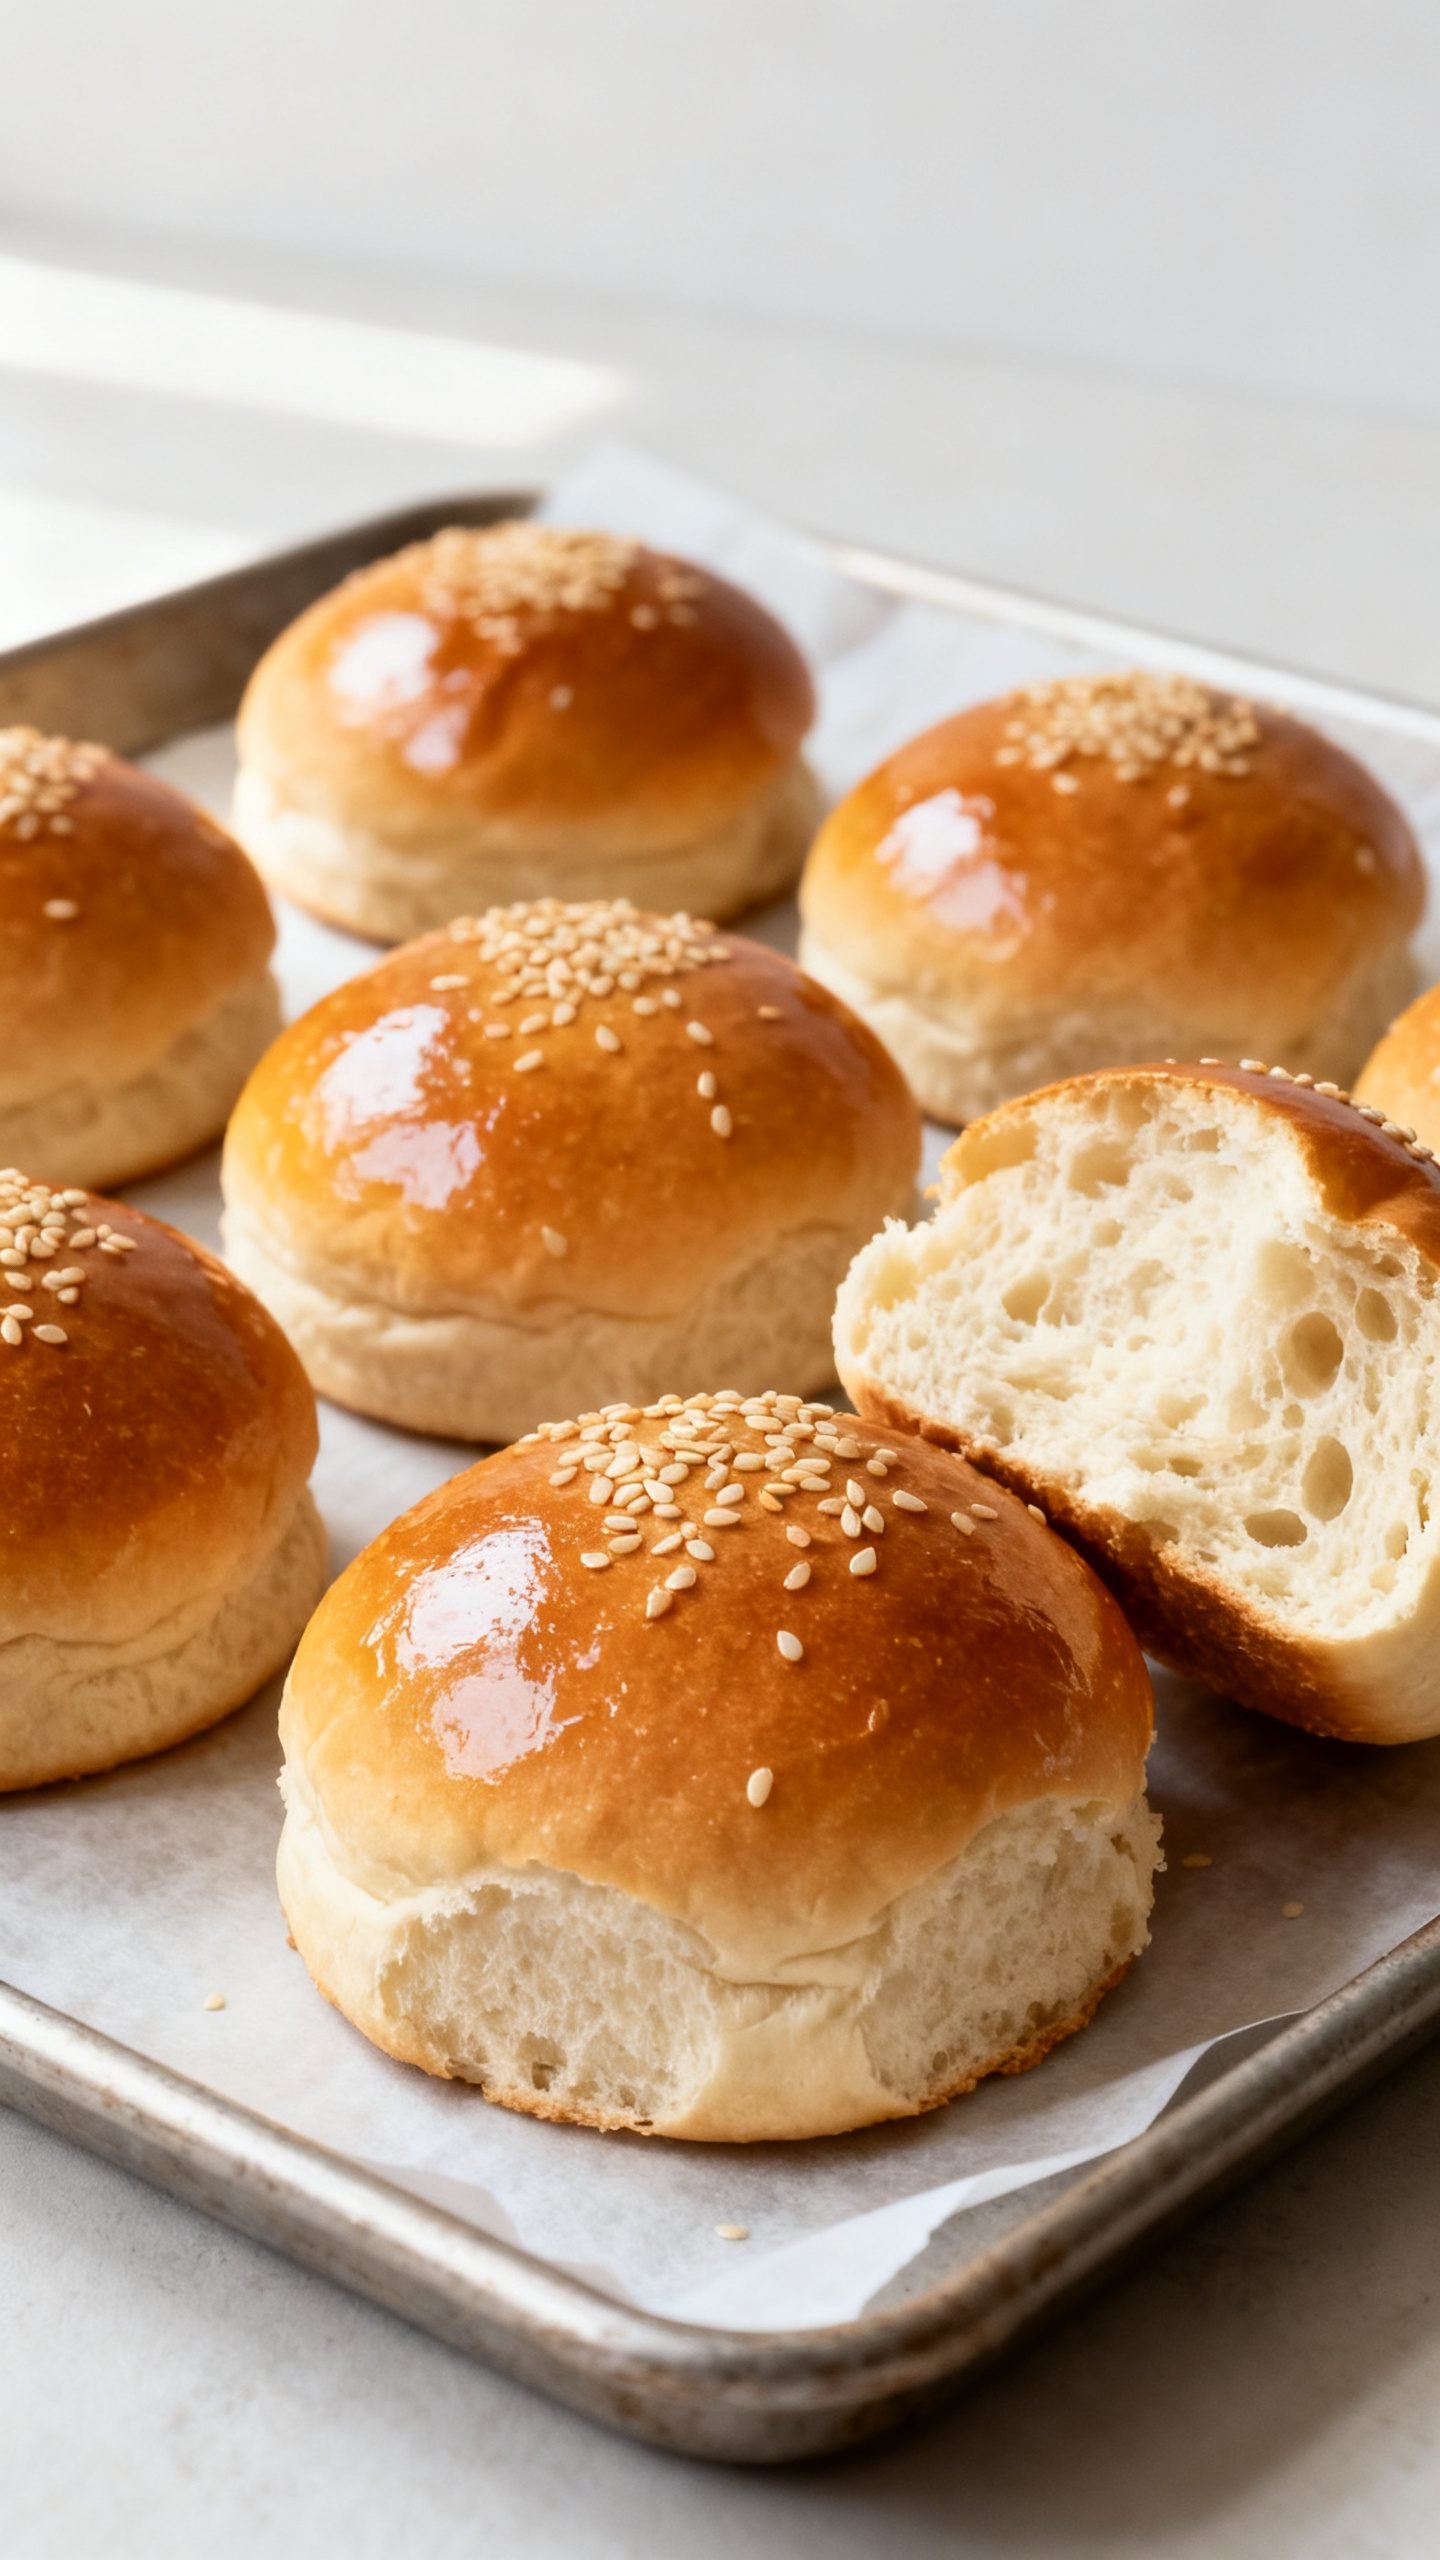
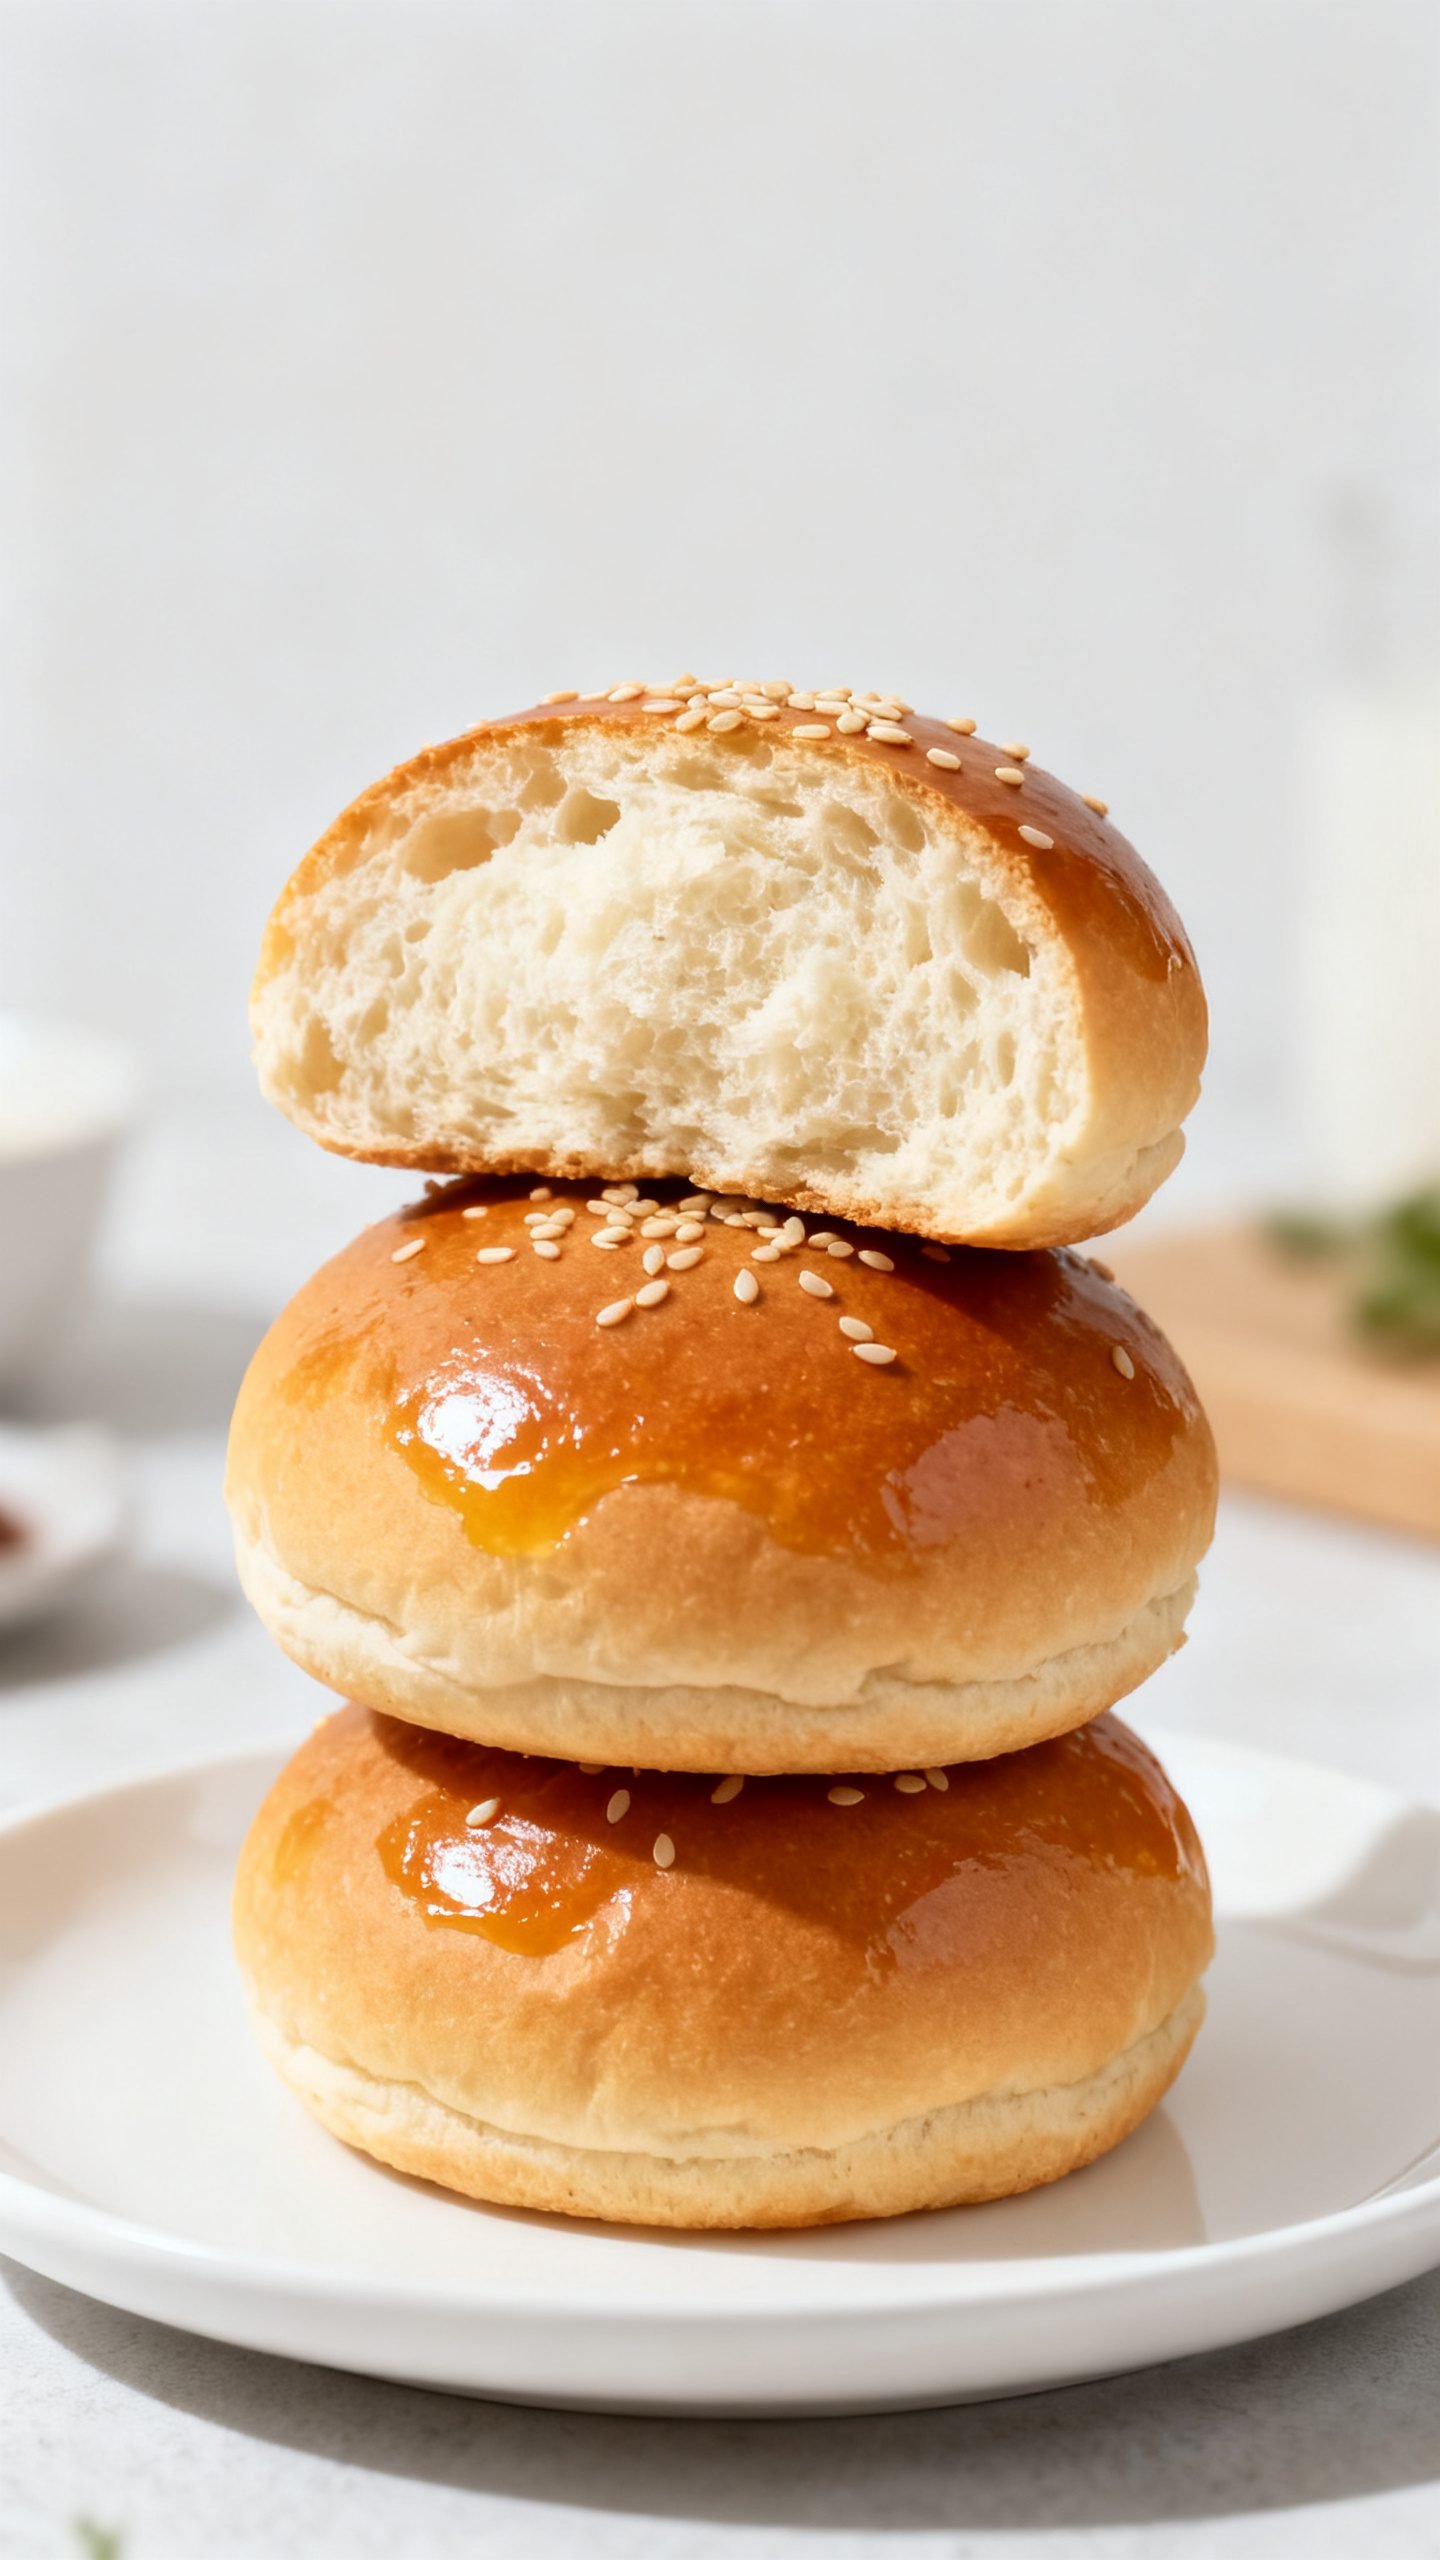
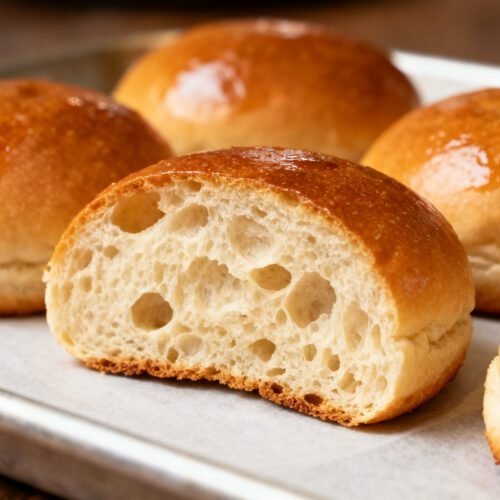
I’ll walk you through a straightforward method that gives tall, tender buns with a golden top and a light, pillowy crumb. If you’ve ever struggled with dense buns or flat rolls, this method fixes that with the right mixing, shaping, and proofing tips. You’ll get consistent, proud domes that hug any burger, smash patty, or veggie stack perfectly.
Why These Quick Sourdough Discard Burger Buns Turn Out So Soft
These buns deliver softness, structure, and flavor without needing an overnight rise. Here’s why they work:
- Discard adds flavor fast: Sourdough discard brings a mild tang and extra complexity without waiting hours.
- Enriched dough stays tender: Milk, butter, and a touch of sugar create a soft crumb that stays fresh longer.
- Proper gluten development: A short knead builds strength so buns rise tall, not outward.
- Warm proof, quick bake: A gentle warm environment speeds the rise and gives oven spring.
- Egg wash and steam: A glossy crust and light steam produce that bakery-style finish.
Ingredients
Plan for 8 large burger buns or 10 smaller ones. Use active, bubbly discard if you can—it adds lift and flavor.
- 300 g sourdough discard (100% hydration; cold or room temp)
- 220 g warm milk (about 105°F/40°C)
- 1 large egg (plus 1 for egg wash)
- 40 g granulated sugar
- 9 g fine sea salt (about 1½ tsp)
- 8 g instant yeast (2¼ tsp; use 10 g if your kitchen runs cool)
- 60 g unsalted butter, very soft (room temp)
- 500–540 g bread flour (start low; add as needed)
- Optional toppings: sesame seeds, poppy seeds, everything seasoning
Substitutions:
- Dairy-free: Use warm oat milk and vegan butter.
- No egg in dough: Add 20 g more milk and skip the egg; use plant milk for brushing.
- All-purpose flour: Works fine; start with 520 g and expect a slightly softer dough.
How to Make Soft Sourdough Discard Burger Buns Fast

1) Mix the wet ingredients
- Whisk the discard, warm milk, egg, sugar, and yeast in a large bowl until smooth. Let sit 5 minutes to wake the yeast.
2) Bring the dough together
- Add salt and 500 g flour. Mix with a dough hook or sturdy spatula until shaggy.
- Add the soft butter in small pieces. Mix until incorporated. If the dough sticks heavily, add flour 1 tablespoon at a time until it clears the bowl sides but still feels soft and slightly tacky.
3) Knead to build strength
- Stand mixer: Knead on medium-low for 6–8 minutes until smooth, elastic, and slightly tacky.
- By hand: Knead for 8–10 minutes, using a light coating of oil on your hands and counter.
- Check the windowpane: Stretch a small piece—if it thins without tearing, you’re there.
4) First rise (quick proof)
- Form a ball and place in a lightly oiled bowl. Cover.
- Proof somewhere warm (75–85°F / 24–29°C) for 45–60 minutes until puffy and roughly doubled. It should feel airy when you press gently.
5) Divide and shape
- Turn dough onto a lightly floured surface. Weigh and divide into 8 pieces (~105–115 g) for classic buns or 10 pieces (~90–95 g) for smaller buns.
- To shape: Flatten each piece, tuck edges to the center, flip seam-side down, and cup your hand to drag and tighten into a smooth ball.
- Place on a parchment-lined sheet, spacing well. Gently press to slightly flatten to bun shape.
6) Final proof
- Cover loosely and proof 30–45 minutes until noticeably puffy. A gentle poke should spring back slowly, leaving a soft dimple.
7) Top and bake
- Preheat oven to 375°F (190°C). Place a metal pan on the bottom rack for optional steam.
- Beat 1 egg with 1 tablespoon water. Brush buns gently. Add sesame seeds if you like.
- Optional steam: Pour 1 cup hot water into the hot pan right after loading buns.
- Bake 15–18 minutes until deep golden and buns read 195–200°F (90–93°C) inside.
- Cool on a rack at least 20 minutes. Split only when warm, not hot, to keep the crumb intact.
How to Store Your Homemade Burger Buns
- Room temp: Cool fully, then store in an airtight bag for 2–3 days.
- Freeze: Split, wrap tightly, and freeze up to 3 months. Toast from frozen or thaw at room temp.
- Refresh: Warm in a 300°F (150°C) oven for 5–7 minutes to revive softness.
Why You’ll Love Using Sourdough Discard in Buns
- Big flavor, little time: You get mild tang and depth without an overnight rise.
- Ultra-soft texture: Enriched dough bakes into pillowy, squishable buns.
- Great structure: They hold up to saucy burgers but stay tender.
- Less waste: Discard gets a delicious second life.
- Flexible timing: The dough forgives a slightly longer or shorter proof.
Mistakes to Avoid
- Too much flour: Keep the dough soft and slightly tacky. Dry dough = dense buns.
- Under-kneading: Weak gluten leads to flat buns. Hit that smooth, elastic stage.
- Over-proofing: If buns collapse after baking, you proofed too long. Use the poke test.
- Skipping egg wash: You’ll miss that glossy, golden top and seed adhesion.
- Slicing hot: Steam will gum up the crumb. Let them cool until warm.
Flavor and Topping Variations
- Sesame classic: Brush with egg wash and add toasted sesame seeds.
- Onion roll: Press dried minced onion into the tops after egg wash.
- Garlic butter: Brush warm buns with melted butter, garlic powder, and parsley.
- Whole wheat boost: Swap 20–25% of flour for whole wheat and add 1 tablespoon milk.
- Potato softness: Add 80 g mashed potato and reduce flour slightly for extra plush buns.
- Everything topping: Sprinkle everything bagel seasoning after egg wash.
FAQ
Can I make the dough ahead?
Yes. After the first rise, shape, cover, and refrigerate up to 12 hours. Bring to room temp, proof until puffy, then bake.
Do I have to use instant yeast if I’m using discard?
For a quick recipe, yes. Discard alone won’t rise fast enough. You can use active dry yeast; bloom it in the warm milk first.
My dough feels sticky. Should I add more flour?
Add flour sparingly. Aim for soft and slightly tacky, not dry. Oil your hands if needed instead of dumping flour.
How do I get taller buns?
Strengthen the dough with proper kneading, shape tight rounds, avoid over-flattening, and proof until puffy—not more.
Can I bake these as slider rolls?
Yes. Divide into 12–16 pieces, bake 12–15 minutes, and watch color closely.
What if my discard is very sour?
Balance it with an extra teaspoon of sugar and use fresh milk and butter for a rounder flavor.
Do I need bread flour?
No, but bread flour gives better structure. All-purpose works with a slightly softer crumb.
How do I toast buns perfectly?
Split, butter the cut sides, and toast on a hot skillet or grill for 30–60 seconds until golden.
Wrap-Up
These quick sourdough discard burger buns bring bakery-level flavor and a soft, pillowy crumb with weeknight timing. Mix, rise, shape, and bake—no fuss, no waste, all reward. Once you taste them, store-bought buns won’t stand a chance. Fire up the grill or skillet and get those patties ready—your buns are about to steal the show.
Quick Sourdough Discard Burger Buns | Soft Homemade Hamburger Rolls
Ingredients
Ingredients
- 300 g sourdough discard (100% hydration; cold or room temp)
- 220 g warm milk (about 105°F/40°C)
- 1 large egg (plus 1 for egg wash)
- 40 g granulated sugar
- 9 g fine sea salt (about 1½ tsp)
- 8 g instant yeast (2¼ tsp; use 10 g if your kitchen runs cool)
- 60 g unsalted butter, very soft (room temp)
- 500–540 g bread flour (start low; add as needed)
- Optional toppings: sesame seeds, poppy seeds, everything seasoning
- 1 tablespoon water (for egg wash)
- 1 cup hot water (for optional steam)
Instructions
Instructions
- Whisk sourdough discard, warm milk, 1 egg, sugar, and yeast in a large bowl until smooth, then let stand 5 minutes.
- Add salt and 500 g flour, mix until shaggy, then add softened butter in pieces and mix until incorporated, adding flour as needed until the dough clears the bowl sides but remains soft and slightly tacky.
- Knead until smooth and elastic with a slight tack, about 6–8 minutes in a mixer or 8–10 minutes by hand, checking for a thin windowpane.
- Form the dough into a ball, place in a lightly oiled bowl, cover, and proof warm until puffy and roughly doubled, 45–60 minutes.
- Turn the dough out, divide into 8 equal pieces for large buns or 10 for smaller, shape into tight balls, place on a parchment-lined sheet, and gently flatten slightly.
- Cover loosely and proof until noticeably puffy and the dough springs back slowly to a gentle poke, 30–45 minutes.
- Preheat the oven to 375°F (190°C) with a metal pan on the bottom rack for optional steam.
- Beat the remaining egg with 1 tablespoon water, brush buns gently, and add sesame seeds or other toppings if desired.
- Load the buns into the oven and, if using steam, pour 1 cup hot water into the preheated pan immediately.
- Bake 15–18 minutes until deep golden and the internal temperature reads 195–200°F (90–93°C).
- Cool on a rack at least 20 minutes and slice while warm, not hot.


