
Quick and Easy Dill Pickle Recipe | Crunchy Homemade Pickles
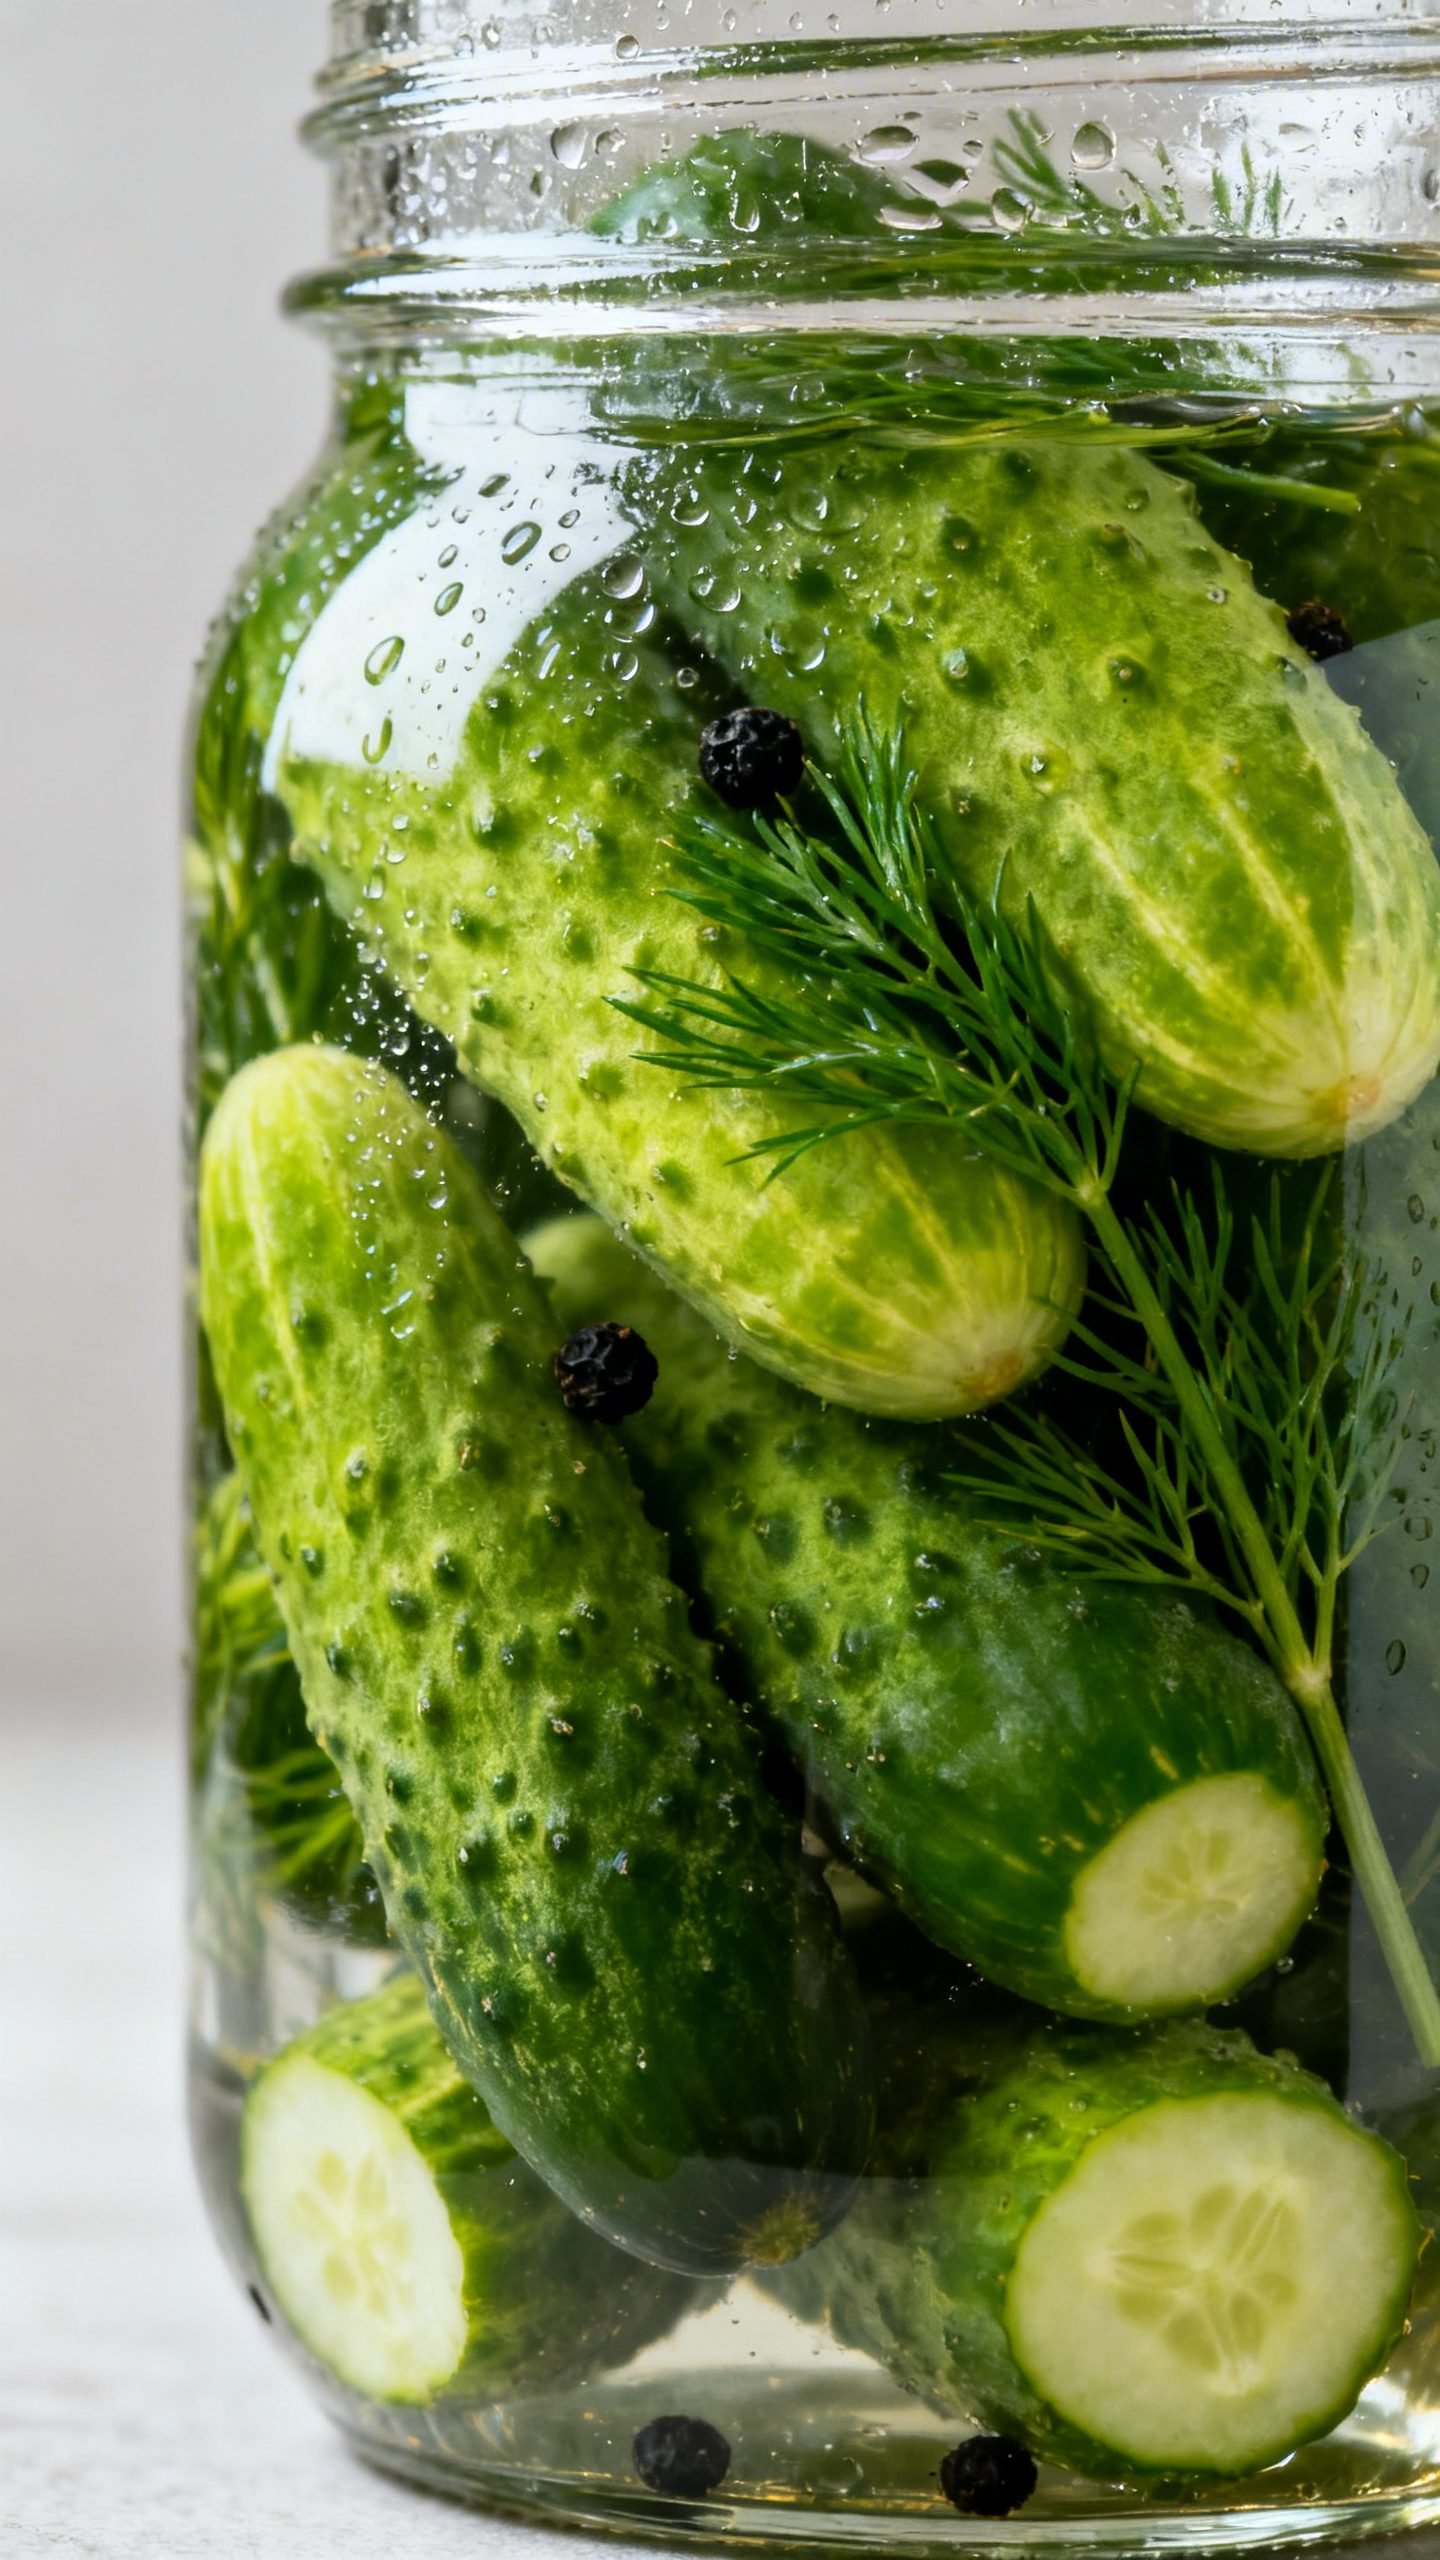
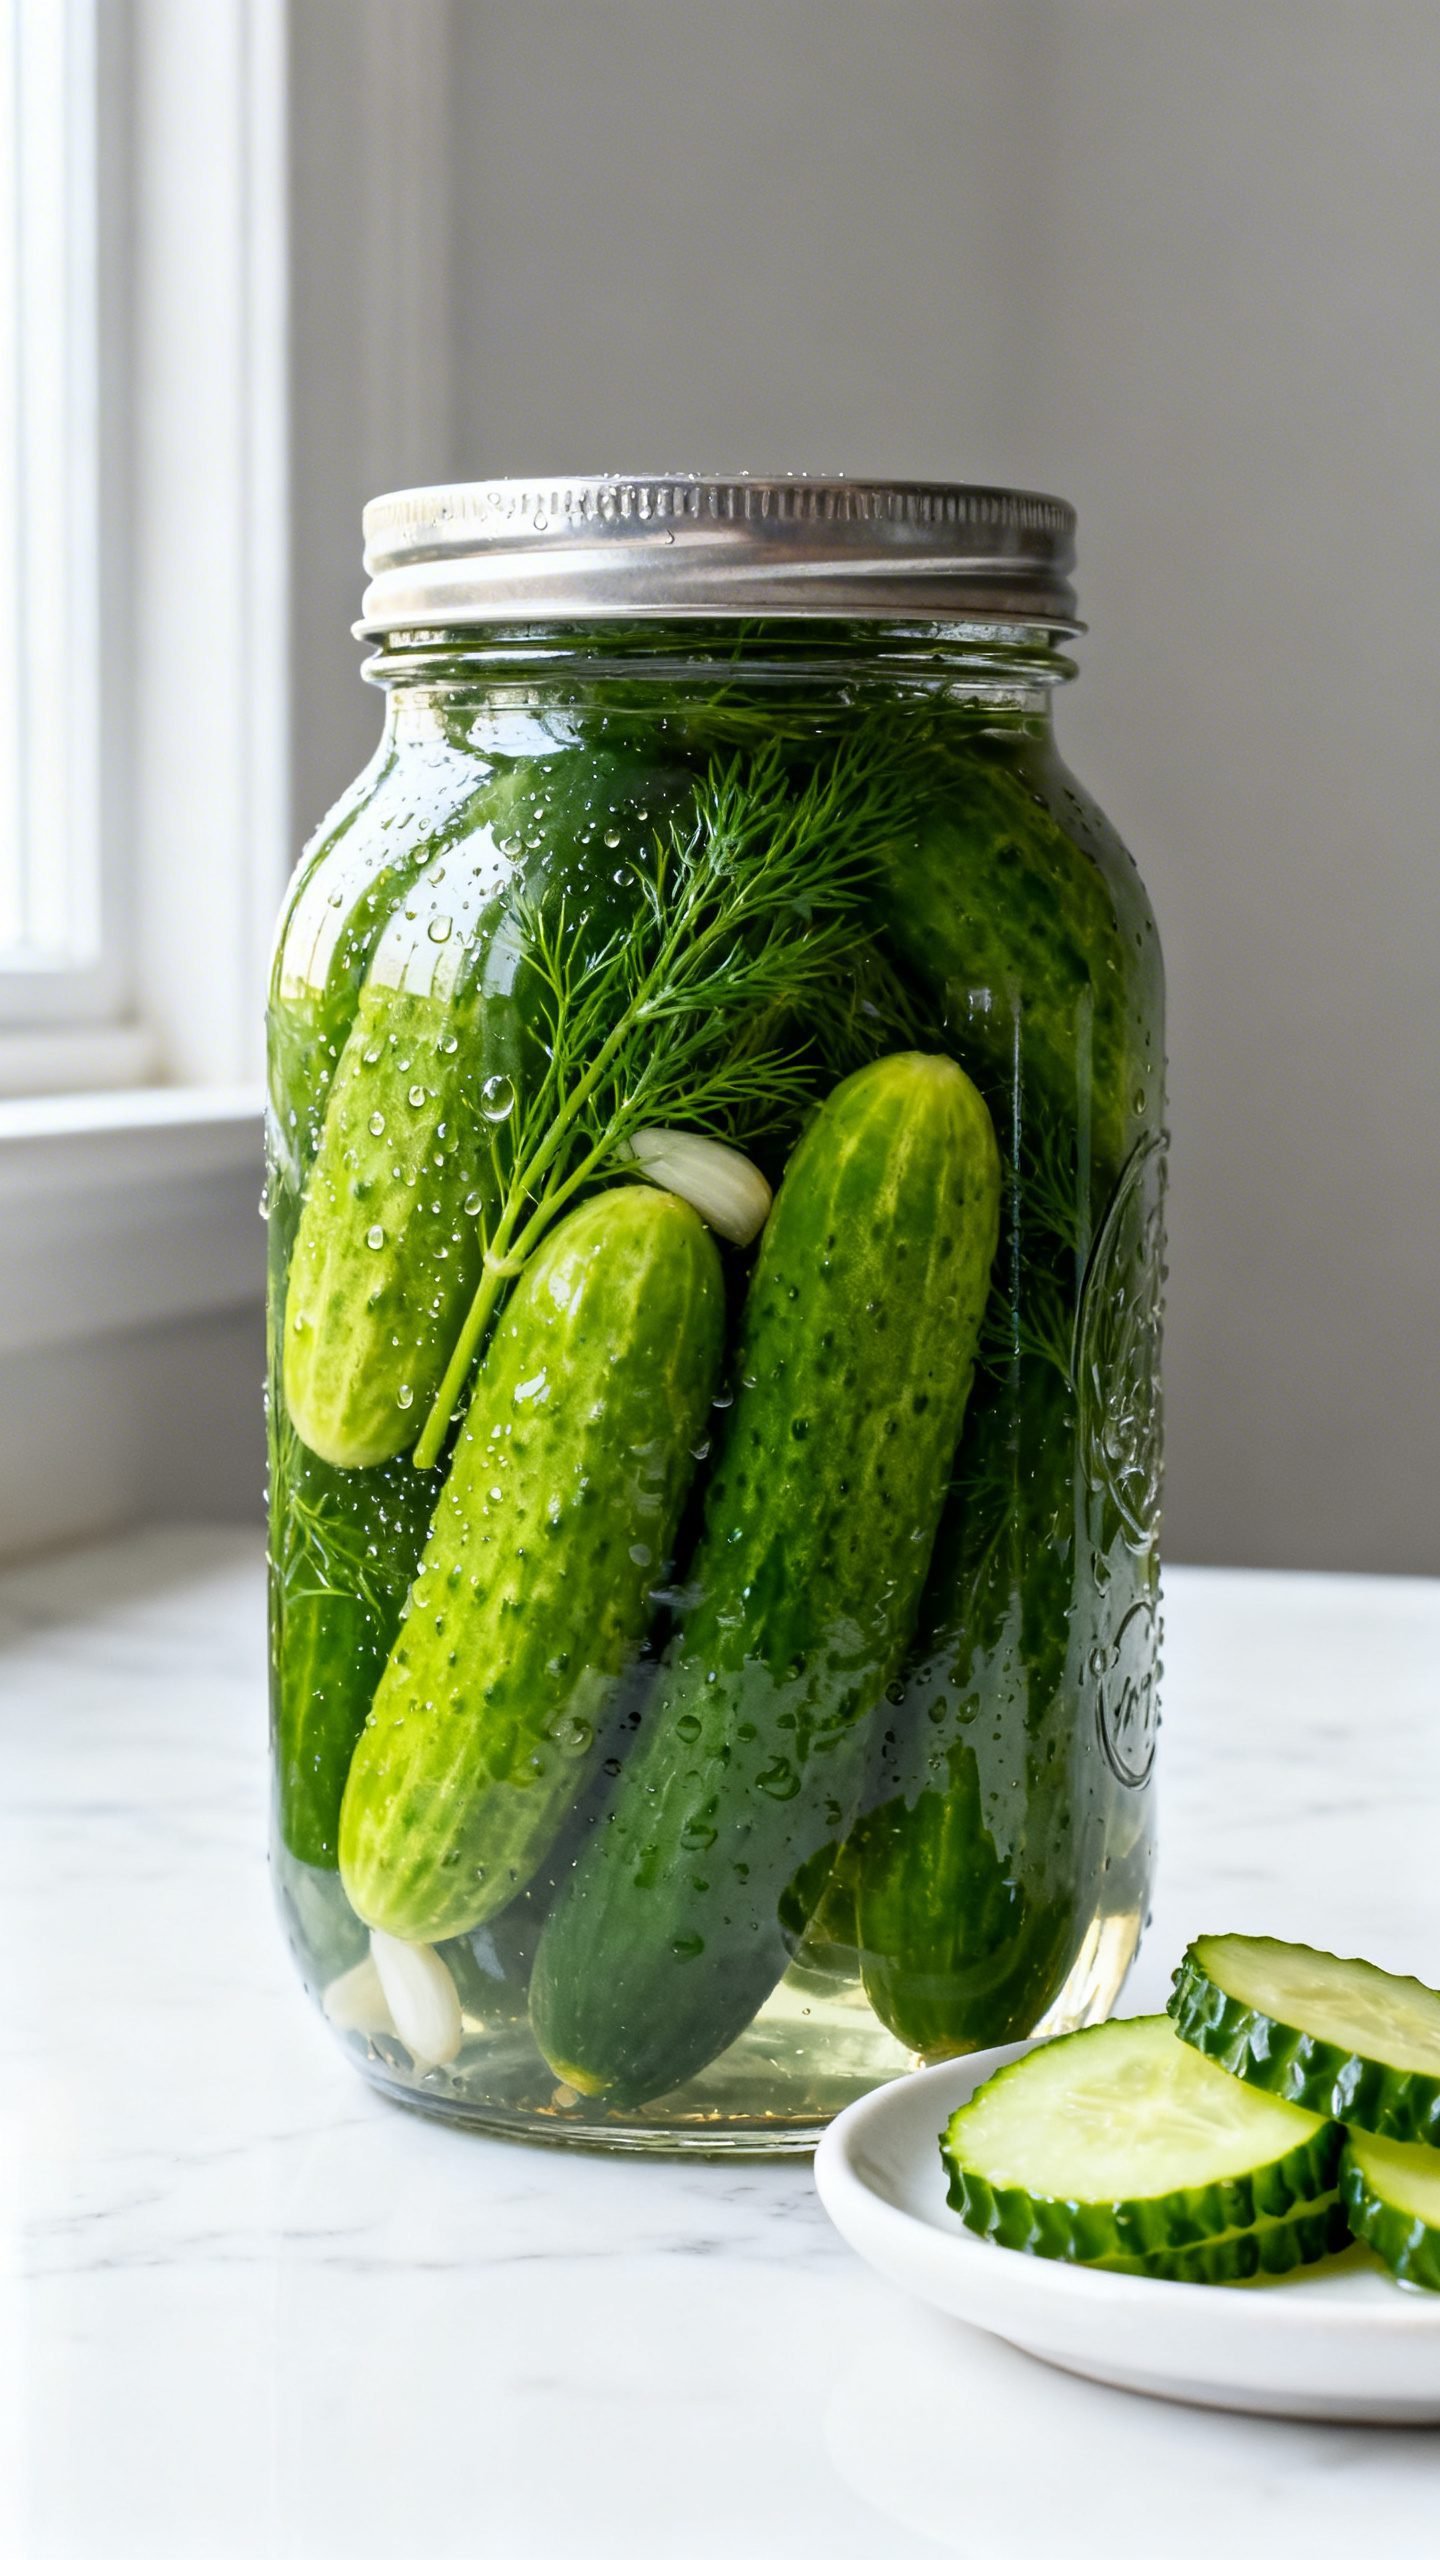
You can make crisp, garlicky dill pickles at home in under 20 minutes of hands-on time. No canner, no fuss—just a quick stovetop brine, a pile of fresh cucumbers, and a few pantry spices. These pickles taste bright, snappy, and perfectly salty with a big dill kick.
I’ll walk you through the simple steps, share exactly how to keep them crunchy, and give you storage tips so a jar is always waiting in your fridge. Whether you love sandwich stackers, snacking spears, or thin chips for burgers, this is the dependable recipe you’ll come back to all summer.
Why This Quick Dill Pickle Recipe Delivers Crunch and Flavor
This method gives you sharp, clean pickle flavor with a reliably crisp bite. Here’s why it works:
- Hot brine, cool cucumbers: Pouring hot brine over cold, fresh cucumbers seasons fast without turning them soft.
- Right vinegar ratio: Equal parts water and 5% white distilled vinegar create bright tang without harshness.
- Salt that means business: Pickling or kosher salt dissolves cleanly and seasons evenly—no cloudiness.
- Fresh dill + garlic: Whole dill sprigs and smashed garlic cloves infuse classic deli-shop aroma and taste.
- Spice balance: Mustard seed, peppercorns, and a pinch of sugar round out acidity while keeping the profile savory.
- Quick chill: A rapid cool-down in the fridge locks in crunch and flavor within hours.
Ingredients
- 2 pounds small pickling cucumbers (Kirby or Persian; firm and unwaxed)
- 2 cups water
- 2 cups white distilled vinegar (5% acidity)
- 3 tablespoons pickling salt (or kosher salt without additives)
- 2 teaspoons sugar (optional but recommended)
- 6–8 garlic cloves, smashed
- 8–10 fresh dill sprigs (plus more for packing)
- 2 teaspoons black peppercorns
- 2 teaspoons yellow mustard seeds
- 1 teaspoon red pepper flakes (optional for heat)
- 1 small onion or 2 shallots, thinly sliced (optional)
- 1 teaspoon calcium chloride (Pickle Crisp) (optional but great for extra crunch)
Gear you’ll need:
- 2 quart-size glass jars with tight lids (or equivalent)
- Small saucepan for the brine
- Sharp knife and cutting board
How to Make Fast, Crunchy Dill Pickles

1) Prep the cucumbers
- Wash cucumbers well and dry.
- Trim 1/8 inch from the blossom end of each cucumber. This end contains enzymes that soften pickles.
- Cut into spears, chips, or leave whole if small.
2) Pack the jars
- Divide dill sprigs, garlic, peppercorns, mustard seeds, and red pepper flakes between jars.
- Add onion slices if using.
- Pack cucumbers tightly, leaving about 1/2 inch headspace at the top.
- If using calcium chloride, sprinkle 1/2 teaspoon per quart jar over the cucumbers.
3) Make the brine
- In a saucepan, combine water, vinegar, salt, and sugar.
- Bring to a simmer, stirring until salt and sugar dissolve completely.
- Turn off heat. The brine should taste boldly salty-tangy. Adjust to taste by adding a splash more vinegar or a pinch of sugar.
4) Fill and seal
- Pour the hot brine over cucumbers, covering them fully.
- Tap jars gently and slide a clean utensil down the sides to release trapped air bubbles.
- Top up with brine if needed, still keeping 1/2 inch headspace.
- Wipe rims, seal with lids, and let sit at room temperature for 30–45 minutes to cool slightly.
5) Chill and wait
- Refrigerate jars.
- Start tasting at 12 hours; best flavor and crunch hit around 24–48 hours.
How to Store Your Homemade Dill Pickles
- Refrigerator only: This is a quick pickle recipe, not shelf-stable canning. Keep jars cold at all times.
- Storage time: Enjoy within 4–6 weeks for peak crunch and bright color.
- Keep them submerged: Make sure cucumbers stay below the brine line to prevent soft spots.
- Use clean utensils: Always use a clean fork or tongs to remove pickles. No double-dipping.
- Label and date: Mark the jar so you remember when you made them.
Benefits of Making Quick Dill Pickles at Home
- Fresher taste: You control the salt, tang, and garlic so every jar tastes exactly how you like it.
- Big crunch, small effort: Minimal prep yields deli-level snap without special equipment.
- Budget-friendly: Cucumbers and vinegar cost far less than store-bought artisanal jars.
- Customizable: Adjust spice and heat, slice to your favorite shape, add onions or jalapeños.
- No additives you don’t want: Simple ingredients and clean flavor.
What to Avoid for Best Results
- Don’t skip trimming the blossom end. It can make pickles mushy.
- Don’t use table salt with anti-caking agents. It clouds brine and tastes off.
- Don’t boil the cucumbers. Hot brine is fine; cooking the cucumbers ruins crunch.
- Don’t skimp on vinegar strength. Use 5% acidity for safe, bright results.
- Don’t pack overripe or soft cucumbers. Start firm for lasting snap.
- Don’t leave jars on the counter. These are refrigerator pickles only.
Flavor Twists and Variations
- Classic deli style: Add 1 teaspoon coriander seeds and a bay leaf per jar.
- Spicy garlic: Double the garlic and add sliced fresh jalapeño or 1/2 teaspoon crushed red pepper per jar.
- Lemony dill: Add a few strips of lemon zest and 6–8 dill sprigs per jar.
- Sweet-and-tangy: Increase sugar to 2–3 tablespoons in the brine for a lightly sweet finish.
- Bread-and-butter vibes: Swap half the white vinegar for apple cider vinegar and add 1/2 teaspoon celery seed.
- Garlic-dill chips for burgers: Slice cucumbers into thin rounds; pack tightly for uniform crunch.
FAQ
Can I use apple cider vinegar instead of white vinegar?
Yes. Use cider vinegar with 5% acidity. Expect a slightly fruitier, darker brine and a softer tang.
Why did my brine turn cloudy?
Anti-caking agents in table salt or garlic debris can cloud brine. Use pickling/kosher salt and rinse aromatics. Cloudiness doesn’t always mean spoilage—smell and taste. If it smells funky or foams, discard.
How do I keep pickles extra crunchy?
Use very fresh cucumbers, trim blossom ends, don’t overheat the jars, and consider calcium chloride. Chill promptly and keep them submerged.
Can I can these for shelf storage?
This recipe is for refrigerator pickles. For shelf-stable canning, use a tested canning recipe with proper processing times.
Do I need to sterilize the jars?
For fridge pickles, wash jars well with hot soapy water or run through the dishwasher. No need to fully sterilize like for canning.
How soon can I eat them?
You can nibble at 12 hours. For full flavor, wait 24–48 hours.
What cucumbers work best?
Kirby and Persian cucumbers stay crisp. Avoid large seedy slicing cucumbers unless you seed them and cut thicker spears.
Conclusion
These quick dill pickles bring deli-level crunch and bright, garlicky flavor with almost no effort. Keep a couple jars in your fridge, tweak the spices to match your craving, and enjoy crisp spears and chips on everything from burgers to snack boards. Once you make them, you’ll never go back to store-bought.

Quick and Easy Dill Pickle Recipe | Crunchy Homemade Pickles
Ingredients
Ingredients
- 2 pounds small pickling cucumbers (Kirby or Persian; firm and unwaxed)
- 2 cups water
- 2 cups white distilled vinegar (5% acidity)
- 3 tablespoons pickling salt (or kosher salt without additives)
- 2 teaspoons sugar (optional but recommended)
- 6–8 garlic cloves, smashed
- 8–10 fresh dill sprigs (plus more for packing)
- 2 teaspoons black peppercorns
- 2 teaspoons yellow mustard seeds
- 1 teaspoon red pepper flakes (optional for heat)
- 1 small onion or 2 shallots, thinly sliced (optional)
- 1 teaspoon calcium chloride (Pickle Crisp) (optional but great for extra crunch)
Instructions
Instructions
- Wash and dry the cucumbers, trim about 1/8 inch from the blossom end, and cut into spears, chips, or leave whole if small.
- Divide dill sprigs, smashed garlic, black peppercorns, mustard seeds, and red pepper flakes between two quart jars, adding onion slices if using.
- Pack the cucumbers tightly into the jars, leaving about 1/2 inch headspace; if using calcium chloride, sprinkle 1/2 teaspoon per quart jar over the cucumbers.
- Combine water, white vinegar, pickling salt, and sugar in a saucepan, bring to a simmer, and stir until fully dissolved; adjust brine to taste if desired.
- Pour the hot brine over the cucumbers to cover, tap jars and slide a utensil along the sides to release air bubbles, and top up to maintain 1/2 inch headspace.
- Wipe rims, seal with lids, and let the jars cool at room temperature for 30 to 45 minutes.
- Refrigerate the jars, start tasting at 12 hours, and for best flavor and crunch wait 24 to 48 hours; keep cucumbers submerged under the brine.


