
Oven Baked Crispy Chicken With Fried Crunch
Oven-baked chicken that shatters with every bite? Yes, you can get that deep-fried crunch without a pot of oil. This recipe gives you juicy chicken inside and a golden, crackly coating outside, all made in the oven with simple pantry staples and a few smart tricks.
I’ll walk you through the exact steps, plus loads of tips for achieving an ultra-crispy crust. You’ll learn how to prep the chicken, build layers of flavor, and bake it so it crisps evenly and stays tender. Grab a baking sheet and let’s make the crunchiest oven chicken you’ve ever had.
Why This Oven-Baked Crispy Chicken Method Works
- High heat plus airflow: A wire rack on a hot sheet pan lifts the chicken so air circulates. You get browning on all sides and no soggy bottoms.
- Starch and crumb combo: Flour sticks, starch crisps, and panko gives big, craggy crunch. This layered breading mimics a fried finish.
- Buttermilk brine: A quick soak tenderizes the meat and helps the coating cling. It seasons the chicken from the inside out.
- Fat in the right place: A little oil on the crumbs and a preheated pan jump-starts browning and creates that “fried” texture.
- Rest time after breading: Letting breaded pieces sit for a few minutes sets the coating so it won’t flake off in the oven.
Ingredients
For the Chicken
- 2 pounds chicken pieces (thighs and drumsticks, bone-in, skin-on for max juiciness; breasts work too if you prefer)
- 1 cup buttermilk (or 1 cup milk + 1 tablespoon lemon juice or vinegar)
- 1 large egg
- 1 teaspoon hot sauce (optional, for a subtle kick)
- 1 teaspoon kosher salt
For the Crispy Coating
- 1 cup all-purpose flour
- 1/2 cup cornstarch (or potato starch)
- 2 cups panko breadcrumbs
- 1 teaspoon baking powder
- 2 teaspoons kosher salt
- 1 teaspoon black pepper
- 1 teaspoon garlic powder
- 1 teaspoon onion powder
- 1 teaspoon smoked paprika (regular paprika works too)
- 1/2 teaspoon cayenne pepper (optional)
- 3 tablespoons neutral oil (canola, avocado, or light olive oil)
For Finishing
- Lemon wedges
- Chopped parsley or chives
- Flaky salt
How to Make Extra-Crispy Oven-Baked Chicken
1) Prep the Pan and Rack
- Place a wire rack on a rimmed baking sheet.
- Set the empty pan in the oven and preheat to 425°F (220°C). A hot pan starts the crisping immediately.
2) Mix the Buttermilk Marinade
- In a large bowl, whisk buttermilk, egg, hot sauce, and 1 teaspoon salt.
- Add chicken and toss to coat. Marinate 20–30 minutes at room temp (or up to 8 hours in the fridge).
3) Build the Crunchy Coating
- In one shallow bowl, mix flour, cornstarch, baking powder, salt, pepper, garlic powder, onion powder, paprika, and cayenne.
- In a second bowl, toss panko with the oil until the crumbs look lightly damp and evenly coated. This ensures deep golden color.
4) Dredge the Chicken
- Shake excess marinade off a piece of chicken.
- Coat in the flour-starch mixture, pressing so it adheres.
- Dunk quickly back into the buttermilk to moisten the surface.
- Press firmly into the oiled panko to build a thick, craggy layer.
- Set on a plate and repeat. Let breaded pieces rest 10 minutes so the coating sets.
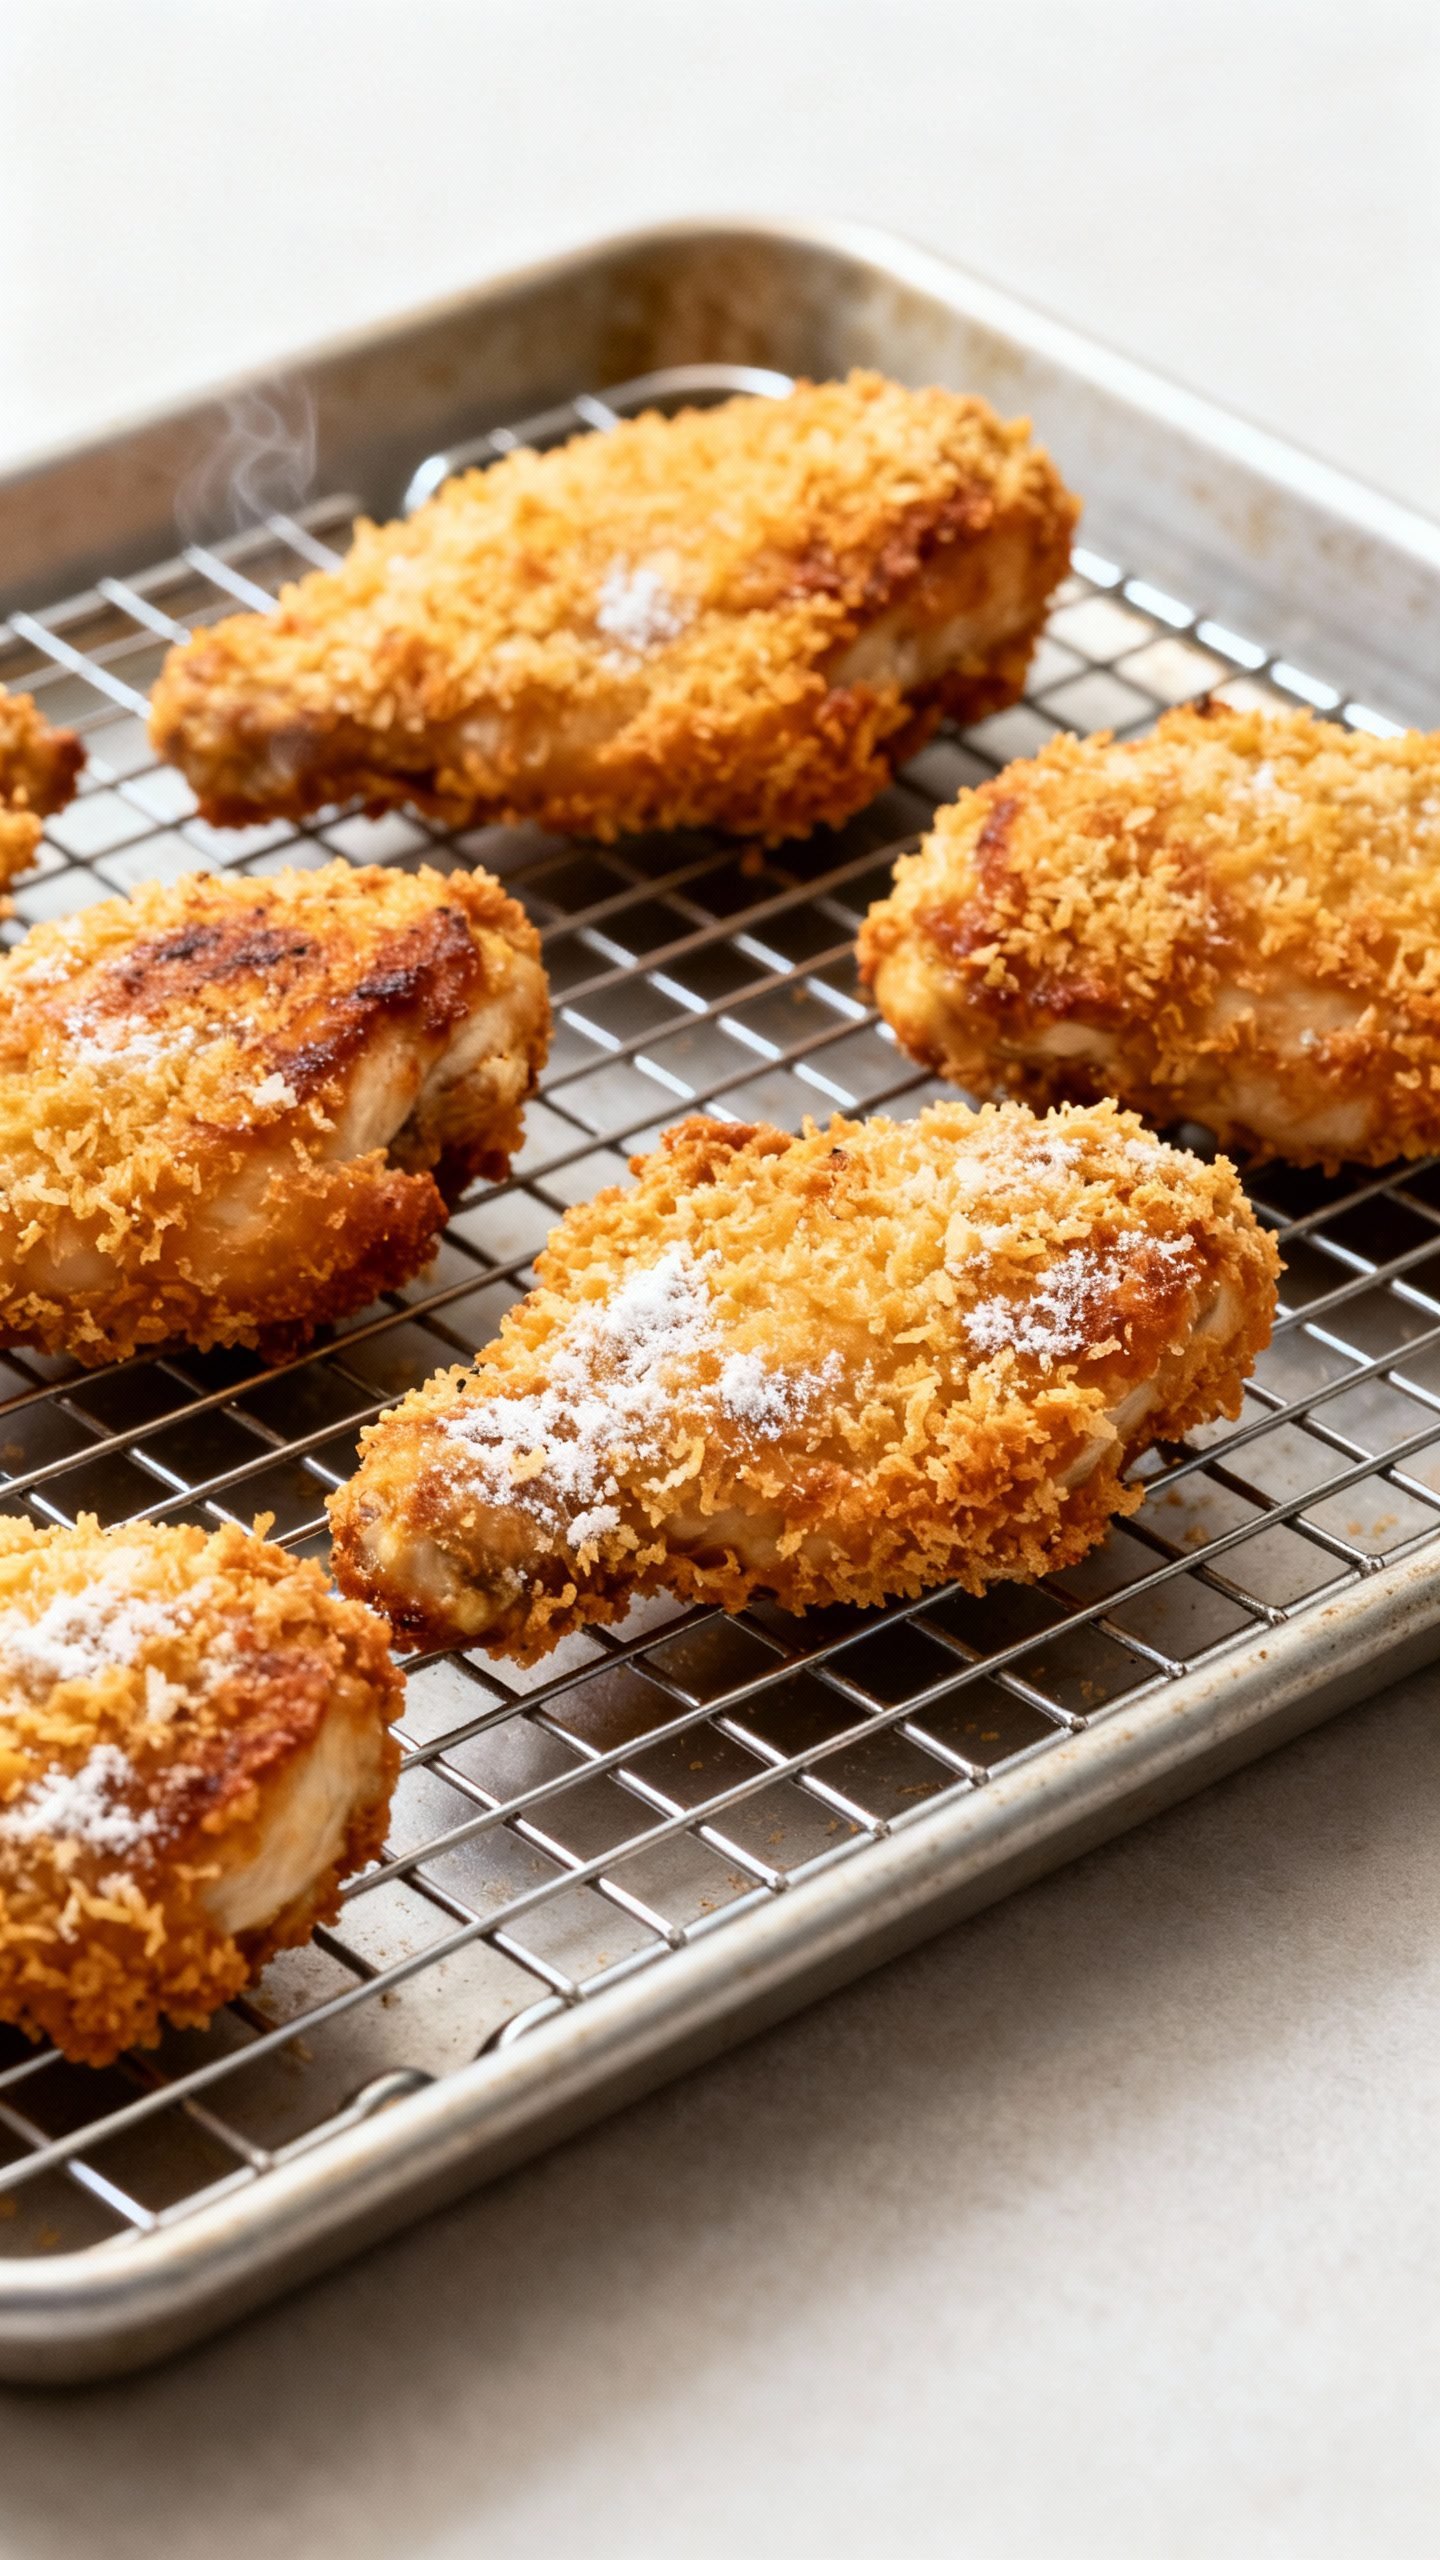
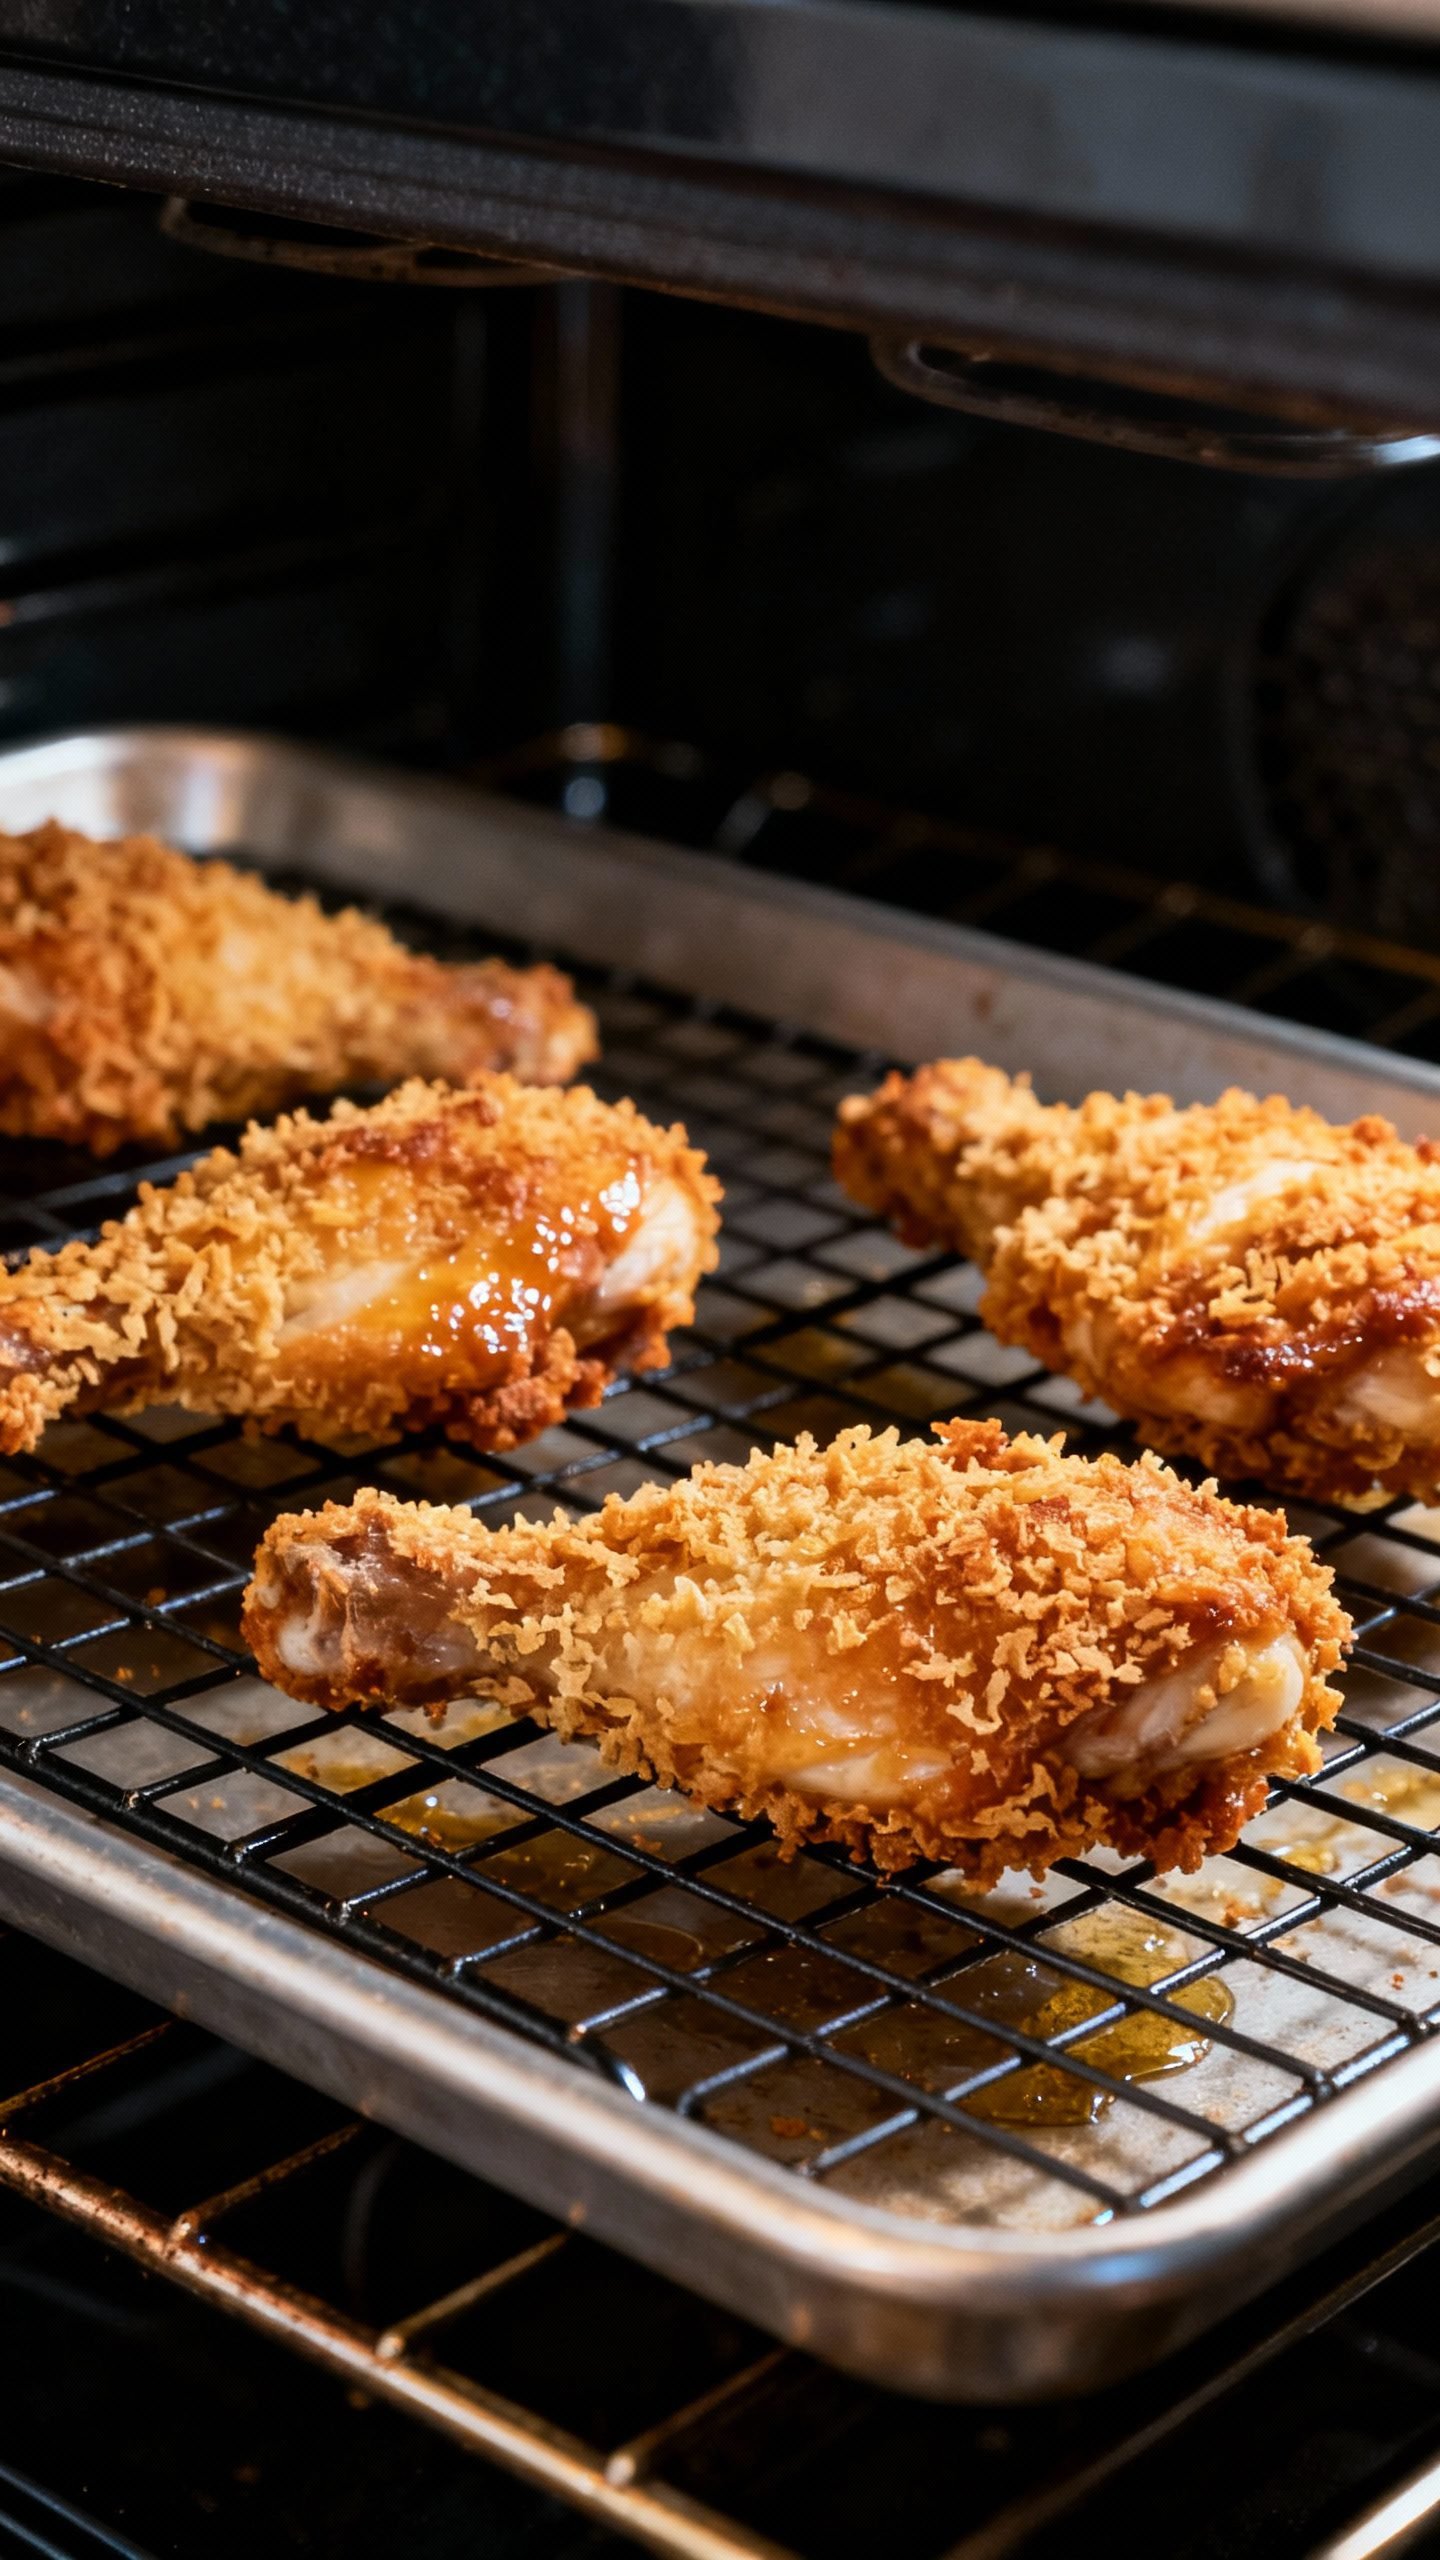
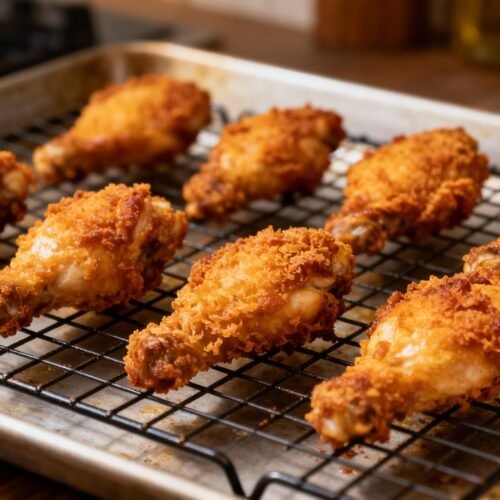
5) Bake for Maximum Crunch
- Carefully remove the hot pan from the oven. Spray or brush the rack lightly with oil.
- Arrange chicken on the rack with space between pieces.
- Bake at 425°F for 35–45 minutes for thighs/drumsticks, 22–28 minutes for breasts or tenderloins.
- Flip once halfway through to brown evenly.
- Chicken is done when the crust is deep golden and the internal temp hits 165°F (in the thickest part, not touching bone).
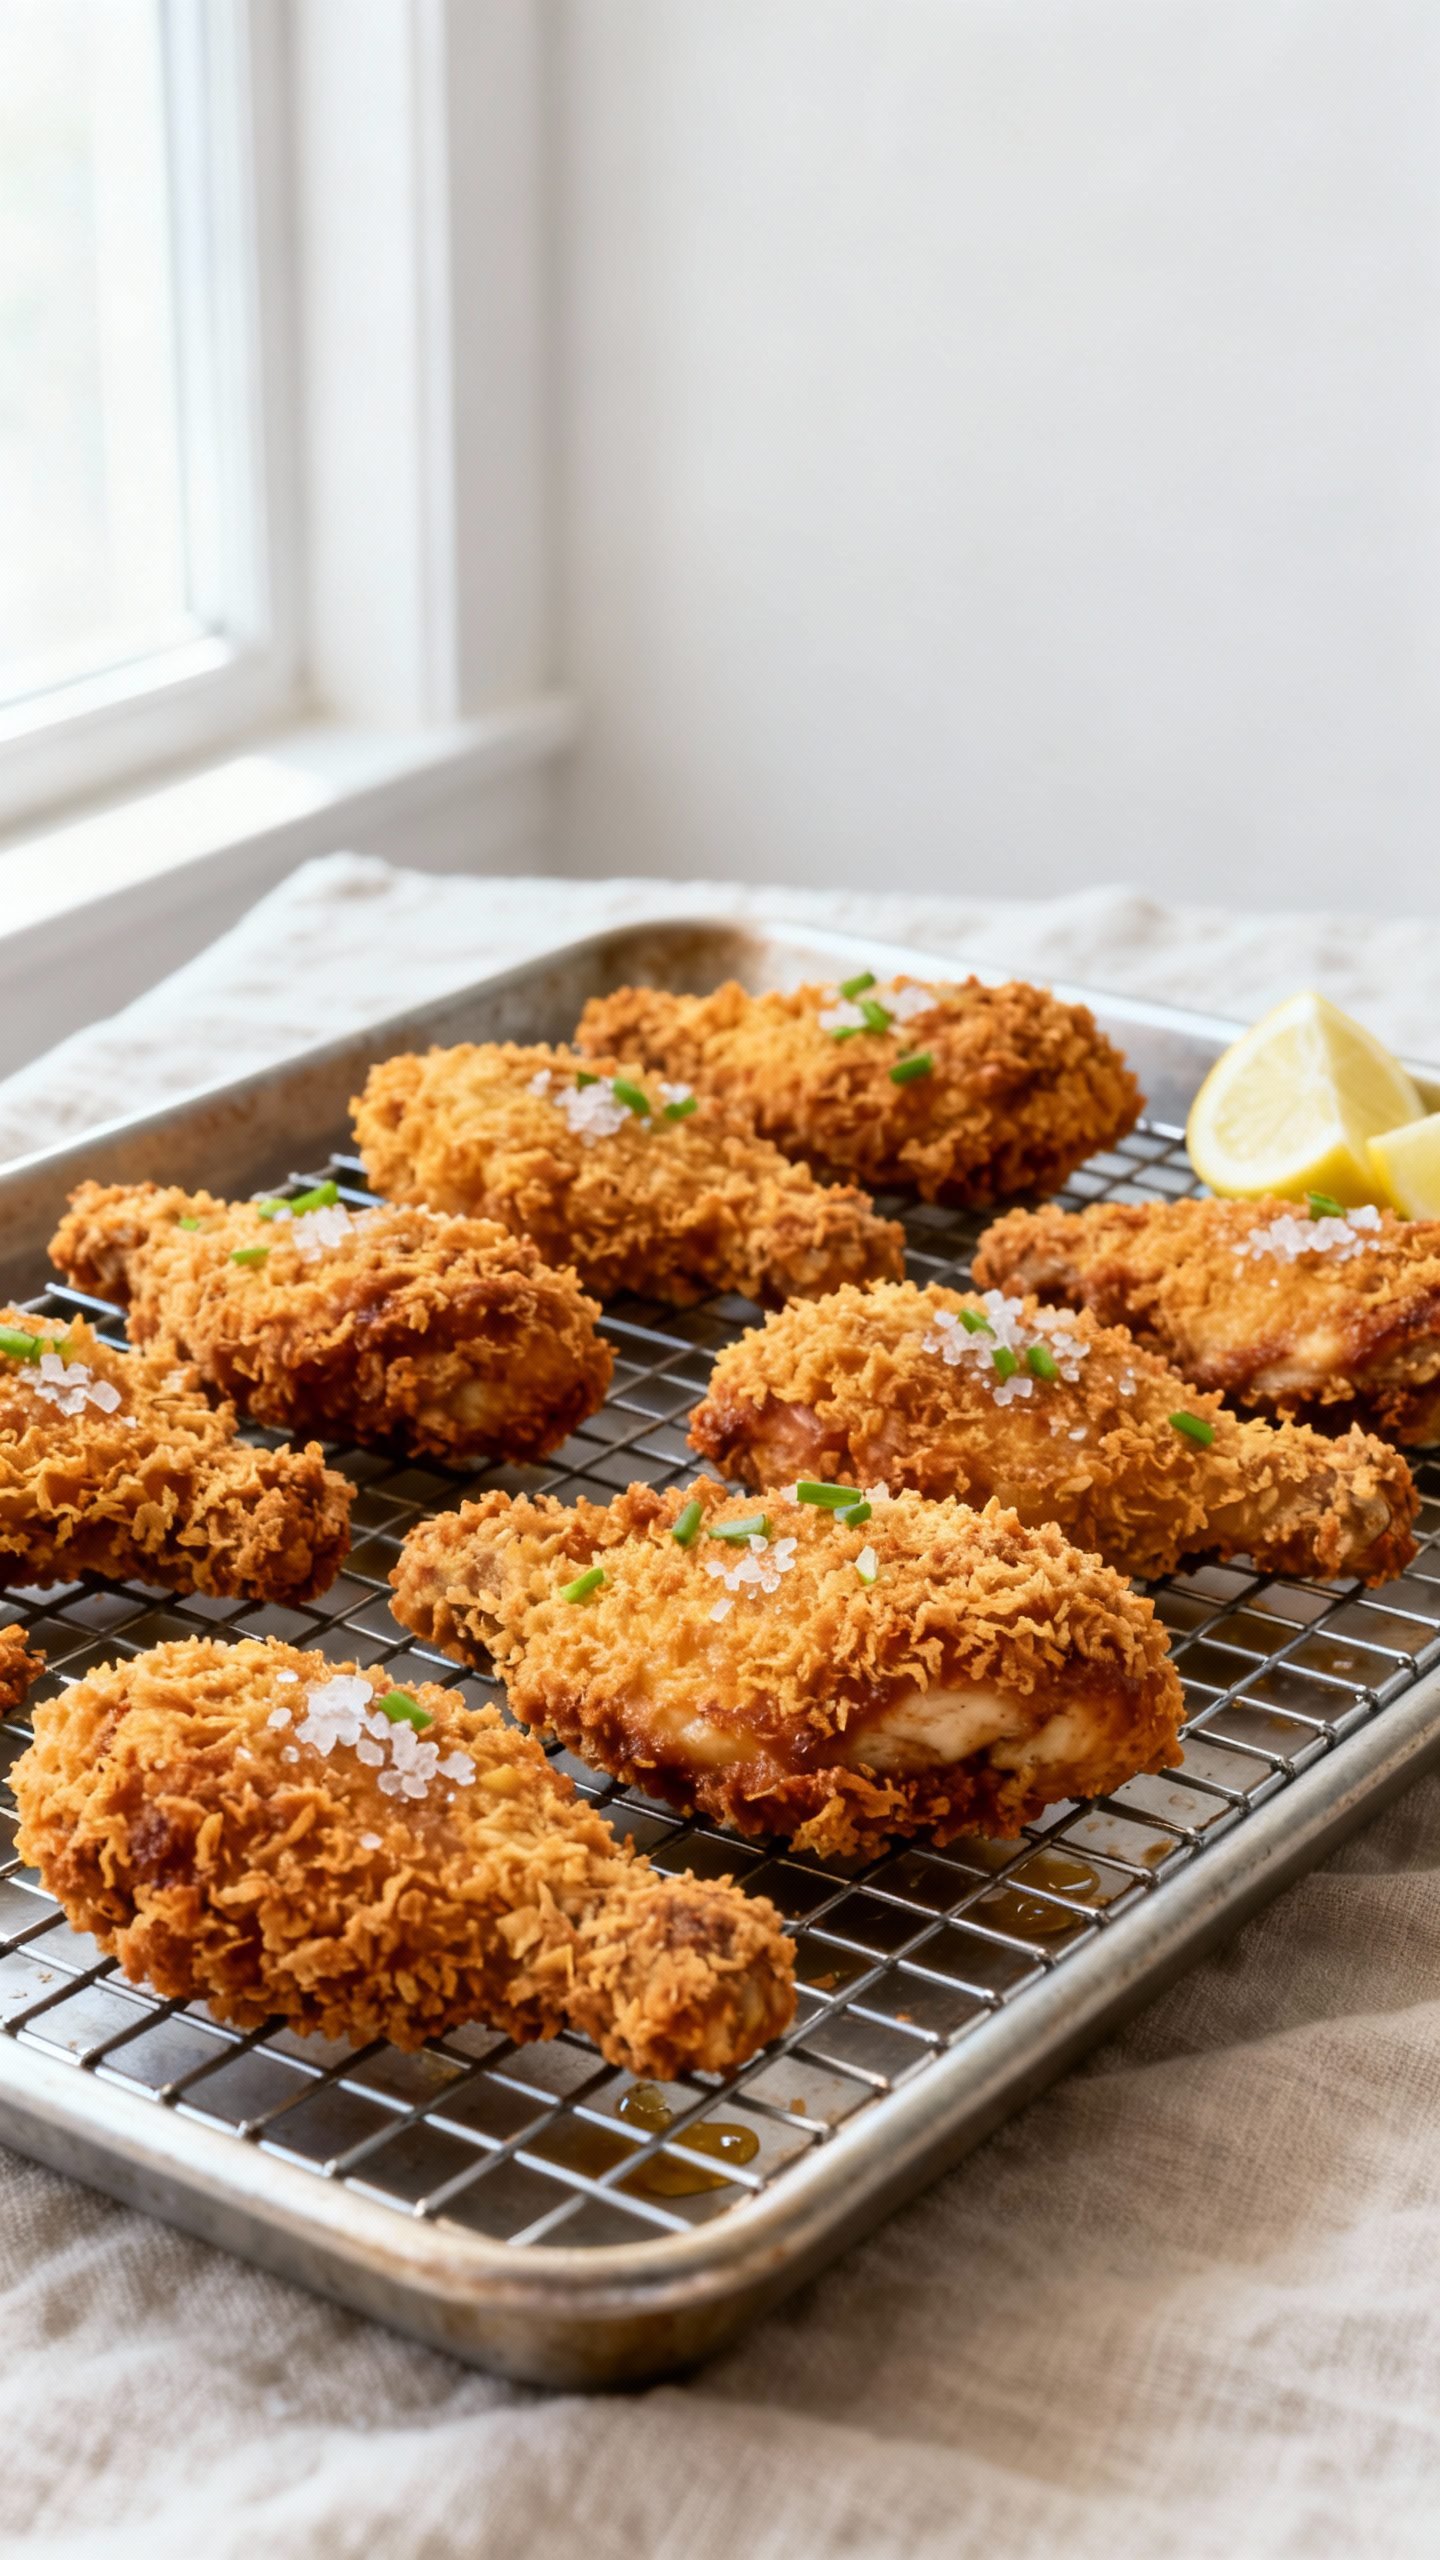
6) Finish and Serve
- Rest 5–10 minutes so juices settle and the crust firms up.
- Sprinkle with flaky salt, squeeze lemon over the top, and garnish with herbs.
- Serve with crunchy slaw, roasted potatoes, or a simple green salad.
How to Store Leftover Crispy Chicken
- Cool completely on a rack so steam doesn’t soften the coating.
- Refrigerate in a shallow container lined with paper towels, loosely covered, up to 4 days.
- Freeze on a sheet pan until solid, then transfer to a freezer bag for up to 2 months. Press out extra air.
Reheating for Crunch
- Oven: 400°F on a rack for 10–15 minutes (longer if frozen), until hot and crisp.
- Air fryer: 360°F for 6–10 minutes, flipping once.
- Avoid the microwave if you care about texture; it softens the coating.
Why You’ll Love Baking Instead of Frying
- Less mess and no oil splatter. Your kitchen stays clean.
- Lighter feel with all the crunch you crave.
- Hands-off cooking: Once it’s in the oven, you’re free to prep sides or relax.
- Consistent results: The rack and high heat make browning predictable and even.
- Scales easily for weeknight dinners or casual parties.
Mistakes to Avoid
- Skipping the rack: Directly on a sheet, the underside steams and turns soggy.
- Cold oven or pan: You need high heat from the start for quick crust formation.
- Wet crumbs: Don’t drench panko in oil. Lightly coat so it browns without greasiness.
- No rest time after breading: The coating will slide off. Give it at least 10 minutes.
- Overcrowding: Space the pieces so hot air can circulate.
- Undersalting: Season the marinade and the coating. Layered seasoning equals bolder flavor.
Easy Variations to Try
- Parmesan Herb: Mix 1/2 cup finely grated Parmesan and 2 teaspoons Italian seasoning into the panko. Serve with marinara for dipping.
- Honey Hot: Whisk 2 tablespoons hot sauce with 2 tablespoons honey and 1 tablespoon melted butter. Brush over the chicken right out of the oven.
- Lemon Pepper: Add 2 teaspoons lemon pepper and extra zest to the flour mixture; finish with lemon wedges and cracked black pepper.
- Everything Bagel Crunch: Stir 2 tablespoons everything bagel seasoning into the panko. Great for chicken tenders.
- Gluten-Free: Use a 1:1 gluten-free flour and gluten-free panko; cornstarch stays the same.
- Buttermilk Ranch: Add 2 tablespoons dry ranch seasoning to the flour mix and a teaspoon to the buttermilk.
FAQ
Can I use boneless, skinless chicken?
Yes. Use thighs or breasts cut into cutlets or tenders. Bake 18–25 minutes depending on size. Keep an eye on color and internal temp.
What if I don’t have a wire rack?
Preheat the sheet pan with a light oil film. Flip the chicken twice during baking. Texture won’t be quite as airy, but still crisp.
Is cornstarch necessary?
You’ll get extra crunch with it, but you can replace it with more flour. Potato starch is an excellent swap for even bigger crisp.
How do I keep the coating from falling off?
- Pat chicken dry before marinating.
- Press each layer firmly.
- Let breaded pieces rest 10 minutes.
- Flip gently with tongs and avoid moving them too much.
Can I air fry instead?
Absolutely. Cook at 375°F–390°F for 14–20 minutes depending on thickness, flipping halfway. Don’t crowd the basket.
How spicy is this?
Mild as written. Increase cayenne or hot sauce for more heat, or leave them out for zero spice.
Conclusion
With a smart coating, a hot oven, and a wire rack, you can make chicken that tastes like it just came out of the fryer—only lighter, easier, and cleaner. The crumb stays shatter-crisp, the meat stays juicy, and you get a dinner that always delivers. Make the base version once, then riff with your favorite flavors. When that first crunch hits, you’ll know you nailed it.
Oven Baked Crispy Chicken With Fried Crunch
Ingredients
Ingredients
Instructions
Instructions
- High heat plus airflow: A wire rack on a hot sheet pan lifts the chicken so air circulates. You get browning on all sides and no soggy bottoms.
- Starch and crumb combo: Flour sticks, starch crisps, and panko gives big, craggy crunch. This layered breading mimics a fried finish.
- Buttermilk brine: A quick soak tenderizes the meat and helps the coating cling. It seasons the chicken from the inside out.
- Fat in the right place: A little oil on the crumbs and a preheated pan jump-starts browning and creates that “fried” texture.
- Rest time after breading: Letting breaded pieces sit for a few minutes sets the coating so it won’t flake off in the oven.


