
Homemade Zebra Cake From Scratch
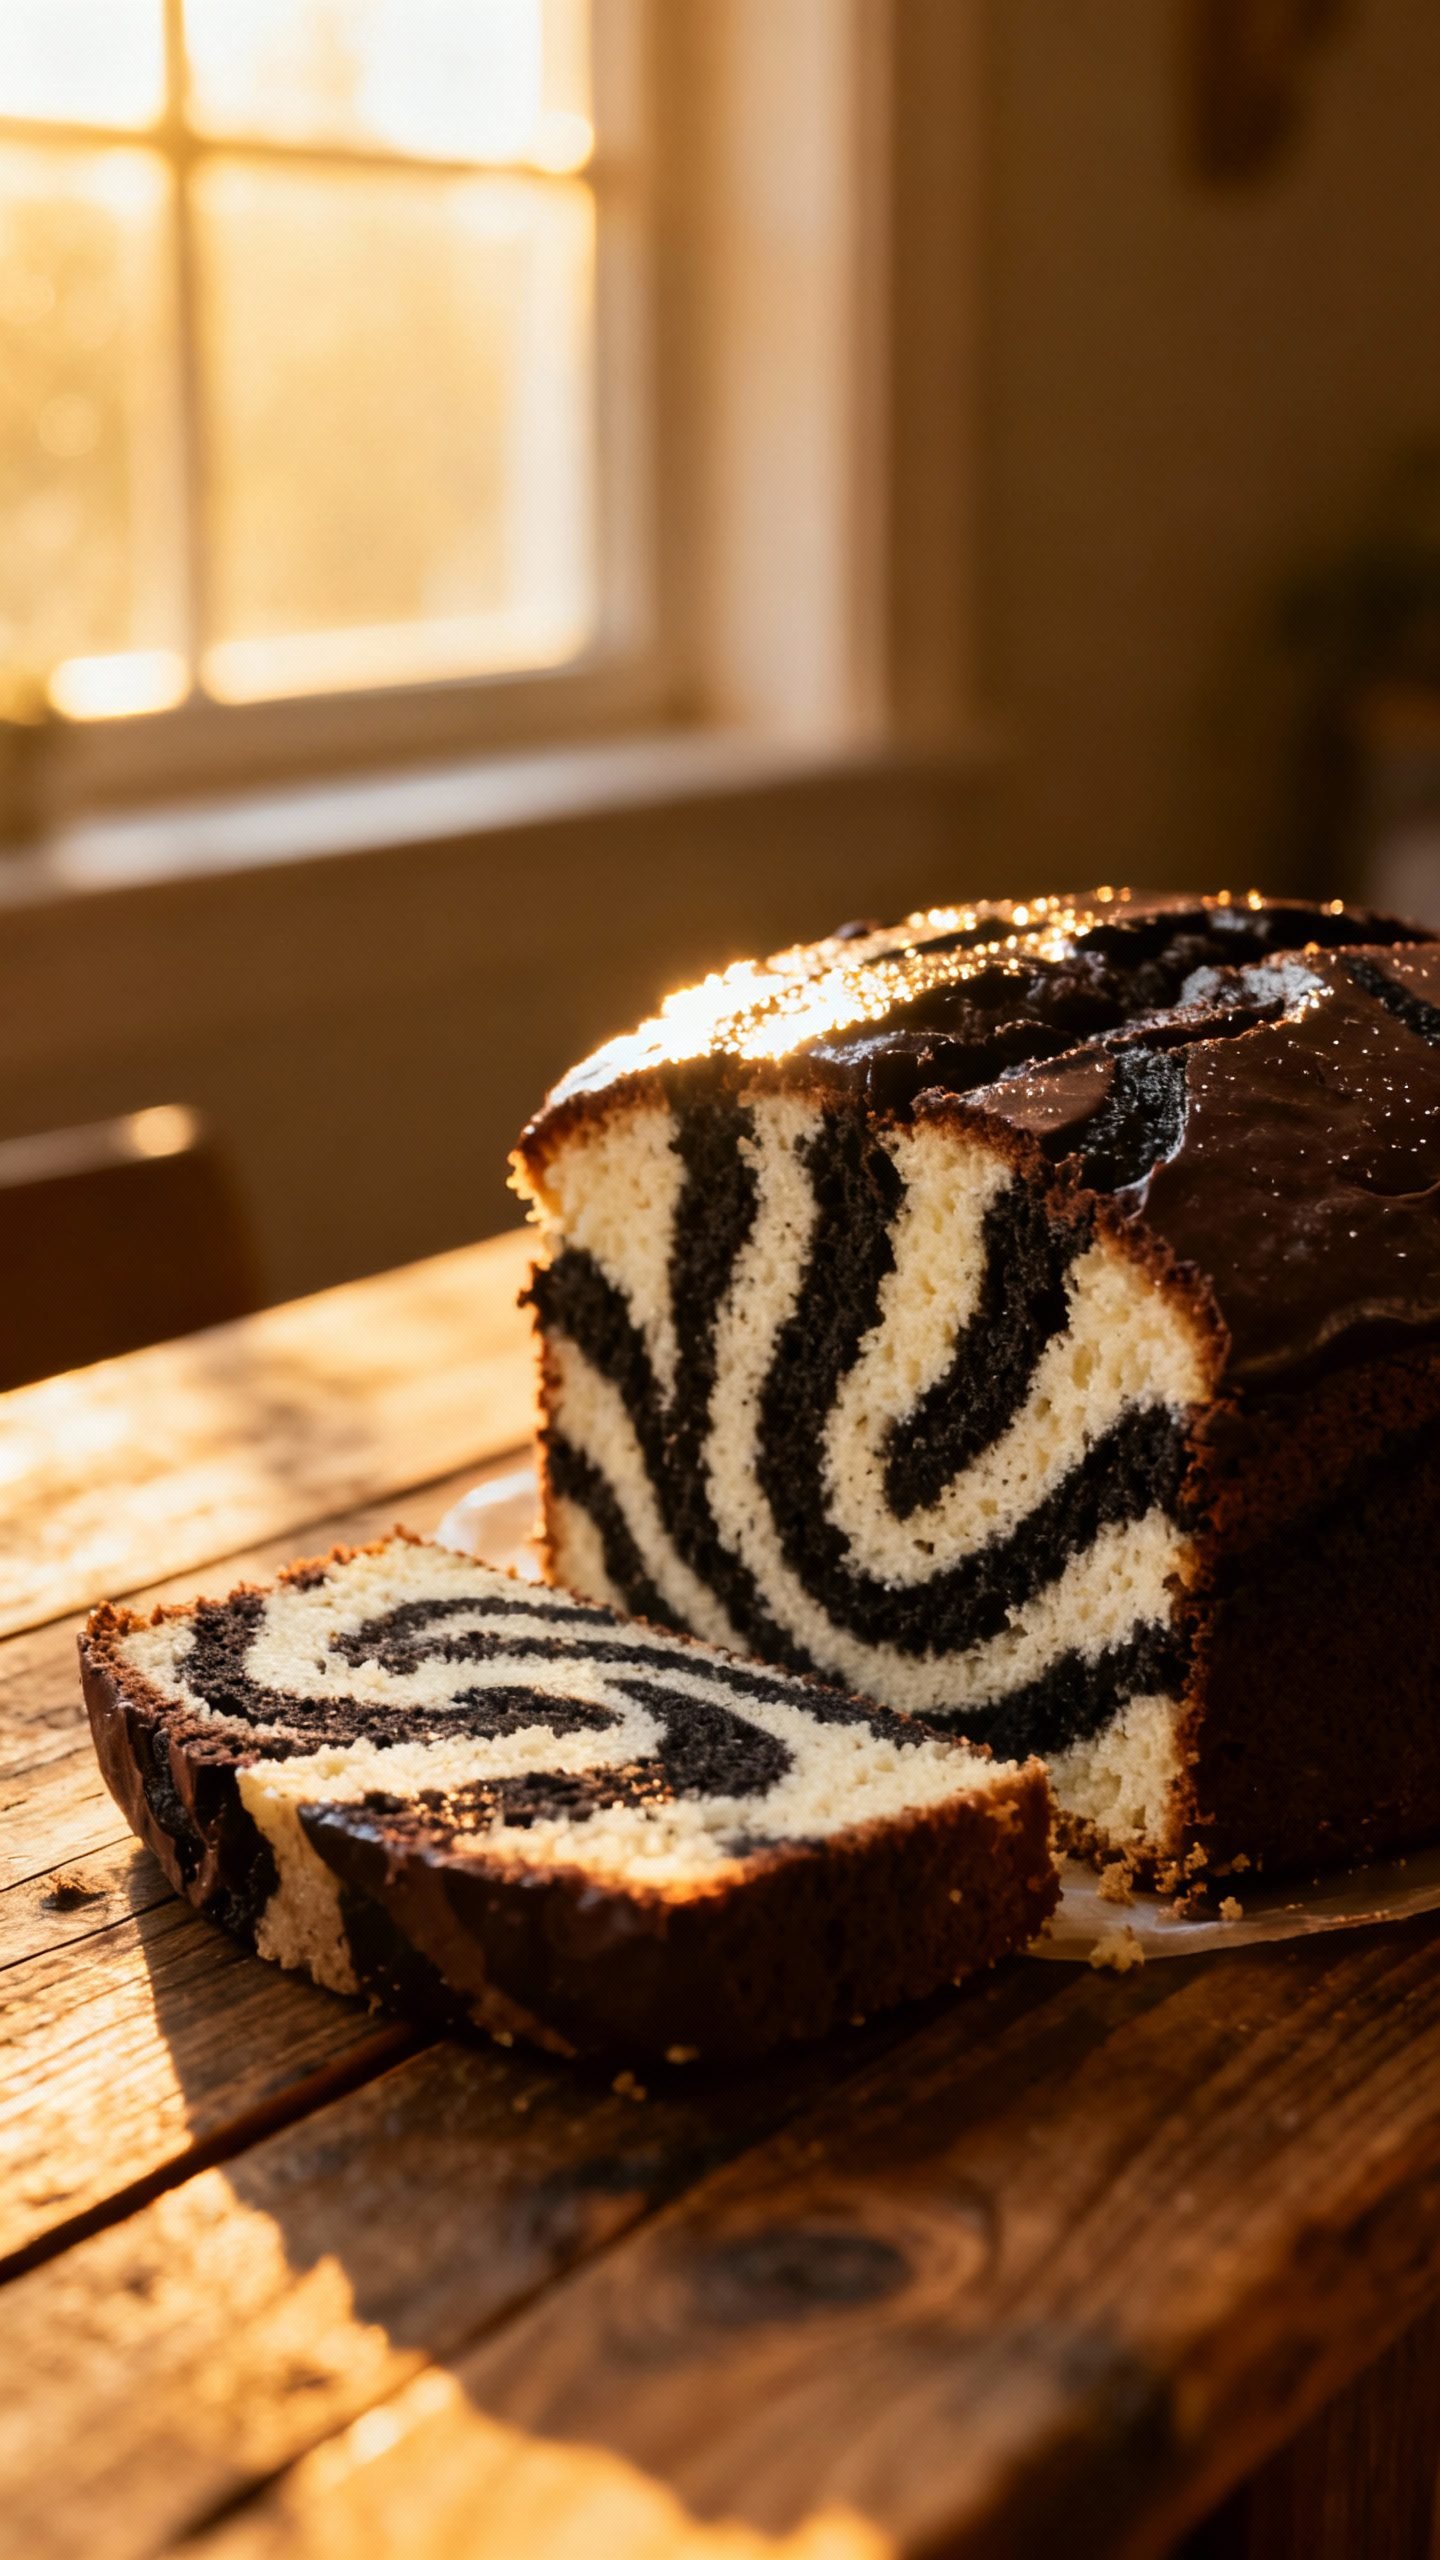
There’s something truly magical about slicing into a Zebra Cake. That first reveal of the stunning black-and-white striped interior never fails to bring a smile to everyone’s face. It looks like a professional patisserie creation, but I’m here to let you in on a little secret: it’s surprisingly simple to make at home.
This cake is a celebration of contrasts – rich chocolate and sweet vanilla swirled together in a beautifully moist and tender cake. Forget any notions of complicated techniques or special tools; the magic is in the method. With a few key tips and a bit of patience, you’ll be pulling this show-stopping dessert out of your own oven.
The Secret to Perfect Zebra Stripes
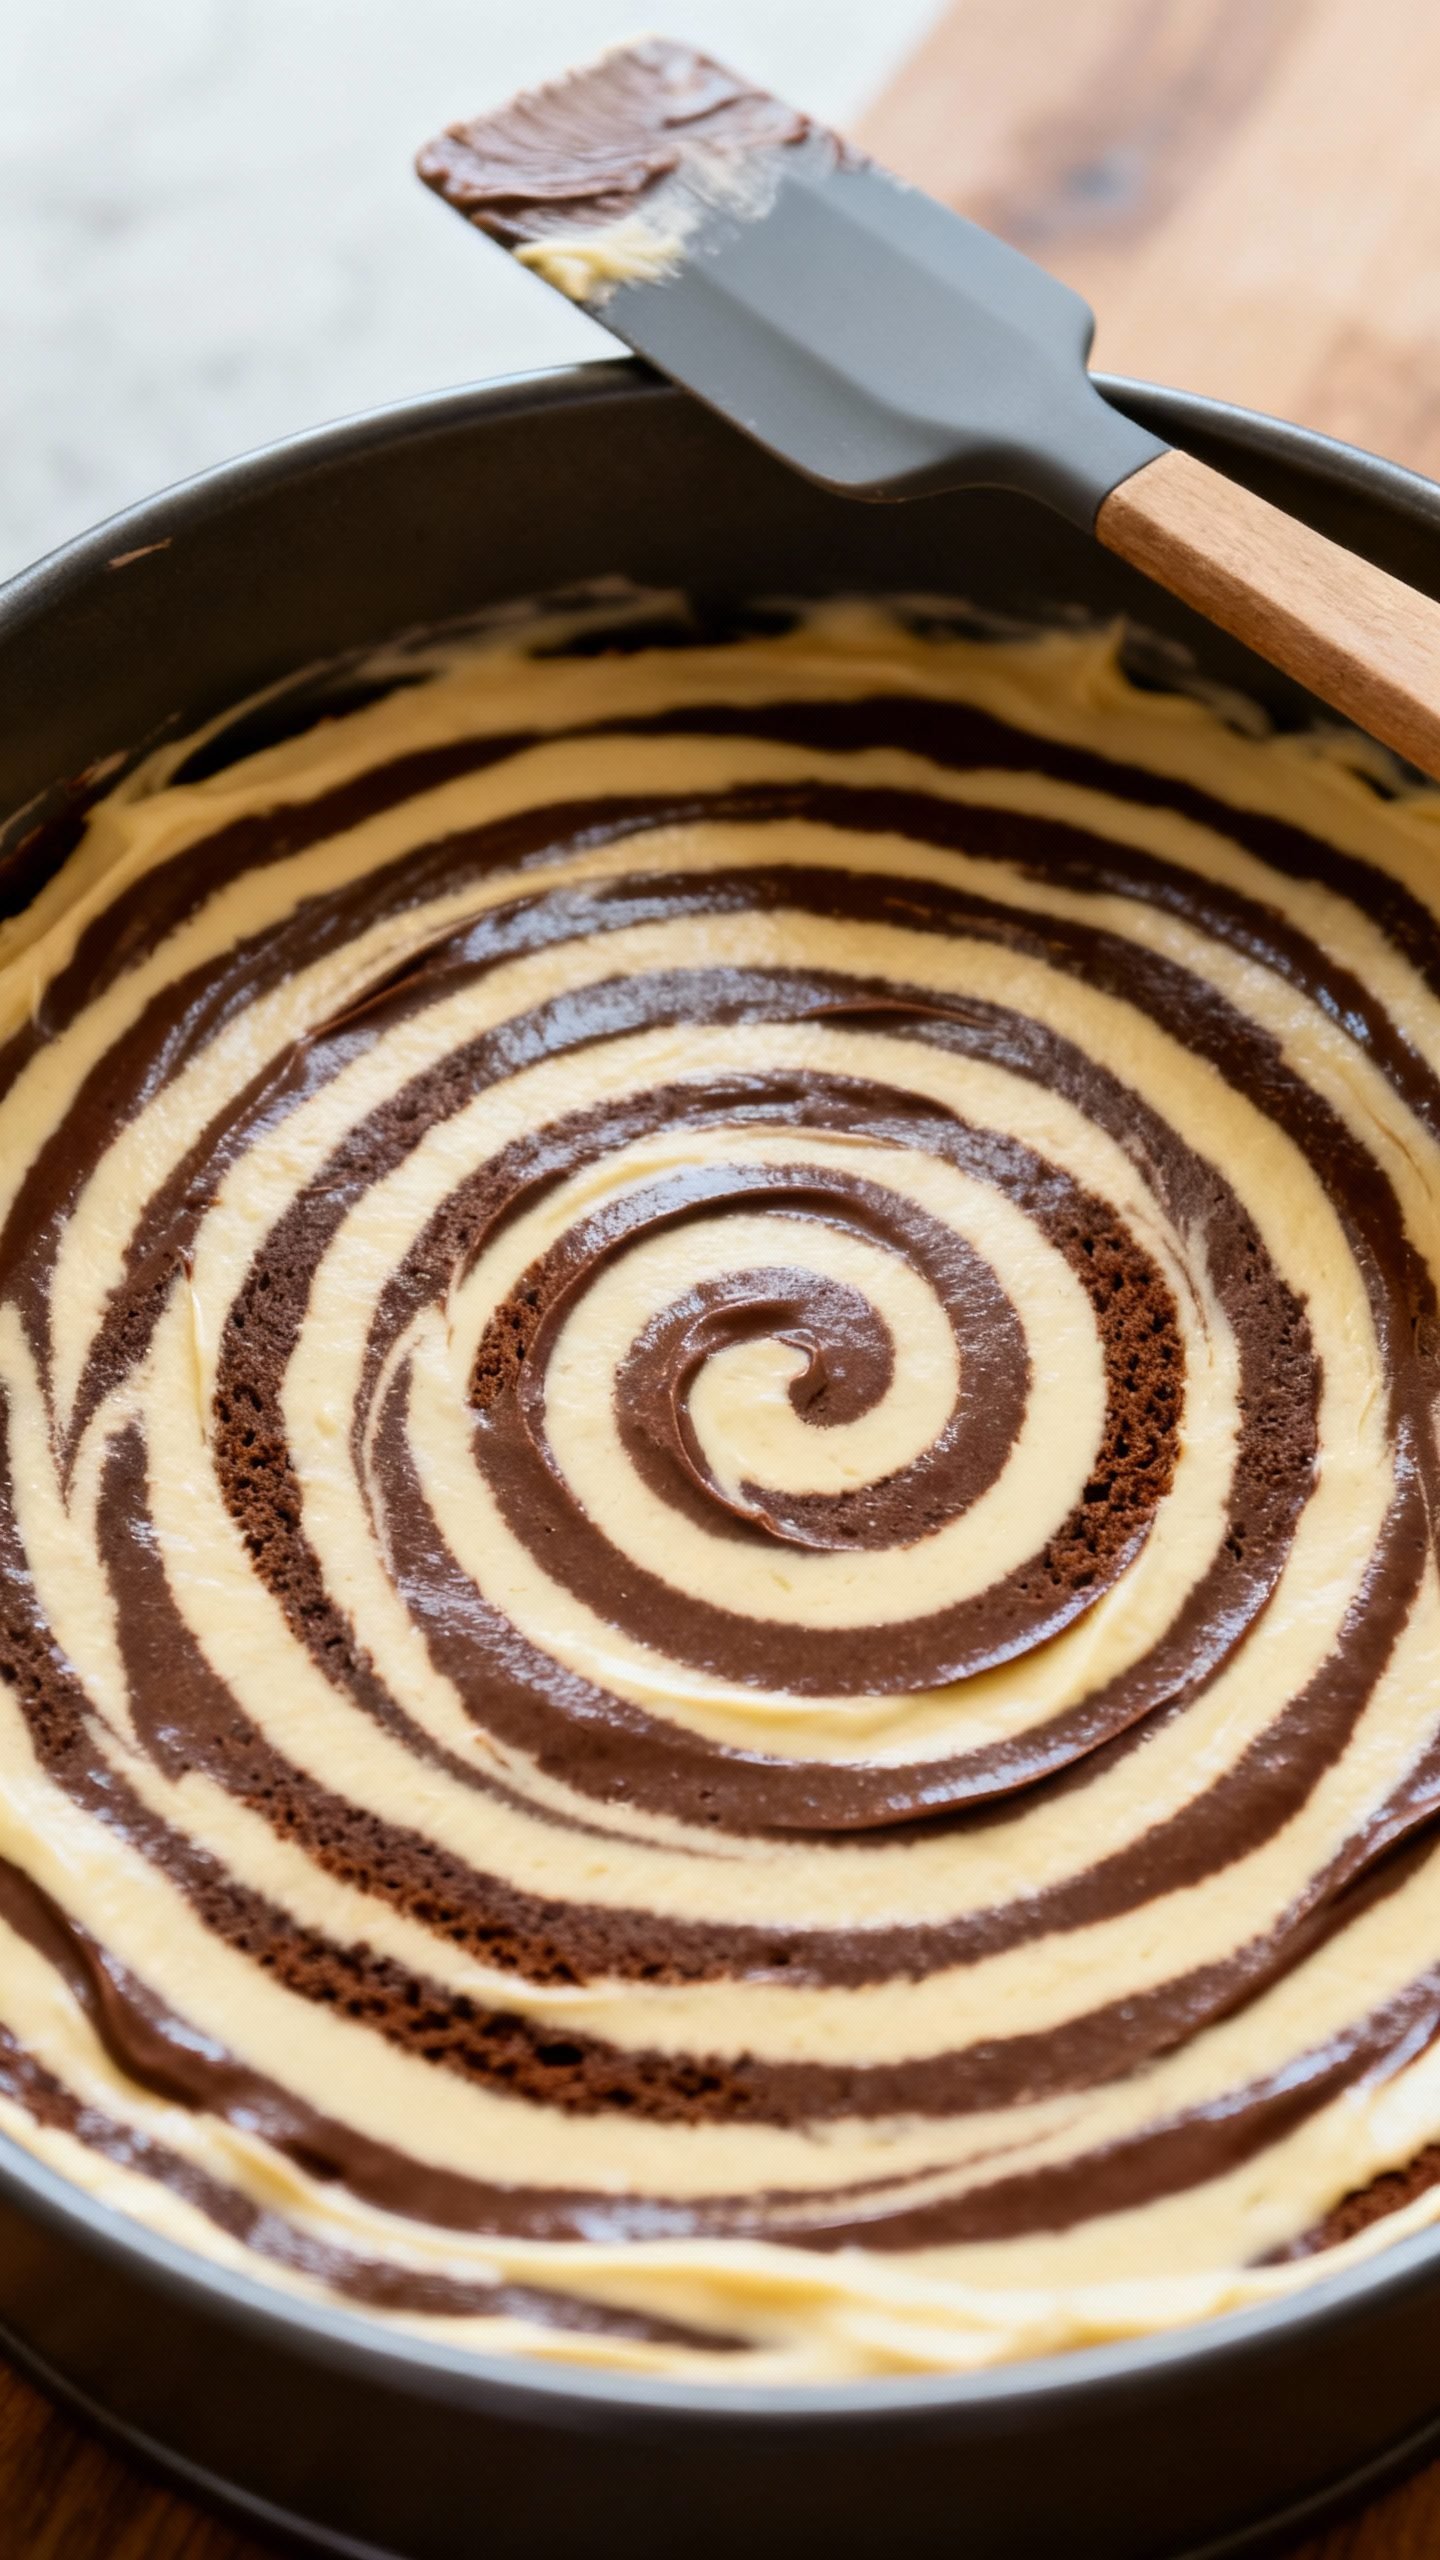
This recipe works because it relies on a thick, ribbon-like batter that holds its shape. Unlike a runny batter that would swirl together into a marbled mess, our denser batter allows us to carefully spoon alternating colors right on top of each other. The weight of each new layer naturally pushes the previous one outward, creating those iconic concentric circles without any extra effort.
We also use a simple, forgiving vanilla batter base that we divide in half. One half gets flavored with cocoa powder, which we mix with a little hot water to create a lush, liquid chocolate paste. This ensures both batters have the same consistency, which is crucial for creating clean, defined layers. The result is a cake that’s as fun to make as it is to eat.
Gathering Your Ingredients
You likely have most of these simple ingredients in your pantry right now. Using room temperature ingredients is non-negotiable for a smooth, well-emulsified batter that bakes up perfectly.
For the Cake:
- 4 large eggs, at room temperature
- 1 cup (200g) granulated sugar
- 1 cup (240ml) whole milk, at room temperature
- 1 cup (240ml) vegetable or canola oil
- 1 teaspoon vanilla extract
- 2 cups (250g) all-purpose flour
- 1 tablespoon baking powder
- ¼ teaspoon salt
- 2 tablespoons (10g) unsweetened cocoa powder
- 2 tablespoons hot water
For the Simple Glaze (Optional):
- 1 cup (120g) powdered sugar
- 2-3 tablespoons milk or cream
- ½ teaspoon vanilla extract
Step-by-Step Baking Instructions
Follow these steps carefully, and you’ll be rewarded with a picture-perfect cake.
- Preheat and Prepare: Preheat your oven to 350°F (175°C). Grease a 9-inch round cake pan and line the bottom with a parchment paper circle. This guarantees your cake will release cleanly.
- Make the Chocolate Paste: In a small bowl, mix the 2 tablespoons of cocoa powder with the 2 tablespoons of hot water until it forms a smooth, lump-free paste. Set it aside to cool slightly.
- Combine Wet Ingredients: In a large mixing bowl, whisk together the eggs and sugar until they are well combined and slightly pale. Add the milk, oil, and vanilla extract, and whisk until the mixture is smooth and uniform.
- Add Dry Ingredients: Sift the flour, baking powder, and salt directly into the wet ingredients. Gently fold everything together with a spatula until just combined. Be careful not to overmix.
- Divide the Batter: Evenly divide the vanilla batter between two bowls. Pour the prepared cocoa paste into one of the bowls and fold it in until you have a smooth, uniformly chocolate batter.
- Create the Layers: Here’s the fun part! Using two large spoons or ladles, start adding the batters to the center of your prepared pan. Spoon about ¼ cup of vanilla batter directly into the center. Then, immediately spoon ¼ cup of chocolate batter directly on top of the vanilla pool. The batter will spread outward on its own. Continue this process, alternating colors and always pouring directly into the center. You’ll see the rings form magically.
- Bake: Once all the batter is in the pan, gently tap it on the counter once to release any air bubbles. Bake for 40-45 minutes, or until a toothpick inserted into the center comes out clean.
- Cool: Let the cake cool in the pan for 20 minutes before running a knife around the edge and inverting it onto a wire rack to cool completely.
- Glaze: Once completely cool, whisk together the glaze ingredients and drizzle over the top before slicing and serving.
Storing Your Homemade Masterpiece
This cake stays wonderfully moist. To keep it fresh, store it in an airtight container at room temperature for up to 3 days. If your kitchen is very warm, you can refrigerate it for up to 5 days. Just let a refrigerated slice come to room temperature for about 30 minutes before serving for the best texture and flavor.
You can also freeze the un-glazed cake for up to 3 months. Wrap the cooled cake tightly in two layers of plastic wrap, then a layer of aluminum foil. Thaw overnight in the refrigerator before glazing and serving.
Why This Cake is a Must-Bake
Beyond its undeniable wow factor, this cake is a winner for so many reasons. It’s a one-bowl recipe (minus the dividing step), making cleanup a breeze. It’s a fantastic project to bake with kids—they love watching the stripes form. And perhaps best of all, it proves that you don’t need fancy equipment or years of experience to create a breathtaking, professional-looking dessert right in your own kitchen.
Avoid These Common Mistakes
A few small missteps can affect your stripes. Here’s what to watch out for:
- Using cold ingredients: This can cause the batter to seize or not emulsify properly, leading to a dense cake.
- Overmixing the batter: Once you add the flour, mix only until you no longer see dry streaks. Overmixing develops gluten and makes the cake tough.
- Using a runny chocolate mixture: If your chocolate batter is too thin, it will bleed into the vanilla. The paste should be thick.
- Not pouring into the center: The key to perfect rings is always dropping the next batter right into the middle of the previous one. Pouring off to the side will disrupt the pattern.
Fun Flavor Variations
Once you’ve mastered the classic, try playing with different flavors!
- Matcha Zebra Cake: Replace the cocoa powder with 1 tablespoon of matcha powder for a green tea version.
- Zebra Cupcakes: Divide the batter between cupcake liners, creating the layers in each one. Reduce baking time to about 18-20 minutes.
- Coffee Infused: Add 1 teaspoon of instant espresso powder to the chocolate paste for a mocha twist.
- Citrus Zest: Add the zest of one orange or lemon to the vanilla batter for a bright, fresh flavor contrast.
Your Zebra Cake Questions Answered
Can I use a different pan size?
A 9-inch round pan is ideal. An 8-inch pan will work but will yield a taller cake that may need a few more minutes in the oven. A 10-inch pan will make a wider, shorter cake.
My stripes didn’t turn out very defined. What happened?
This is almost always due to batter that was too thin. Next time, make sure your chocolate paste is thick and avoid overmixing the final batter.
Can I make this without eggs?
I haven’t tested an egg-free version of this specific recipe. The eggs provide crucial structure for the stripes to hold their form, so substitutions may not work well.
Why did my cake dome in the middle?
A slight dome is normal. For a perfectly flat top, ensure your baking powder is fresh and consider using baking strips around your cake pan.
Ready to Amaze Your Friends and Family
Baking this Homemade Zebra Cake is a joyful experience that ends with a truly spectacular dessert. It’s a testament to the fact that the most impressive creations often come from the simplest techniques. So preheat that oven, grab your spoons, and get


