
Easy Sourdough Bread Recipe | Soft Homemade Artisan Loaf for Beginners
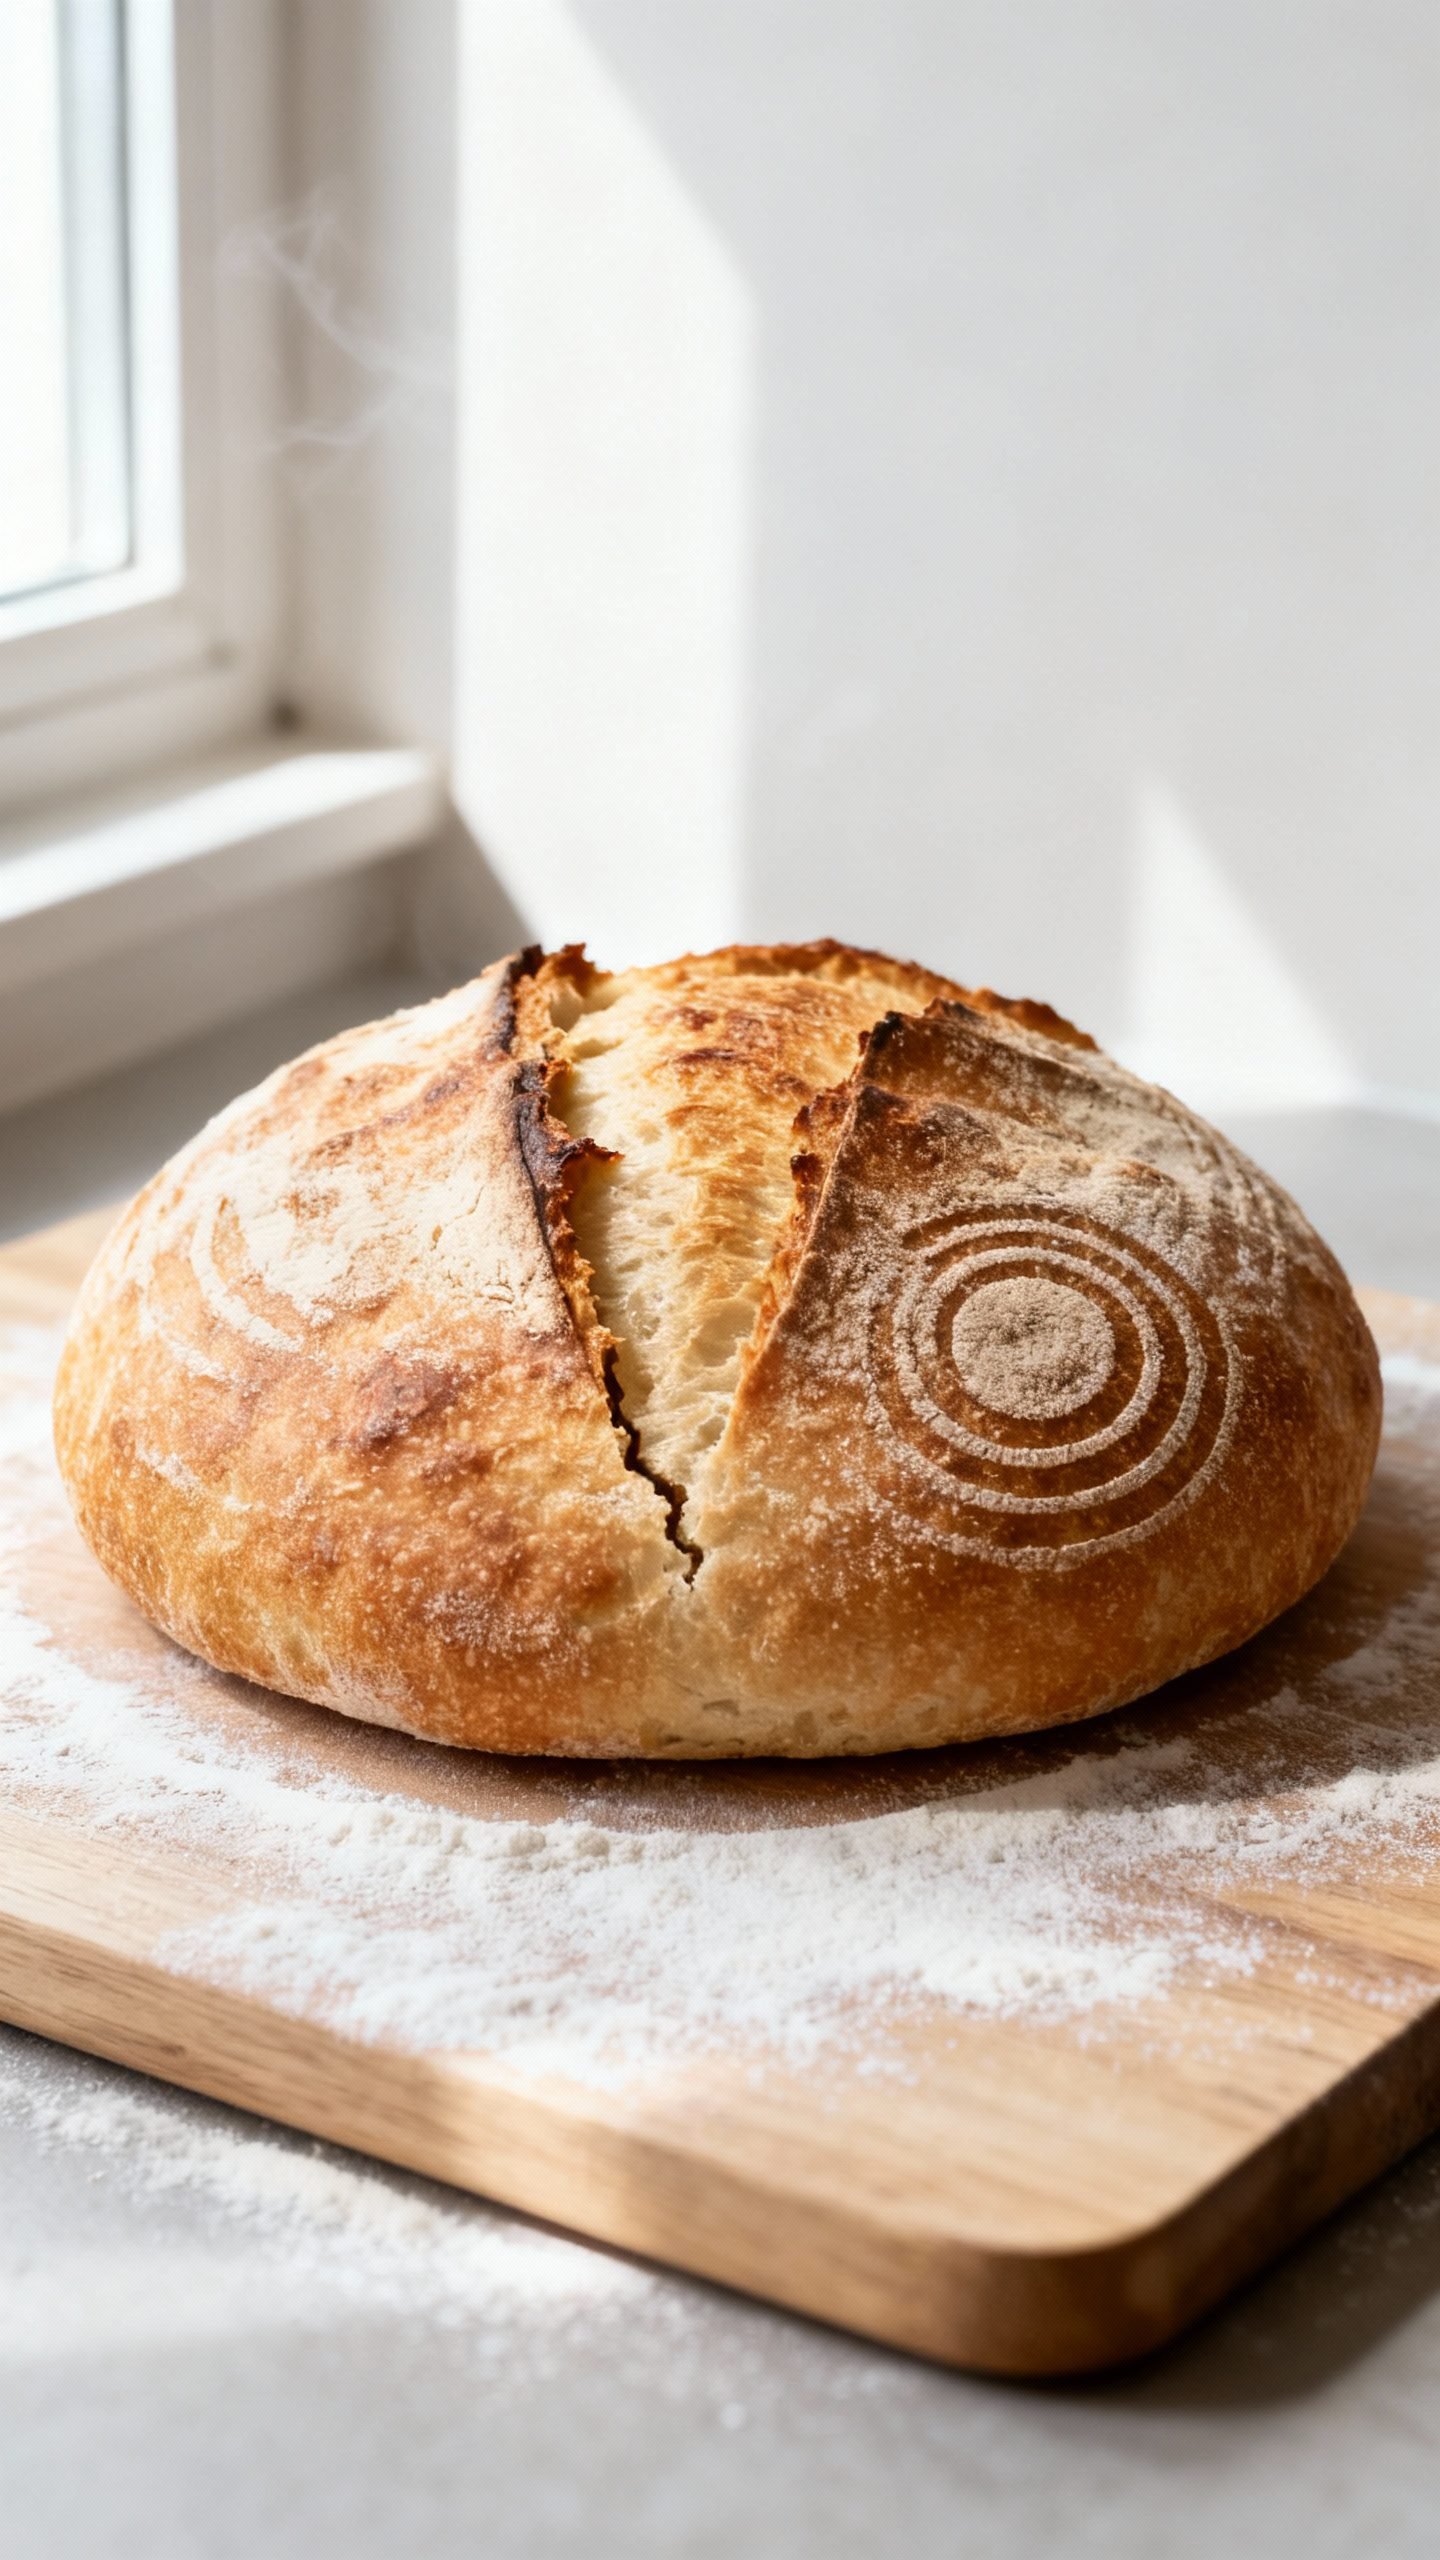
You can bake a soft, artisan-style sourdough loaf at home with simple steps and a little patience. This beginner-friendly recipe uses a straightforward schedule and clear cues, so you know exactly when your dough looks ready. Expect a gently tangy flavor, a tender crumb, and a crisp, golden crust—perfect for toast, sandwiches, or tearing apart warm at the table.
We’ll walk through each stage—mix, rest, fold, shape, and bake—without fancy equipment. If you have a Dutch oven, great. If not, I’ll show you alternatives that still give you beautiful oven spring and a crackly crust. Let’s get you a loaf you’re proud of.
Why This Beginner Sourdough Bread Works
- Simple formula: You’ll use just starter, flour, water, and salt—no commercial yeast.
- Manageable hydration: We’ll keep the dough around 70% hydration for easier handling and a soft crumb.
- Clear timeline: I’ll give you a flexible schedule you can follow on a weekday evening or a weekend morning.
- Reliable structure: Gentle stretch-and-folds build gluten without kneading for ages.
- Great crust at home: A covered bake traps steam for that artisan finish, even in a home oven.
Ingredients
- Active sourdough starter (100% hydration): 100 g, bubbly and doubled after feeding
- Warm water: 350 g (about 80–85°F / 27–29°C)
- Bread flour: 450 g (you can swap 50–100 g for whole wheat if you like)
- Fine sea salt: 9 g (about 1½ teaspoons)
- Rice flour (for dusting): optional, prevents sticking in the proofing basket
Equipment You’ll Need
- Mixing bowl and a spatula
- Digital scale for accuracy
- Bench scraper for shaping
- Banneton or a bowl lined with a floured towel
- Dutch oven with lid (or a baking stone/sheet + an oven-safe pan for steam)
- Lame or sharp knife for scoring
How to Make Soft Artisan Sourdough at Home
Before You Start: Feed the Starter
- Feed your starter 6–8 hours before mixing. It should look airy, domed, and pass the float test.
- If it collapses and looks runny, feed again and wait until it peaks.
Step 1: Mix and Autolyse (30–60 minutes)
- In a bowl, combine 350 g warm water and 100 g active starter. Stir to disperse.
- Add 450 g bread flour. Mix until no dry patches remain. The dough will look shaggy.
- Cover and rest for 30–60 minutes to hydrate the flour. This makes the dough easier to handle.
Step 2: Add Salt and Fold (5 minutes)
- Sprinkle 9 g salt over the dough and squeeze it in with damp hands.
- Perform 1–2 sets of stretch-and-fold: grab an edge, stretch up, fold over, rotate the bowl, and repeat 4–6 times.
Step 3: Bulk Fermentation with Folds (3–4 hours)
- Keep dough at 75–78°F (24–26°C). Cooler rooms will take longer; warmer rooms will move faster.
- Do 3–4 sets of folds during the first 90 minutes, every 30 minutes. After that, let the dough rest undisturbed.
- Bulk is done when the dough looks puffy with 50–75% rise, shows bubbles along the sides, and jiggles when you shake the bowl.
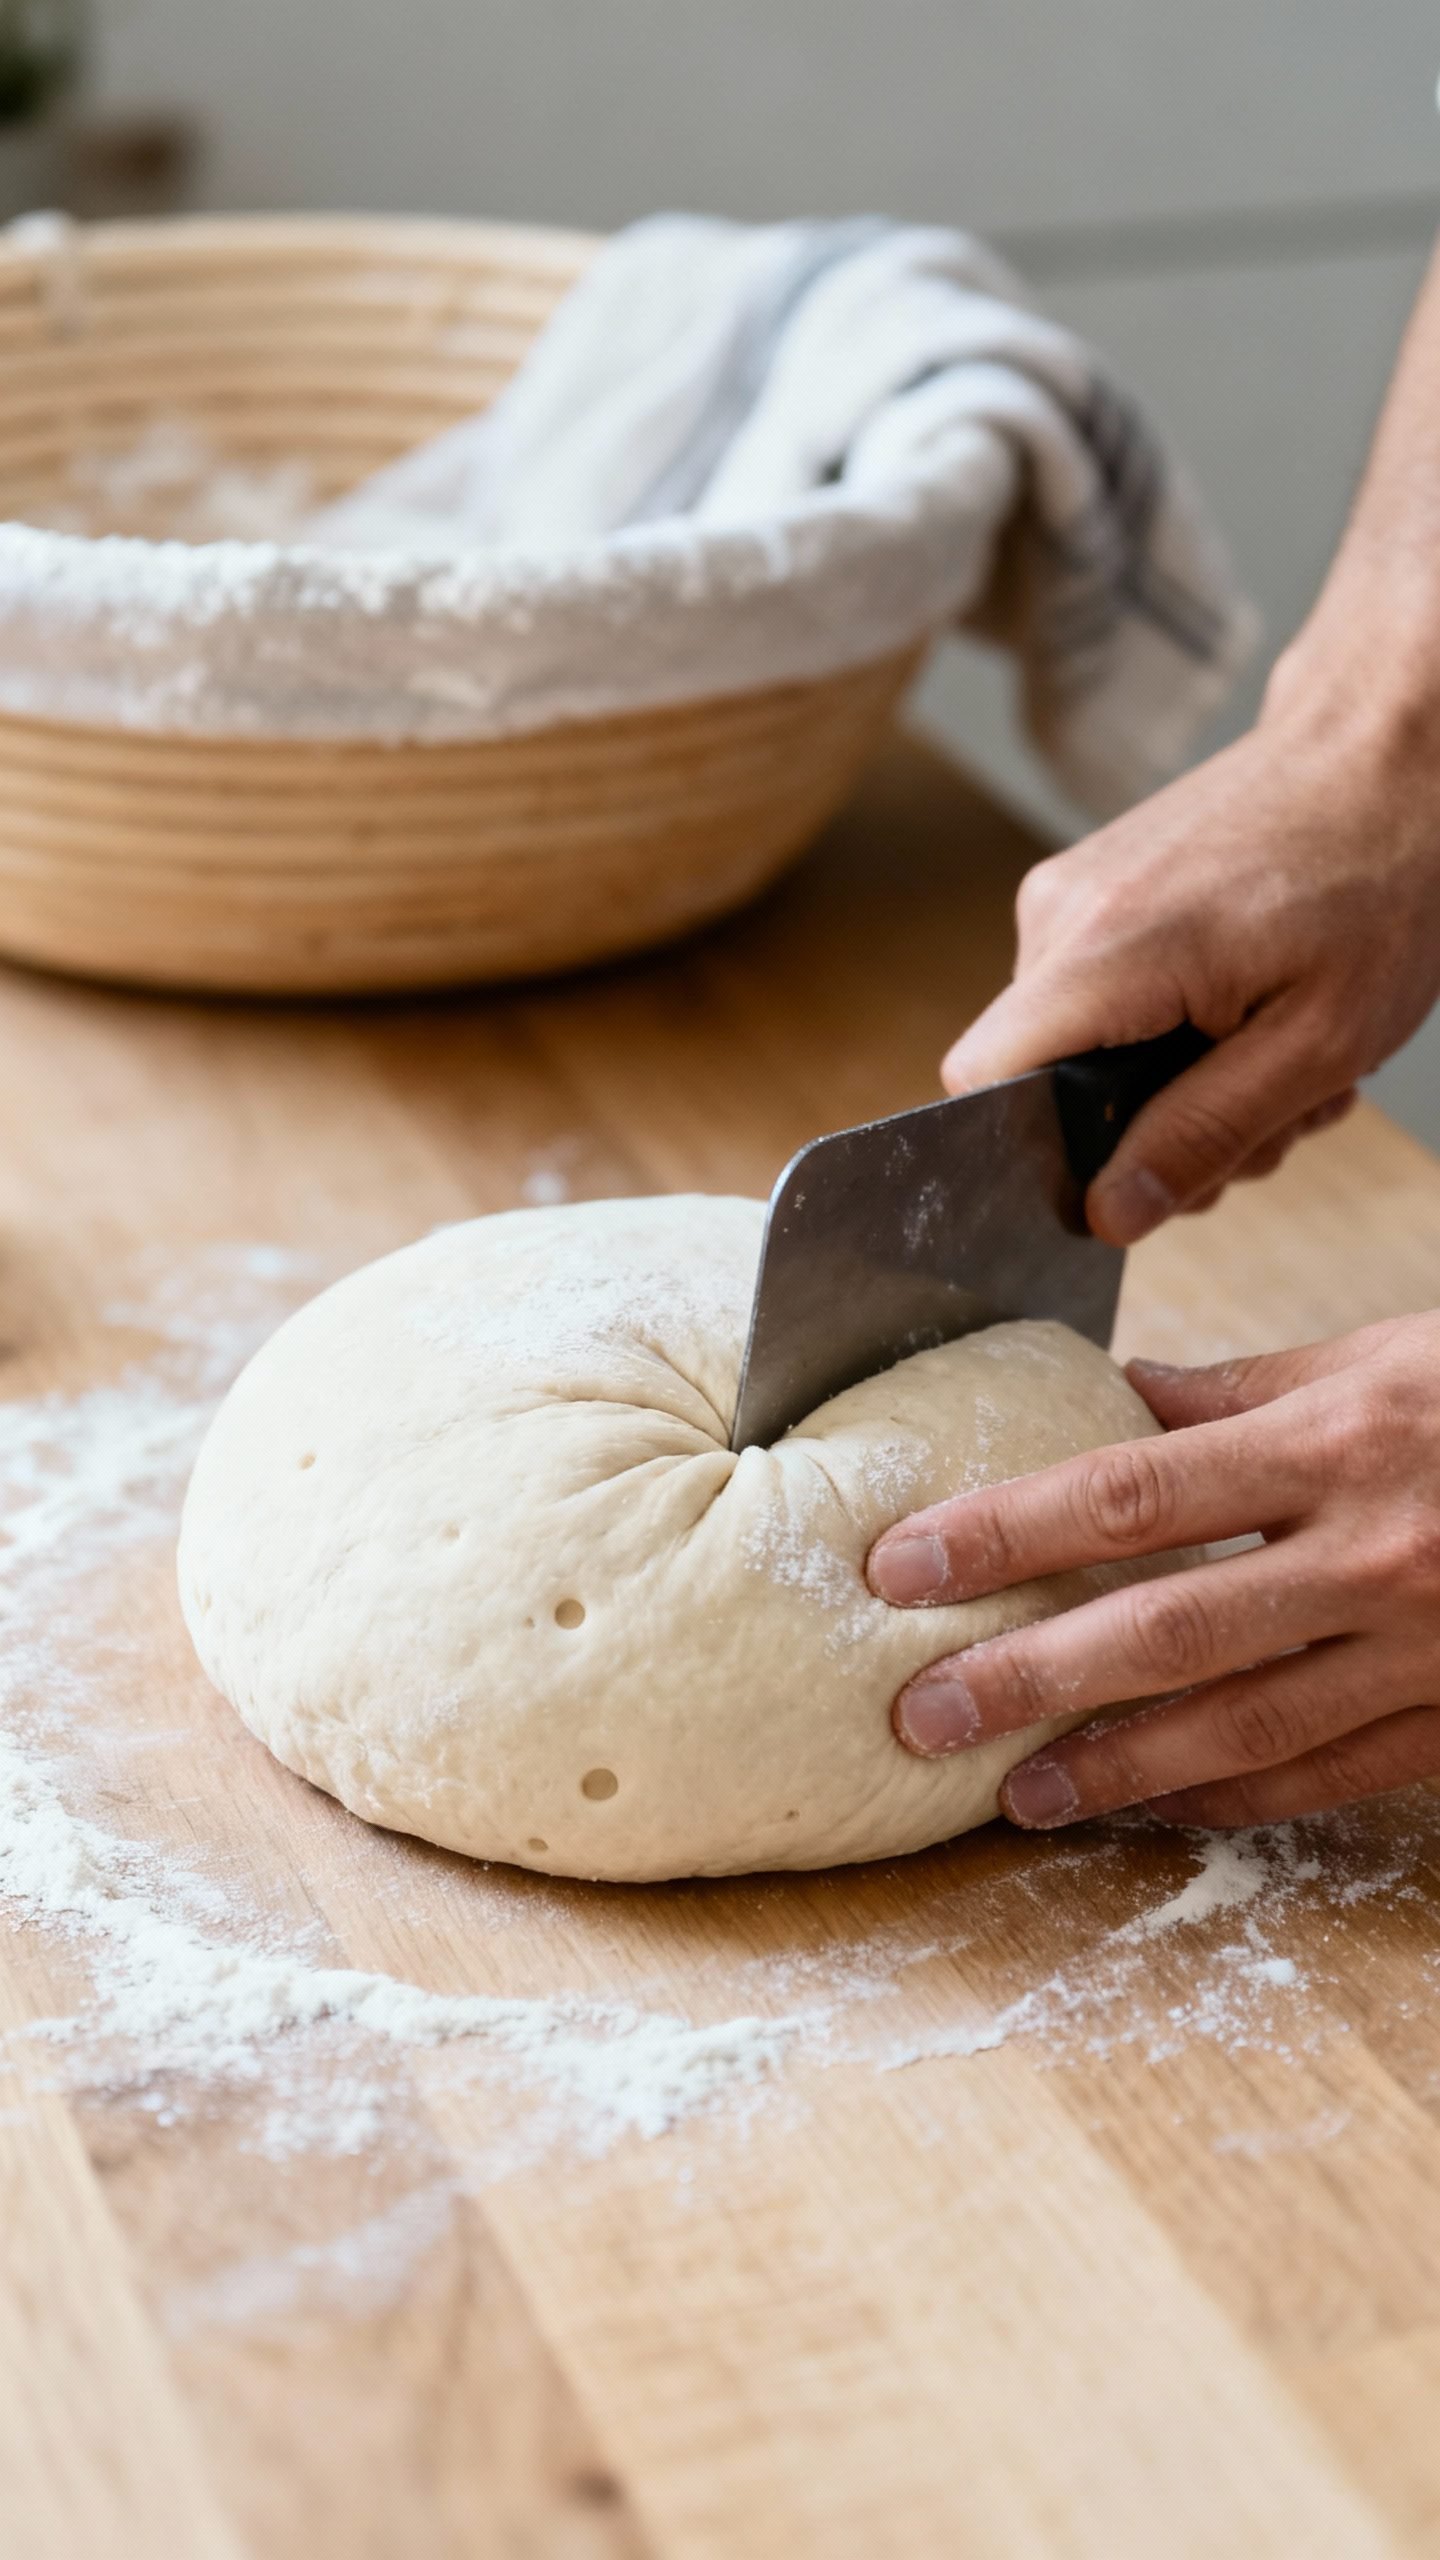
Step 4: Pre-Shape and Bench Rest (25–35 minutes)
- Lightly flour your surface. Turn the dough out gently.
- Use a bench scraper to tuck and rotate the dough into a loose round, building surface tension.
- Cover and rest for 20–30 minutes to relax the gluten.
Step 5: Final Shape (5 minutes)
- For a round loaf: flip the dough so the smooth side faces down. Fold top to center, sides in, then roll down into a tight ball.
- For an oval loaf: shape into a tight batard by folding and rolling, then sealing the seam.
- Use firm, confident movements to create good surface tension without tearing.
Step 6: Proof (Cold or Room Temp)
- Dust a banneton with rice flour. Place the dough seam-side up.
- Option A: Cold proof in the fridge for 8–16 hours for deeper flavor and easier scoring.
- Option B: Room-temp proof for 45–90 minutes, until the dough springs back slowly when poked.
Step 7: Preheat and Score
- Place your Dutch oven inside your oven and preheat to 475°F (246°C) for at least 30 minutes.
- Turn the dough out onto parchment, seam down. Dust lightly with flour.
- Score a 1/4–1/2 inch deep slash along the top to guide the expansion.
Step 8: Bake
- Carefully lower the dough on parchment into the hot Dutch oven. Cover.
- Bake covered for 20 minutes at 475°F (246°C).
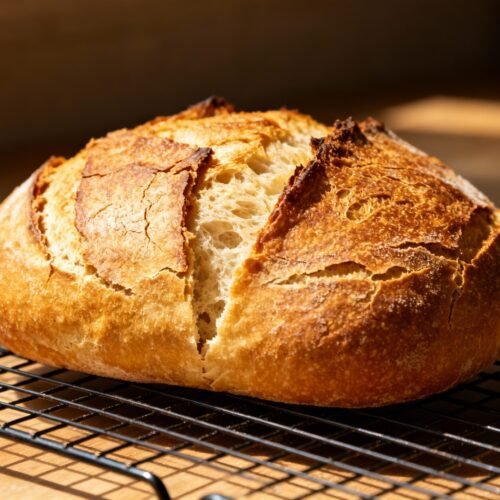
- Reduce to 450°F (232°C), uncover, and bake for 20–25 minutes more, until deep golden-brown with a crackly crust.
- Internal temperature should read 208–212°F (98–100°C).
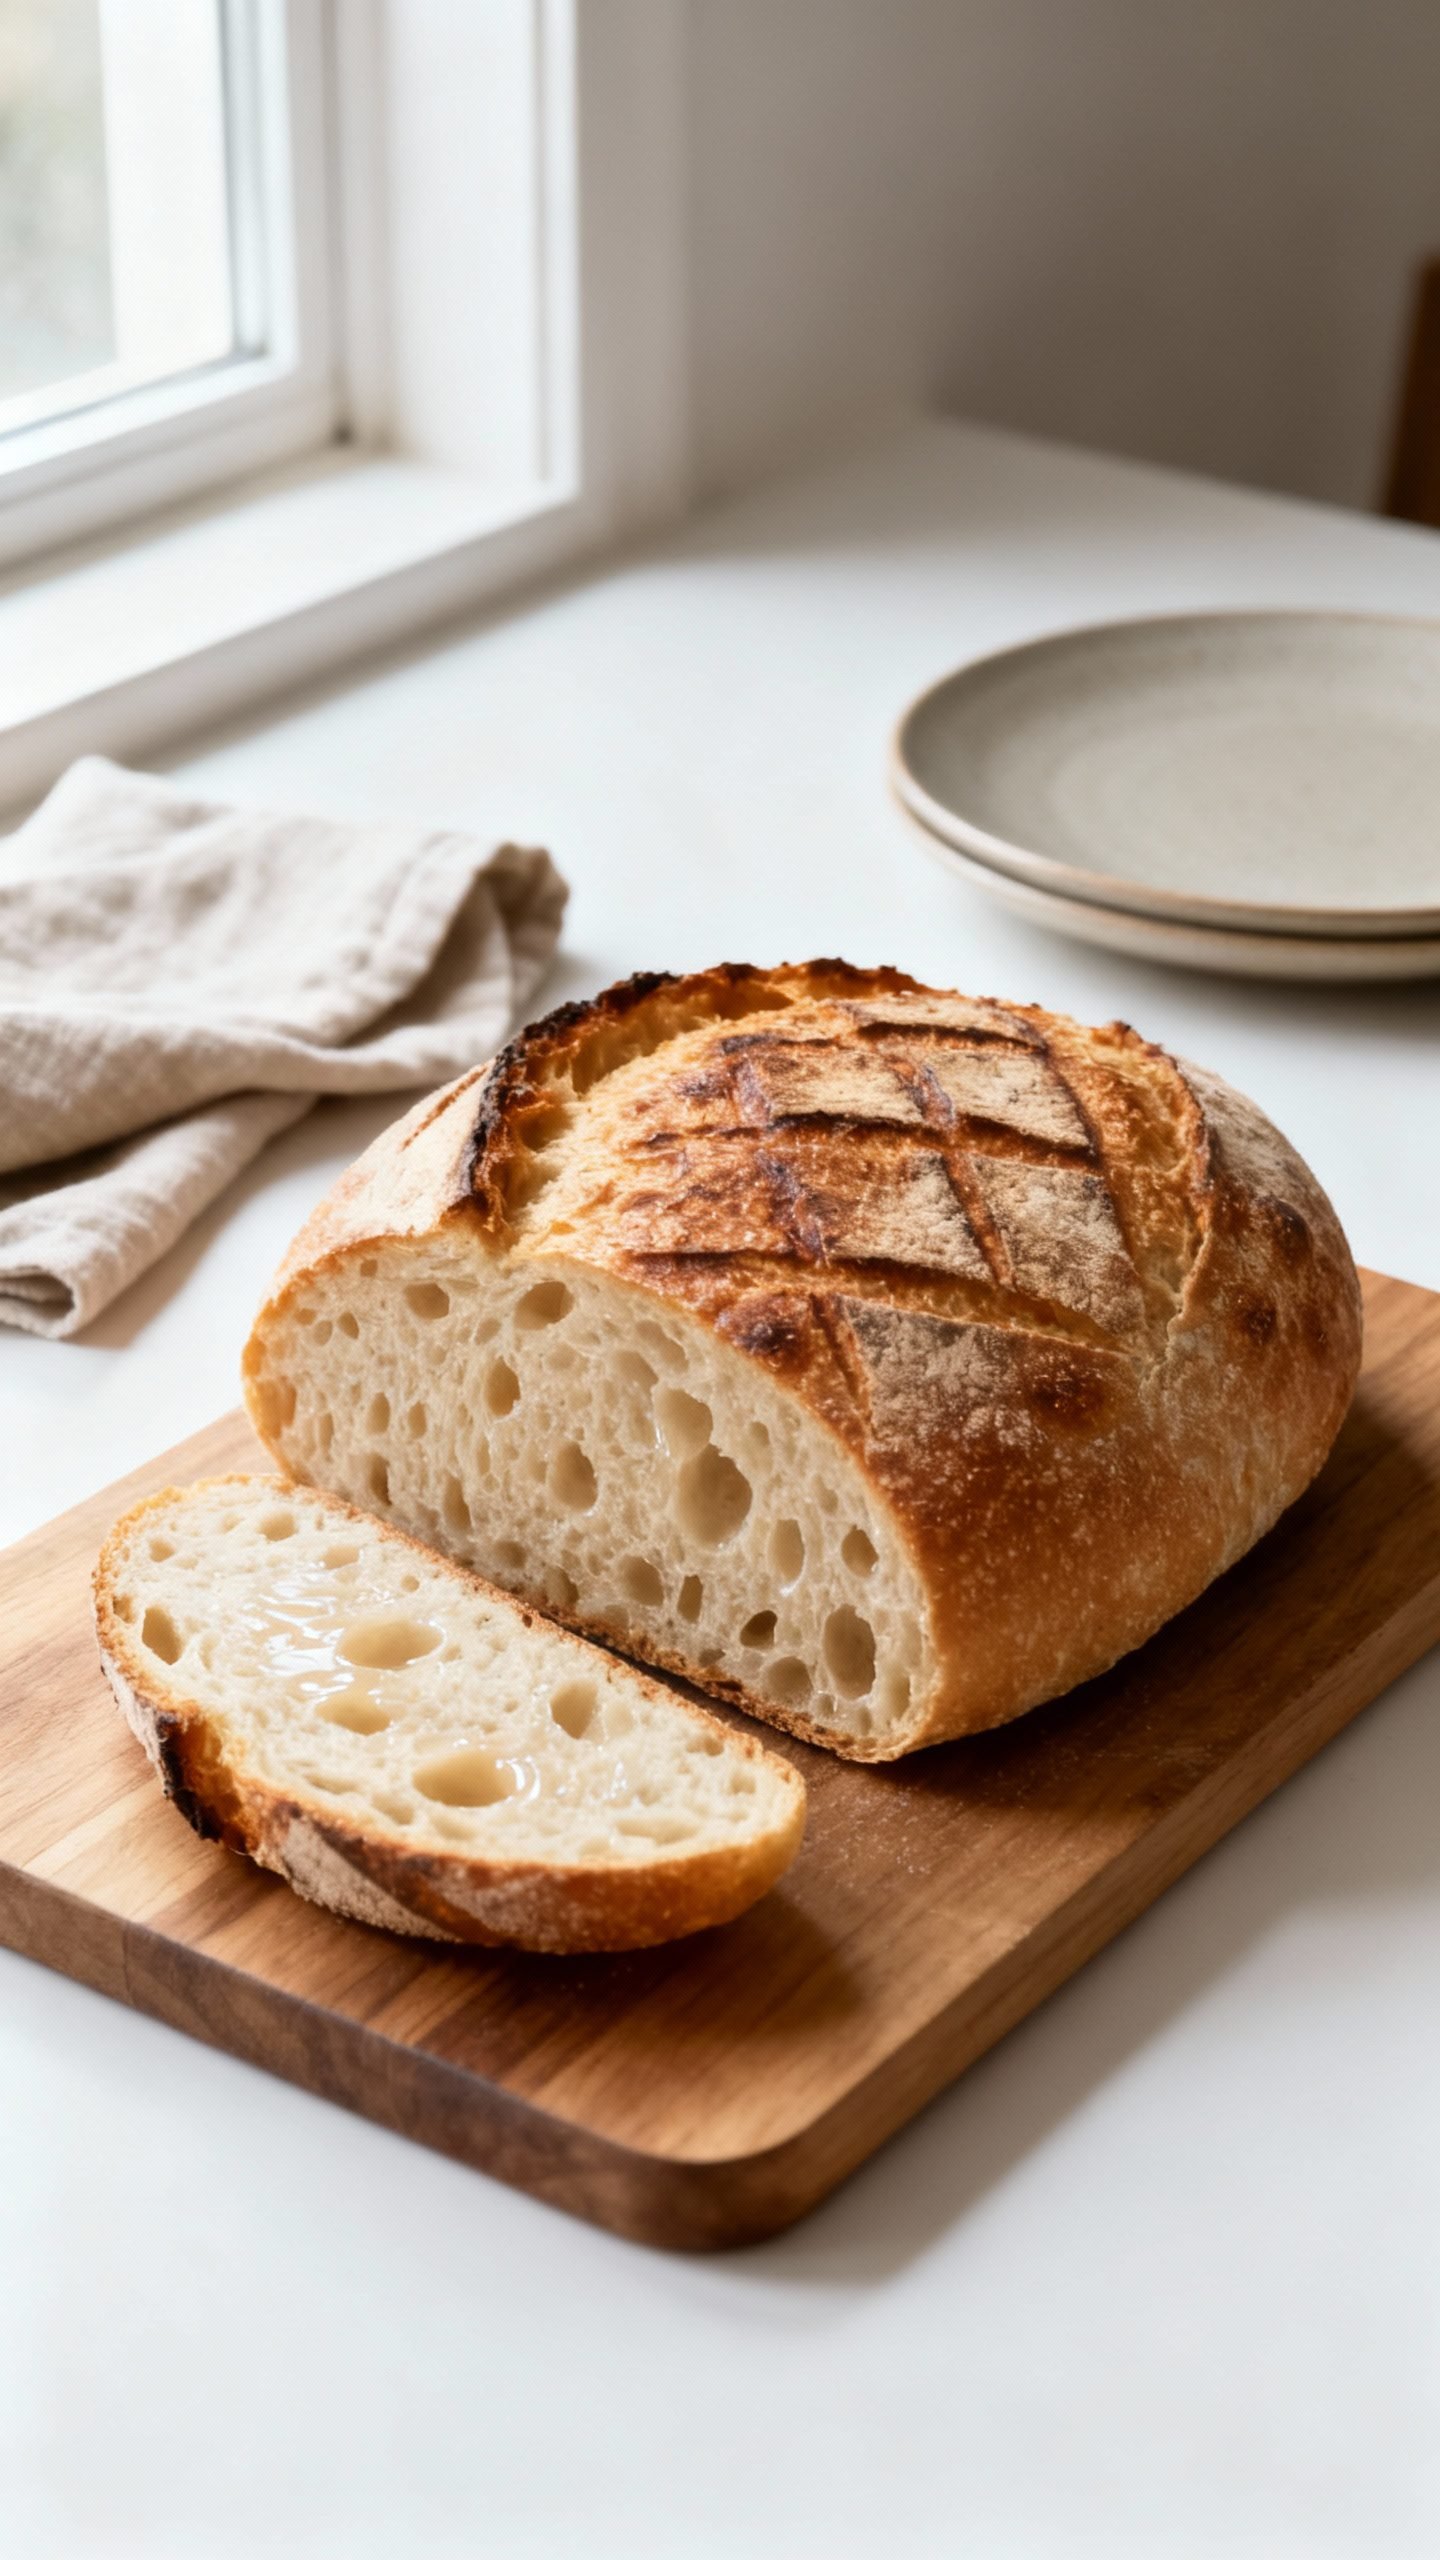
Step 9: Cool
- Cool on a rack for at least 1 hour before slicing. This sets the crumb and keeps it moist.
How to Store Your Sourdough Loaf
- Room temp (best for daily use): Store cut-side down on a board, or in a breathable bread bag for 2–3 days.
- Freeze for longer: Slice, wrap tightly, and freeze up to 2 months. Toast straight from frozen.
- Avoid the fridge: Refrigeration dries out bread quickly and dulls flavor.
- Refresh the crust: Warm a whole loaf at 350°F (177°C) for 8–10 minutes to re-crisp.
Benefits of Making This Beginner Sourdough
- Better texture and flavor: Long fermentation builds gentle tang, aroma, and a soft, open crumb.
- Simple ingredients: Flour, water, salt, and wild yeast—nothing extra.
- Digestibility: Slow fermentation can make bread easier to digest for many people.
- Skill-building: You learn dough feel, timing, and shaping—core bread skills you’ll use forever.
- Budget-friendly: Artisan-quality results at a fraction of bakery prices.
What to Avoid When Baking Sourdough
- Underactive starter: If your starter isn’t bubbly and rising predictably, your loaf won’t rise well.
- Too-warm water: Hot water weakens gluten and can throw off timing. Aim for lukewarm.
- Overproofing: A dough that triples and collapses will bake flat. Watch for a gentle, puffy rise.
- Skipping the preheat: A hot oven and hot Dutch oven create crucial oven spring.
- Slicing too soon: Steam needs time to settle or you’ll squash the crumb.
Variations You Can Try
- Whole wheat blend: Swap 100 g bread flour for whole wheat. Add 10–15 g more water if needed.
- Seeded crust: Roll shaped dough in sesame, poppy, or sunflower seeds before proofing.
- Garlic and herb: Add 1–2 teaspoons dried herbs and 2–3 cloves roasted garlic during the last fold.
- Olive and rosemary: Fold in 80–100 g chopped olives and 1 teaspoon chopped rosemary.
- Country loaf style: Use 400 g bread flour + 50 g rye for deeper flavor.
- Batard shape: Shape into an oval and score with a long central slash for a sandwich-friendly loaf.
FAQ
How do I know my starter is ready?
It should double within 4–8 hours of feeding, look bubbly and domed, smell pleasantly tangy, and pass the float test in room-temp water.
Can I make this without a Dutch oven?
Yes. Preheat a baking stone or sheet. Place a pan on a lower rack and pour in hot water right after loading the dough to create steam. Bake until deeply golden.
My dough feels sticky—what should I do?
Lightly wet your hands instead of adding flour. Use the bench scraper to lift and fold. Stickiness reduces as gluten develops.
Why is my loaf dense?
Likely underproofing or a weak starter. Give bulk more time, keep dough warm, and ensure your starter peaks before mixing.
Can I proof overnight?
Absolutely. Cold-proof in the fridge for 8–16 hours. Score straight from the fridge and bake.
How do I get a thinner, crisper crust?
Bake to a deep golden color, vent the oven door slightly for the last 3–5 minutes, and let the loaf cool fully on a rack.
What flour works best?
Bread flour gives strong structure and a soft interior. You can blend in up to 20% whole grains without major changes.
Conclusion
You can bake a beautiful sourdough loaf with a soft crumb and a proud rise—even on your first try. Follow the timeline, watch the dough’s cues, and trust your senses. Once you taste that warm slice with butter, you’ll want this simple, reliable method on repeat.
Easy Sourdough Bread Recipe | Soft Homemade Artisan Loaf for Beginners
Ingredients
Ingredients
Instructions
Instructions
- Feed your starter 6–8 hours before mixing. It should look airy, domed, and pass the float test.
- If it collapses and looks runny, feed again and wait until it peaks.
- In a bowl, combine 350 g warm water and 100 g active starter. Stir to disperse.
- Add 450 g bread flour. Mix until no dry patches remain. The dough will look shaggy.
- Cover and rest for 30–60 minutes to hydrate the flour. This makes the dough easier to handle.
- Sprinkle 9 g salt over the dough and squeeze it in with damp hands.
- Perform 1–2 sets of stretch-and-fold: grab an edge, stretch up, fold over, rotate the bowl, and repeat 4–6 times.
- Keep dough at 75–78°F (24–26°C). Cooler rooms will take longer; warmer rooms will move faster.
- Do 3–4 sets of folds during the first 90 minutes, every 30 minutes. After that, let the dough rest undisturbed.
- Bulk is done when the dough looks puffy with 50–75% rise, shows bubbles along the sides, and jiggles when you shake the bowl.
- Lightly flour your surface. Turn the dough out gently.
- Use a bench scraper to tuck and rotate the dough into a loose round, building surface tension.
- Cover and rest for 20–30 minutes to relax the gluten.
- For a round loaf: flip the dough so the smooth side faces down. Fold top to center, sides in, then roll down into a tight ball.
- For an oval loaf: shape into a tight batard by folding and rolling, then sealing the seam.
- Use firm, confident movements to create good surface tension without tearing.
- Dust a banneton with rice flour. Place the dough seam-side up.
- Option A: Cold proof in the fridge for 8–16 hours for deeper flavor and easier scoring.
- Option B: Room-temp proof for 45–90 minutes, until the dough springs back slowly when poked.
- Place your Dutch oven inside your oven and preheat to 475°F (246°C) for at least 30 minutes.
- Turn the dough out onto parchment, seam down. Dust lightly with flour.
- Score a 1/4–1/2 inch deep slash along the top to guide the expansion.
- Carefully lower the dough on parchment into the hot Dutch oven. Cover.
- Bake covered for 20 minutes at 475°F (246°C).
- Reduce to 450°F (232°C), uncover, and bake for 20–25 minutes more, until deep golden-brown with a crackly crust.
- Internal temperature should read 208–212°F (98–100°C).
- Cool on a rack for at least 1 hour before slicing. This sets the crumb and keeps it moist.


