
Easy Oreo Pie Recipe | No Bake Cookies and Cream Dessert
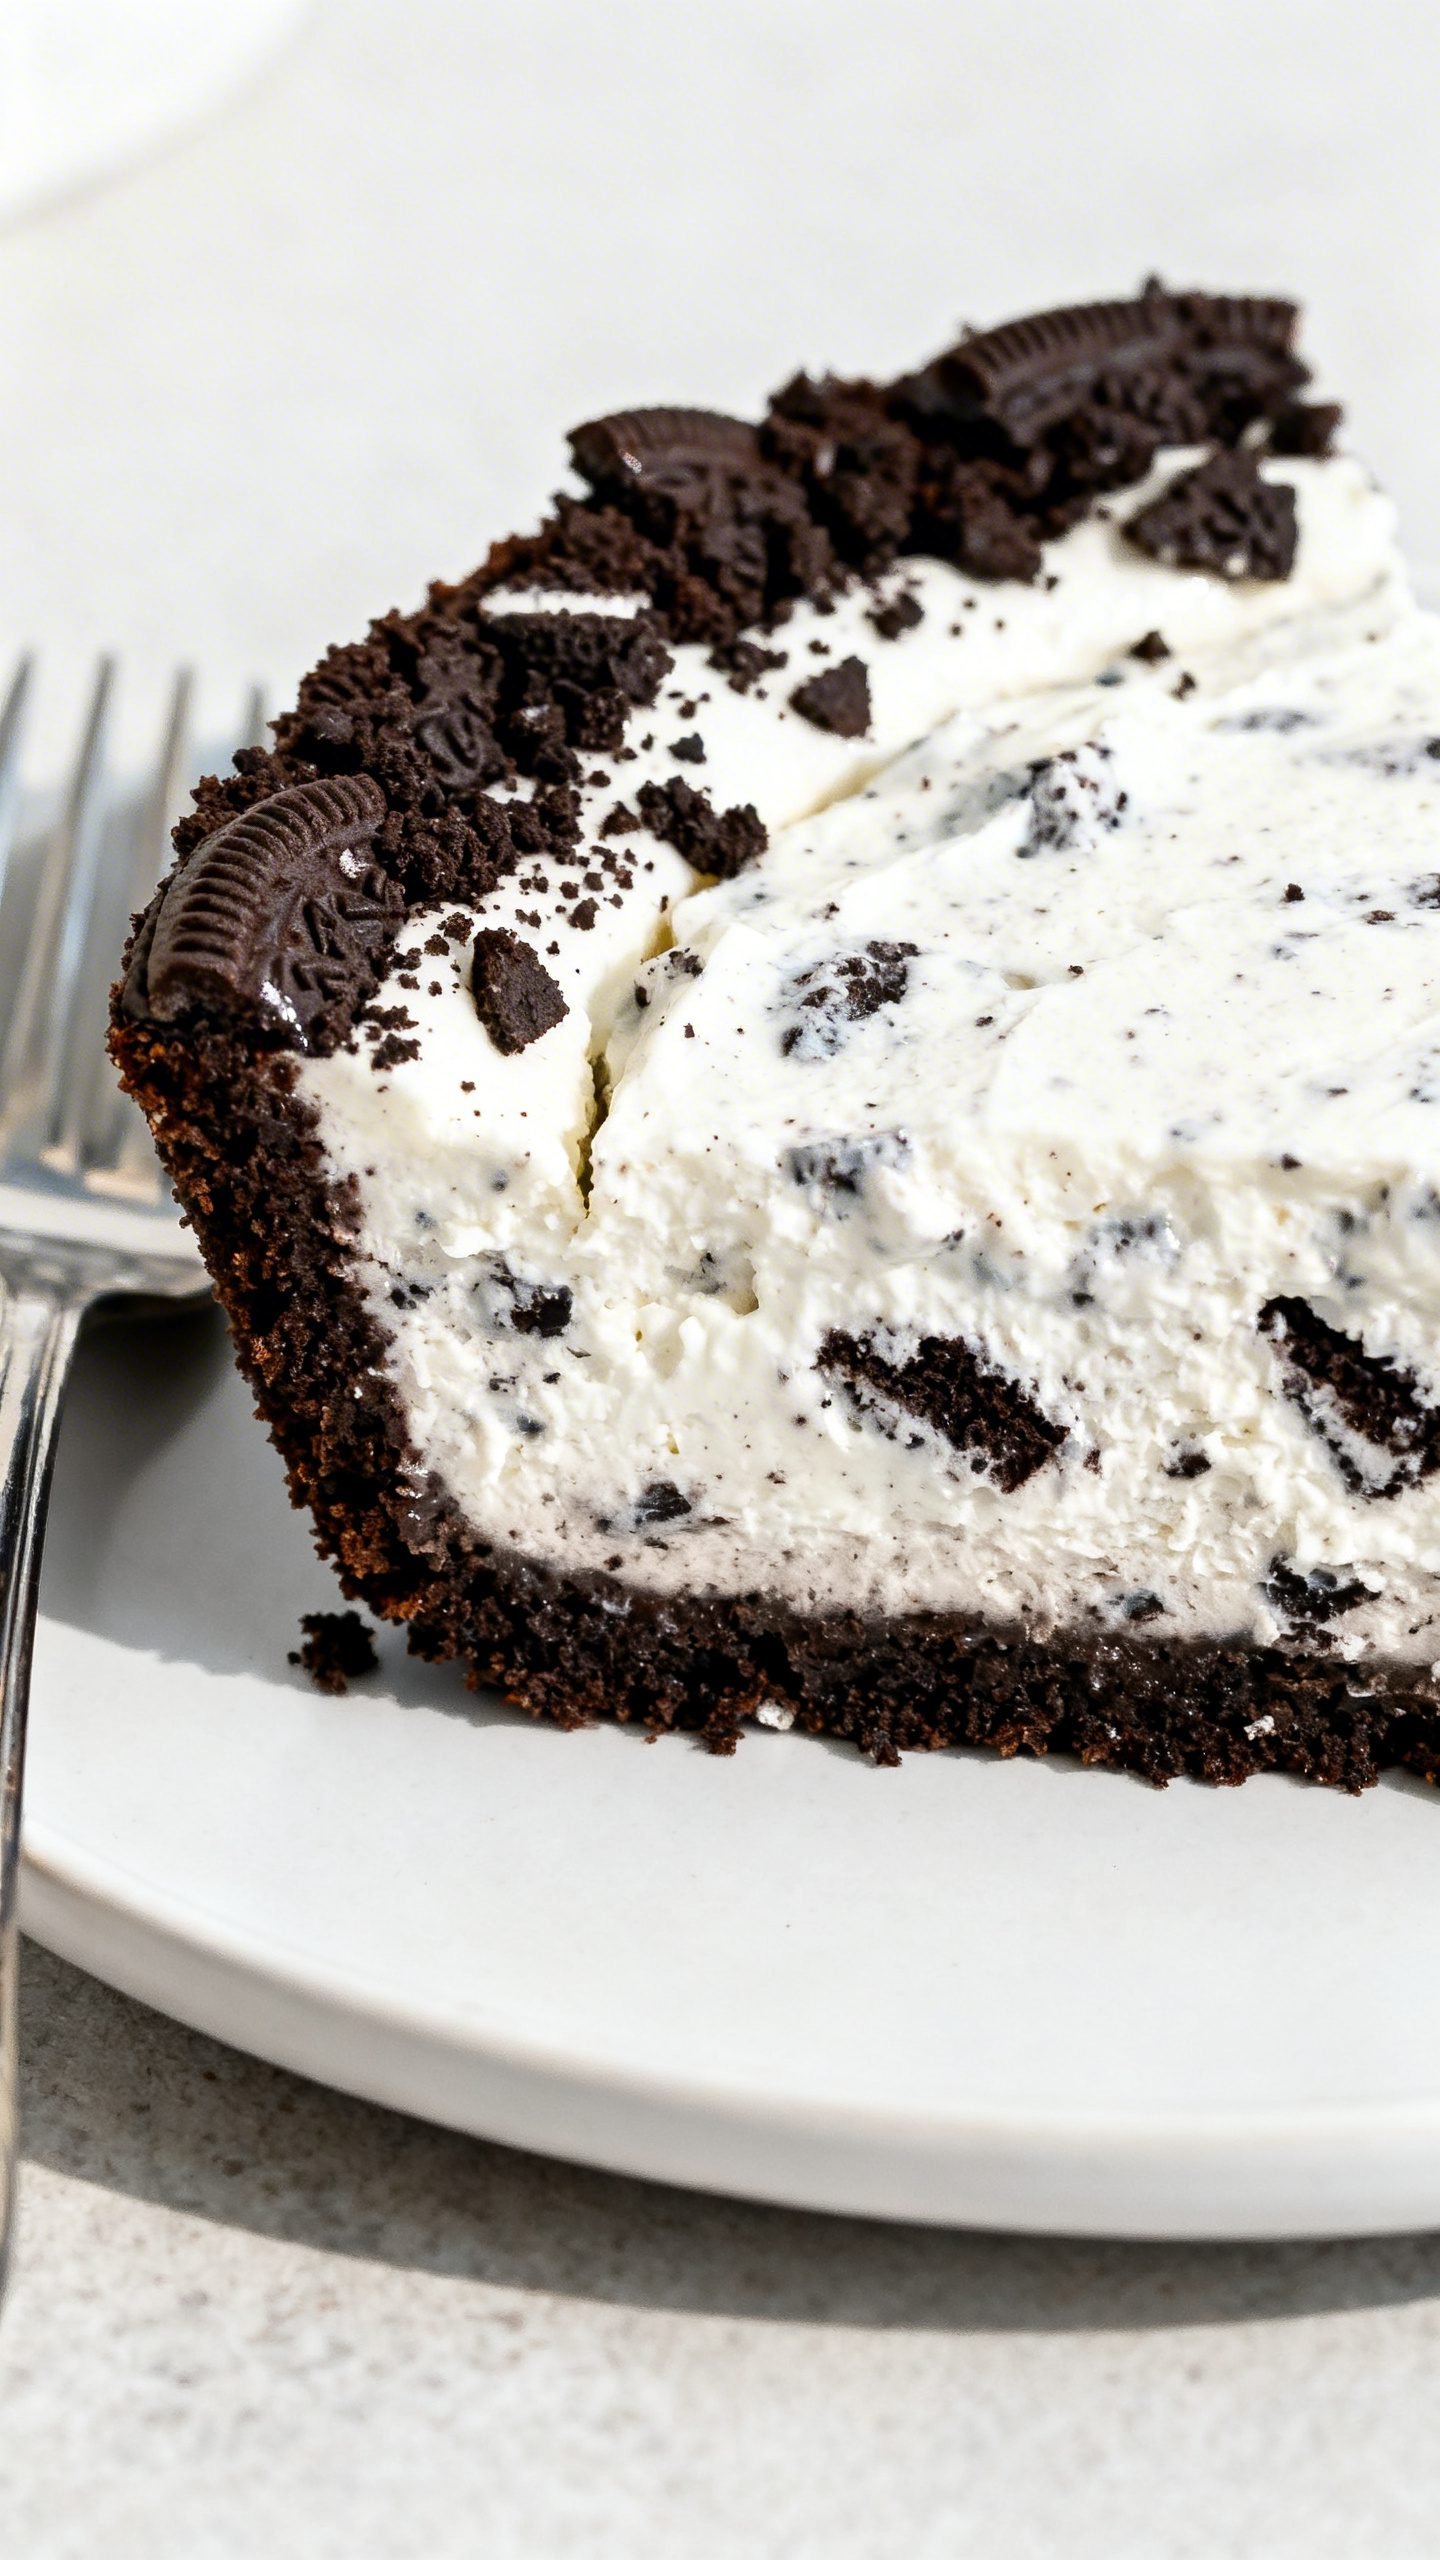
Craving a rich, creamy dessert that takes 15 minutes to make and always steals the show? This easy Oreo pie checks every box. It’s a no-bake cookies-and-cream dream with a crunchy chocolate cookie crust, a fluffy vanilla-cream filling, and plenty of Oreo chunks in every bite.
You only need a handful of simple ingredients, no oven, and a little chill time. It’s the perfect make-ahead dessert for birthdays, holidays, or last-minute sweet tooth emergencies. If you love Oreos, this pie will become your new go-to.
Why This No-Bake Oreo Pie Works
- Effortless prep: You mix, spread, and chill. That’s it. No baking or fancy equipment needed.
- Foolproof texture: The crust stays crisp, the filling sets fluffy and creamy, and the Oreos stay pleasantly chunky.
- Make-ahead friendly: The pie actually improves after a few hours in the fridge.
- Family favorite flavors: Cookies-and-cream never fails, and this pie doubles down on that classic combo.
- Budget-friendly: Pantry staples and a pack of cookies go a long way.
Ingredients
For the Oreo crust
- Oreos (about 24–28 standard cookies), filling included
- Unsalted butter, melted
- Pinch of salt (optional, but it sharpens the chocolate flavor)
For the cookies-and-cream filling
- Cream cheese, softened to room temperature
- Granulated sugar or powdered sugar
- Vanilla extract
- Cold heavy whipping cream (or whipped topping for a shortcut)
- More Oreos, chopped or crushed for the filling
- Extra Oreos for garnish (optional but highly recommended)
Pan and tools
- 9-inch pie dish (deep-dish works best)
- Food processor or zip-top bag and rolling pin for crushing cookies
- Hand mixer or stand mixer for whipping cream and beating filling
- Rubber spatula for folding and smoothing
How to Make This Easy Oreo Pie
1) Make the crust
- Crush the Oreos: Add whole Oreos to a food processor and pulse into fine crumbs. Or seal cookies in a zip-top bag and smash with a rolling pin. You want even, sandy crumbs with no big chunks.
- Mix with butter: Stir the crumbs with melted butter and a pinch of salt until the mixture looks like wet sand that clumps when pressed.
- Press into the pan: Pour into a 9-inch pie dish and press firmly across the bottom and up the sides. Use the bottom of a measuring cup for even, compact pressure. Chill while you make the filling.
2) Whip the cream
- Start cold: Pour cold heavy cream into a chilled bowl.
- Whip to medium-stiff peaks: Beat until the cream holds its shape but still looks silky. Do not overbeat or it will turn grainy.
- Set aside in the fridge while you prep the rest.
3) Make the filling
- Beat cream cheese and sugar: In a large bowl, beat softened cream cheese with sugar until smooth and fluffy. Scrape the bowl well.
- Add vanilla: Mix in vanilla extract.
- Fold in whipped cream: Gently fold the whipped cream into the cream cheese mixture with a spatula. Keep it airy—use long, light folds.
- Add Oreos: Fold in chopped Oreos until evenly dotted throughout.
4) Assemble and chill
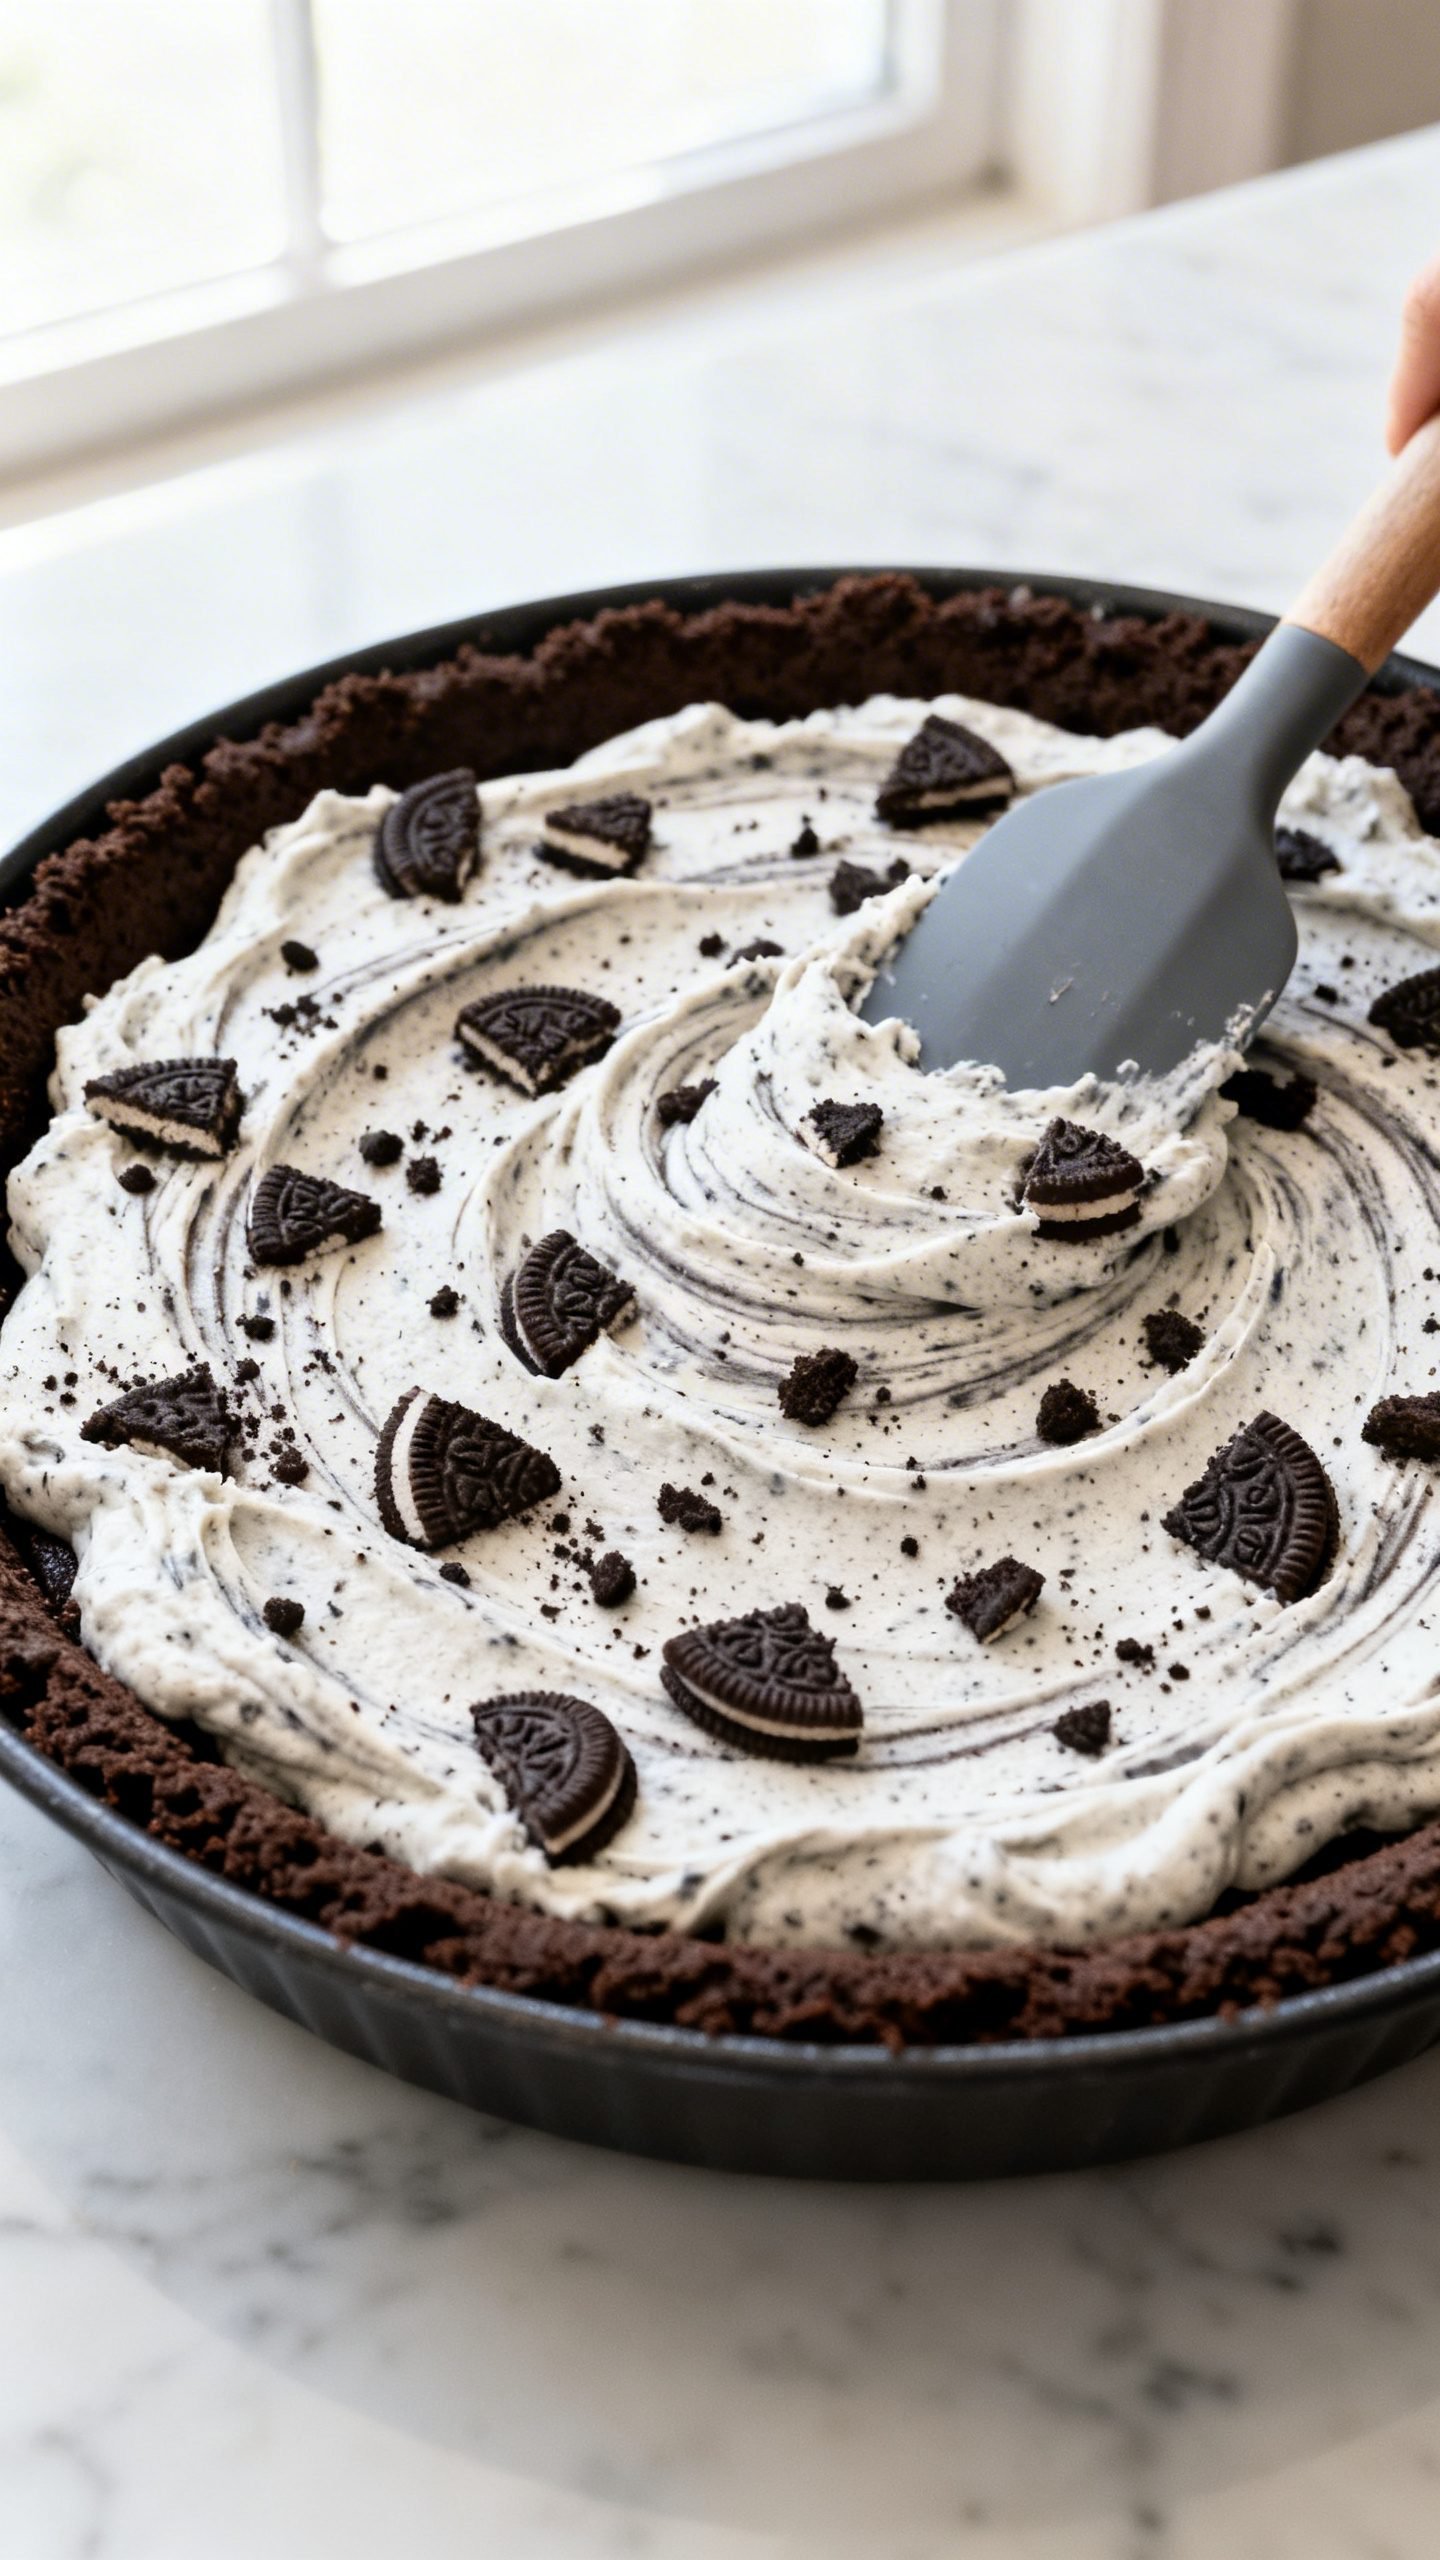
- Fill the crust: Spoon the cookies-and-cream filling into the chilled crust and smooth the top.
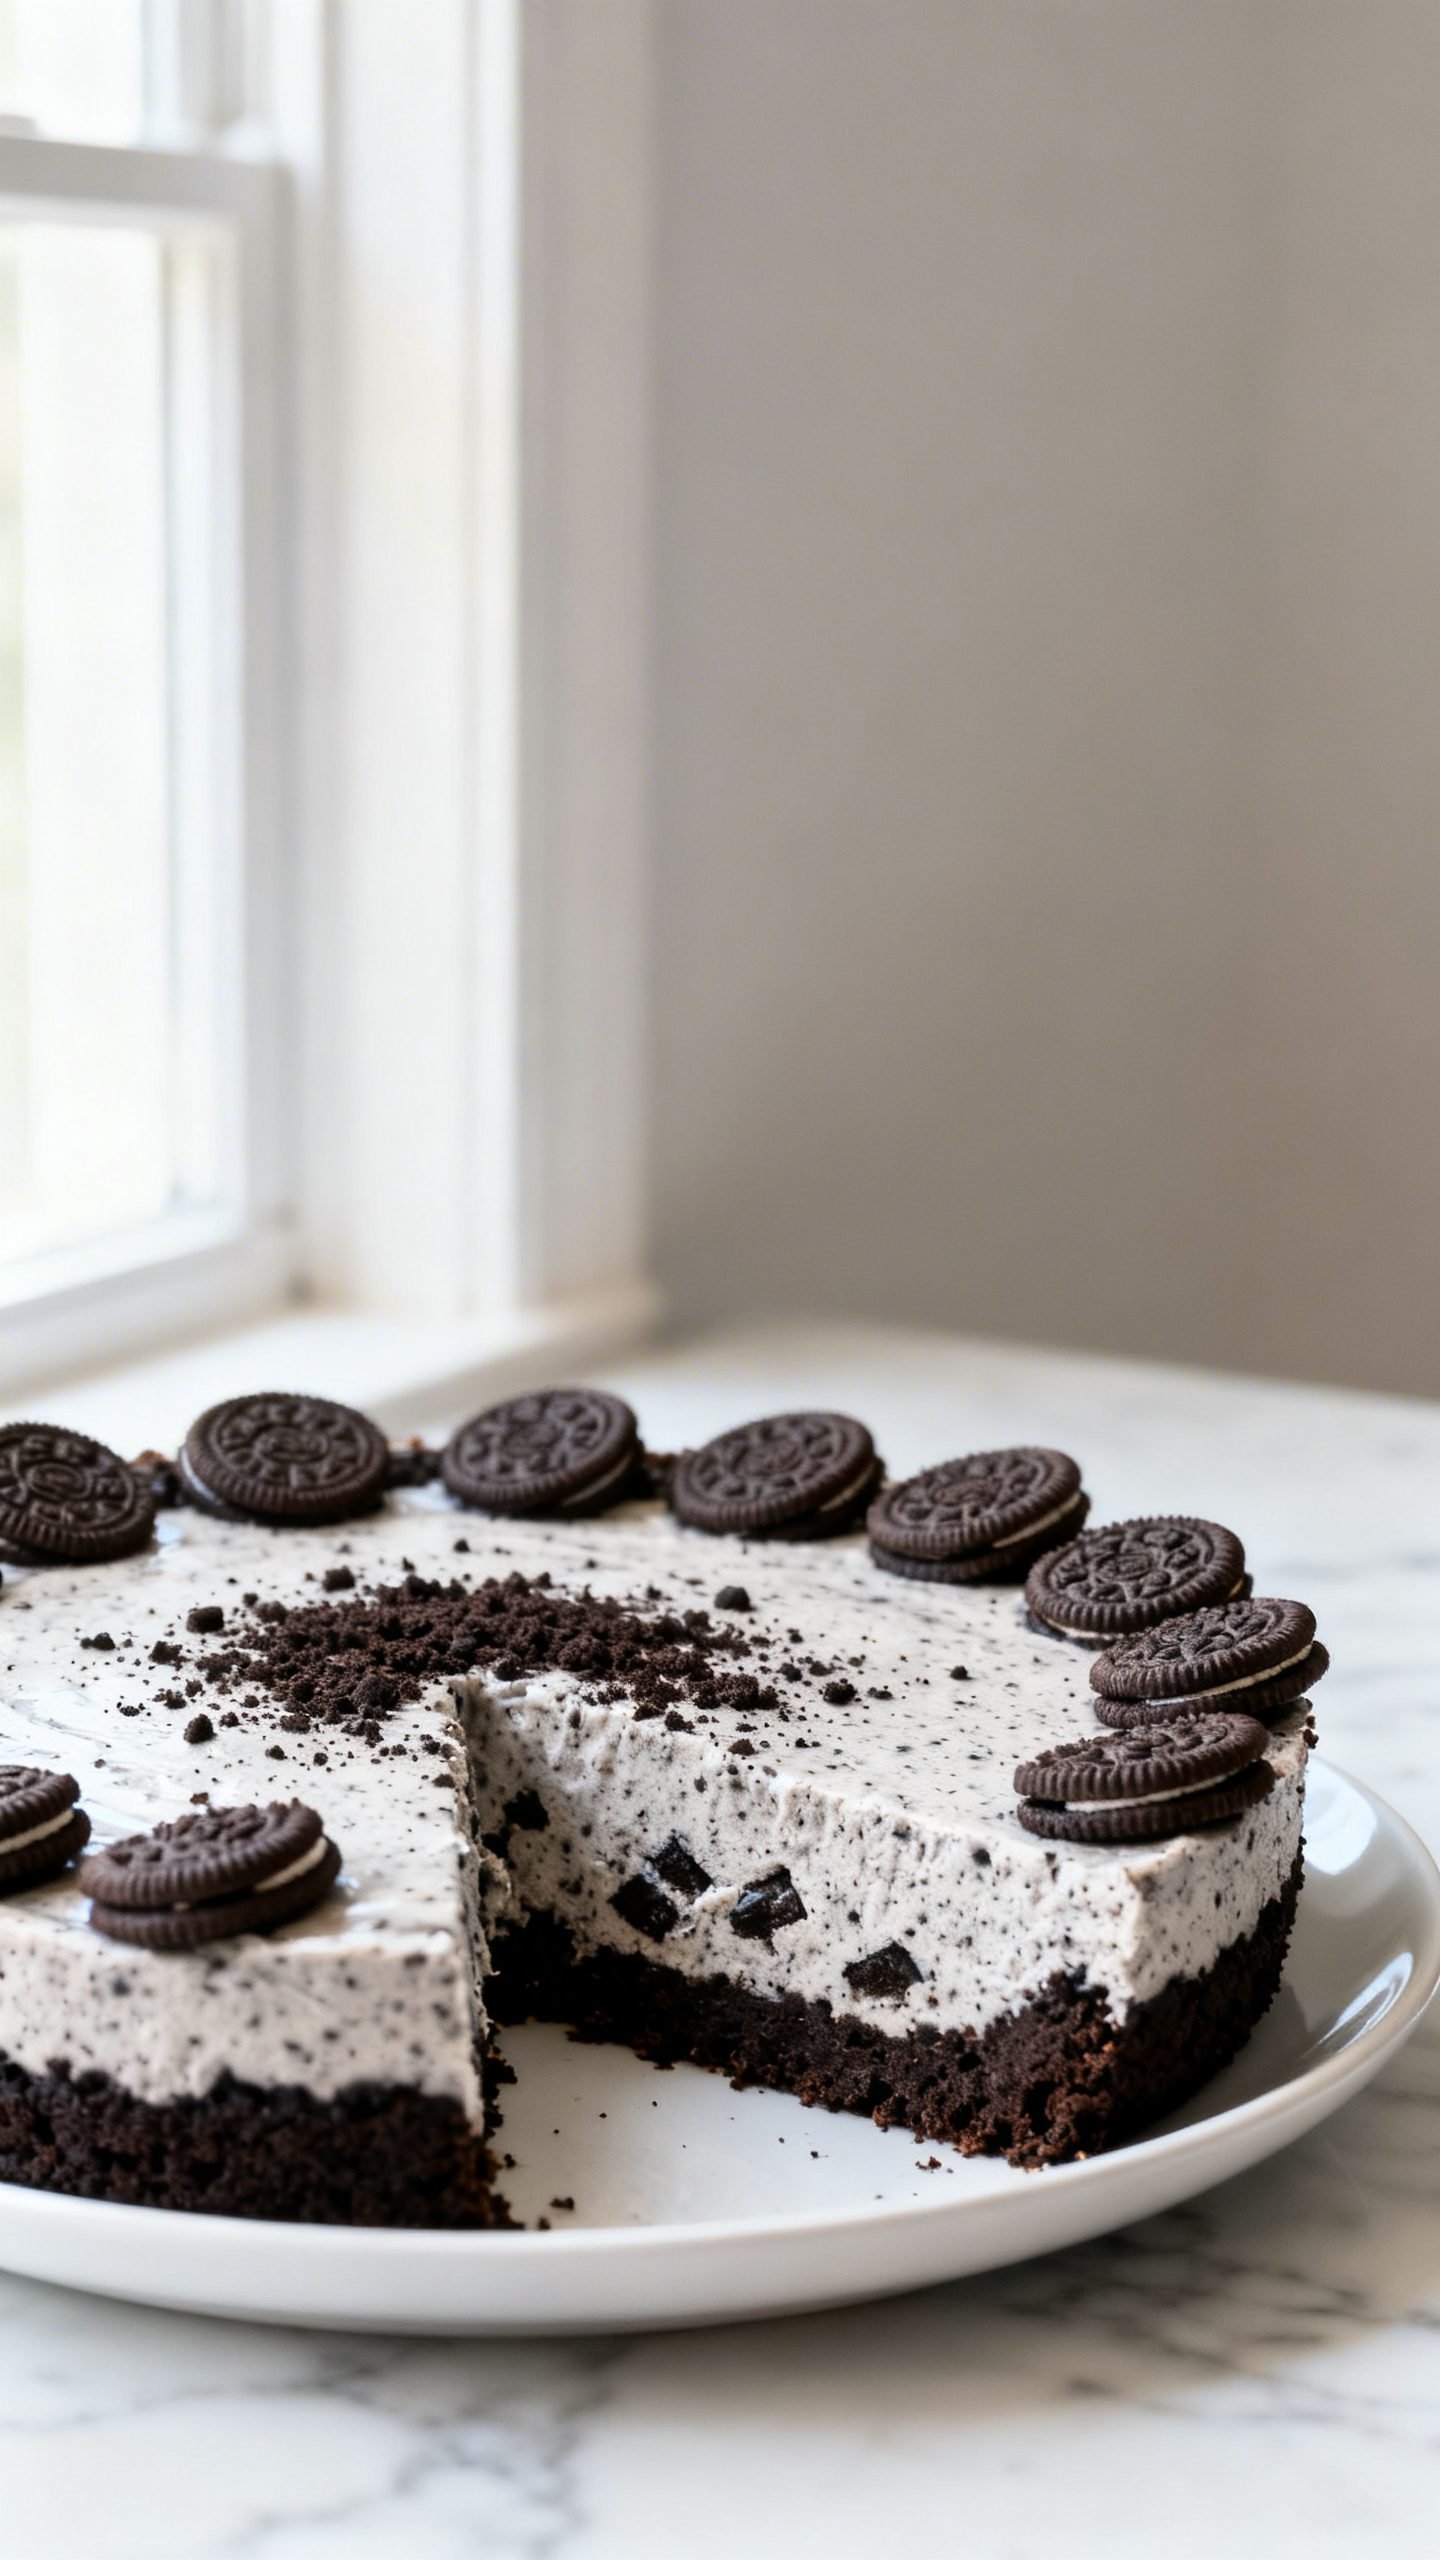
- Top and chill: Sprinkle extra crushed Oreos on top or line up halved cookies around the edge. Chill at least 4 hours (overnight tastes best) until fully set.
- Slice and serve: Run a sharp knife under hot water, dry it, then slice for clean edges.
How to Store Your Oreo Pie
- Refrigerate: Cover the pie tightly and refrigerate for up to 4–5 days.
- Freeze: Freeze whole or sliced, well-wrapped, for up to 2 months. Thaw in the fridge overnight.
- Keep it covered: A covered pie avoids fridge odors and prevents the top from drying out.
- Add fresh garnish later: If you like crunchy toppings, add extra cookie crumbs just before serving.
Benefits of Making This No-Bake Cookies-and-Cream Pie
- No oven needed: Great for hot days or busy schedules.
- Fast assembly: You can prep it in 15 minutes, then let the fridge do the work.
- Consistent results: The ratio of crust to filling delivers a balanced bite every time.
- Beginner-friendly: If you can stir and press, you can make this dessert.
- Party-perfect: It slices cleanly and serves a crowd without fuss.
What Not to Do
- Don’t skip chilling: The filling needs time to set. Rushing leads to messy slices.
- Don’t overbeat the cream: Overwhipped cream turns grainy and can collapse the filling.
- Don’t use warm cream cheese: Use room-temperature cream cheese so it blends smooth—no lumps.
- Don’t leave big cookie chunks in the crust: Large pieces prevent the crust from holding together.
- Don’t skimp on butter: The butter binds the crust. Too little and it crumbles apart.
Variations You Can Try
- Mint Oreo pie: Add peppermint extract to the filling and use Mint Oreos for a cool twist.
- Peanut butter swirl: Warm creamy peanut butter and swirl it into the filling before chilling.
- Chocolate lover’s edition: Whisk cocoa powder into the cream cheese and drizzle chocolate ganache on top.
- Gluten-free: Use certified gluten-free chocolate sandwich cookies.
- Lightened-up: Use reduced-fat cream cheese and whipped topping. The texture stays fluffy.
- Individual cups: Layer crust crumbs and filling into jars for portable desserts.
- Salted caramel finish: Drizzle caramel sauce and sprinkle flaky salt right before serving.
FAQ
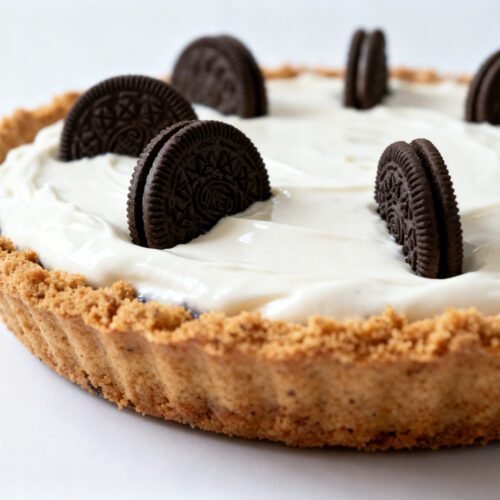
Can I use a store-bought Oreo crust?
Yes. A ready-made 9-inch chocolate cookie crust saves time. The homemade crust tastes richer, but both work.
Do I need gelatin?
No. The cream cheese and whipped cream set the pie beautifully without gelatin.
Can I use whipped topping instead of heavy cream?
Absolutely. Fold in an equal amount of thawed whipped topping for a shortcut. The pie sets a bit sweeter and very fluffy.
Why is my crust crumbly?
You likely need more butter or tighter packing. Add a little more melted butter and press firmly with a measuring cup.
How long should it chill?
At least 4 hours. Overnight gives the cleanest slices and best flavor.
Can I make it dairy-free?
Use a dairy-free cream cheese and a coconut-based whipped topping. The texture stays creamy and satisfying.
Conclusion
This easy Oreo pie brings big cookies-and-cream flavor with almost zero effort. You make a buttery chocolate cookie crust, whip up a light cream filling, fold in plenty of Oreos, and let the fridge handle the finish. It’s simple, dependable, and wildly delicious—exactly the kind of no-bake dessert you’ll make again and again.
Grab a pack of Oreos and a pie dish, and let’s get this sweet, chill masterpiece on your table.
Easy Oreo Pie Recipe | No Bake Cookies and Cream Dessert
Ingredients
Ingredients
- Oreos (about 24–28 standard cookies), filling included
- Unsalted butter, melted
- Pinch of salt (optional)
- Cream cheese, softened to room temperature
- Granulated sugar or powdered sugar
- Vanilla extract
- Cold heavy whipping cream (or whipped topping)
- More Oreos, chopped or crushed, for the filling
- Extra Oreos for garnish (optional)
Instructions
Instructions
- Crush the Oreos into fine crumbs using a food processor or a zip-top bag and rolling pin.
- Stir the crumbs with melted butter and a pinch of salt until the mixture resembles wet sand and clumps when pressed.
- Press the mixture firmly into the bottom and up the sides of a 9-inch pie dish, then chill while preparing the filling.
- Whip cold heavy cream to medium-stiff peaks and refrigerate it while preparing the cream cheese mixture.
- Beat softened cream cheese with sugar until smooth and fluffy, then mix in vanilla extract.
- Gently fold the whipped cream into the cream cheese mixture until airy and combined.
- Fold in chopped Oreos until evenly distributed.
- Spoon the filling into the chilled crust and smooth the top.
- Garnish with extra crushed or halved Oreos if desired.
- Chill for at least 4 hours or overnight until fully set, then slice and serve.


