
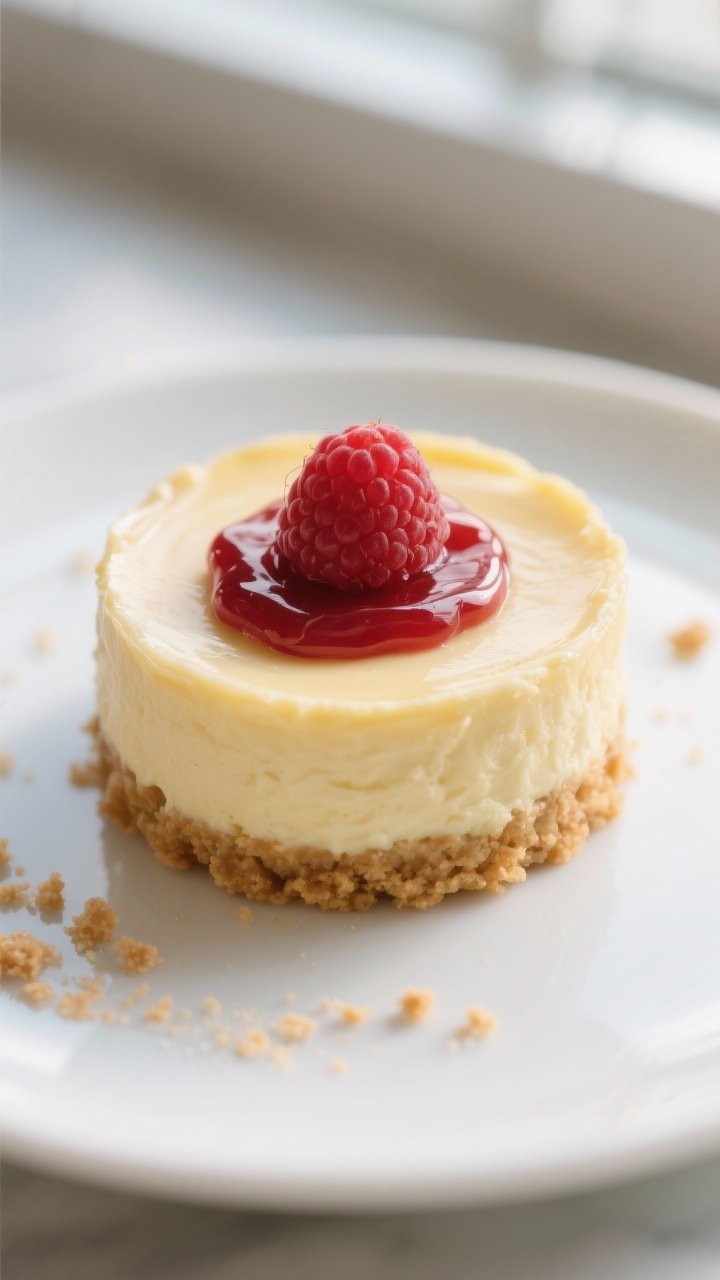
Easy Mini Cheesecake Bites – Small, Creamy Treats for Any Occasion
These mini cheesecake bites are the kind of dessert you can make on a weeknight and still feel proud to serve at a party. They’re creamy, rich, and just the right size for a quick treat. No water bath, no fancy equipment, and no stress.
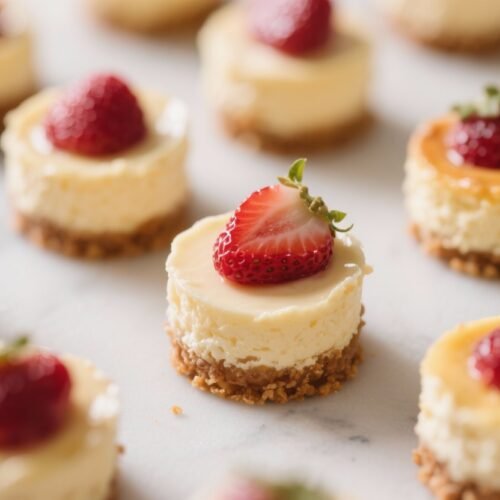
You get a buttery crust, smooth cheesecake filling, and endless options for toppings. Make a batch, stash them in the fridge, and you’re set for cravings, guests, or lunchbox surprises.
Why This Recipe Works
- Quick bake time: Mini cheesecakes cook faster than a full-size cheesecake, so there’s less waiting and fewer chances for cracks.
- No water bath needed: The small size and gentle bake make a water bath unnecessary, which simplifies the process.
- Perfect portion control: Each bite is pre-portioned and easy to serve. No slicing or messy plates.
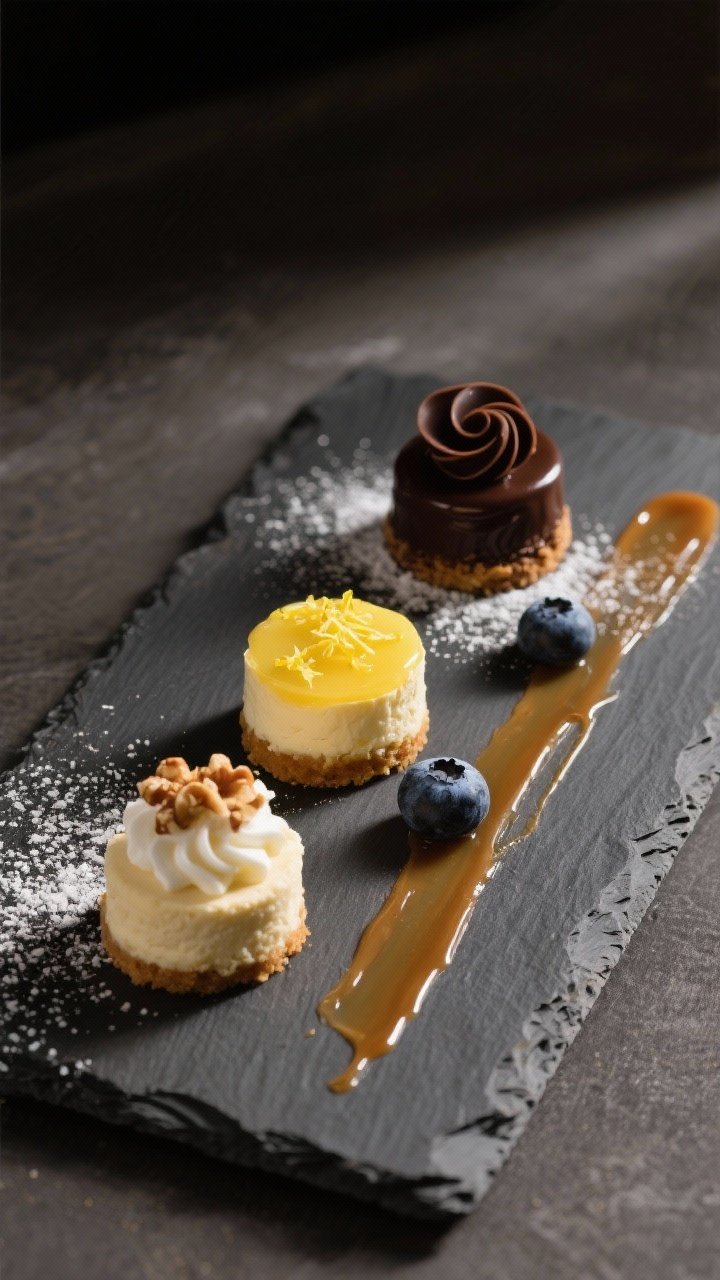
- Customizable: Use jam, chocolate, citrus, or fruit to match the season or your mood.
- Freezer-friendly: They hold up beautifully in the freezer for future treats.
Ingredients
For the Crust
- 1 cup (100 g) graham cracker crumbs (or digestive biscuits)
- 2 tablespoons granulated sugar
- 4 tablespoons (56 g) unsalted butter, melted
- Pinch of salt
For the Cheesecake Filling
- 16 oz (450 g) full-fat cream cheese, softened to room temperature
- 1/2 cup (100 g) granulated sugar
- 2 large eggs, at room temperature
- 1/3 cup (80 ml) sour cream, at room temperature
- 1 teaspoon pure vanilla extract
- 1 tablespoon fresh lemon juice
- 1/4 teaspoon fine salt
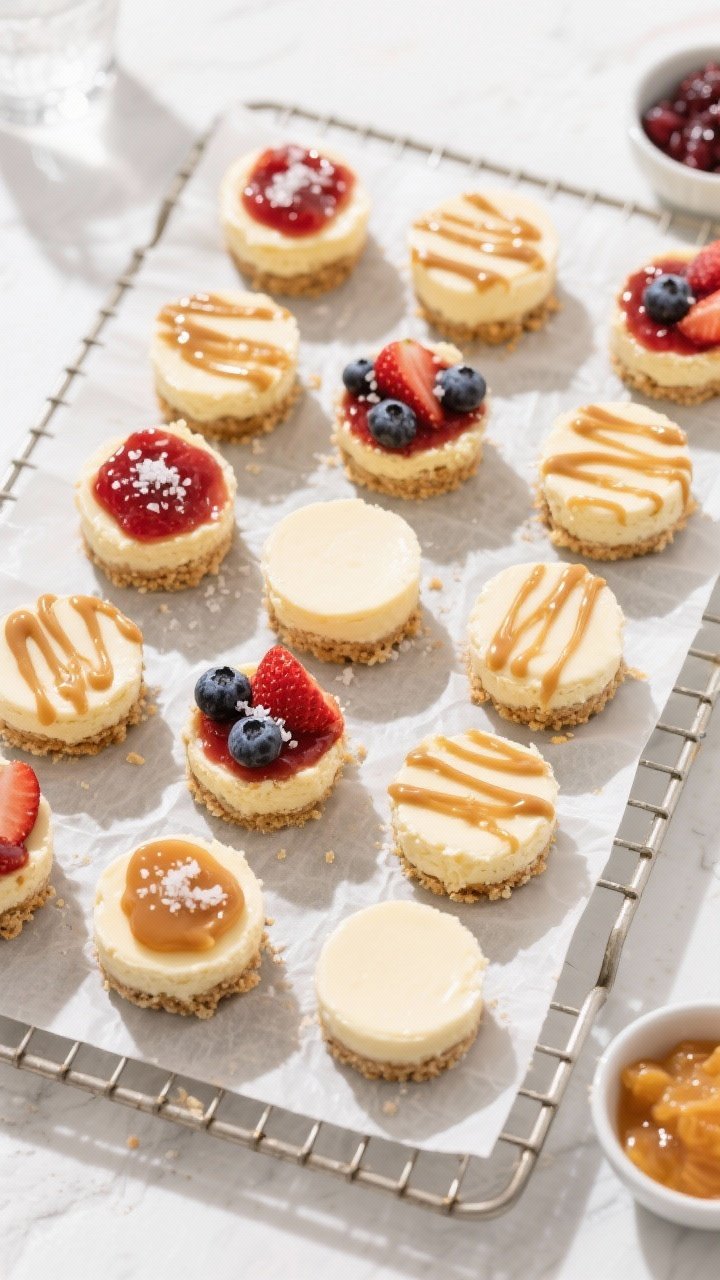
Optional Toppings
- Fruit preserves or lemon curd
- Fresh berries
- Chocolate ganache or melted chocolate
- Caramel sauce
- Whipped cream
- Crushed cookies or nuts
Instructions
- Prep your pan. Line a 12-cup muffin pan with paper liners.
Preheat the oven to 325°F (163°C). Set out your cream cheese, eggs, and sour cream to warm slightly if you haven’t already.
- Make the crust. In a bowl, mix graham cracker crumbs, sugar, melted butter, and salt until the crumbs look like wet sand. It should clump when pressed.
- Press the crust. Divide the mixture evenly among the liners, about 1 heaping tablespoon each.
Press firmly with the back of a spoon or the bottom of a small glass to compact the crust.
- Pre-bake the crust. Bake for 5–6 minutes. This helps set the crust and keeps it crisp. Let it cool slightly while you make the filling.
- Beat the cream cheese. In a large bowl with a hand mixer or stand mixer, beat the cream cheese on medium speed until smooth and fluffy, about 1–2 minutes.
Scrape the bowl.
- Add sugar and salt. Beat in the sugar and salt until combined and creamy. Avoid overmixing—just get it smooth.
- Add eggs. Mix in the eggs one at a time on low speed, scraping the bowl as needed. Keep the mixer on low to prevent too much air from getting into the batter.
- Finish the batter. Add sour cream, vanilla, and lemon juice.
Mix on low until silky and uniform. The batter should be pourable but thick.
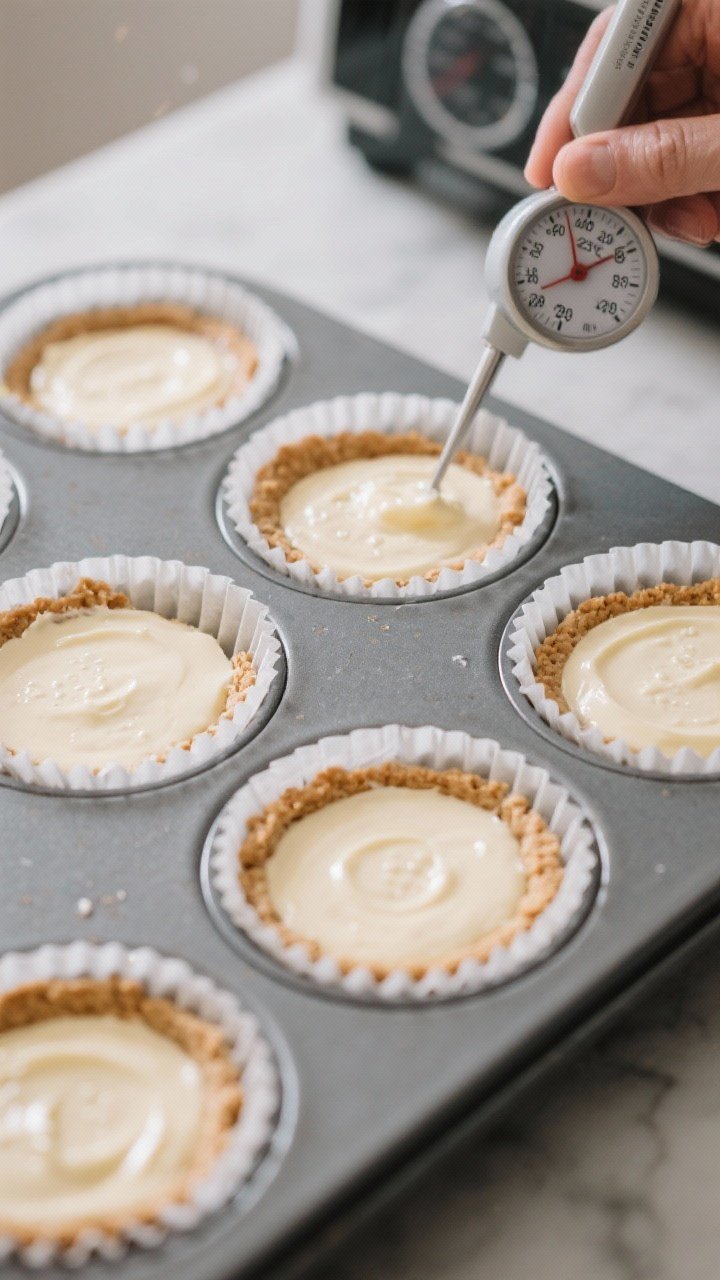
- Fill the cups. Divide the batter among the crusts, filling each liner about 3/4 full.
- Bake. Bake at 325°F (163°C) for 15–18 minutes. The edges should look set, and the centers should still jiggle slightly like set Jell-O.
- Cool gradually. Turn off the oven, crack the door, and let them rest for 5 minutes.
Then move the pan to a cooling rack and let the cheesecakes cool to room temperature.
- Chill. Refrigerate for at least 2 hours, preferably 4, to firm up. Top right before serving.
- Add toppings. Spoon on jam, swirl chocolate, or add fruit and whipped cream. Keep it light so the cheesecake remains the star.
Storage Instructions
- Refrigerator: Store covered in the fridge for up to 5 days.
Keep toppings separate until serving for best texture.
- Freezer: Freeze without toppings. Place chilled cheesecakes on a sheet pan to freeze solid, then transfer to an airtight container. They keep for up to 2 months.
Thaw in the fridge overnight.
- Serving: For the creamiest texture, let them sit at room temperature for 10–15 minutes before eating.
Why This is Good for You
- Built-in portion control: Mini sizes help you enjoy dessert without overdoing it.
- Protein and calcium: Cream cheese and eggs provide a bit of protein and bone-friendly calcium.
- Customizable sugar levels: You can reduce the sugar slightly or use fruit toppings to add natural sweetness.
- Real ingredients: Simple pantry staples with no artificial flavors needed for a great result.
Pitfalls to Watch Out For
- Cold ingredients: Using cold cream cheese or eggs can lead to a lumpy batter. Bring them to room temperature first.
- Overmixing: Beating too long whips in air, which can cause cracks. Mix on low and stop when combined.
- Overbaking: If the centers are fully set, they’ll be dry.
Pull them when they still wobble slightly.
- Skipping the chill: Cheesecake needs time to set. Rushing this step affects texture and flavor.
- Heavy toppings: Too much fruit or sauce can make the tops soggy. Use a light hand.
Alternatives
- Crust swaps: Try chocolate wafer crumbs, Oreos (skip the added sugar), vanilla wafers, or gluten-free graham crackers.
- Flavor twists: Add 1 teaspoon lemon zest, swirl in 2 tablespoons raspberry jam before baking, or fold in mini chocolate chips.
- Lighter version: Use Neufchâtel (1/3 less fat cream cheese) and Greek yogurt in place of sour cream.
Texture will be slightly lighter but still creamy.
- No-refined-sugar option: Use coconut sugar in the crust and batter, and top with fresh fruit.
- Egg-free: Replace each egg with 3 tablespoons room-temperature plain Greek yogurt plus 1 teaspoon cornstarch per egg. Bake times may vary slightly.
- Mini-muffin size: Use a mini muffin tin with liners. Bake crusts 4 minutes, then bake filled cups 10–12 minutes.
FAQ
Do I need a water bath for mini cheesecakes?
No.
The small size and low oven temperature help them bake evenly without cracking, so a water bath isn’t necessary.
Why did my cheesecakes crack?
Cracks usually come from overmixing, overbaking, or cooling too quickly. Mix on low speed, bake until just set with a slight jiggle, and let them cool gradually.
Can I make these ahead?
Yes. They’re ideal for making ahead.
Bake and chill up to 48 hours before serving, then add toppings right before you plate them.
Can I use low-fat cream cheese?
You can, but full-fat gives the best texture and flavor. Low-fat versions may be slightly softer and less rich.
How do I get a smooth batter?
Start with room-temperature ingredients, beat the cream cheese until smooth first, and scrape the bowl often. Mix on low to avoid air bubbles.
What if I don’t have paper liners?
Grease the muffin wells lightly and line the bottom with small circles of parchment.
Let them chill well, then run a thin knife around the edges to release.
How do I know when they’re done?
The edges should look set, and the centers should still wobble slightly when you nudge the pan. They’ll firm up as they cool.
Can I double the recipe?
Yes. Use two muffin pans or bake in batches.
Keep the same oven temperature and timing, but check for doneness early.
In Conclusion
These Easy Mini Cheesecake Bites are simple, flexible, and crowd-pleasing. You get classic cheesecake flavor with minimal effort and quick bake times. Keep a batch chilled or frozen, and top them however you like.
Whether it’s a weekday sweet tooth or a special occasion, these little bites deliver every time.
Easy Mini Cheesecake Bites - Small, Creamy Treats for Any Occasion
Ingredients
- 1 cup (100 g) graham cracker crumbs (or digestive biscuits)
- 2 tablespoons granulated sugar
- 4 tablespoons (56 g) unsalted butter, melted
- Pinch of salt
- 16 oz (450 g) full-fat cream cheese, softened to room temperature
- ½ cup (100 g) granulated sugar
- 2 large eggs, at room temperature
- ⅓ cup (80 ml) sour cream, at room temperature
- 1 teaspoon pure vanilla extract
- 1 tablespoon fresh lemon juice
- ¼ teaspoon fine salt
- Fruit preserves or lemon curd
- Fresh berries
- Chocolate ganache or melted chocolate
- Caramel sauce
- Whipped cream
- Crushed cookies or nuts
Instructions
- Prep your pan. Line a 12-cup muffin pan with paper liners.Preheat the oven to 325°F (163°C). Set out your cream cheese, eggs, and sour cream to warm slightly if you haven’t already.
- Make the crust. In a bowl, mix graham cracker crumbs, sugar, melted butter, and salt until the crumbs look like wet sand. It should clump when pressed.
- Press the crust. Divide the mixture evenly among the liners, about 1 heaping tablespoon each.Press firmly with the back of a spoon or the bottom of a small glass to compact the crust.
- Pre-bake the crust. Bake for 5–6 minutes. This helps set the crust and keeps it crisp. Let it cool slightly while you make the filling.
- Beat the cream cheese. In a large bowl with a hand mixer or stand mixer, beat the cream cheese on medium speed until smooth and fluffy, about 1–2 minutes.Scrape the bowl.
- Add sugar and salt. Beat in the sugar and salt until combined and creamy. Avoid overmixing—just get it smooth.
- Add eggs. Mix in the eggs one at a time on low speed, scraping the bowl as needed. Keep the mixer on low to prevent too much air from getting into the batter.
- Finish the batter. Add sour cream, vanilla, and lemon juice.Mix on low until silky and uniform. The batter should be pourable but thick.
- Fill the cups. Divide the batter among the crusts, filling each liner about 3/4 full.
- Bake. Bake at 325°F (163°C) for 15–18 minutes. The edges should look set, and the centers should still jiggle slightly like set Jell-O.
- Cool gradually. Turn off the oven, crack the door, and let them rest for 5 minutes.Then move the pan to a cooling rack and let the cheesecakes cool to room temperature.
- Chill. Refrigerate for at least 2 hours, preferably 4, to firm up. Top right before serving.
- Add toppings. Spoon on jam, swirl chocolate, or add fruit and whipped cream. Keep it light so the cheesecake remains the star.


