
Easy Homemade Gummy Candy in Minutes
Craving chewy, bouncy gummies but don’t want the artificial stuff or a long ingredient list? You can make bright, fruit-forward gummy candy at home in just minutes. No fancy equipment, no corn syrup, and you control the sweetness and flavor. Once you learn the simple method, you’ll never reach for store-bought again.
In this guide, I’ll show you how to make juicy, glossy gummies using real fruit juice, gelatin, and a few pantry basics. You’ll get clean flavors, vibrant colors, and a perfectly springy bite. Plus, this recipe scales easily, sets fast, and welcomes all kinds of fun shapes and flavor combos.
Why This Quick Gummy Candy Recipe Works
Homemade gummies rely on a few simple principles. When you follow them, your gummies set firmly and taste bright, not flat.
- Gelatin hydrates first: Blooming gelatin in cold liquid lets it fully absorb moisture for a smooth, non-grainy set.
- Gentle heat matters: Warm the mixture just enough to dissolve gelatin. High heat can weaken the gel structure and dull flavor.
- Right ratio equals the perfect chew: The balance of juice, gelatin, and sweetener creates that classic gummy texture—firm yet bouncy.
- Acid brightens flavor: A little lemon juice or citric acid wakes up fruit flavors and makes candy taste lively.
- Quick chill speeds things up: A swift chill in the fridge sets gummies fast so you can snack sooner.
Ingredients
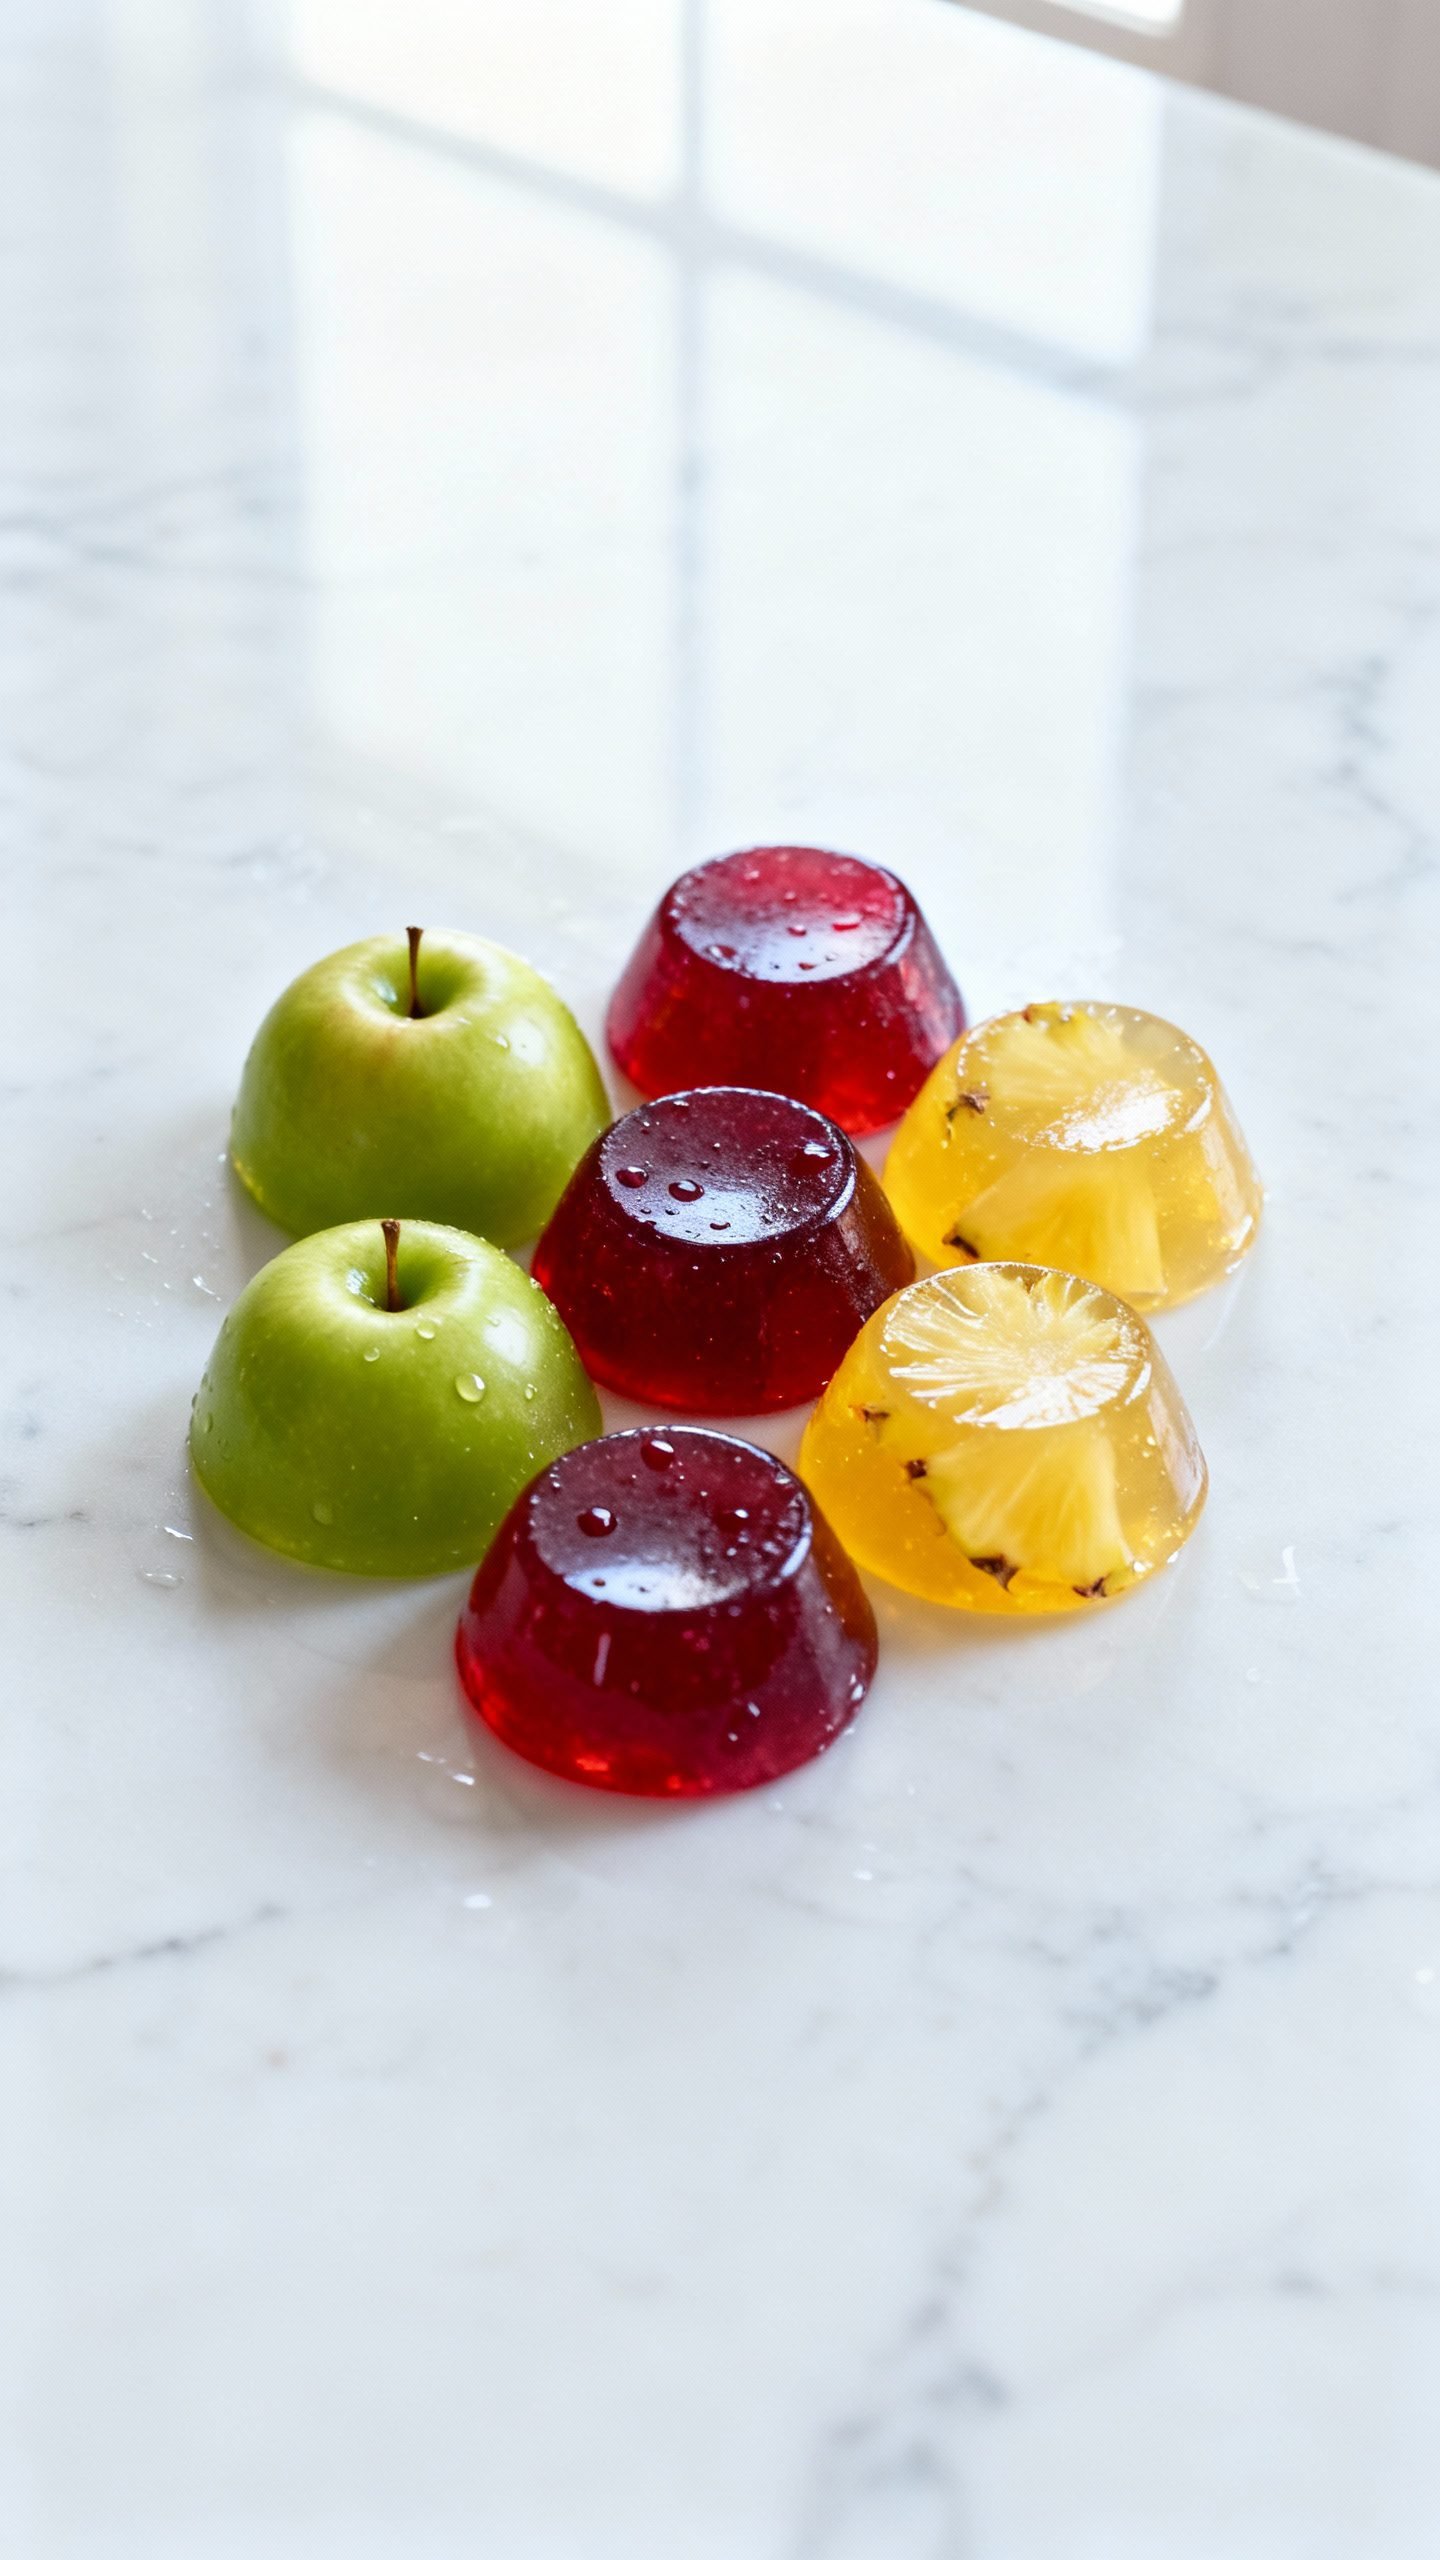
Use real fruit juice for pure flavor. Clear juices yield the most vibrant, translucent gummies.
- 1 cup 100% fruit juice (apple, white grape, cranberry, pineapple, or a berry blend)
- 2–3 tablespoons granulated sugar or honey (adjust to taste and juice sweetness)
- 3 tablespoons unflavored powdered gelatin (about 3 envelopes; 21 g)
- 1–2 teaspoons lemon juice (or 1/4–1/2 teaspoon citric acid), to taste
- Optional: 1/2 teaspoon vanilla extract or a drop or two of food-grade flavor extract
- Optional for sparkle: a pinch of citric acid and sugar mixed together for coating
Tools: Silicone gummy molds or a parchment-lined loaf pan, small saucepan, heatproof measuring cup, whisk or silicone spatula, dropper or small pitcher for filling molds.
How to Make Gummy Candy in Minutes
Step 1: Bloom the gelatin
- Pour 1/2 cup of the fruit juice into a bowl or heatproof measuring cup.
- Sprinkle the gelatin evenly over the cold juice and let it sit for 5 minutes until thick and spongy. Do not stir aggressively; just let it absorb.
Step 2: Warm the base
- Add the remaining 1/2 cup juice and the sugar or honey to a small saucepan.
- Warm over low heat, stirring until the sweetener dissolves and the liquid steams gently. Do not boil.
Step 3: Dissolve the gelatin
- Scrape the bloomed gelatin into the warm juice. Keep heat low.
- Whisk gently until completely dissolved and the mixture looks clear and smooth, 1–2 minutes.
- Stir in lemon juice (or citric acid) and any extracts. Taste and adjust sweetness or acidity.
Step 4: Fill molds and chill
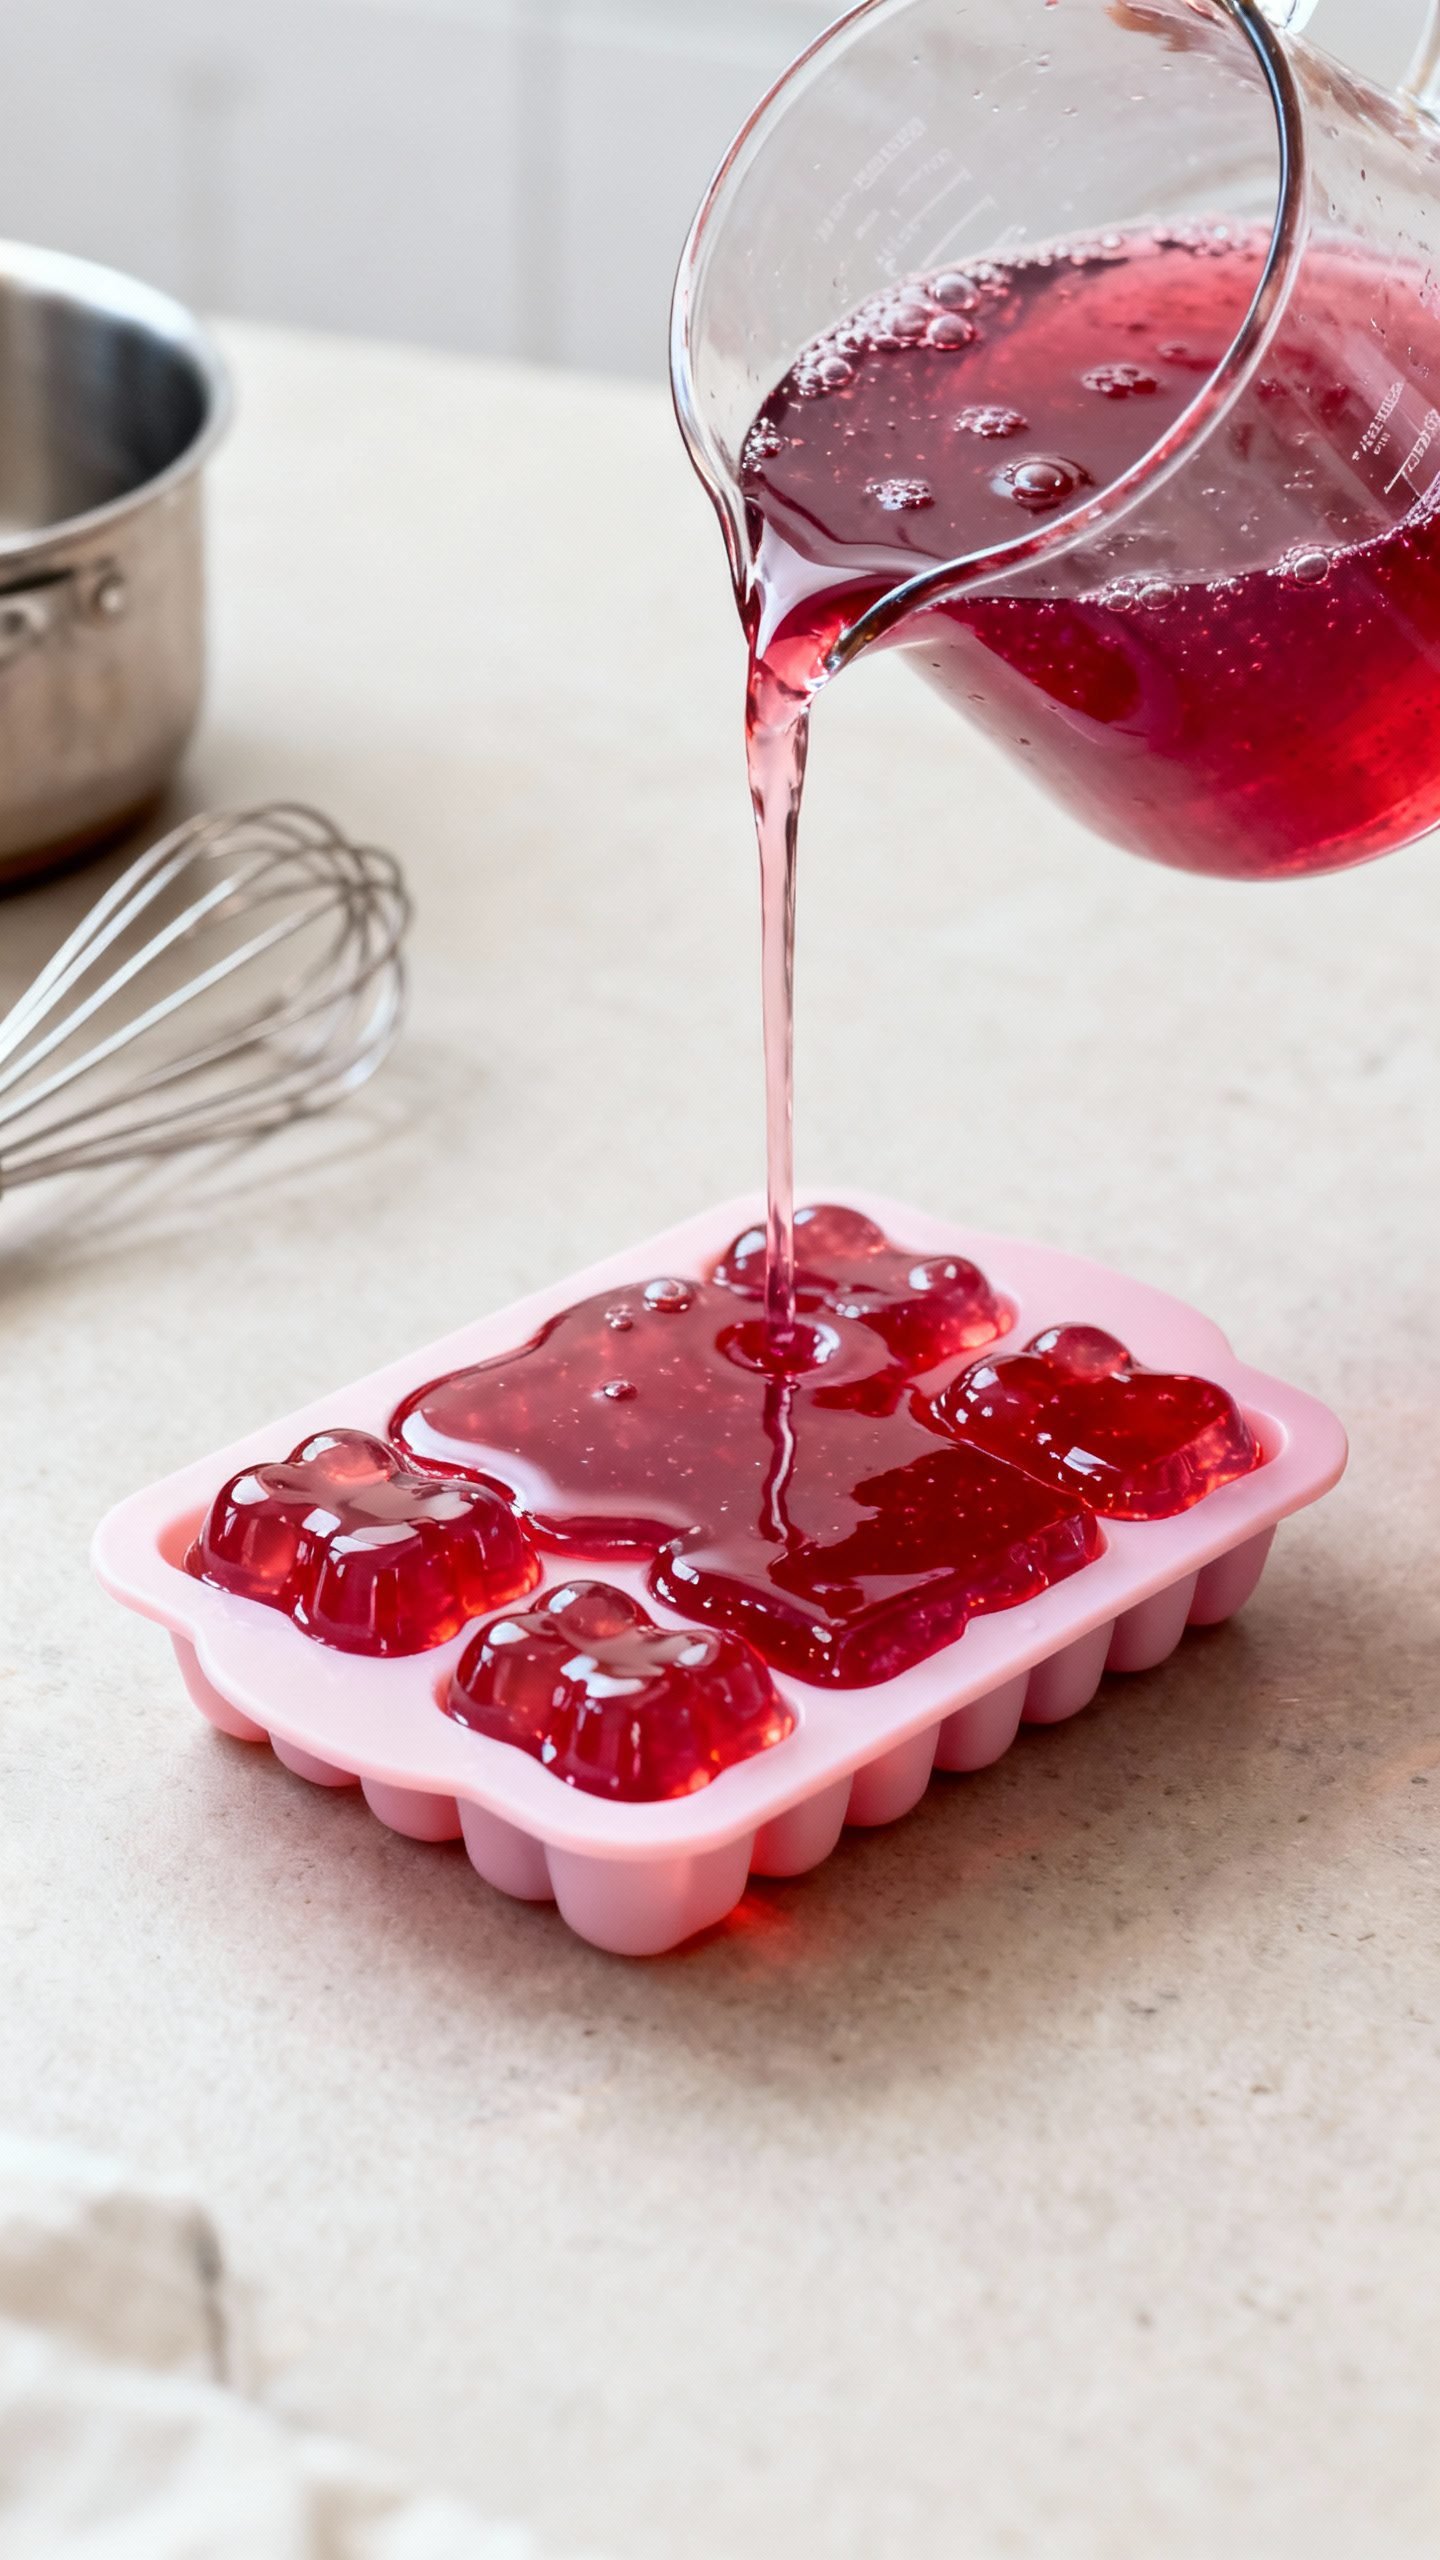
- Transfer the mixture to a heatproof pitcher for easy pouring, or use a dropper for small molds.
- Carefully fill silicone molds. If you don’t have molds, pour into a parchment-lined loaf pan for later cutting.
- Refrigerate until set, about 45–60 minutes for small gummies, 90 minutes for a pan.
Step 5: Unmold and finish
- Pop gummies out of molds. If using a pan, lift out and slice into squares.
- Optional: Toss lightly in a mix of sugar and a pinch of citric acid for a tangy coating. Coat just before serving to prevent weeping.
How to Store Fresh Gummies
- Refrigerate: Store in an airtight container in the fridge for up to 1 week.
- Layer smart: If stacking, place parchment or wax paper between layers to prevent sticking.
- Keep them dry: Moisture softens gummies. Avoid humid spots and don’t store with fresh fruit.
- Freeze? Not ideal: Freezing changes the texture. Make smaller batches instead.
Benefits of Making Gummies at Home
- Fast and easy: From stovetop to fridge in minutes, with simple cleanup.
- Clean ingredients: You control the sugar, flavors, and colors. No corn syrup or dyes required.
- Customizable texture: Adjust gelatin for softer or firmer gummies to match your preference.
- Kid-friendly project: Fun to pour and pop out of molds—great for parties and lunchbox treats.
- Budget-friendly: Make a big batch for less than store-bought candy.
What to Avoid When Making Gummies
- Skipping the bloom: Dry gelatin sprinkled into hot liquid clumps and never dissolves smoothly.
- Boiling the mixture: High heat weakens gelatin and causes rubbery or weepy gummies.
- Using fresh pineapple, kiwi, or papaya juice raw: Their enzymes break down gelatin. Use pasteurized juice or briefly simmer to deactivate enzymes.
- Too much acid up front: Over-acidifying before the gelatin dissolves can reduce set. Add acid after gelatin fully dissolves.
- Over-coating early: Sugar or sour coatings can draw moisture if applied too far in advance.
Variations You Can Try
Flavor ideas
- Tropical: Pineapple-mango with a splash of coconut extract (use pasteurized pineapple juice).
- Berry blast: Cranberry-strawberry with a squeeze of lemon.
- Citrus zing: Orange juice with a touch of lime and a pinch of citric acid.
- Grown-up twist: Pomegranate with a hint of ginger or hibiscus tea concentrate.
Texture tweaks
- Softer chew: Use 2.5 tablespoons gelatin per cup of liquid.
- Extra firm: Use 3.5 tablespoons gelatin per cup for gummy-bear firmness.
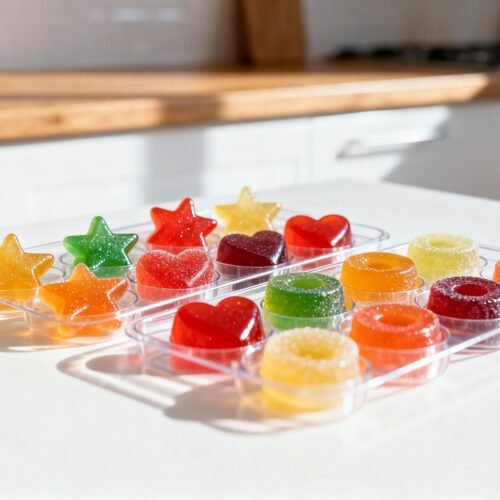
Fun shapes and finishes
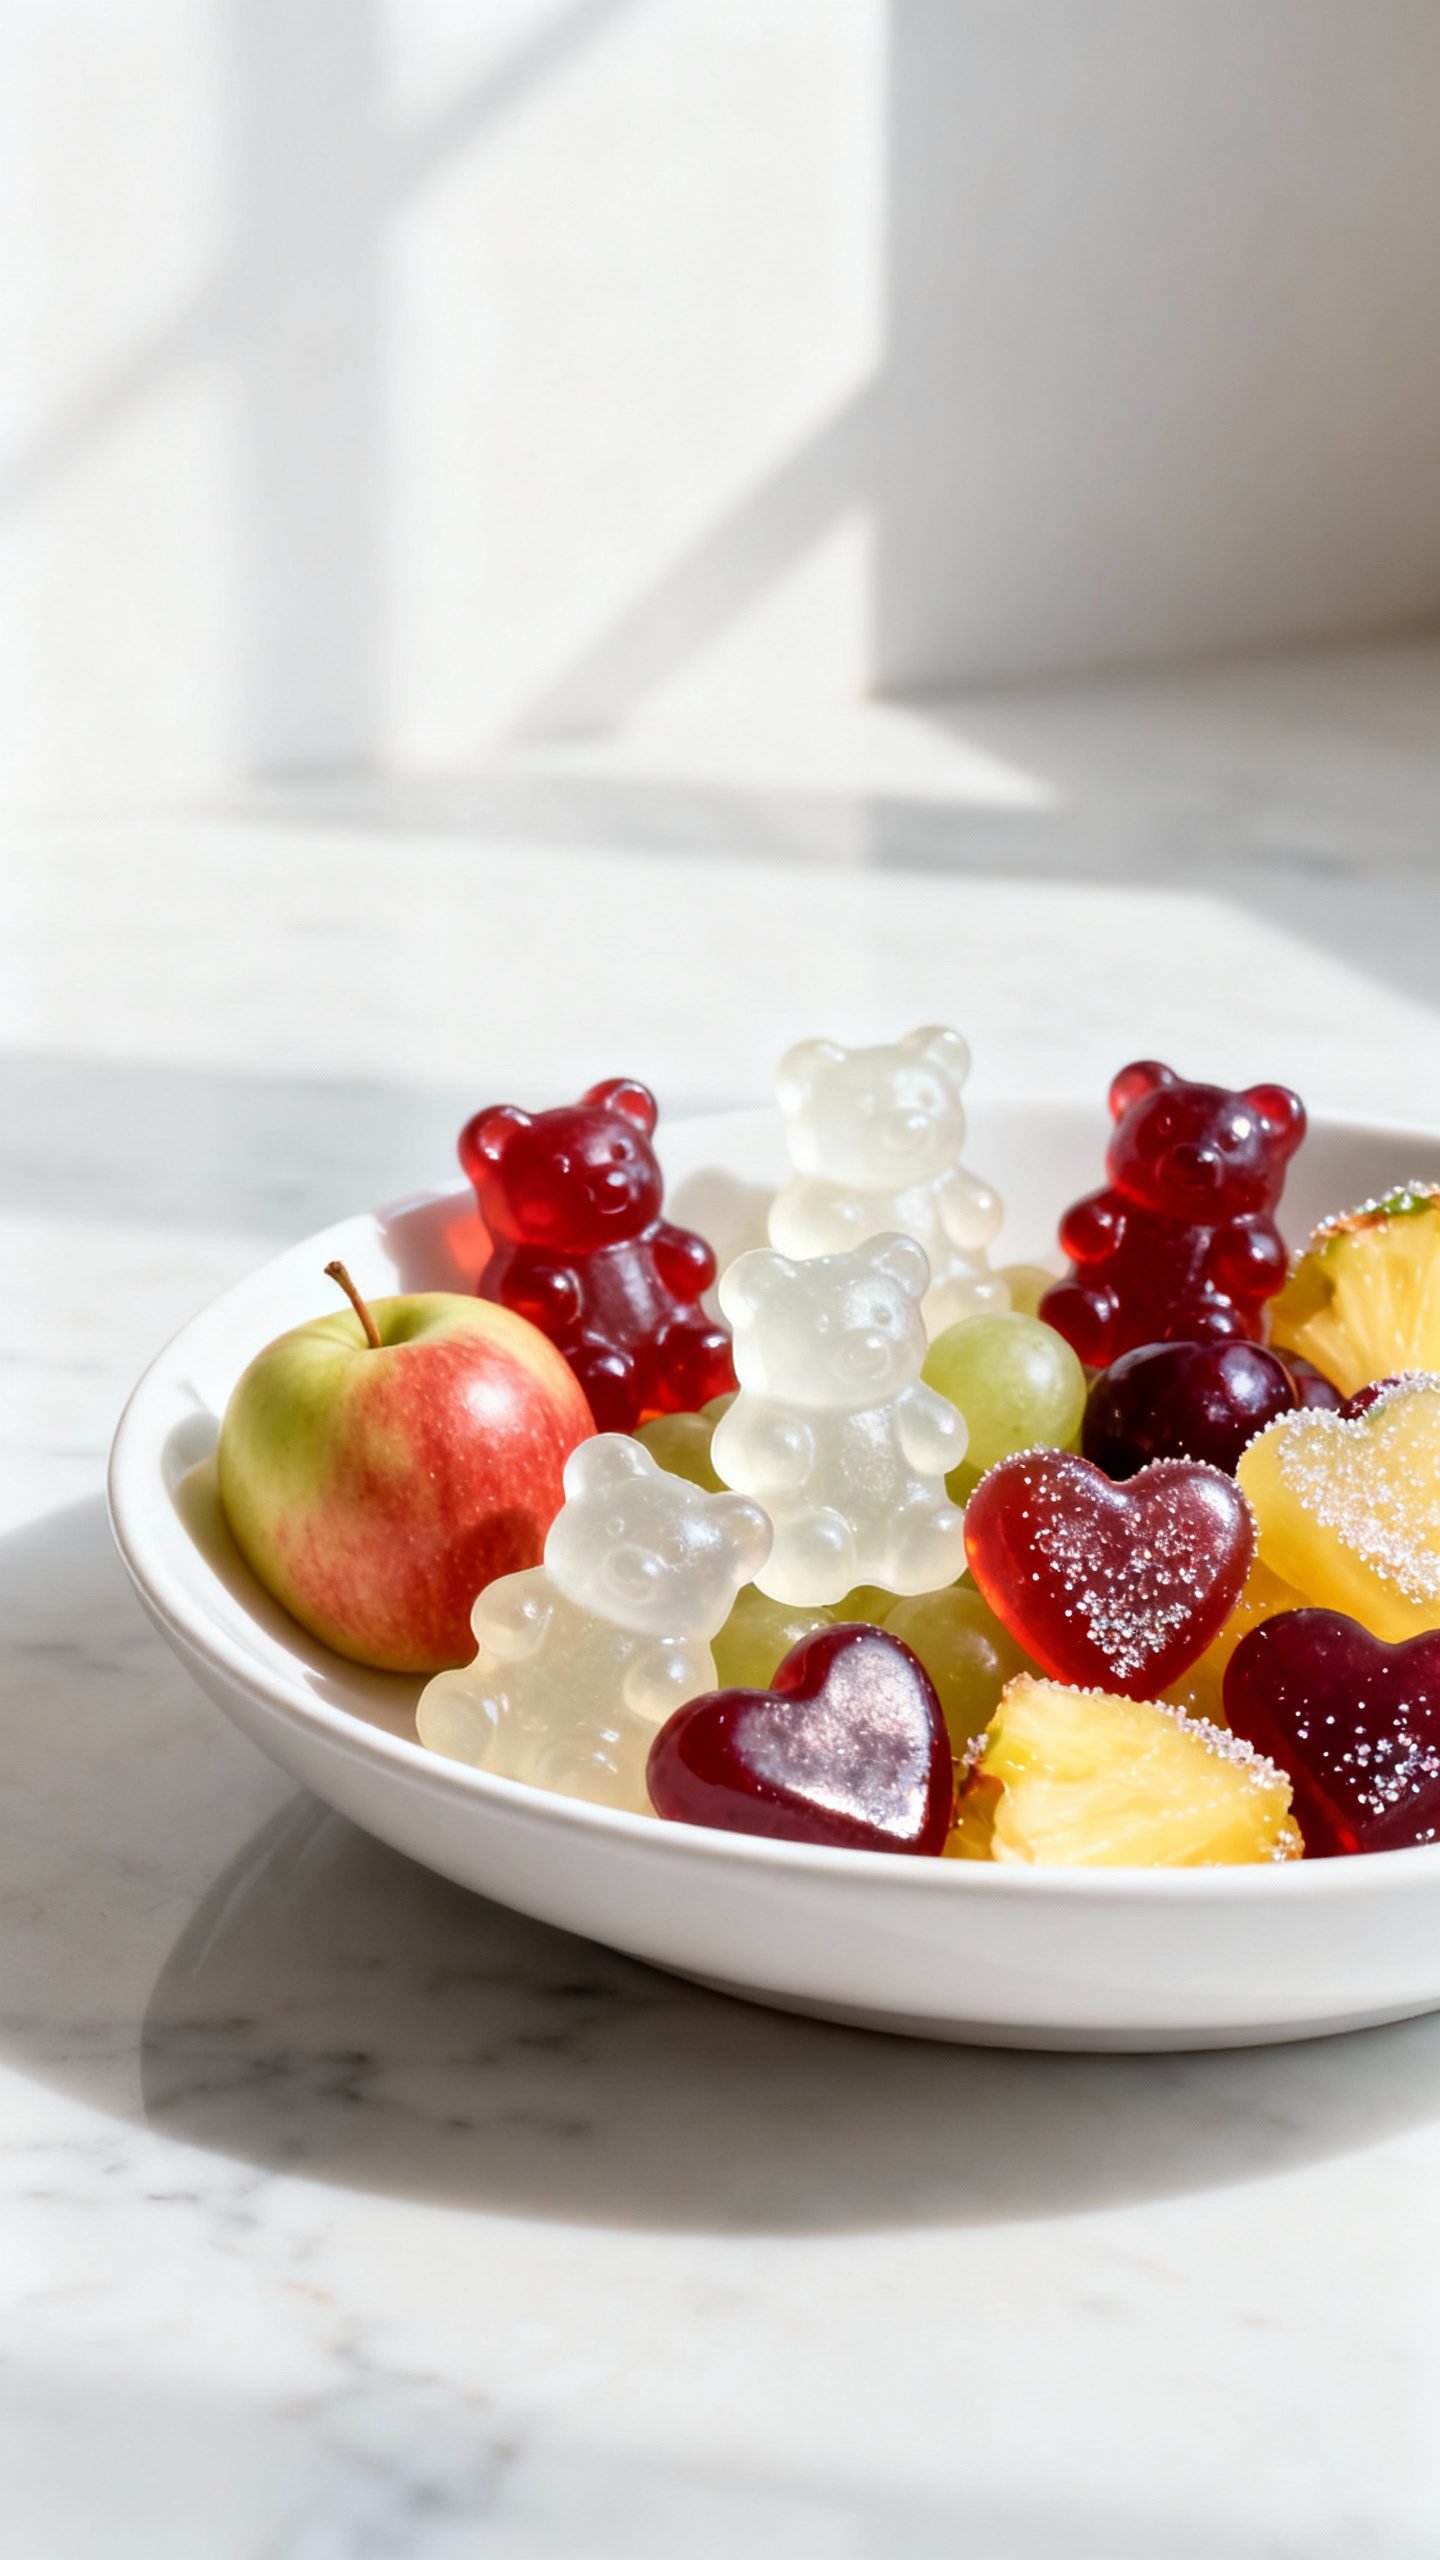
- Use silicone bears, worms, or geometric molds for variety.
- Dust lightly with cornstarch to reduce stickiness without added sweetness.
- Paint a stripe of edible gold dust on set gummies for party flair.
Functional boosts
- Vitamin C: Add a small pinch of ascorbic acid after dissolving gelatin for a tangy, antioxidant boost.
- Electrolyte gummies: Use a light sports drink or coconut water in place of part of the juice.
- Herbal notes: Steep mint or chamomile tea and blend with juice (50/50) for a gentle flavor.
FAQ
Why didn’t my gummies set?
Common culprits: the mixture boiled, you used fresh enzyme-rich juice, or you didn’t use enough gelatin. Rewarm gently, add 1–2 teaspoons more gelatin (bloomed), and reset.
How do I make sour gummies?
Mix 1/4 cup sugar with 1/2–1 teaspoon citric acid. Toss gummies right before serving. For built-in tartness, add 1/4 teaspoon citric acid to the mixture after dissolving gelatin.
Can I use agar instead of gelatin?
Yes, but it sets differently—firmer and less bouncy. Use 1.5–2 teaspoons agar powder per cup of liquid. Simmer agar with the liquid for 2–3 minutes to activate, then pour and chill.
How can I prevent foam or bubbles?
Stir gently, not vigorously. If foam forms, let the mixture rest 1–2 minutes, then skim with a spoon before pouring into molds.
What sweetener works best?
Granulated sugar gives the cleanest set and clarity. Honey works but adds flavor and a slightly softer set. Avoid stevia-only versions; they can taste bitter and affect texture.
Can I color gummies without dye?
Use deeply colored juices (cranberry, grape, pomegranate) or a few drops of beet, turmeric, or spirulina extract for natural hues.
Conclusion
That’s all it takes—juice, gelatin, a little sweetness, and 10 minutes on the stove. With this simple method, you get chewy, shiny gummies that taste like real fruit and set up fast. Grab your favorite juice, bloom that gelatin, and pour some fun into your molds. Homemade gummy candy in minutes? Absolutely doable—and totally delicious.
Easy Homemade Gummy Candy in Minutes
Ingredients
Ingredients
Instructions
Instructions
- Pour 1/2 cup of the fruit juice into a bowl or heatproof measuring cup.
- Sprinkle the gelatin evenly over the cold juice and let it sit for 5 minutes until thick and spongy. Do not stir aggressively; just let it absorb.
- Add the remaining 1/2 cup juice and the sugar or honey to a small saucepan.
- Warm over low heat, stirring until the sweetener dissolves and the liquid steams gently. Do not boil.
- Scrape the bloomed gelatin into the warm juice. Keep heat low.
- Whisk gently until completely dissolved and the mixture looks clear and smooth, 1–2 minutes.
- Stir in lemon juice (or citric acid) and any extracts. Taste and adjust sweetness or acidity.
- Transfer the mixture to a heatproof pitcher for easy pouring, or use a dropper for small molds.
- Carefully fill silicone molds. If you don’t have molds, pour into a parchment-lined loaf pan for later cutting.
- Refrigerate until set, about 45–60 minutes for small gummies, 90 minutes for a pan.
- Pop gummies out of molds. If using a pan, lift out and slice into squares.
- Optional: Toss lightly in a mix of sugar and a pinch of citric acid for a tangy coating. Coat just before serving to prevent weeping.


