
Easy Cotton Candy Fudge Recipe – A Fun, Festive Treat
If you love the nostalgic sweetness of cotton candy but want something you can share at parties or gift in a cute box, this cotton candy fudge is perfect. It’s creamy, colorful, and surprisingly simple to make with just a few pantry staples. No special candy thermometer required, and the whole batch comes together in under 15 minutes.
This is the kind of treat that makes kids’ eyes light up and adults sneak a second piece. It’s whimsical without being fussy, and it always looks great on a dessert table.
What Makes This Recipe So Good
- Fast and Easy: You only need a microwave or stovetop and one bowl. No complicated steps.
- Beautiful Colors: Soft pink and blue swirls give that classic cotton candy look without food coloring overload.
- No Thermometer: Sweetened condensed milk and white chocolate chips create a foolproof fudge base.
- Customizable: Use cotton candy flavoring or a mix of vanilla and berry extracts depending on what you have.
- Party-Ready: This fudge slices cleanly, holds its shape, and packs well for gifting.
Ingredients
- 3 cups white chocolate chips (about 18 ounces)
- 1 can (14 ounces) sweetened condensed milk
- 2 tablespoons unsalted butter
- 1 teaspoon cotton candy flavoring (or 1/2 teaspoon raspberry extract + 1/2 teaspoon vanilla extract)
- Pinch of fine sea salt
- Pink gel food coloring
- Blue gel food coloring
- Optional: 1/2 cup mini marshmallows, chopped cotton candy for garnish, or pastel sprinkles
Instructions

- Prep the Pan: Line an 8×8-inch baking pan with parchment paper, leaving overhang on two sides for easy lifting.
Lightly grease the parchment.
- Melt the Base: In a large microwave-safe bowl, combine white chocolate chips, sweetened condensed milk, and butter. Microwave in 20–30 second bursts, stirring well after each, until smooth and fully melted. This usually takes 1½–2 minutes total.
Alternatively, melt gently on the stovetop over low heat, stirring constantly.
- Flavor It: Stir in the cotton candy flavoring (or the raspberry and vanilla) and a pinch of salt. Mix until fully incorporated.
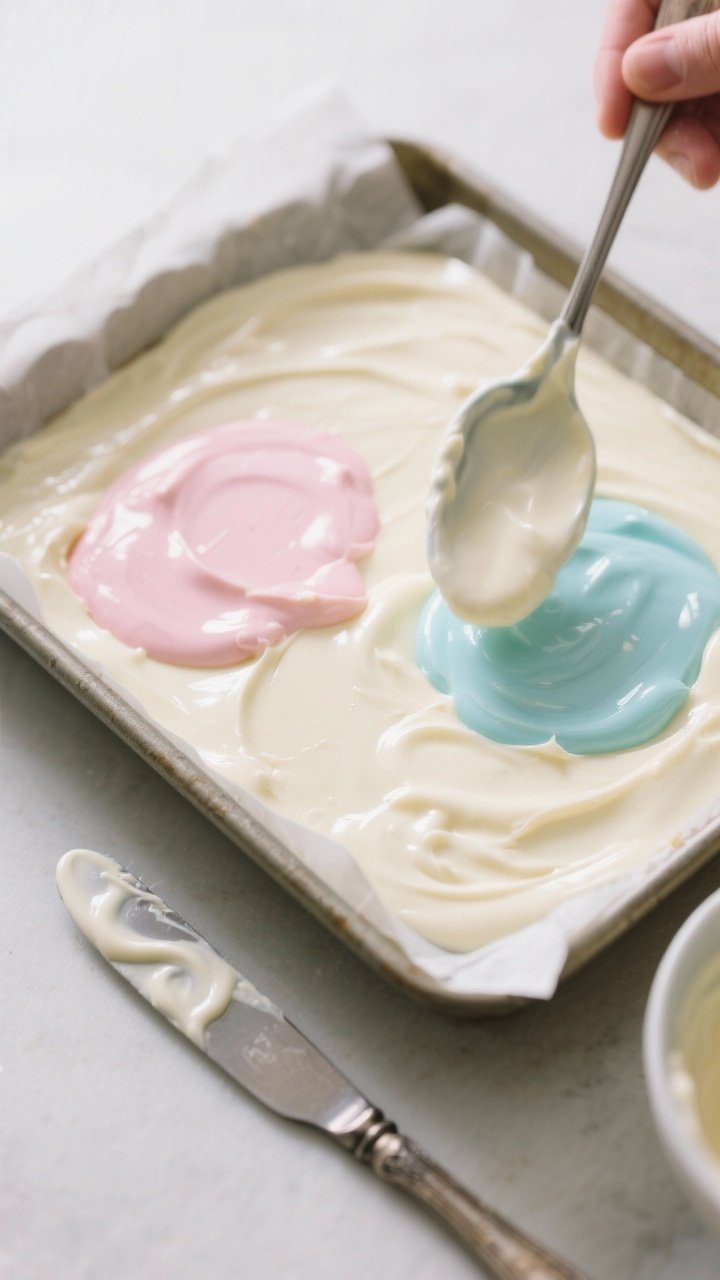
- Divide and Tint: Split the mixture into two bowls. Tint one bowl with a tiny bit of pink gel food coloring and the other with blue.
Start with a toothpick’s worth of gel and add more if needed. You want soft pastel shades.
- Swirl the Colors: Spoon large dollops of pink and blue fudge into the prepared pan, alternating colors. Use a butter knife or skewer to gently swirl the colors together.
Don’t overmix or you’ll lose the marble effect.
- Add Toppings (Optional): Sprinkle mini marshmallows or pastel sprinkles on top and gently press them in. Avoid adding actual cotton candy now—it melts on contact with moisture.
- Set the Fudge: Refrigerate for 2–3 hours, or until firm. For cleaner cuts, chill a bit longer.
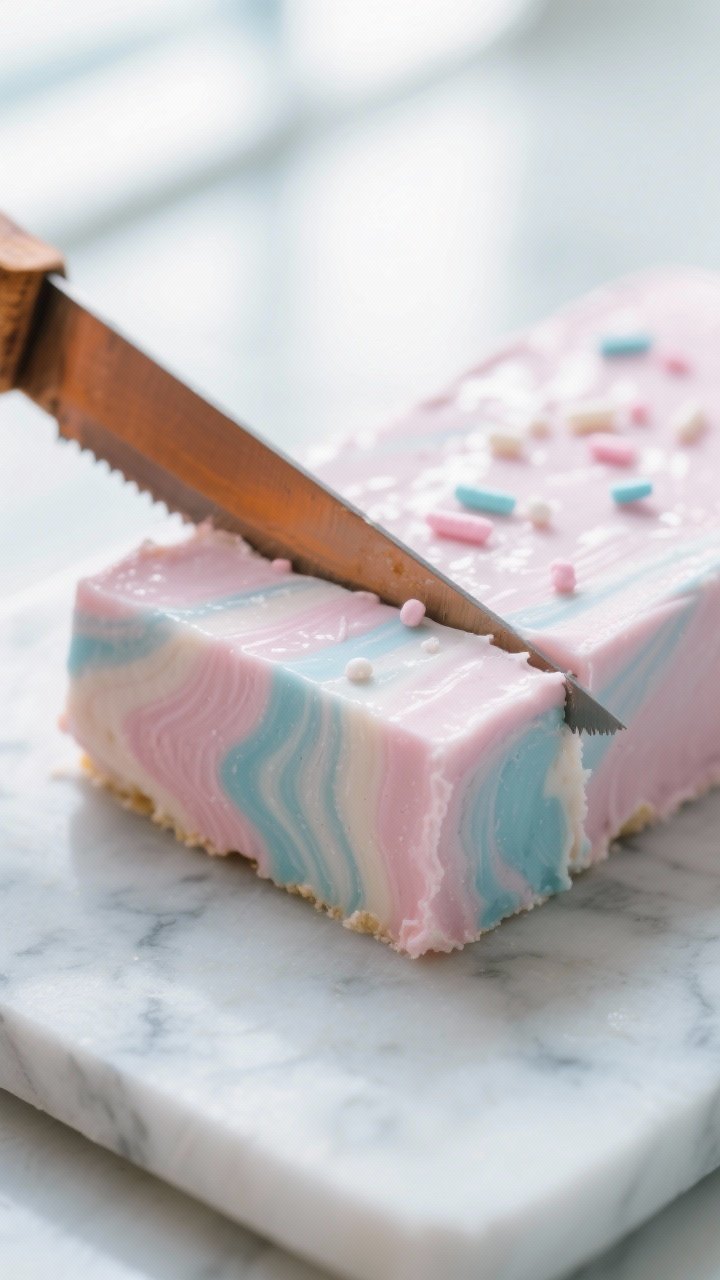
- Slice and Serve: Lift the fudge out using the parchment overhang.
Warm a sharp knife under hot water, wipe dry, and cut into 1-inch squares. Serve slightly chilled or at cool room temperature.
Storage Instructions
- Refrigerator: Store in an airtight container for up to 1 week. Separate layers with parchment to prevent sticking.
- Freezer: Freeze tightly wrapped pieces for up to 2 months.
Thaw in the fridge overnight before serving.
- Avoid Moisture: Don’t store fudge with real cotton candy inside the container. Cotton candy melts and gets sticky.
- Serving Tip: For the best texture, let chilled fudge sit at room temperature for 5–10 minutes before serving.
Why This is Good for You
- Portion Control: Fudge is rich and sweet, so small pieces satisfy a craving without going overboard.
- Simple Ingredients: No complicated additives or unpronounceable stabilizers—just a short ingredient list.
- Joy Factor: Food is about celebration too. A cheerful, colorful treat can make a birthday or gathering feel special.
Pitfalls to Watch Out For
- Overheating the Chocolate: White chocolate scorches easily.
Heat low and slow, stirring often. If it seizes, add a teaspoon of warm sweetened condensed milk and stir gently.
- Too Much Food Coloring: Gel colors are concentrated. Use a little at a time to avoid bitter taste and overly bright hues.
- Skipping the Salt: A small pinch of salt sharpens the cotton candy flavor.
Don’t leave it out.
- Adding Cotton Candy Too Early: Fresh cotton candy melts into sticky patches when it touches the warm fudge. Add it only as a garnish right before serving, if at all.
- Cutting Before It’s Set: Warm fudge smears. Chill fully for neat, clean squares.
Alternatives
- Dairy-Free Swap: Use dairy-free white baking chips and coconut sweetened condensed milk.
Flavor and color as directed.
- Flavor Twists: Try bubblegum, strawberry, or birthday cake extract instead of cotton candy. Just keep total extract around 1 teaspoon.
- Color Variations: Go pastel purple and pink, or rainbow by dividing the mixture into three or four small bowls and tinting each.
- Mix-Ins: Fold in 1/3 cup crushed freeze-dried strawberries for a cotton-candy-and-berry vibe, or add white nonpareils for crunch.
- Pan Size: For thinner fudge, use a 9×9-inch pan. For thicker squares, stick with 8×8.
FAQ
Can I make this without a microwave?
Yes.
Melt the white chocolate, sweetened condensed milk, and butter in a small pot over low heat, stirring constantly until smooth. Remove from heat before adding flavoring and color.
What kind of white chocolate works best?
Use quality white chocolate chips or baking wafers that list cocoa butter. Cheaper chips with lots of fillers can be stubborn to melt and may turn grainy.
Do I need a candy thermometer?
No.
This is a shortcut fudge that sets thanks to the white chocolate and sweetened condensed milk. Follow the measurements and you’ll get a firm, sliceable texture without precise temperatures.
How do I keep the colors from blending too much?
Add the colored dollops in patches and swirl gently with just a few figure-eight motions. Stop as soon as you see a marbled look.
Can I double the recipe?
Absolutely.
Use a 9×13-inch pan and add a little extra time for chilling. Make sure your bowl is large enough for melting without splashing.
Is there a way to make it less sweet?
White chocolate fudge is inherently sweet. You can add an extra pinch of salt or fold in crunchy, unsweetened mix-ins like toasted slivered almonds to balance it out.
When should I add real cotton candy on top?
Right before serving.
Place small tufts on each piece and serve immediately. Store leftovers without the cotton candy garnish.
Why did my fudge turn grainy?
It likely overheated, or the chocolate quality was poor. Next time, melt at lower heat and stir frequently.
A teaspoon of warm condensed milk can sometimes smooth it out.
Can I color the entire batch one color?
Yes. Tint the whole mixture pastel pink or blue and skip the swirl. It still tastes great and looks clean and simple.
How long does it take to set?
Plan on 2–3 hours in the refrigerator.
For very neat cuts, chill for 4 hours or overnight, then slice with a warm, dry knife.
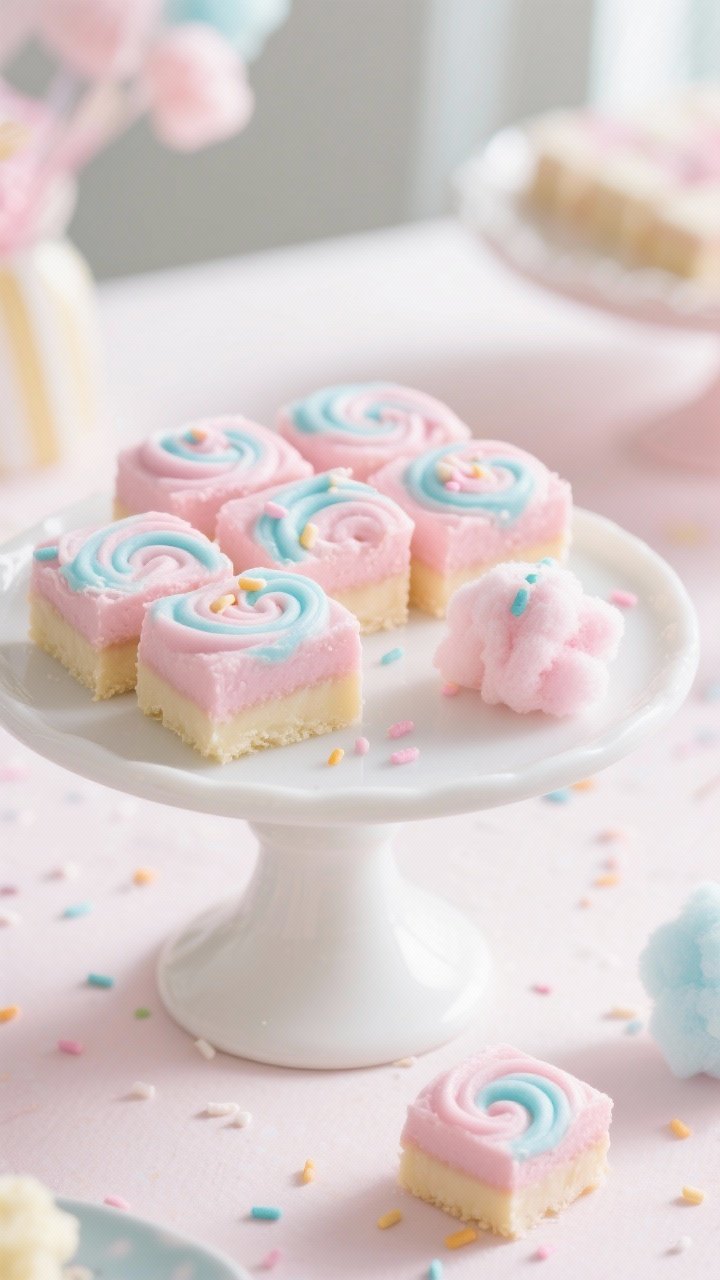
Wrapping Up
This easy cotton candy fudge is pure fun—creamy, colorful, and quick to make. With a short ingredient list and simple steps, it’s ideal for birthdays, bake sales, or just because. Keep a batch in the fridge for instant party energy, or wrap squares in wax paper for sweet little gifts.
Once you master the swirl, you’ll find yourself making this treat again and again.

Easy Cotton Candy Fudge Recipe - A Fun, Festive Treat
Ingredients
- 3 cups white chocolate chips (about 18 ounces)
- 1 can (14 ounces) sweetened condensed milk
- 2 tablespoons unsalted butter
- 1 teaspoon cotton candy flavoring (or 1/2 teaspoon raspberry extract + 1/2 teaspoon vanilla extract)
- Pinch of fine sea salt
- Pink gel food coloring
- Blue gel food coloring
- Optional: 1/2 cup mini marshmallows, chopped cotton candy for garnish, or pastel sprinkles
Instructions
- Prep the Pan: Line an 8x8-inch baking pan with parchment paper, leaving overhang on two sides for easy lifting.Lightly grease the parchment.
- Melt the Base: In a large microwave-safe bowl, combine white chocolate chips, sweetened condensed milk, and butter. Microwave in 20–30 second bursts, stirring well after each, until smooth and fully melted. This usually takes 1½–2 minutes total.Alternatively, melt gently on the stovetop over low heat, stirring constantly.
- Flavor It: Stir in the cotton candy flavoring (or the raspberry and vanilla) and a pinch of salt. Mix until fully incorporated.
- Divide and Tint: Split the mixture into two bowls. Tint one bowl with a tiny bit of pink gel food coloring and the other with blue.Start with a toothpick’s worth of gel and add more if needed. You want soft pastel shades.
- Swirl the Colors: Spoon large dollops of pink and blue fudge into the prepared pan, alternating colors. Use a butter knife or skewer to gently swirl the colors together.Don’t overmix or you’ll lose the marble effect.
- Add Toppings (Optional): Sprinkle mini marshmallows or pastel sprinkles on top and gently press them in. Avoid adding actual cotton candy now—it melts on contact with moisture.
- Set the Fudge: Refrigerate for 2–3 hours, or until firm. For cleaner cuts, chill a bit longer.
- Slice and Serve: Lift the fudge out using the parchment overhang.Warm a sharp knife under hot water, wipe dry, and cut into 1-inch squares. Serve slightly chilled or at cool room temperature.


