
DIY Hostess Style Chocolate Cupcakes
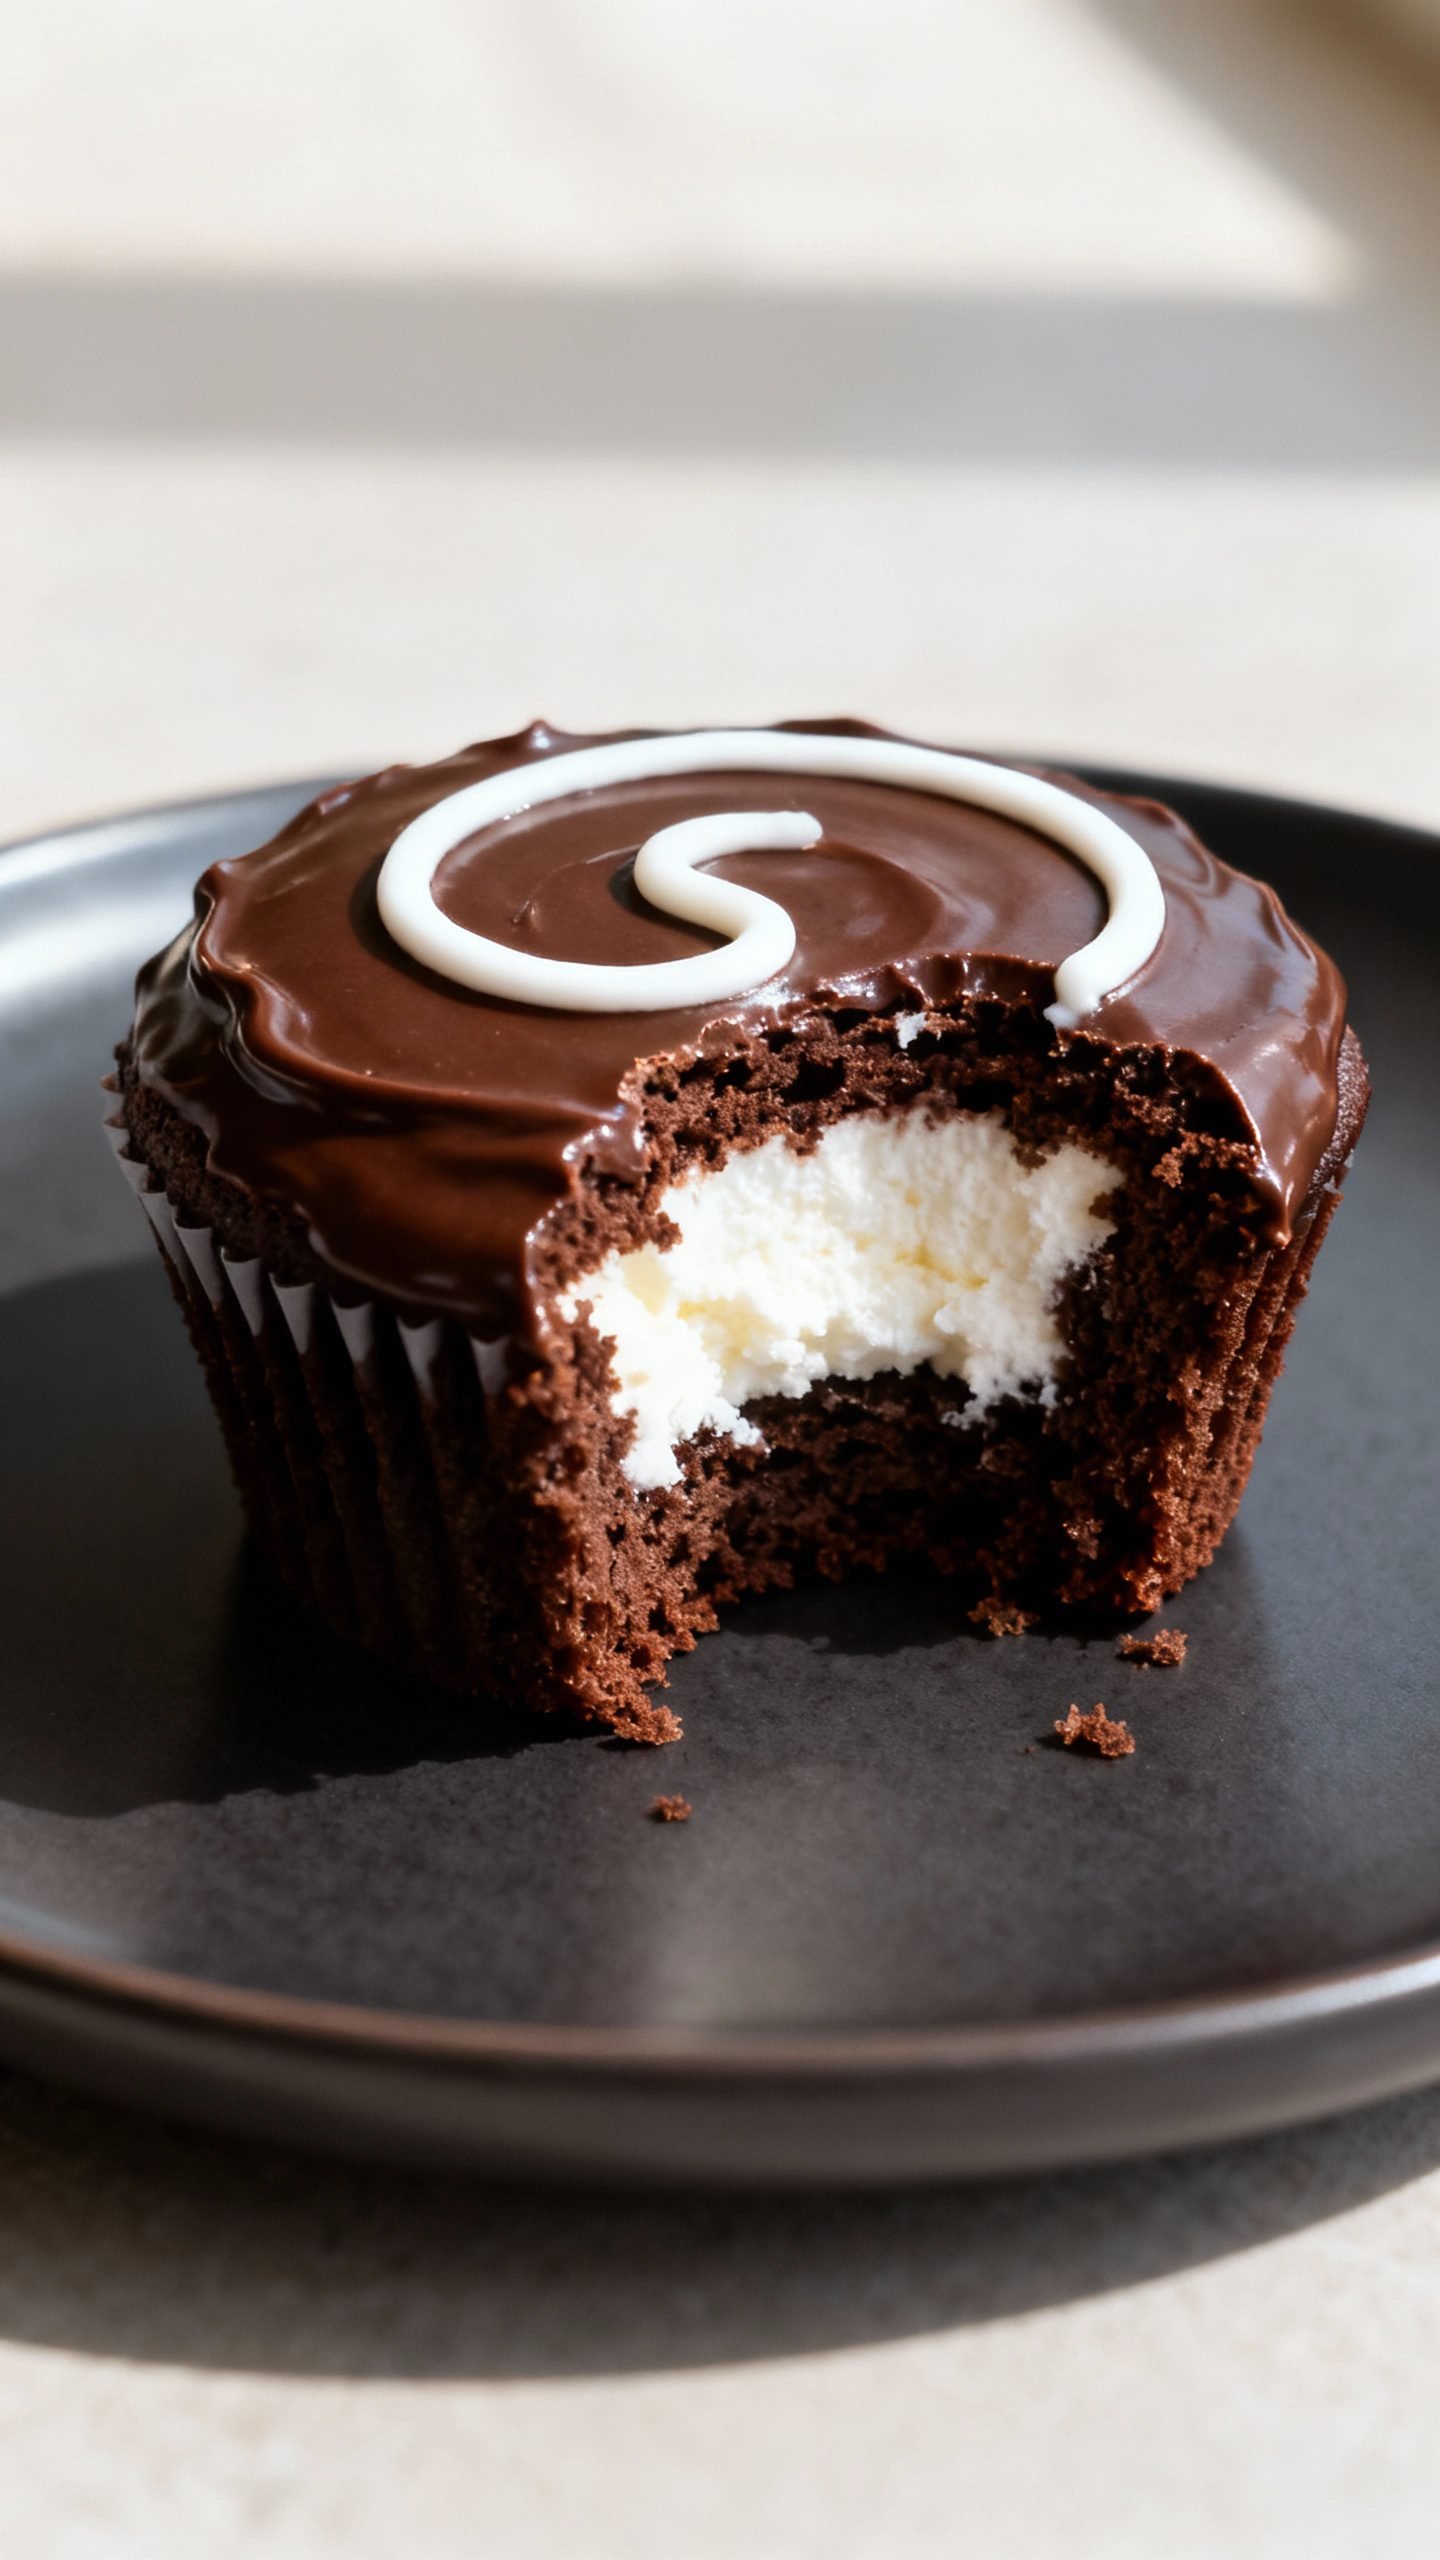
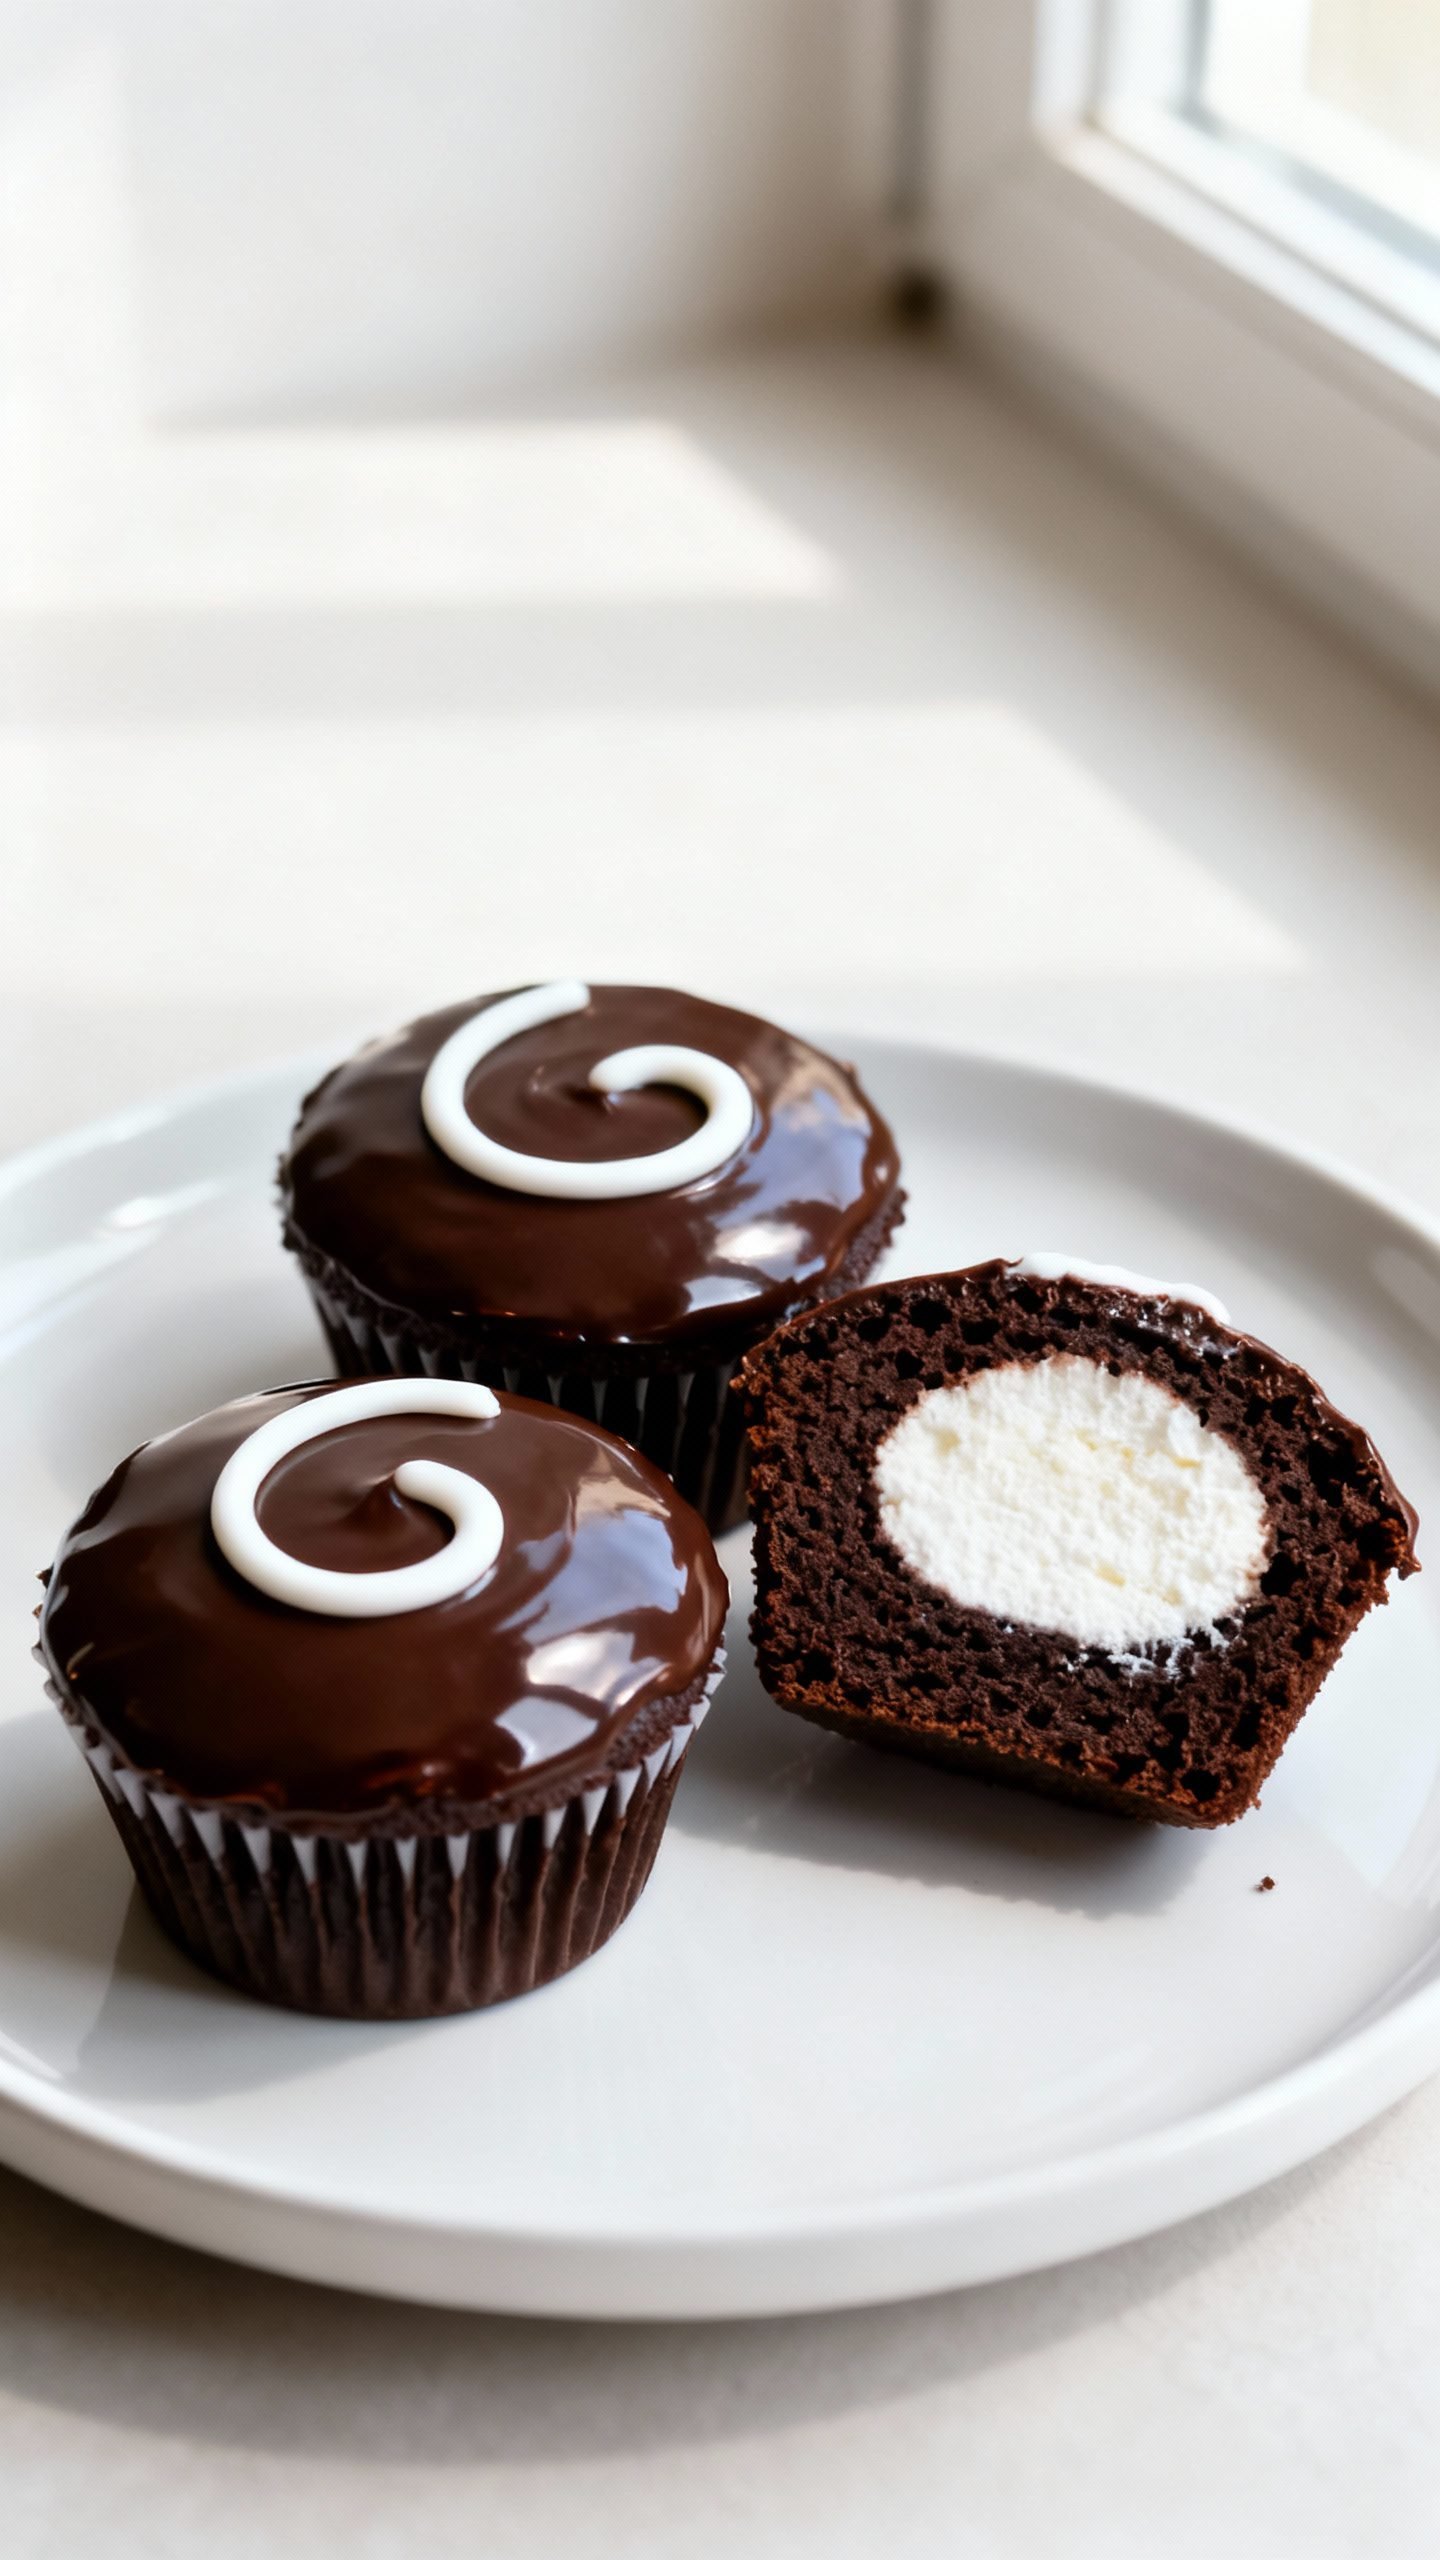
If you grew up unwrapping those iconic cream-filled chocolate cupcakes with the white squiggle on top, you’re going to love this homemade version. These DIY Hostess-style chocolate cupcakes deliver everything you crave: soft, moist chocolate cake, a fluffy marshmallow-vanilla filling, glossy chocolate ganache, and that playful loop-de-loop to finish. They look bakery-fancy, but you can absolutely pull them off in your own kitchen.
I’ll walk you through the whole process with simple steps and plenty of tips. You’ll bake the cupcakes, whip up the filling, dip in ganache, and pipe that signature swirl. The result? A nostalgic treat that tastes even better than the boxed classic because you control the quality, the sweetness, and the ingredients.
Why This Homemade Chocolate Cupcake Copycat Works
- Moist, tender crumb: Oil and buttermilk keep the cupcakes soft for days.
- Bold chocolate flavor: Bloomed cocoa powder and hot coffee deepen the chocolate without making the cupcakes taste like coffee.
- Light, fluffy filling: Marshmallow creme folded into stabilized whipped cream gives that airy, classic bite.
- Shiny ganache topping: A simple chocolate-and-cream glaze sets to a smooth, picture-perfect finish.
- Make-ahead friendly: Bake, fill, and finish in stages. The components store well, so you can plan ahead.
Ingredients
For the chocolate cupcakes
- All-purpose flour – for structure
- Granulated sugar – sweetness and moisture
- Unsweetened cocoa powder – natural or Dutch-processed works
- Baking soda + baking powder – lift and a rounded rise
- Kosher salt – balances sweetness
- Buttermilk – tender crumb and subtle tang
- Neutral oil (canola or vegetable) – keeps cupcakes moist
- Large eggs – structure and richness
- Vanilla extract – rounds out flavor
- Hot brewed coffee (or hot water) – intensifies chocolate flavor
For the cream filling
- Heavy cream – cold, for whipping
- Powdered sugar – sweetens and helps stabilize
- Vanilla extract – classic flavor
- Marshmallow creme (marshmallow fluff) – signature texture and taste
- Unflavored gelatin + water (optional) – extra stability for warmer days
For the chocolate ganache
- Semi-sweet chocolate – bars or chips, finely chopped
- Heavy cream – silky, pourable topping
- Pinch of salt – heightens chocolate flavor
For the squiggle
- Powdered sugar
- Butter, softened
- Milk or cream
- Vanilla extract
- Small round piping tip (or snip a tiny corner from a bag)
How to Make Homemade Hostess-Style Chocolate Cupcakes
1) Mix the cupcake batter
- Heat oven to 350°F (175°C). Line a 12-cup muffin pan with paper liners.
- Whisk dry ingredients: flour, sugar, cocoa, baking soda, baking powder, and salt.
- Whisk wet ingredients: buttermilk, oil, eggs, and vanilla until smooth.
- Combine wet with dry. Stir just until no dry streaks remain.
- Pour in hot coffee and whisk gently. The batter will look thin—that’s correct.
- Fill liners about 2/3 full. Bake 16–20 minutes, until tops spring back and a toothpick comes out with a few moist crumbs.
- Cool in the pan 5 minutes, then transfer to a rack to cool completely.
2) Prepare the cream filling
- (Optional stabilization) Sprinkle gelatin over 1 tablespoon cold water. Let bloom 5 minutes, then microwave 5–10 seconds to melt. Cool until just warm.
- Beat cold heavy cream with powdered sugar and vanilla to soft peaks.
- Drizzle in the melted gelatin while mixing to medium peaks.
- Fold in marshmallow creme until fluffy and smooth. Chill 15 minutes to thicken for piping.
3) Core and fill the cupcakes
- Use a cupcake corer, apple corer, or a small knife to remove a plug from the center of each cooled cupcake. Do not cut to the bottom; leave a base.
- Pipe or spoon in the marshmallow filling until level with the top.
- Trim the removed cake plugs and gently cap the filling. You only need a thin lid.
4) Make the ganache
- Heat heavy cream just to a simmer. Pour over chopped semi-sweet chocolate and a pinch of salt. Let sit 2 minutes.
- Whisk from the center outward until smooth and glossy. Cool 5–10 minutes until slightly thick but still pourable.
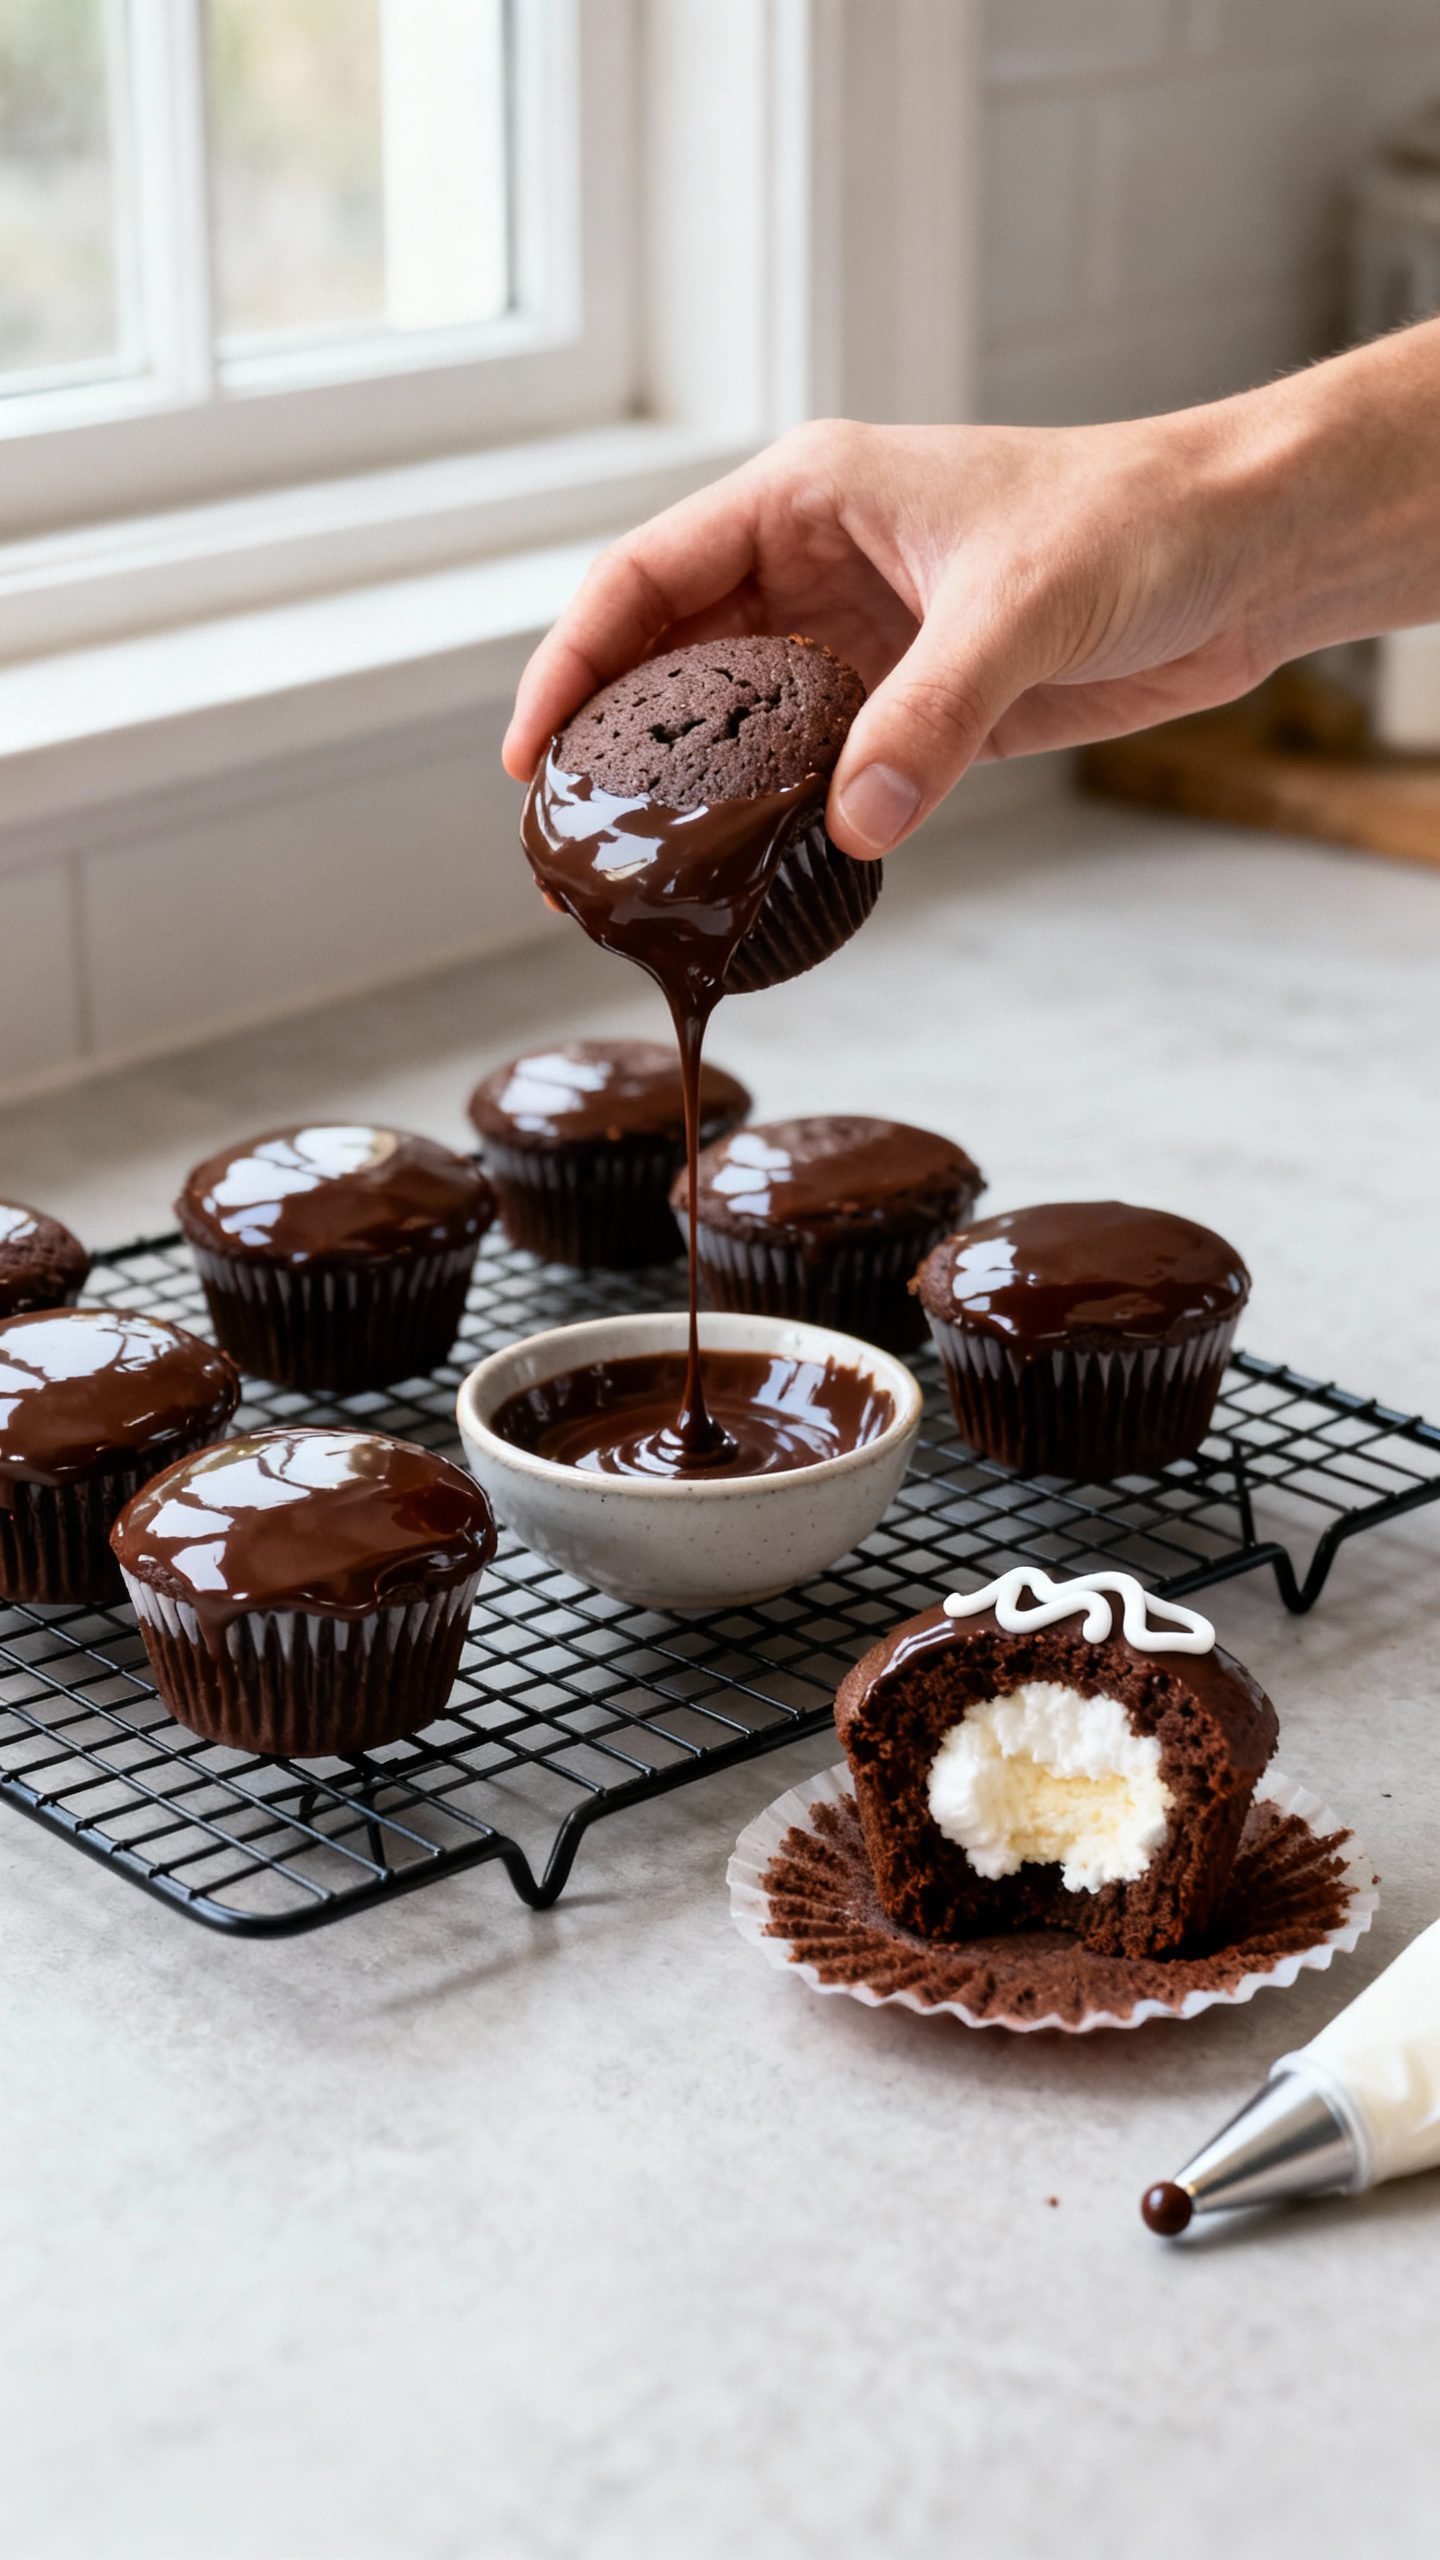
5) Dip and decorate
- Dip each filled cupcake top-first into the ganache, letting excess drip off. Set on a rack to set 15–20 minutes.
- Beat together powdered sugar, butter, vanilla, and a splash of milk to make a thick white icing that holds its shape.
- Transfer to a piping bag fitted with a small round tip and pipe the classic looped squiggle across each cupcake.
How to Store These Chocolate Cupcakes
- Short-term: Refrigerate in an airtight container up to 3 days. Let sit at room temp 20–30 minutes before serving for the best texture.
- Freeze: Freeze undecorated, filled cupcakes (without ganache and squiggle) up to 2 months. Wrap individually, then place in a freezer bag.
- Make-ahead tips:
- Bake cupcakes a day ahead; keep covered at room temp.
- Make filling and ganache the day you assemble for best texture.
- Pipe the squiggle after the ganache sets to keep it crisp.
Benefits of Making This Copycat Cupcake at Home
- Better flavor and texture: Real cream, real chocolate, and freshly baked cake beat anything from a box.
- Customizable sweetness: Adjust sugar and cocoa to taste without losing structure.
- No mystery ingredients: You know exactly what goes in—and what stays out.
- Budget-friendly wow factor: Impress a crowd with bakery-style results for a fraction of the price.
- Fun baking project: Each step feels satisfying, from coring to dipping to squiggling.
What to Avoid for Best Results
- Do not overmix the batter. Mix until just combined to keep the crumb tender.
- Avoid overbaking. Pull cupcakes when a toothpick shows a few moist crumbs, not a dry stick.
- Do not fill warm cupcakes. Heat melts the cream filling and collapses the structure.
- Skip runny ganache. Let it cool slightly so it coats instead of flooding the liners.
- Don’t skip salt in both cake and ganache. It sharpens the chocolate flavor.
- Avoid watery icing for the squiggle. Keep it thick so it holds the design.
Variations You Can Try
- Double chocolate: Add mini chocolate chips to the batter for extra nuggets of melt.
- Mint-chocolate: Swap vanilla for peppermint extract in the filling and add crushed peppermint on top.
- Peanut butter swirl: Whisk 2–3 tablespoons warmed peanut butter into the ganache.
- Salted caramel: Spoon a little caramel into the core along with the cream and finish with flaky salt.
- Gluten-free: Use a 1:1 gluten-free flour blend with xanthan gum; keep the rest of the recipe the same.
- Dairy-free: Use dairy-free milk + 1 tablespoon vinegar for “buttermilk,” a neutral oil cake, coconut cream filling, and coconut-milk ganache with dairy-free chocolate.
FAQ
Can I replace the coffee?
Yes. Use hot water or hot milk. Coffee simply boosts chocolate flavor.
How do I get a perfectly smooth ganache top?
- Use finely chopped chocolate so it melts evenly.
- Let ganache thicken slightly before dipping.
- Dip in one confident motion and twist your wrist as you lift to encourage a smooth sheen.
My filling feels too soft. What now?
- Chill the filling 10–15 minutes and try again.
- Use the gelatin stabilization step next time, especially in warm kitchens.
Can I make these as mini cupcakes?
Absolutely. Bake 10–12 minutes, then use a small piping tip to inject filling. Dip quickly in ganache and add tiny squiggles.
Which cocoa powder works best?
Dutch-processed cocoa gives a deeper color and smoother flavor, but natural cocoa works well too. Keep the leaveners as written.
How far ahead can I assemble?
Assemble up to 24 hours in advance. Store covered in the fridge and let them warm up slightly before serving for the softest texture.
Conclusion
These DIY Hostess-style chocolate cupcakes hit every nostalgic note: tender chocolate cake, fluffy cream center, shiny ganache, and that cheerful squiggle. You control the sweetness, the quality, and the finish, and you get bakery-level results from simple pantry ingredients.
Grab your muffin tin, make the batter, and start squiggling. Once you taste the homemade version, you’ll never miss the wrapper.
DIY Hostess Style Chocolate Cupcakes
Ingredients
Ingredients
Instructions
Instructions
- Heat oven to 350°F (175°C). Line a 12-cup muffin pan with paper liners.
- Whisk dry ingredients: flour, sugar, cocoa, baking soda, baking powder, and salt.
- Whisk wet ingredients: buttermilk, oil, eggs, and vanilla until smooth.
- Combine wet with dry. Stir just until no dry streaks remain.
- Pour in hot coffee and whisk gently. The batter will look thin—that’s correct.
- Fill liners about 2/3 full. Bake 16–20 minutes, until tops spring back and a toothpick comes out with a few moist crumbs.
- Cool in the pan 5 minutes, then transfer to a rack to cool completely.
- (Optional stabilization) Sprinkle gelatin over 1 tablespoon cold water. Let bloom 5 minutes, then microwave 5–10 seconds to melt. Cool until just warm.
- Beat cold heavy cream with powdered sugar and vanilla to soft peaks.
- Drizzle in the melted gelatin while mixing to medium peaks.
- Fold in marshmallow creme until fluffy and smooth. Chill 15 minutes to thicken for piping.
- Use a cupcake corer, apple corer, or a small knife to remove a plug from the center of each cooled cupcake. Do not cut to the bottom; leave a base.
- Pipe or spoon in the marshmallow filling until level with the top.
- Trim the removed cake plugs and gently cap the filling. You only need a thin lid.
- Heat heavy cream just to a simmer. Pour over chopped semi-sweet chocolate and a pinch of salt. Let sit 2 minutes.
- Whisk from the center outward until smooth and glossy. Cool 5–10 minutes until slightly thick but still pourable.
- Dip each filled cupcake top-first into the ganache, letting excess drip off. Set on a rack to set 15–20 minutes.
- Beat together powdered sugar, butter, vanilla, and a splash of milk to make a thick white icing that holds its shape.
- Transfer to a piping bag fitted with a small round tip and pipe the classic looped squiggle across each cupcake.


