
Dairy Free Ice Cream Recipe | Creamy Homemade Non Dairy Dessert
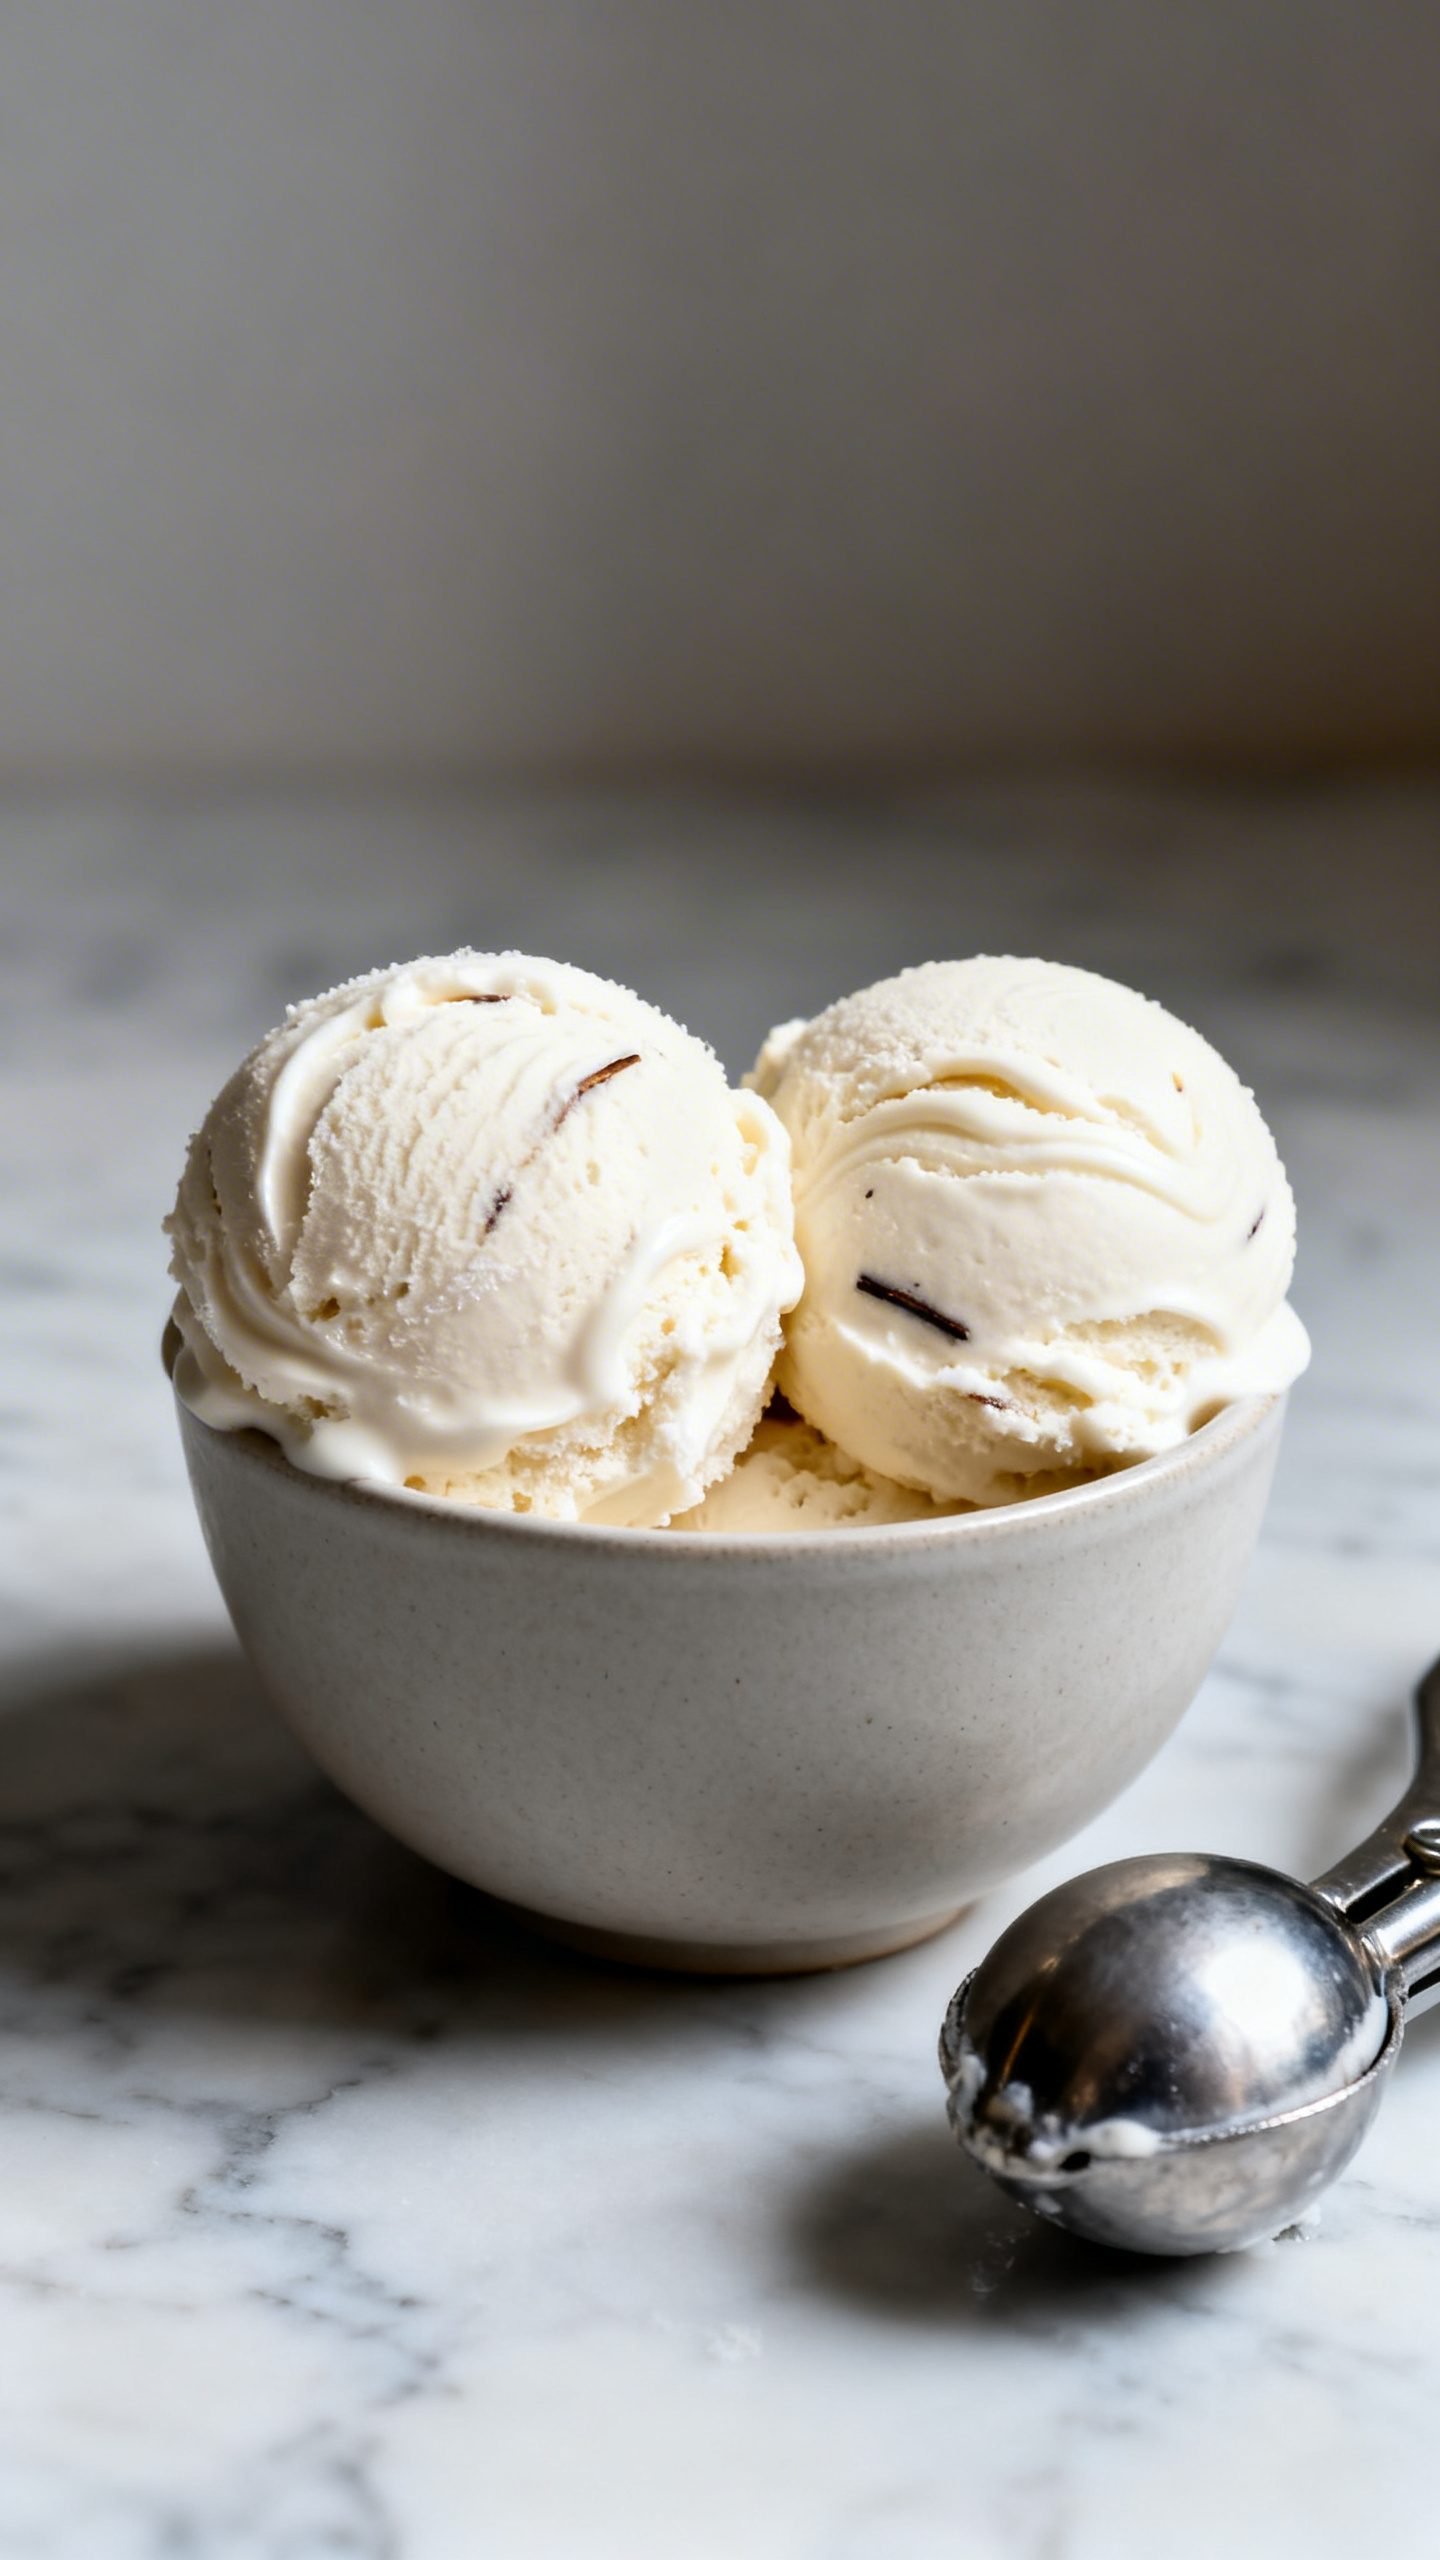
You can absolutely make creamy, scoopable dairy-free ice cream at home—no chalky texture, no icy shards, just silky, rich goodness. This recipe uses a smart blend of non-dairy milks, natural thickeners, and a few pro tips to deliver that classic ice cream feel without a drop of dairy.
Whether you own an ice cream maker or you want a no-churn option, I’ll walk you through both. Expect bold vanilla flavor, a luscious mouthfeel, and plenty of ways to riff with mix-ins and swirls. You’ve got this.
Why This Dairy-Free Ice Cream Delivers Creamy Results
- Fat balance matters: Coconut cream provides richness while almond or oat milk lightens the texture so it doesn’t taste heavy.
- Thickeners reduce ice crystals: A touch of tapioca starch and a bit of corn syrup or maple syrup keep the base smooth and scoopable.
- Emulsification improves body: Blending the base fully disperses fat and prevents separation.
- Chill time equals tiny crystals: Cooling the base thoroughly before churning sets you up for a silky finish.
- Flavor boosters shine: Real vanilla and a pinch of salt make the flavor pop and taste like classic ice cream.
Ingredients
For the base
- 1 can (13.5–14 oz) full-fat coconut milk or coconut cream (for richness)
- 1 1/2 cups unsweetened almond milk or oat milk (for lightness and body)
- 1/2 cup organic cane sugar (or coconut sugar for deeper flavor)
- 2 tablespoons pure maple syrup or light corn syrup (helps prevent iciness)
- 1 tablespoon tapioca starch (or 2 teaspoons cornstarch; thickens the base)
- 1 tablespoon neutral oil like avocado or refined coconut oil (improves scoopability)
- 1 1/2 teaspoons pure vanilla extract (plus 1/4 teaspoon vanilla bean paste if you have it)
- 1/8 teaspoon fine sea salt (balances sweetness)
Optional mix-ins
- 1/2 cup chopped dark chocolate (dairy-free)
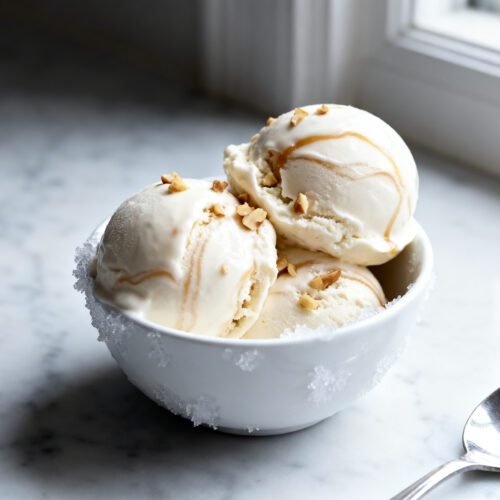
- 1/3 cup toasted chopped nuts (almonds, pistachios, or pecans)
- Swirls: 1/4 cup berry jam, sunbutter, or dairy-free caramel
How to Make Creamy Dairy-Free Ice Cream
1) Make a smooth slurry
- In a small bowl, whisk tapioca starch with 1/4 cup cold almond/oat milk until lump-free. Set aside.
2) Heat and infuse the base
- In a medium saucepan, combine coconut milk, remaining almond/oat milk, sugar, maple syrup, and salt.
- Warm over medium heat, stirring often, until steam rises and sugar dissolves fully. Do not boil.
3) Thicken gently
- Whisk in the starch slurry slowly.
- Cook 2–3 minutes, stirring constantly, until the mixture lightly coats the back of a spoon. Remove from heat.
4) Add flavor and emulsify
- Stir in vanilla extract, vanilla paste (if using), and neutral oil.
- Blend the warm mixture with an immersion blender for 15–20 seconds to fully emulsify. This step boosts creaminess.
5) Chill completely
- Pour the base into a shallow container. Press plastic wrap directly onto the surface to prevent a skin.
- Refrigerate until very cold, at least 4 hours, preferably overnight.
6A) Churn method (ice cream maker)
- Churn the chilled base in your machine according to manufacturer’s instructions, usually 18–25 minutes.
- In the last minute, add chopped chocolate or nuts if using.
- Transfer to a lidded container. Ripple in any swirls with a spoon.
- Freeze until firm enough to scoop, about 3–4 hours.
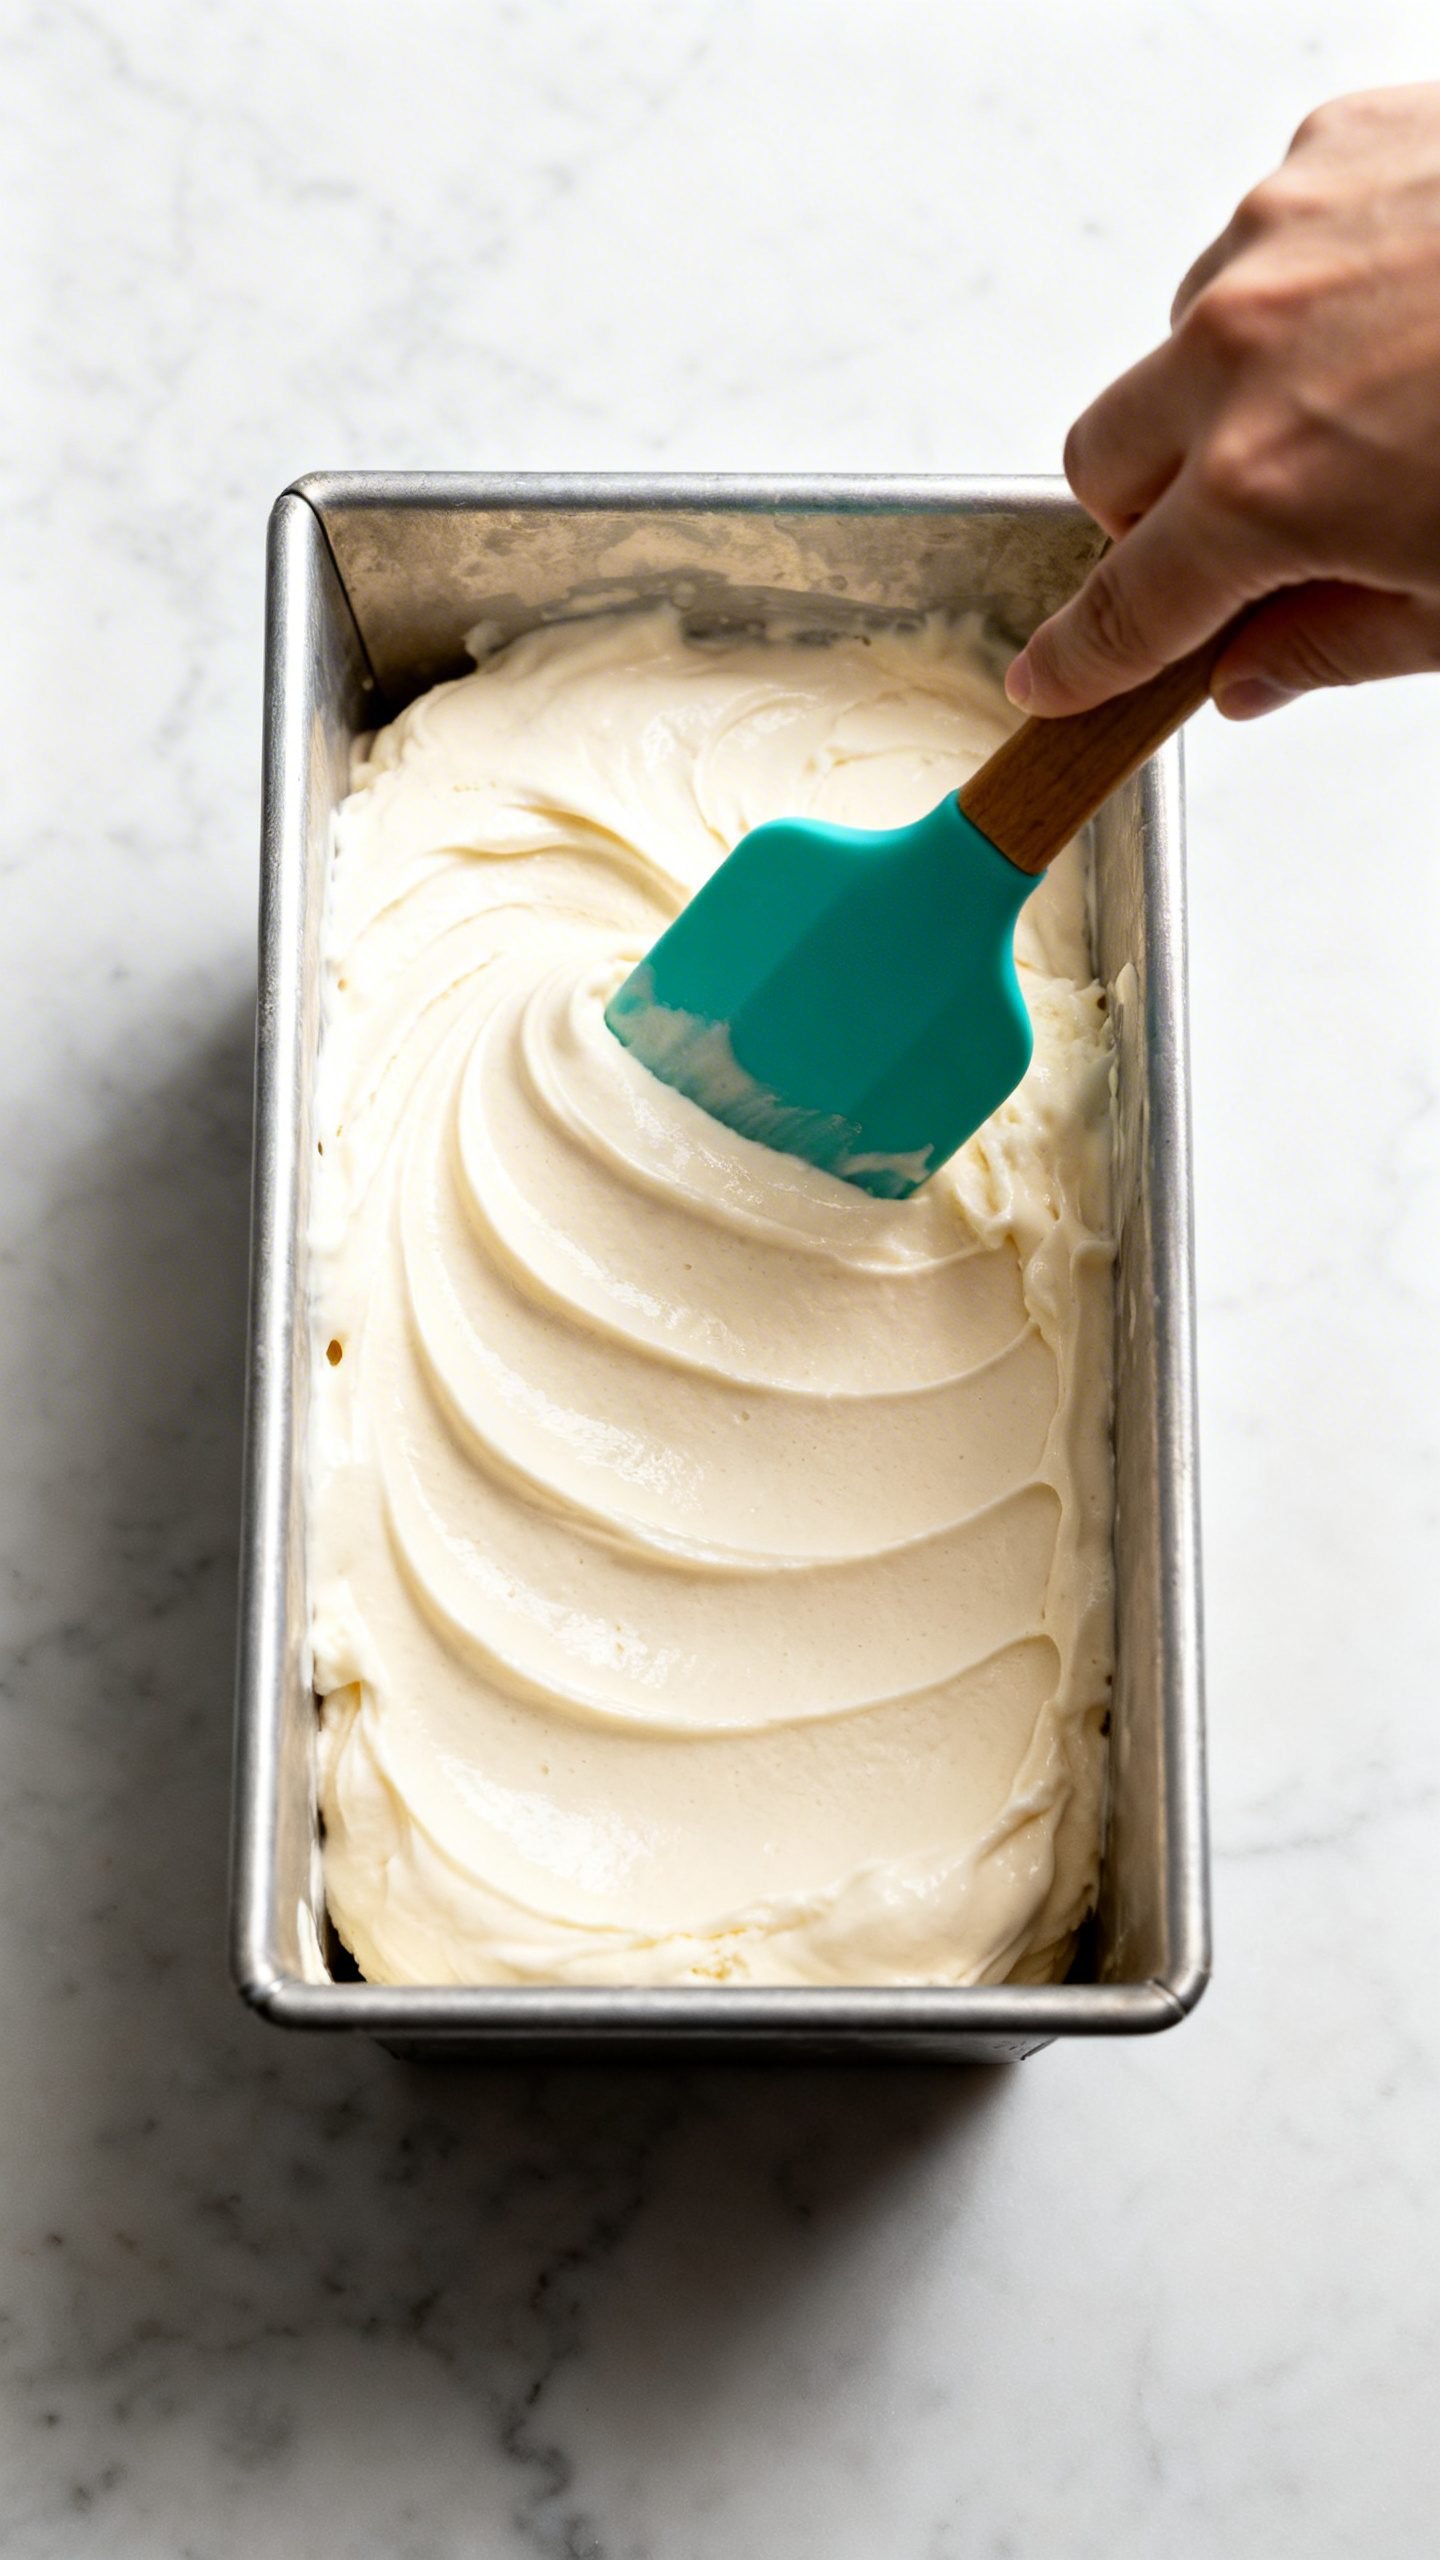
6B) No-churn method (mixer + freezer)
- Pour the chilled base into a cold metal bowl. Beat with a hand mixer on medium-high for 2–3 minutes to aerate.
- Freeze 45 minutes. Beat again for 1 minute. Repeat the freeze/beat cycle 3–4 times to break up ice crystals.
- Fold in mix-ins and swirls. Freeze until solid, about 5–6 hours.
Pro tips for best texture
- Pre-chill everything: Freeze your ice cream maker bowl 24 hours. Chill the base thoroughly.
- Use shallow containers: Faster freezing equals smaller ice crystals.
- Let it temper: Soften at room temp for 5–10 minutes before scooping.
How to Store Your Non-Dairy Ice Cream
- Use an airtight, freezer-safe container with minimal headspace to reduce freezer burn.
- Press parchment or plastic wrap directly on the surface before sealing.
- Freeze up to 2 weeks for peak texture and flavor. It will last longer but may get icier.
- Soften smart: Let the container sit at room temp 5–10 minutes or park it in the fridge for 15 minutes before serving.
Benefits of Making Dairy-Free Ice Cream at Home
- Full control over ingredients: Skip gums you don’t want and adjust sweetness to your taste.
- Allergy-friendly: Choose nut-free milks and chocolate to suit your needs.
- Creamier than store-bought: Freshly churned texture beats most tubs, every time.
- Endless flavors: Swirl in seasonal fruit, warm spices, or coffee for custom scoops.
- Budget-friendly: Premium dairy-free pints add up; homemade saves money per serving.
What to Avoid for the Smoothest Results
- Don’t skip the starch or syrup: They limit ice crystals and keep scoops soft.
- Don’t boil the base: Boiling can split the fats and create a grainy texture.
- Don’t churn a warm base: Warm mixtures freeze unevenly and turn icy.
- Don’t overload mix-ins: Cap at 1/2–3/4 cup total to avoid crumbly scoops.
- Don’t store in deep, narrow containers: They freeze slowly and form bigger crystals.
Tasty Variations You’ll Love
- Chocolate fudge: Whisk in 1/3 cup cocoa powder while heating; swirl 1/4 cup dairy-free fudge after churning.
- Strawberry ripple: Fold in 1/2 cup chopped berries and swirl 1/4 cup strawberry jam.
- Mint chip: Add 1/2 teaspoon peppermint extract and 1/2 cup chopped dairy-free chocolate.
- Cookie crunch: Crumble 1/2 cup gluten-free sandwich cookies into the churned base.
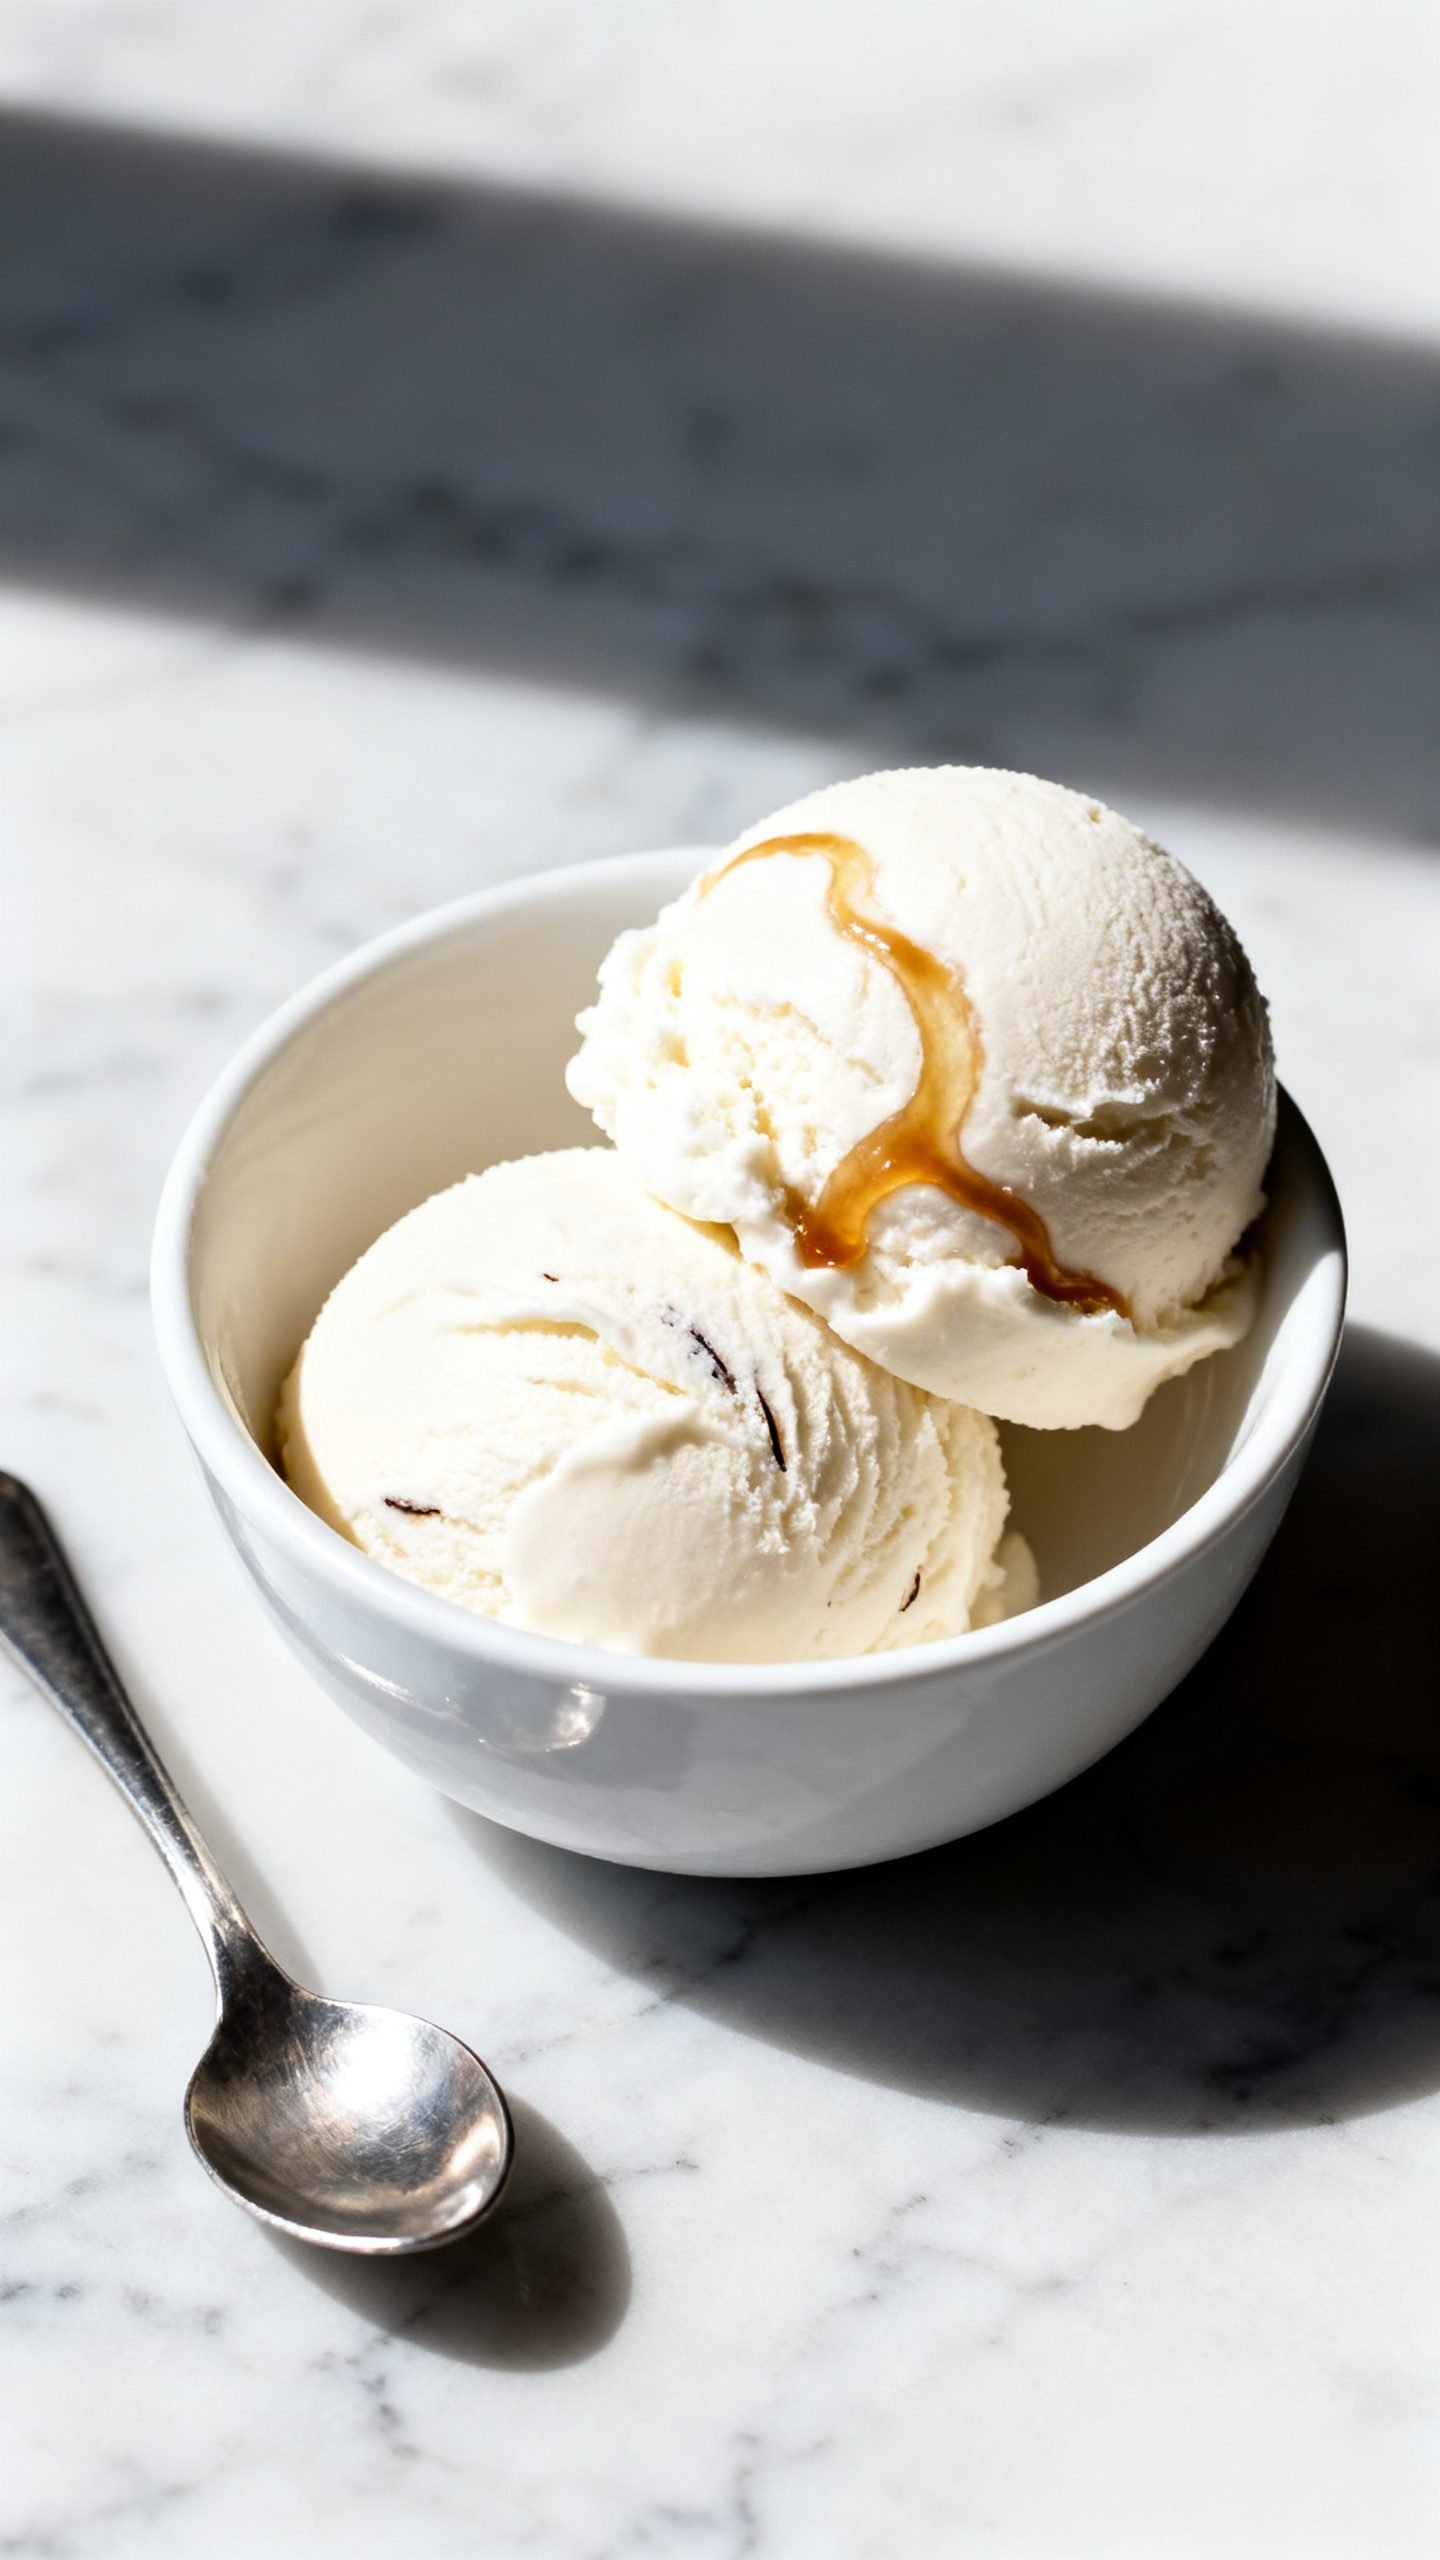
- Salted caramel swirl: Ripple in 1/4 cup dairy-free caramel and finish with a pinch of flaky salt.
- Coffee delight: Steep 1 tablespoon instant espresso in the warm base, then strain if needed.
FAQ
Can I make this without coconut?
Yes. Use 1 3/4 cups oat milk plus 3/4 cup cashew cream (blend 3/4 cup raw cashews with 3/4 cup hot water). You’ll still get a rich, creamy texture.
What can I use instead of tapioca starch?
Use 2 teaspoons cornstarch or 1 teaspoon arrowroot. Tapioca gives the silkiest results, but the others work.
Do I need an ice cream maker?
No. The no-churn method in the steps above creates great texture. An ice cream maker just speeds things up and adds more air for extra lightness.
Why add oil to the base?
A small amount of neutral oil mimics the butterfat in dairy ice cream and keeps scoops soft straight from the freezer.
How sweet is this?
It’s balanced, not cloying. For a less sweet version, reduce sugar to 1/3 cup and keep the maple or corn syrup the same to protect texture.
Can I use dates or honey?
Yes. Blend 6–8 soft medjool dates into the warm base for caramel notes. Honey works, but it adds its own flavor—start with 6 tablespoons.
How do I avoid coconut flavor?
Use refined coconut oil (not virgin), choose oat milk, and boost vanilla with vanilla bean paste.
Conclusion
With the right fat balance, a reliable thickener, and thorough chilling, you can churn out dairy-free ice cream that tastes rich, scoops cleanly, and satisfies every sweet tooth at the table. Make the vanilla base once, then riff with chocolate, coffee, fruit, or crunchy add-ins. Clear a little freezer space—you’ll want to keep a container ready for dessert emergencies.
Dairy Free Ice Cream Recipe | Creamy Homemade Non Dairy Dessert
Ingredients
Ingredients
- 1 can (13.5–14 oz) full-fat coconut milk or coconut cream
- 1 1/2 cups unsweetened almond milk or oat milk
- 1/2 cup organic cane sugar (or coconut sugar)
- 2 tablespoons pure maple syrup or light corn syrup
- 1 tablespoon tapioca starch (or 2 teaspoons cornstarch)
- 1 tablespoon neutral oil (avocado or refined coconut oil)
- 1 1/2 teaspoons pure vanilla extract
- 1/4 teaspoon vanilla bean paste (optional)
- 1/8 teaspoon fine sea salt
- 1/2 cup chopped dairy-free dark chocolate (optional mix-in)
- 1/3 cup toasted chopped nuts (almonds, pistachios, or pecans; optional mix-in)
- 1/4 cup berry jam, sunbutter, or dairy-free caramel (optional swirl)
Instructions
Instructions
- Whisk the tapioca starch with 1/4 cup cold almond or oat milk in a small bowl until completely smooth and lump-free.
- Combine coconut milk, the remaining almond or oat milk, sugar, maple or corn syrup, and salt in a medium saucepan and heat over medium, stirring often, until steaming and the sugar is fully dissolved without boiling.
- Slowly whisk in the starch slurry and cook, stirring constantly, for 2 to 3 minutes until the mixture lightly coats the back of a spoon, then remove from heat.
- Stir in vanilla extract, vanilla bean paste if using, and neutral oil, then blend the warm mixture with an immersion blender for 15 to 20 seconds to emulsify.
- Pour the base into a shallow container, press plastic wrap directly onto the surface, and refrigerate until very cold, at least 4 hours or overnight.
- For the churn method, churn the chilled base according to your ice cream maker’s instructions until soft-serve consistency, add optional chopped chocolate or nuts in the last minute, transfer to a container, ripple in any swirls, and freeze until firm, about 3 to 4 hours.
- For the no-churn method, beat the chilled base in a cold metal bowl with a hand mixer for 2 to 3 minutes, freeze for 45 minutes, beat for 1 minute, and repeat the freeze-and-beat cycle 3 to 4 times, then fold in mix-ins and swirls and freeze until solid, about 5 to 6 hours.
- Before serving, let the ice cream temper at room temperature for 5 to 10 minutes for easier scooping.


