
Classic Hot Dog Chili Recipe | Easy Homemade Chili Sauce for Dogs
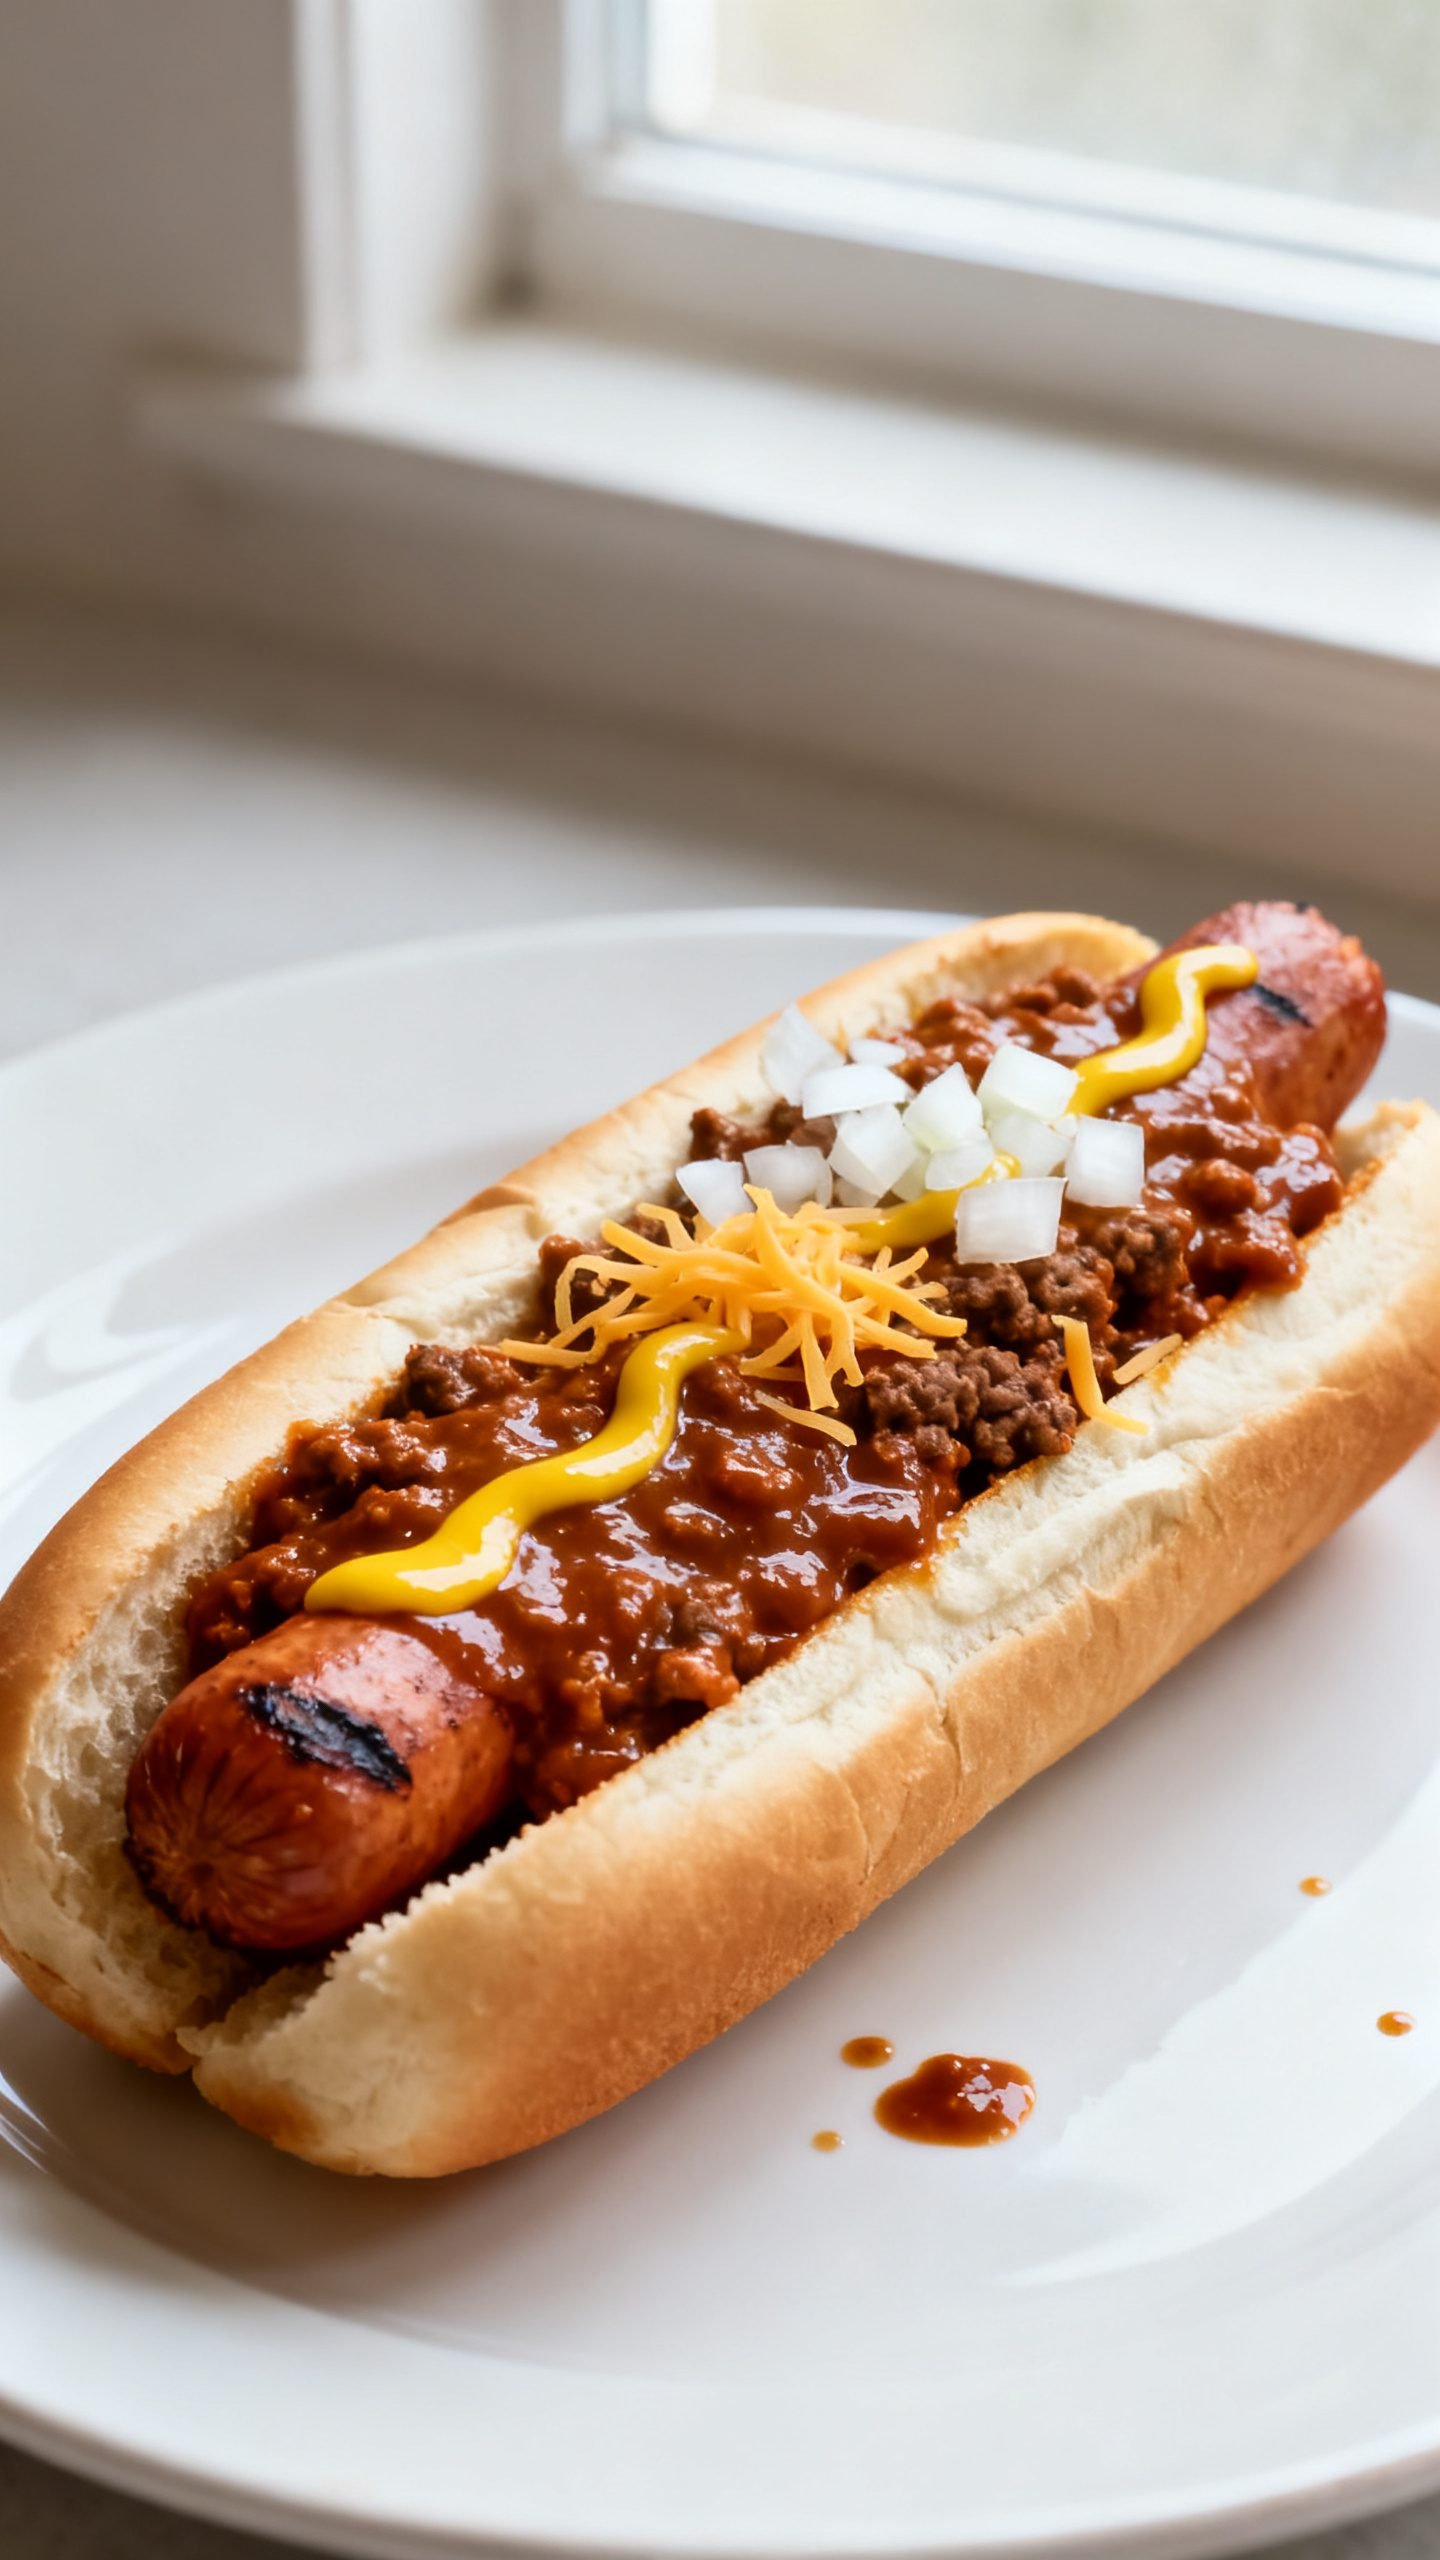
If you love a backyard hot dog loaded with flavor, this classic hot dog chili will become your go-to. It’s the smooth, beefy, slightly tangy chili sauce you find at great diners—perfect for spooning over snappy dogs, piling onto fries, or swirling into mac and cheese. No beans, no chunky vegetables—just a silky sauce that clings to every bite.
You’ll make this in one pot with simple pantry spices and ground beef. The texture turns beautifully fine thanks to a little technique, and the flavor balances savory, sweet, and heat just right. Make a double batch; you’ll want leftovers for game day and quick weeknight dinners.
Why This Hot Dog Chili Recipe Works
- Right texture for dogs: This chili stays smooth and spoonable, so it nestles into the bun instead of sliding off.
- Deep flavor, fast: Tomato paste, beef broth, and a smart spice blend build a slow-simmered taste in under an hour.
- No guesswork: Clear measurements and steps give you consistent results every time.
- Flexible heat: Adjust cayenne and hot sauce to fit mild family dogs or ballpark-level spice.
- Meal-prep friendly: It keeps and reheats like a dream, so you can stock the freezer for quick chili dogs.
Ingredients
For the Chili Sauce
- 1 lb (450 g) lean ground beef
- 1 small yellow onion, very finely minced
- 3 cloves garlic, minced
- 2 tbsp tomato paste
- 1 cup low-sodium beef broth
- 1 cup tomato sauce (plain, unseasoned)
- 1 tbsp yellow mustard
- 2 tsp Worcestershire sauce
- 2 tsp chili powder (American chili blend)
- 1 tsp paprika (sweet or smoked)
- 1/2 tsp ground cumin
- 1/2 tsp onion powder
- 1/4 tsp cayenne pepper (optional for heat)
- 1 tsp sugar (balances acidity)
- 1 tsp kosher salt, plus more to taste
- 1/2 tsp black pepper
For Serving
- Hot dogs (beef or your favorite)
- Soft hot dog buns
- Chopped white onion, shredded cheddar, and yellow mustard for topping
How to Make Classic Hot Dog Chili Sauce
1) Create a fine, diner-style texture
- Work the beef: Add ground beef to a bowl and break it up with your fingers. Sprinkle in 2 tablespoons of the beef broth and mash with a fork until the meat looks loose and fine. This step helps you get that signature smooth chili.
2) Start the flavor base
- Sweat the aromatics: Warm a medium pot over medium heat. Add a drizzle of oil if your beef is very lean. Cook the onion with a pinch of salt for 3–4 minutes until translucent. Stir in garlic for 30 seconds.
- Toast the paste: Add tomato paste and cook 1–2 minutes, stirring, until it darkens slightly and smells sweet.
3) Brown and season
- Add beef: Crumble in the prepared ground beef. Cook 4–6 minutes, stirring and breaking it up constantly until no pink remains. Keep it fine; press with a spatula to reduce chunks.
- Spice it: Stir in chili powder, paprika, cumin, onion powder, cayenne, black pepper, and sugar. Cook 30–60 seconds to bloom the spices.
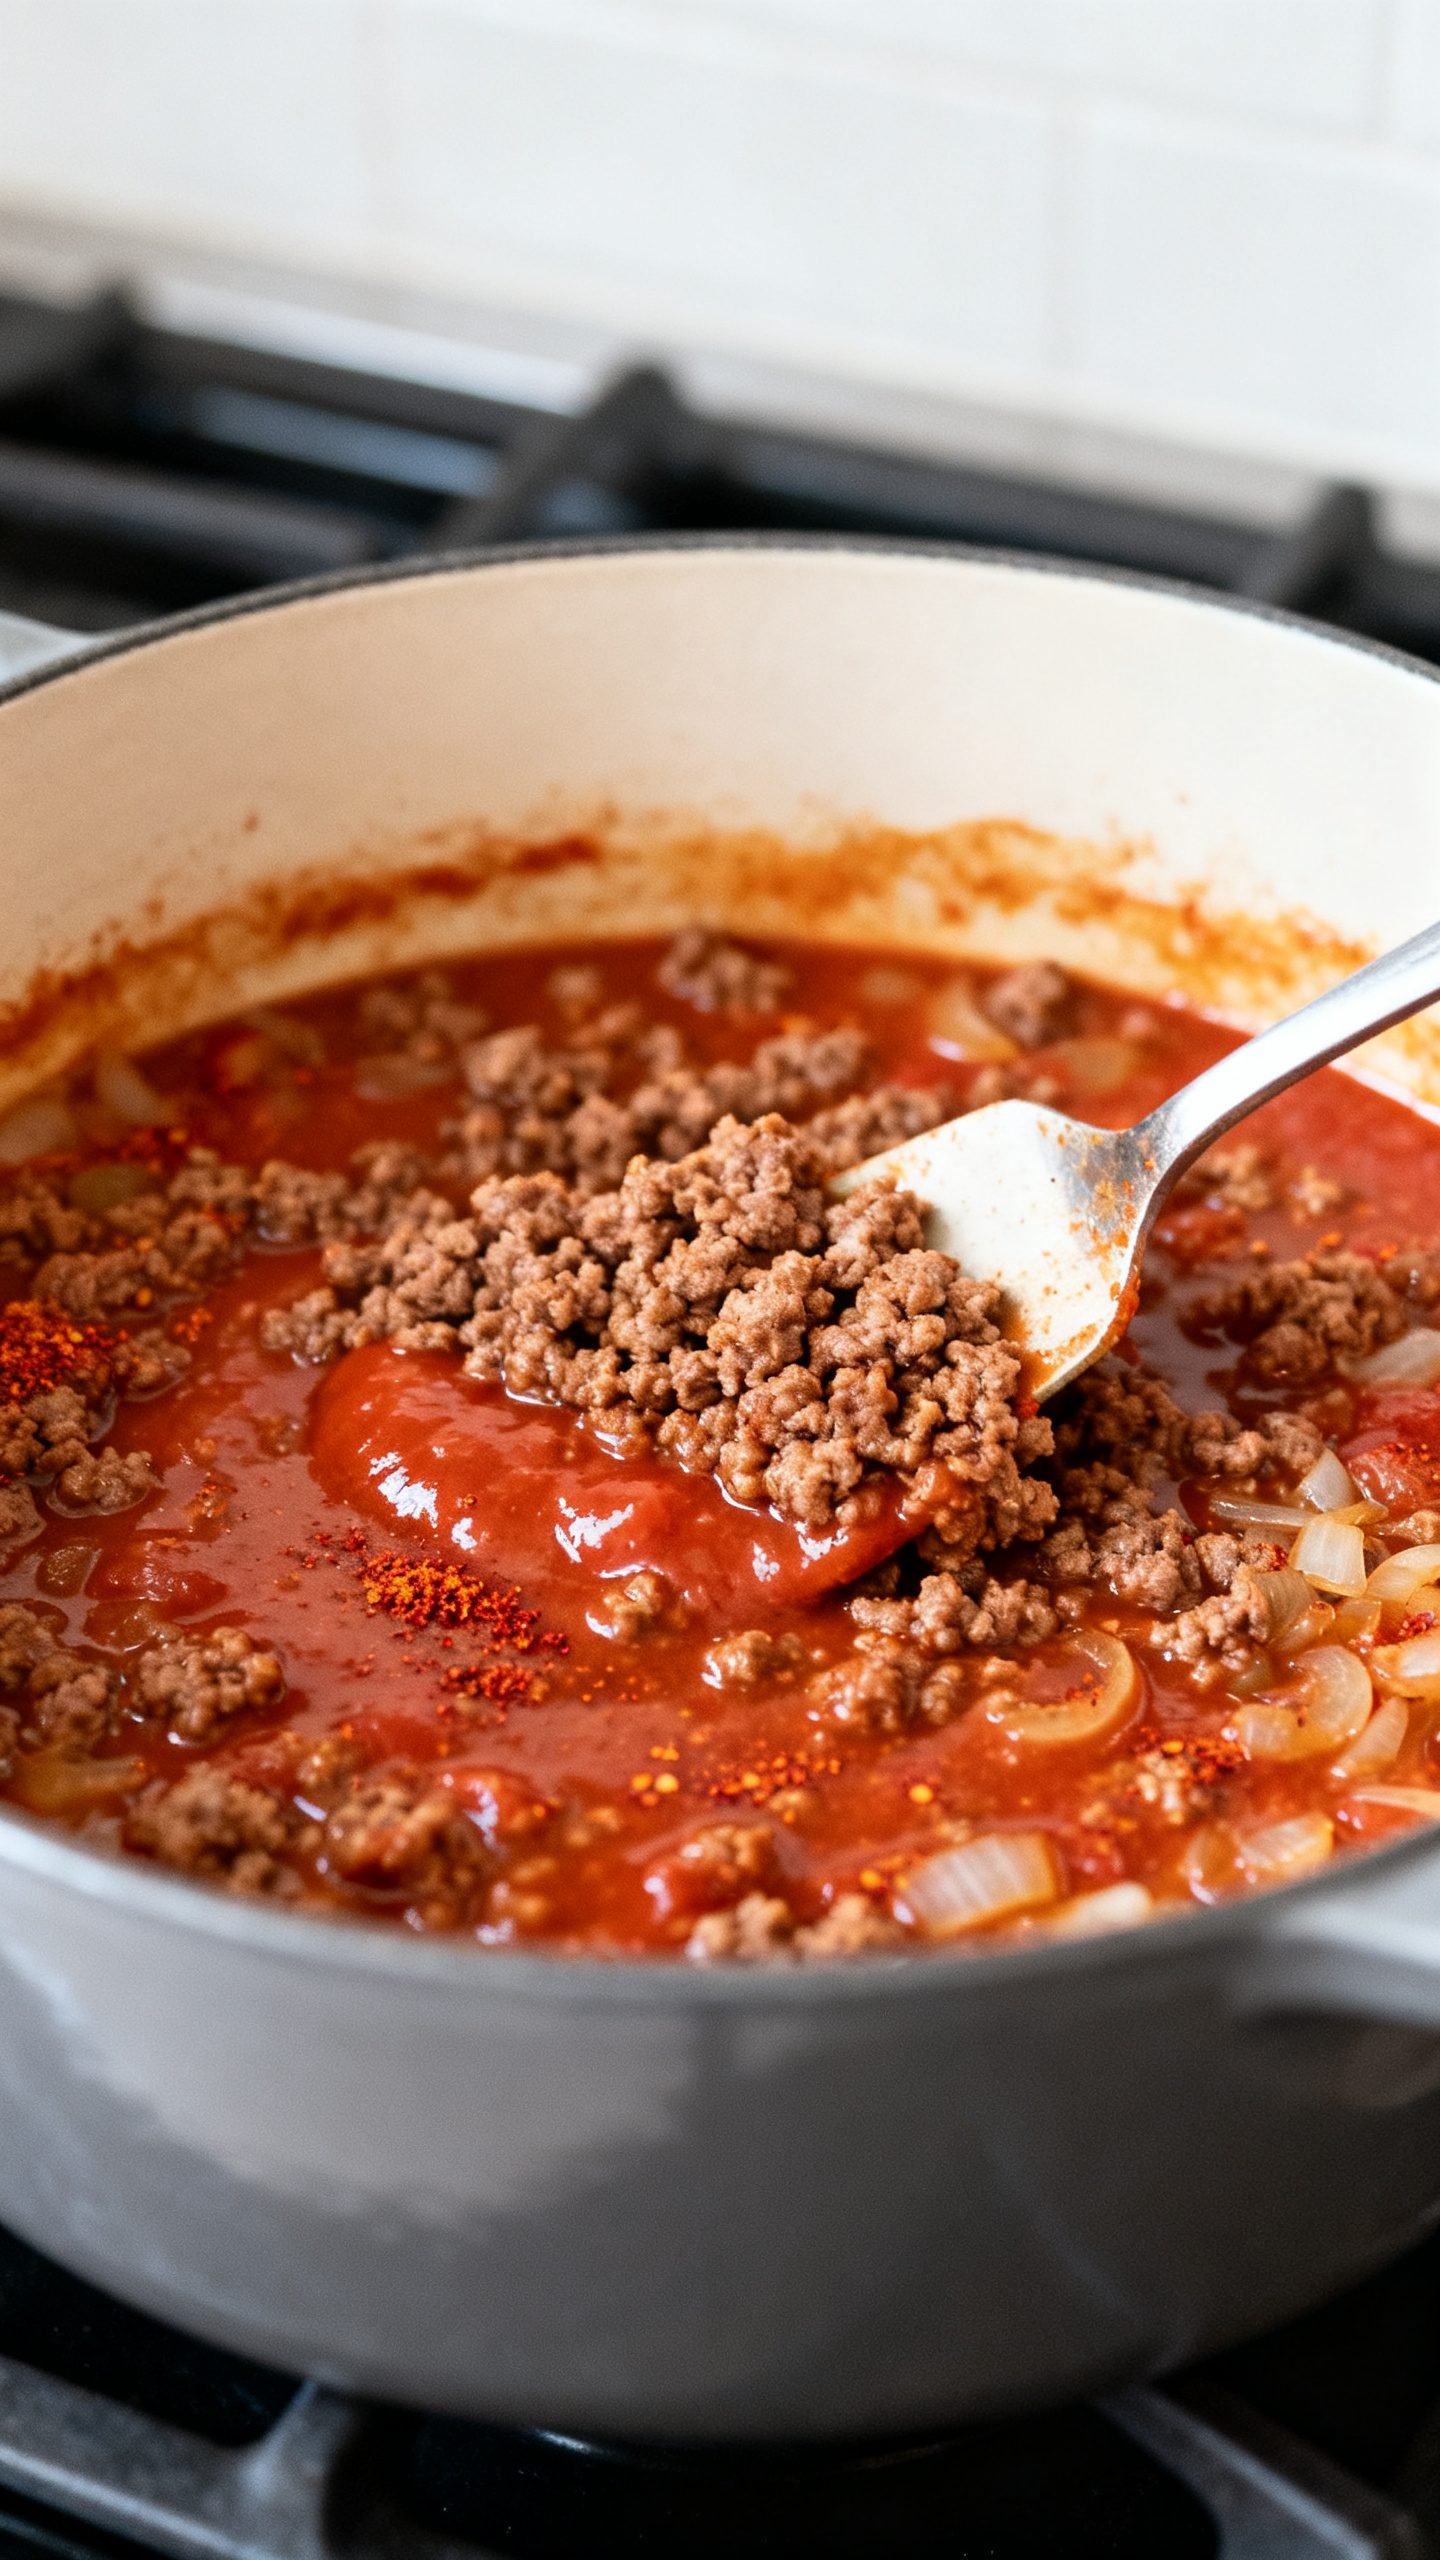
4) Simmer to thicken
- Liquids in: Pour in tomato sauce, remaining beef broth, Worcestershire, and mustard. Stir well and bring to a gentle simmer.
- Low and slow: Simmer uncovered for 20–30 minutes, stirring occasionally, until the chili looks glossy and thick but still spoonable. If it gets too thick, splash in more broth or water. If it’s thin, simmer a bit longer.
- Taste and adjust: Add salt to make the flavors pop. For sweetness, add another pinch of sugar. For tang, a small splash of apple cider vinegar works.
5) Serve
- Warm the dogs and buns: Grill, pan-sear, or boil hot dogs; steam or toast buns.
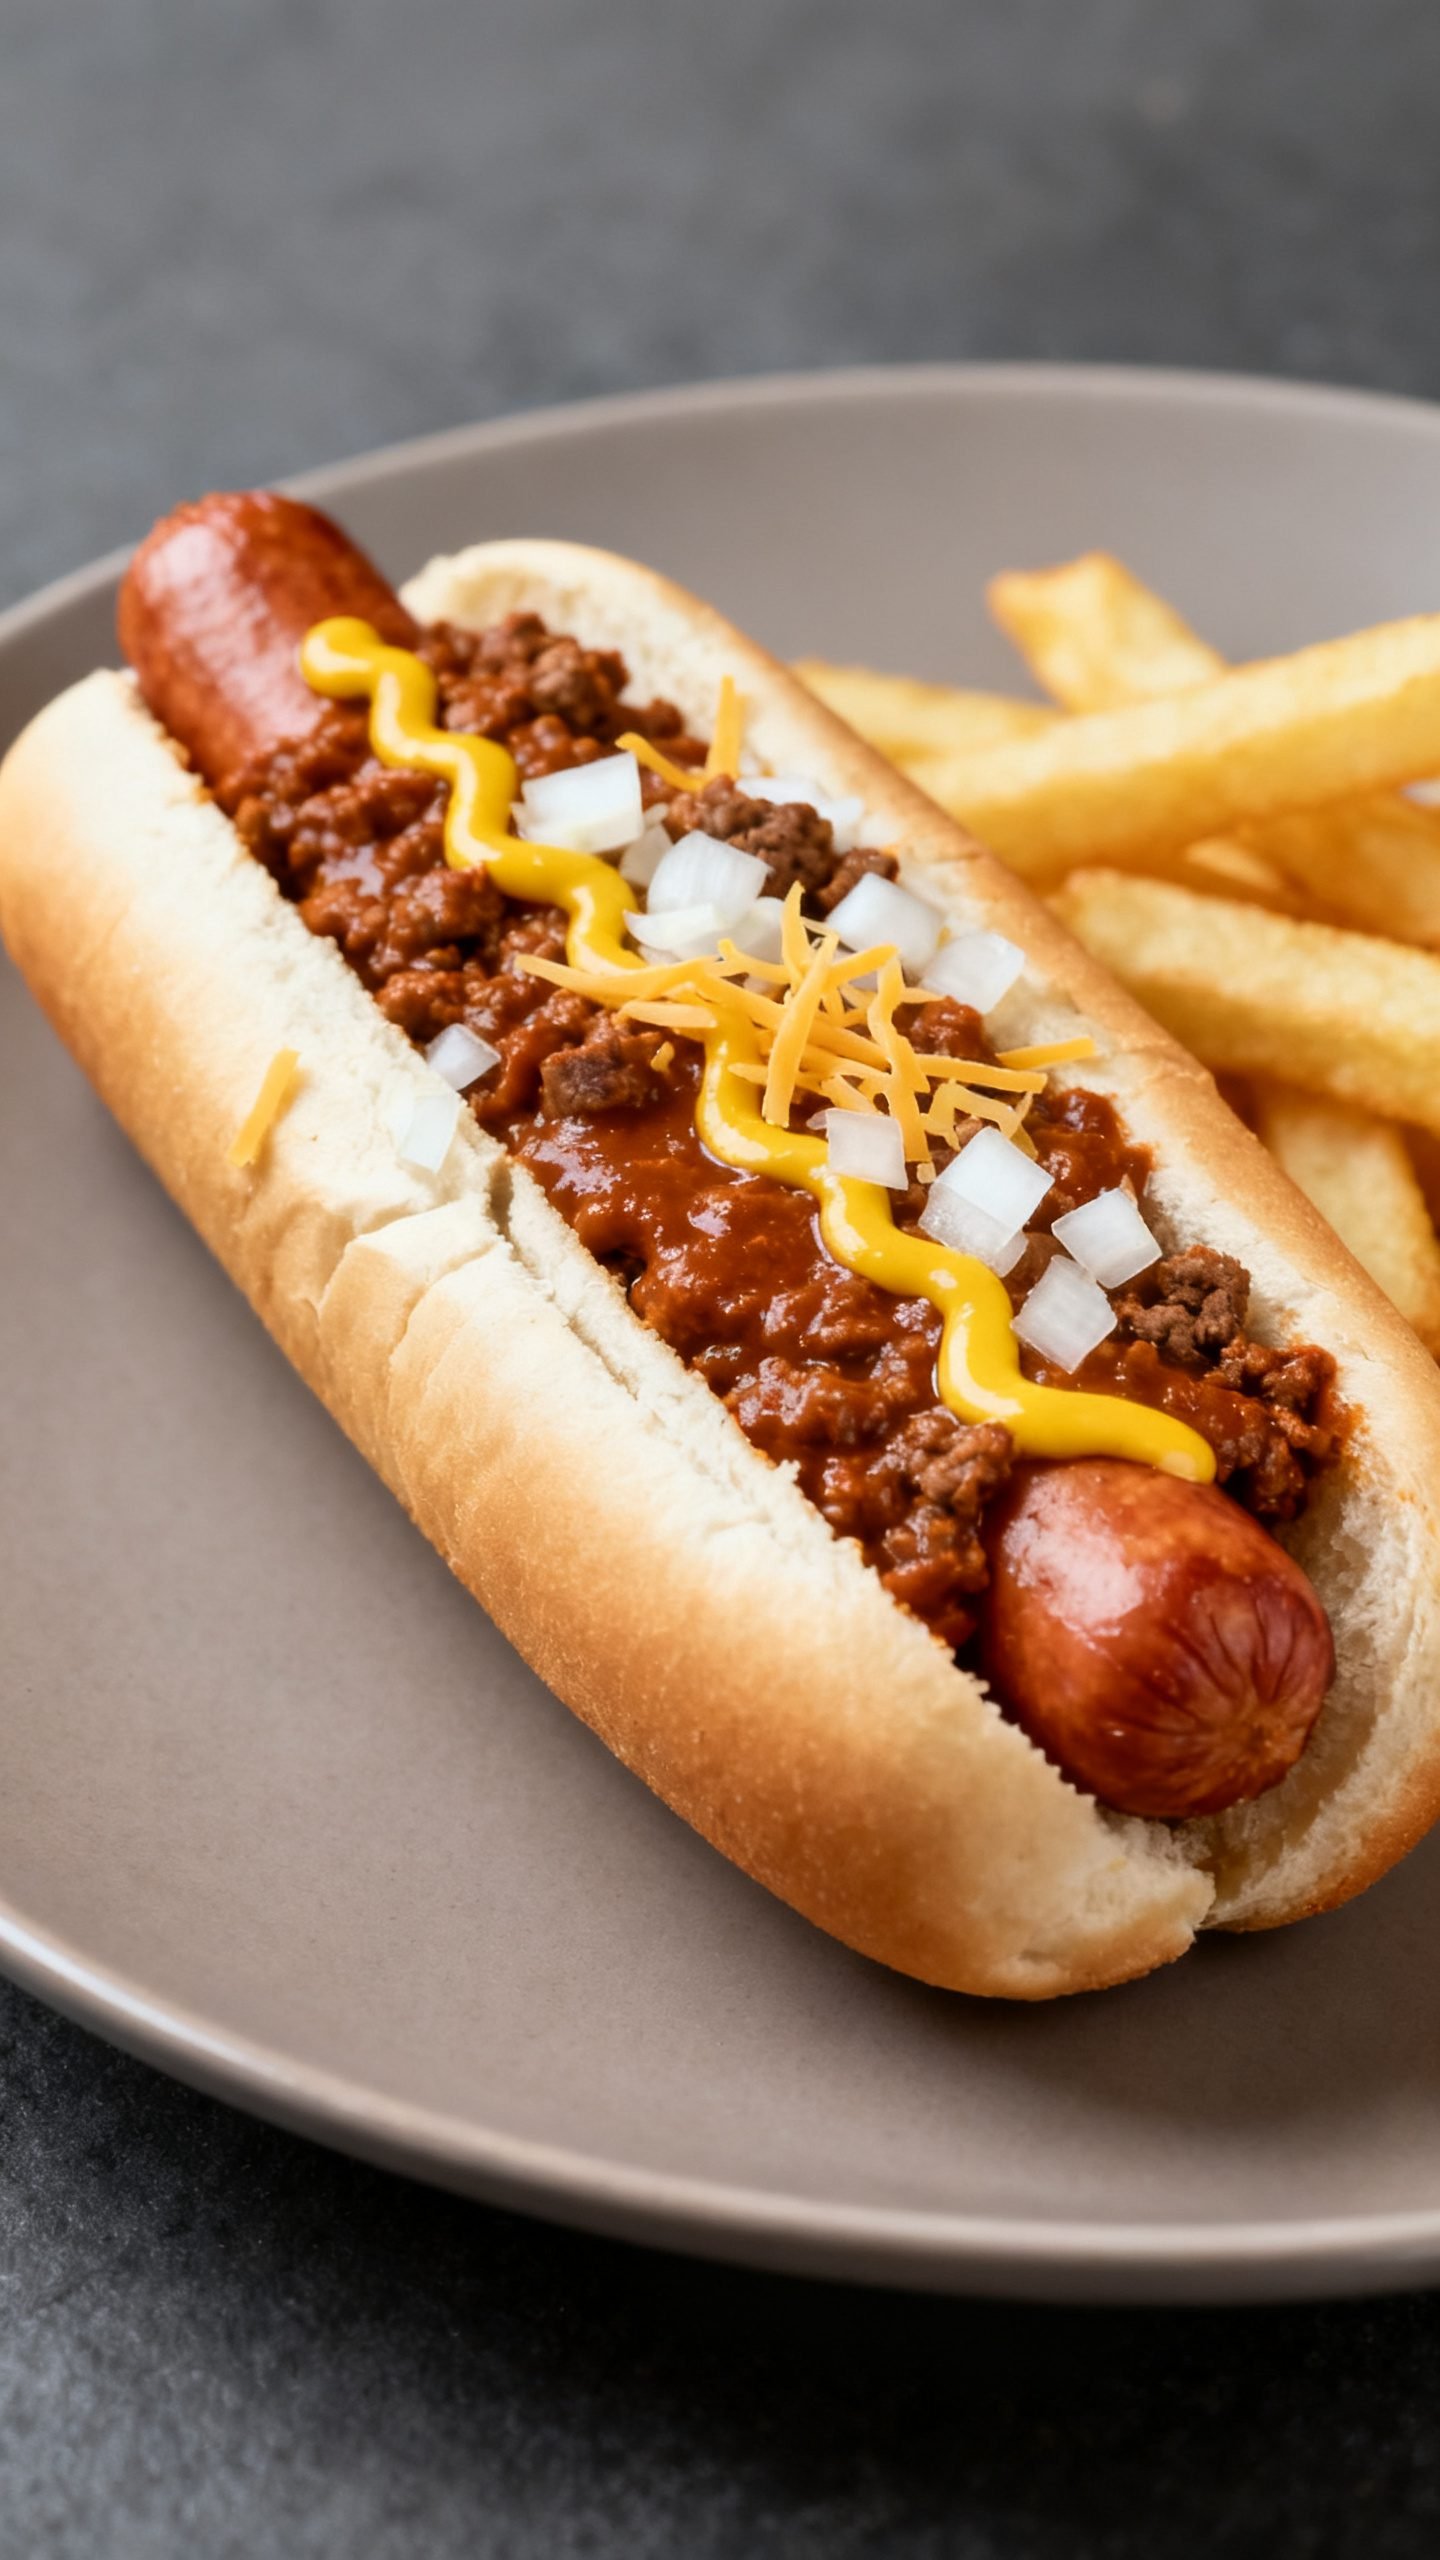
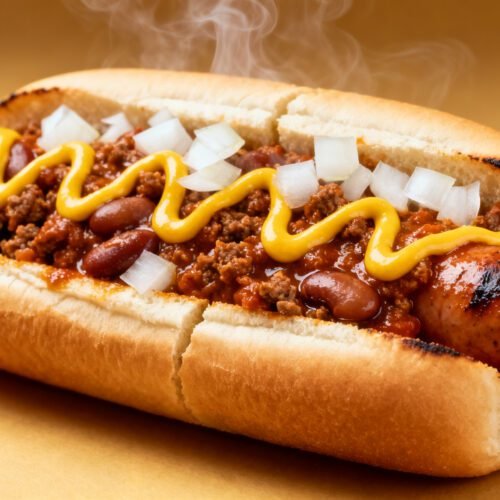
- Build the dog: Hot dog, a generous spoon of chili, mustard, onion, and a little cheddar if you like. Serve immediately.
How to Store Hot Dog Chili
- Cool first: Let chili cool to room temperature within 2 hours.
- Refrigerate: Store in airtight containers for up to 4 days.
- Freeze: Portion into freezer-safe bags or containers for up to 3 months. Flatten bags for fast thawing.
- Reheat: Warm gently on the stove over medium-low, adding a splash of water or broth to loosen. Microwave in short bursts, stirring between.
- Make-ahead tip: Chili often tastes even better the next day as flavors meld.
Benefits of Making Your Own Hot Dog Chili
- Custom flavor: Dial in heat, sweetness, and tang to your exact taste.
- Clean ingredients: Skip preservatives and keep the label short and recognizable.
- Better texture control: Keep it silky and clingy, not soupy or chunky.
- Budget-friendly: Pantry staples stretch ground beef into enough sauce for a crowd.
- Versatility: Spoon over fries, burgers, baked potatoes, nachos, or scrambled eggs.
What to Avoid When Making Hot Dog Chili
- Don’t skip blooming spices: Raw spices taste flat; a quick toast in fat unlocks flavor.
- Don’t leave big chunks of beef: Break it down thoroughly for that classic sauce texture.
- Don’t rush the simmer: Five extra minutes can turn watery chili into glossy perfection.
- Don’t overload with onions or sugar: You want savory balance, not sweetness or harsh onion bite.
- Don’t make it too thick: It should spoon easily and spread across the dog without crumbling.
Easy Variations to Try
- Spicy ballpark: Add extra cayenne, a dash of hot sauce, and a pinch of crushed red pepper.
- Smoky BBQ twist: Swap half the tomato sauce for your favorite BBQ sauce and use smoked paprika.
- Carolina-inspired: Add an extra teaspoon of yellow mustard and a teaspoon of apple cider vinegar for tang.
- Texas-ish: Stir in a teaspoon of espresso powder and a splash of beer for depth.
- Turkey or plant-based: Use ground turkey or a meatless crumble; reduce the simmer time slightly.
- Onion lovers: Stir in 2 tablespoons of very finely minced onion at the end for fresh bite.
FAQ
Can I make this without tomato sauce?
Yes. Use additional beef broth plus 1–2 extra tablespoons of tomato paste. Simmer a bit longer to reach the same thickness.
How do I get that ultra-fine texture?
Pre-loosen the beef with a splash of broth and mash it before cooking. While simmering, press the chili with a potato masher or the back of a spoon. Some cooks also whisk the raw beef into cold broth in the pot before heating to break it down even further.
Is this chili the same as chili con carne?
No. Hot dog chili is smoother, thinner, and usually bean-free. It’s designed to coat a dog, not fill a bowl.
Can I make it in a slow cooker?
Yes. Brown the beef and aromatics on the stove first, then transfer to the slow cooker with the remaining ingredients. Cook on Low for 3–4 hours, lid off for the last 30 minutes to thicken.
What toppings go best on chili dogs?
Chopped raw onion, yellow mustard, and shredded cheddar always work. Add jalapeños, relish, or a sprinkle of celery salt if you like a classic snack-bar vibe.
How much chili per hot dog?
Plan on 2–3 tablespoons per dog. For bigger buns or thicker chili, go up to 1/4 cup.
Can I double or triple the recipe?
Absolutely. Use a wider pot to encourage evaporation and stir more often to prevent scorching. Season to taste at the end.
Conclusion
This classic hot dog chili delivers the flavor and texture you want from a great chili dog: beefy, smooth, tangy, and easy to spoon. With a few pantry staples and 30 minutes on the stove, you’ll have a crowd-pleasing sauce that turns simple hot dogs into something special. Make it once, stash extra in the freezer, and you’ll never reach for a canned version again.
Classic Hot Dog Chili Recipe | Easy Homemade Chili Sauce for Dogs
Ingredients
Ingredients
- 1 lb (450 g) lean ground beef
- 1 small yellow onion, very finely minced
- 3 cloves garlic, minced
- 2 tbsp tomato paste
- 1 cup low-sodium beef broth, divided
- 1 cup tomato sauce (plain, unseasoned)
- 1 tbsp yellow mustard
- 2 tsp Worcestershire sauce
- 2 tsp chili powder (American chili blend)
- 1 tsp paprika (sweet or smoked)
- 1/2 tsp ground cumin
- 1/2 tsp onion powder
- 1/4 tsp cayenne pepper (optional)
- 1 tsp sugar
- 1 tsp kosher salt, plus more to taste
- 1/2 tsp black pepper
- Neutral oil, as needed if beef is very lean
- For serving: hot dogs, soft hot dog buns, chopped white onion, shredded cheddar, yellow mustard
Instructions
Instructions
- Add the ground beef to a bowl, sprinkle with about 2 tablespoons of the beef broth, and mash with a fork until the meat is loose and finely crumbled.
- Warm a medium pot over medium heat and add a small drizzle of oil if using very lean beef.
- Cook the minced onion with a pinch of salt for 3 to 4 minutes until translucent, then stir in the garlic and cook for 30 seconds.
- Add the tomato paste and cook, stirring, for 1 to 2 minutes until slightly darkened and fragrant.
- Add the prepared ground beef and cook, stirring and breaking it up constantly, for 4 to 6 minutes until no pink remains and the texture is very fine.
- Stir in the chili powder, paprika, cumin, onion powder, cayenne, black pepper, and sugar, and cook for 30 to 60 seconds to bloom the spices.
- Pour in the tomato sauce, remaining beef broth, Worcestershire sauce, and yellow mustard, then stir to combine and bring to a gentle simmer.
- Simmer uncovered for 20 to 30 minutes, stirring occasionally, until glossy, thickened, and spoonable; add a splash of broth or water if it gets too thick or simmer longer if thin.
- Season to taste with salt; add a pinch more sugar for sweetness or a small splash of apple cider vinegar for extra tang if desired.
- Warm hot dogs and buns, then spoon chili over the dogs and top with mustard, chopped onion, and shredded cheddar as desired.


