
Chocolate Chip Cookie Cake Recipe | Easy Homemade Birthday Dessert
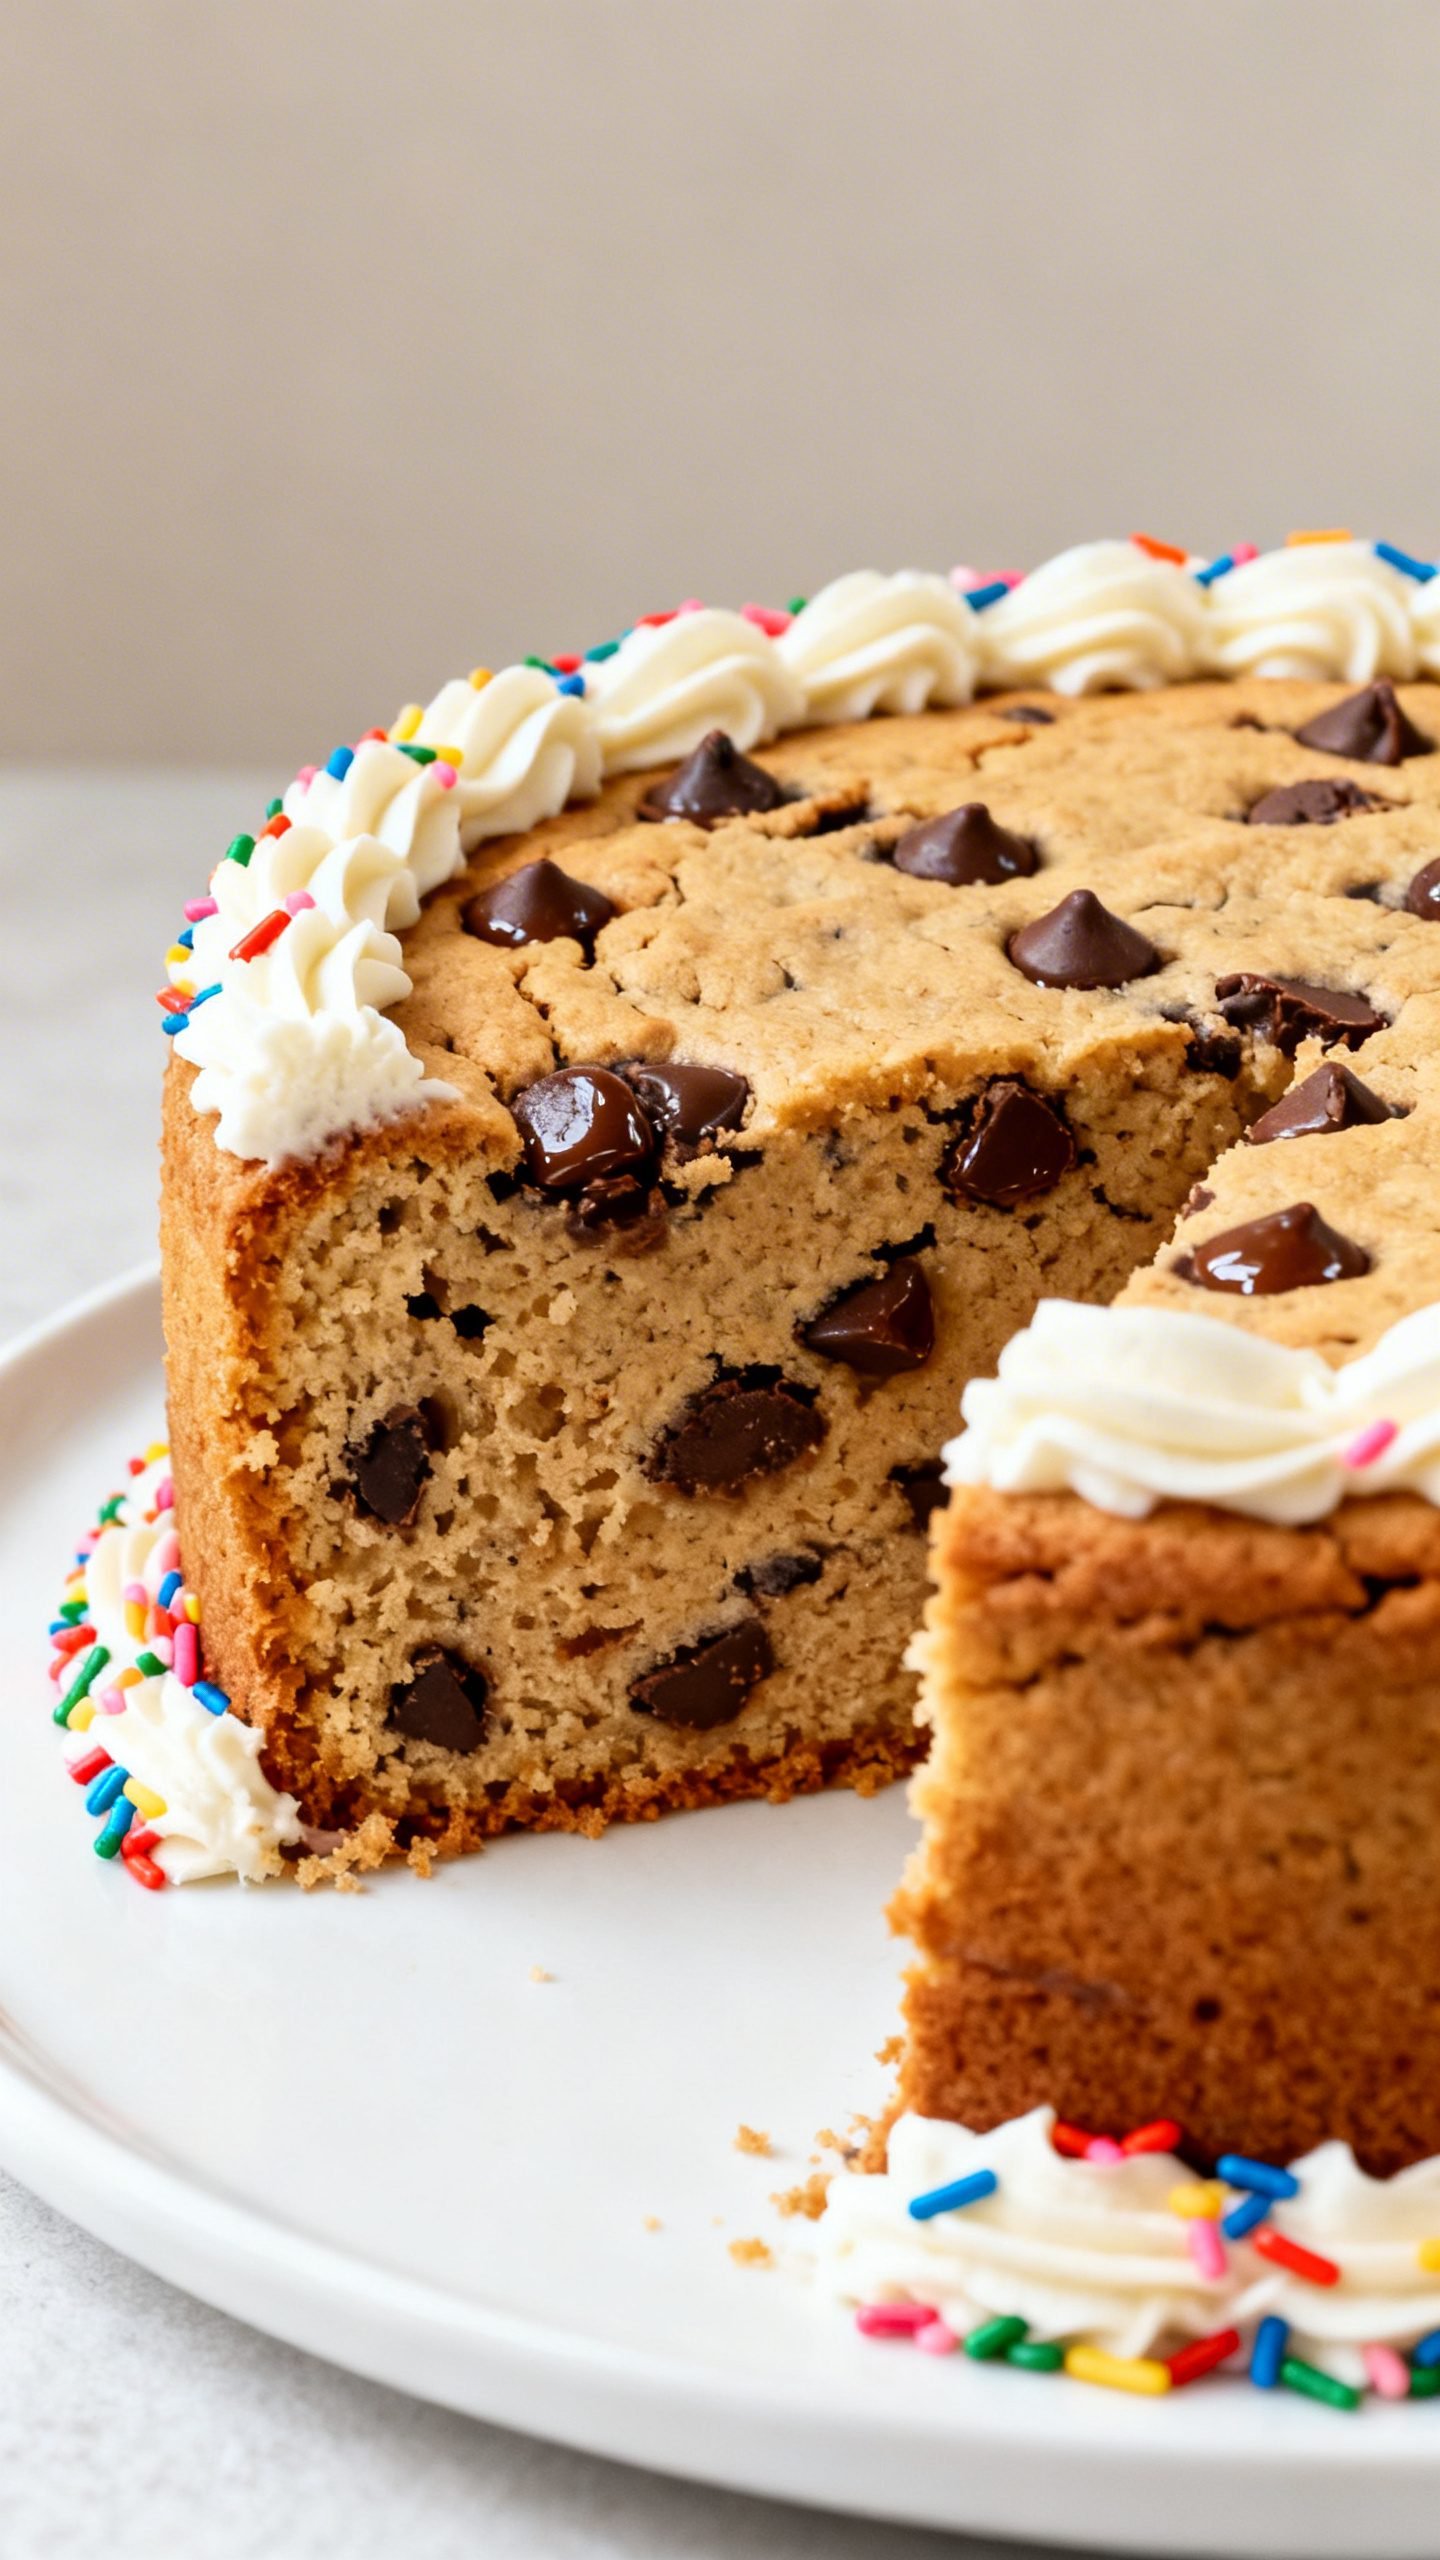
Nothing beats a big, bakery-style chocolate chip cookie cake when you want an easy, crowd-pleasing birthday dessert. It bakes in one pan, slices like a cake, and tastes like the chewiest, softest cookie ever—perfect for frosting swirls, sprinkles, and candles.
I’ll show you how to make a thick, buttery cookie cake with crisp edges and a soft, gooey center. No chilling the dough, no special skills, and no fuss. Just simple steps, reliable ingredients, and plenty of melty chocolate chips.
Why This Chocolate Chip Cookie Cake Works
- Chewy center + crisp edges: A mix of brown sugar and granulated sugar gives sweetness and that perfect chewy bite.
- Rich flavor: Real butter, vanilla, and a pinch of salt create classic, bakery-style cookie flavor.
- No chill time: You mix, press, and bake—great for last-minute celebrations.
- One-pan bake: Use a 9-inch or 10-inch pan for thick slices that cut cleanly.
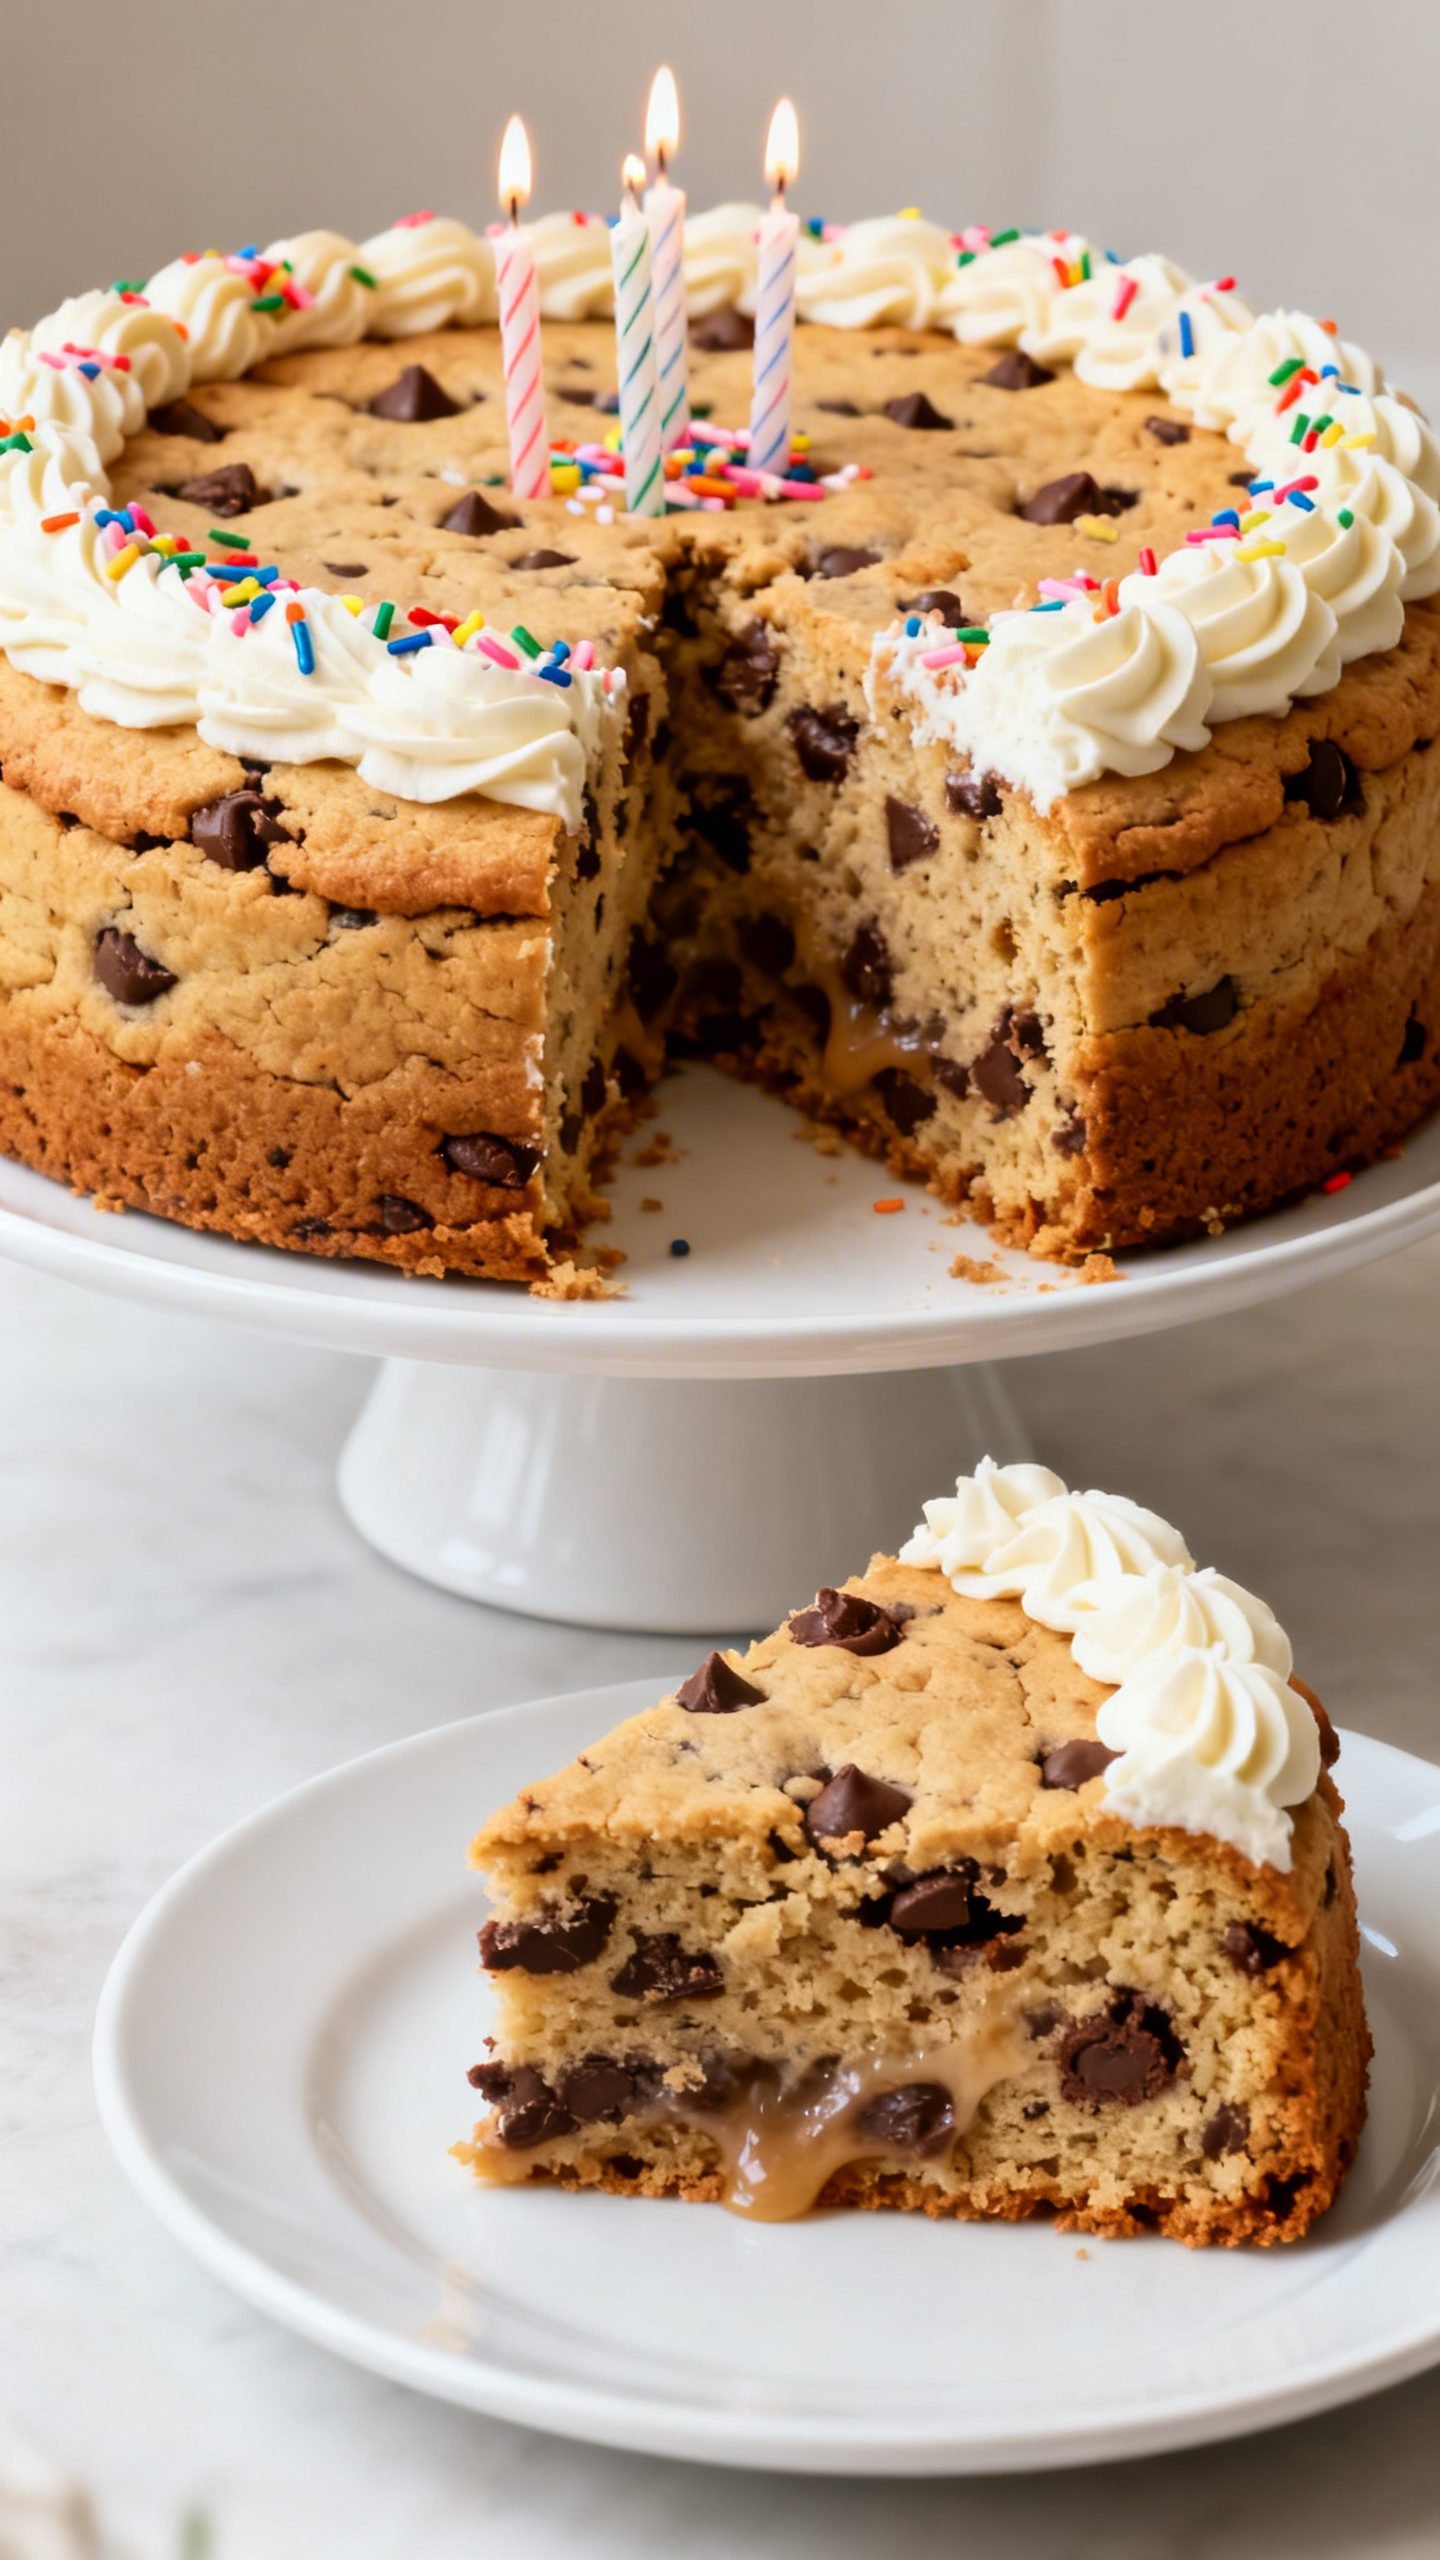
- Decorating made easy: Add a quick buttercream border, chocolate drizzle, or colorful sprinkles for instant birthday vibes.
- Foolproof texture: Slightly underbake and let it finish as it cools for a soft, sliceable cookie cake.
Ingredients
For the Cookie Cake
- All-purpose flour: Provides structure without making it cakey.
- Baking soda: Helps the cookie rise gently and stay tender.
- Kosher salt: Balances sweetness and boosts chocolate flavor.
- Unsalted butter, melted and cooled: Melted butter means extra chew and easy mixing.
- Light brown sugar: Adds moisture and caramel notes.
- Granulated sugar: Gives crisp edges and balanced sweetness.
- Large egg + egg yolk: The yolk adds richness and chew.
- Pure vanilla extract: Essential for classic cookie flavor.
- Semi-sweet chocolate chips: Melty pockets in every bite; use minis for extra even distribution if you like.
- Optional: Mini chocolate chips for topping, flaky sea salt for finishing.
For Simple Buttercream (Optional for Decorating)
- Unsalted butter, softened: Creams smoothly for piping.
- Powdered sugar: Sweetens and thickens frosting.
- Vanilla extract: Adds flavor.
- Pinch of salt: Balances sweetness.
- Milk or cream: Adjusts consistency for piping.
- Sprinkles: For birthday flair.
How to Make This Cookie Cake
Prep the Pan and Oven
- Preheat oven to 350°F (177°C).
- Grease a 9-inch round cake pan or springform pan. Line the bottom with parchment and lightly grease the parchment for easy release.
Mix the Dough
- Whisk dry ingredients: In a medium bowl, whisk flour, baking soda, and salt until combined.
- Combine wet ingredients: In a large bowl, whisk melted, cooled butter with brown sugar and granulated sugar until thick and glossy, about 30 seconds.
- Add egg, yolk, and vanilla: Whisk until smooth and slightly lightened.
- Stir in dry ingredients: Use a spatula to fold in the flour mixture just until a few streaks remain.
- Add chocolate chips: Fold in chips until evenly distributed. The dough will be thick.
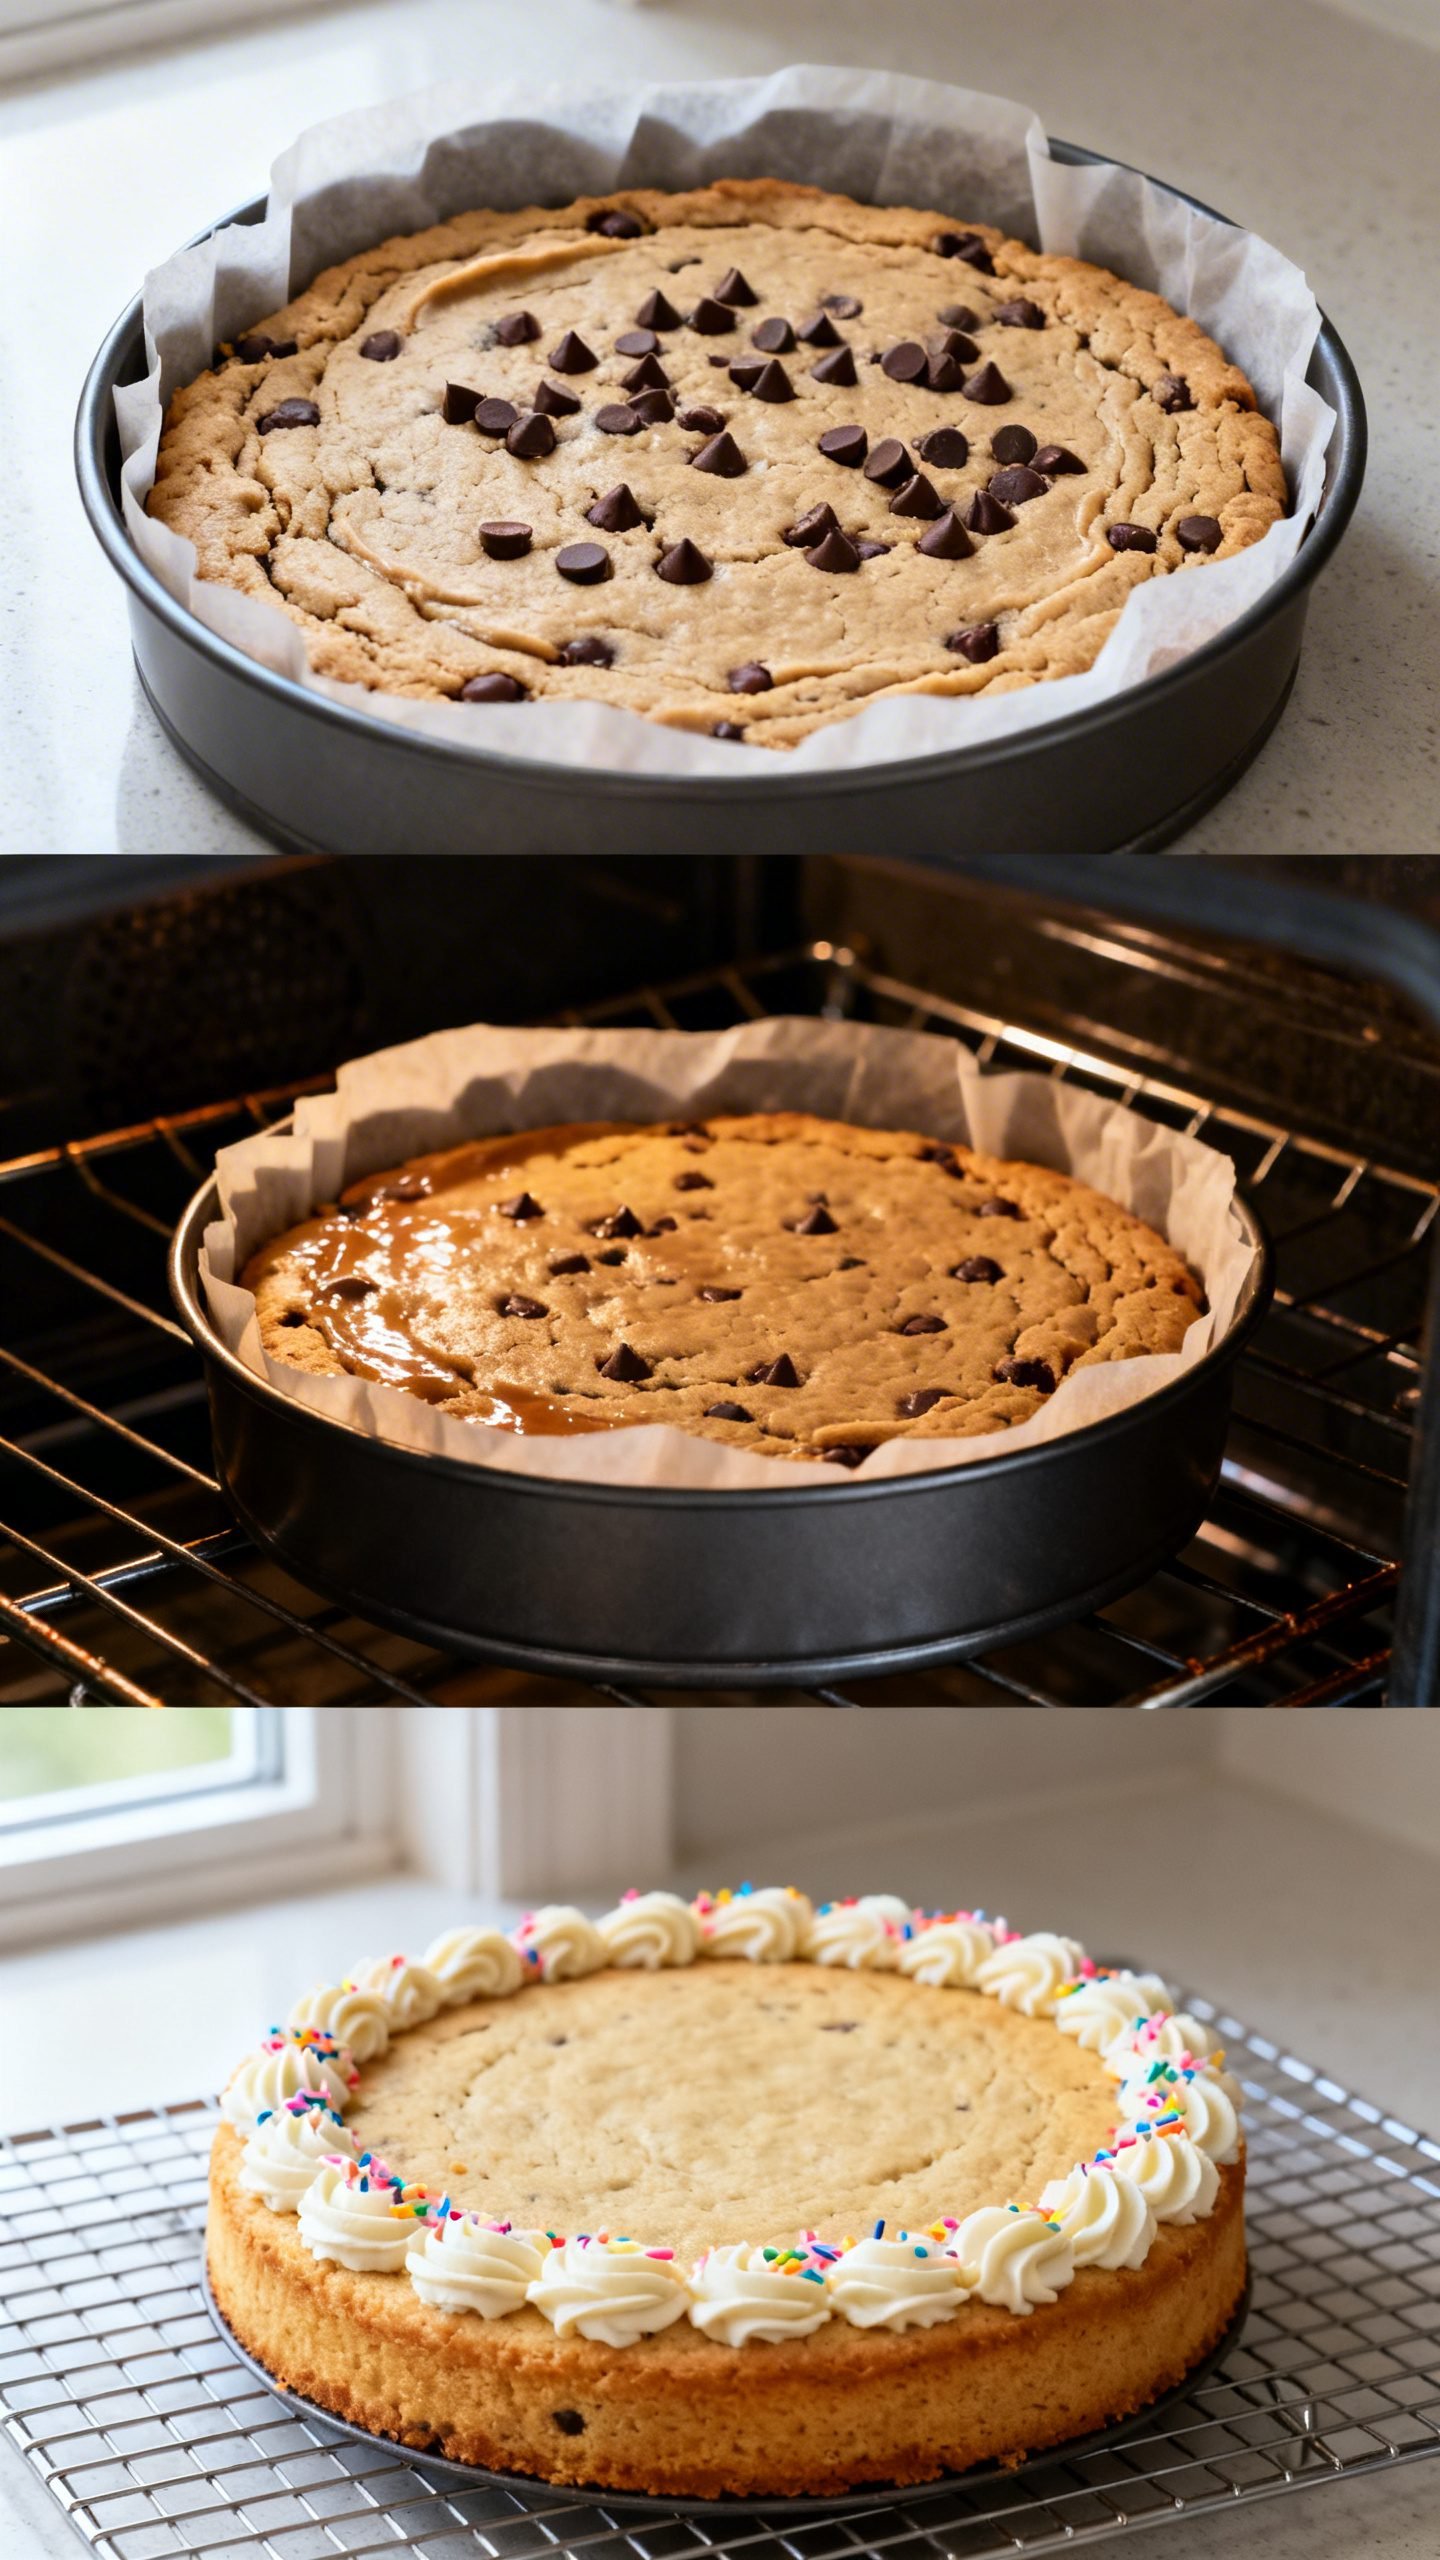
Press and Bake
- Press dough into pan: Spread evenly to the edges. Smooth the top with a spatula. Sprinkle extra chips on top if you like.
- Bake for 20–25 minutes for a 10-inch pan or 24–28 minutes for a 9-inch pan. The edges should look set and golden, and the center should look slightly soft.
- Do not overbake: The cookie cake will continue to set as it cools.
Cool and Decorate
- Cool in the pan on a rack for 15–20 minutes. Run a knife around the edge and lift or invert to remove. Peel off parchment and transfer to a serving plate.
- Make frosting: Beat softened butter until creamy. Add powdered sugar, vanilla, and a pinch of salt. Beat, adding milk 1 teaspoon at a time until thick but pipeable.
- Pipe a border around the cooled cookie cake. Add sprinkles and more chocolate chips. Slice and celebrate.
How to Store Your Cookie Cake
- Room temperature: Keep covered at room temperature for 2–3 days. Use a cake dome or wrap slices tightly to keep them soft.
- Refrigerator: Store up to 5 days in an airtight container. Let slices come to room temp before serving for best texture.
- Freezer: Wrap the whole cookie cake (or individual wedges) snugly in plastic, then foil. Freeze up to 2 months. Thaw wrapped at room temperature.
- Frosting note: Buttercream freezes well. Add sprinkles after thawing to keep colors vibrant.
Benefits of Making a Cookie Cake at Home
- Budget-friendly: Homemade beats bakery pricing, especially for birthdays and parties.
- Customizable: Choose your chocolate, add sprinkles, or write a message with frosting.
- Faster than a layer cake: One pan, simple mixing, and minimal cleanup.
- Perfect texture control: Bake to your preferred doneness—slightly gooey or more set.
- All-occasion hero: Birthdays, graduations, team parties—everyone loves a giant cookie.
What Not to Do
- Don’t overbake: Pull it when the center still looks a touch soft. Overbaking leads to a dry, crumbly slice.
- Don’t skip parchment: Lining the pan ensures easy removal and clean edges.
- Don’t use hot butter: Melted butter must cool slightly, or the dough turns greasy and bakes unevenly.
- Don’t pack flour: Spoon and level your flour. Too much flour makes the cookie cake dense.
- Don’t overmix after adding flour: Gentle folding keeps the crumb tender and prevents toughness.
Variations You Can Try
- Double Chocolate: Replace 1/4 cup flour with cocoa powder and use chocolate chunks.
- Peanut Butter Swirl: Dollop warmed peanut butter on top of the dough and swirl before baking.
- Birthday Funfetti: Fold 1/4 cup rainbow sprinkles into the dough and top with vanilla buttercream.
- Salted Caramel: Drizzle cooled cookie cake with caramel sauce and finish with flaky sea salt.
- M&M Cookie Cake: Swap half the chocolate chips for mini M&Ms for color and crunch.
- Gluten-Free: Use a quality 1:1 gluten-free flour blend and check labels on add-ins.
- Dairy-Free: Use vegan butter sticks and dairy-free chocolate chips; frost with a non-dairy buttercream.
FAQ
Can I use a different pan size?
Yes. A 9-inch pan yields a thicker, chewier center and needs a few extra minutes. A 10-inch pan bakes faster and slices a bit thinner. You can also use a 9-inch tart pan with a removable bottom for easy release.
How do I know when it’s done?
Look for golden edges, a lightly puffed surface, and a center that still looks a touch glossy. If a toothpick comes out with a few moist crumbs, you nailed it.
Can I make it ahead?
Absolutely. Bake the day before, cool completely, wrap well, and store at room temp. Add frosting and sprinkles the day you serve.
What chocolate works best?
Semi-sweet chips keep it classic. Mix in chopped dark chocolate for puddles or use mini chips for even distribution. A combo of chips and chunks gives the best texture.
How do I prevent a dry cookie cake?
Measure flour correctly, use both sugars, and pull it from the oven when slightly underdone. Let it rest in the pan so carryover heat finishes the center.
Can I personalize it for a birthday?
Yes! Pipe a buttercream border, add sprinkles, and write a message with a small round piping tip. Candles go in last, just before serving.
Conclusion
When you want an easy, homemade birthday dessert that everyone loves, this chocolate chip cookie cake delivers. It mixes fast, bakes in one pan, and gives you that perfect balance of chewy center and crisp edges. Dress it up with frosting and sprinkles, slice generous wedges, and celebrate—because simple desserts taste the best when they come from your kitchen.

Chocolate Chip Cookie Cake Recipe | Easy Homemade Birthday Dessert
Ingredients
Ingredients
- All-purpose flour
- Baking soda
- Kosher salt
- Unsalted butter, melted and cooled
- Light brown sugar
- Granulated sugar
- Large egg
- Large egg yolk
- Pure vanilla extract
- Semi-sweet chocolate chips
- Mini chocolate chips (optional, for topping)
- Flaky sea salt (optional, for finishing)
- Unsalted butter, softened (for buttercream)
- Powdered sugar (for buttercream)
- Vanilla extract (for buttercream)
- Pinch of salt (for buttercream)
- Milk or cream (for buttercream)
- Sprinkles (for decorating)
Instructions
Instructions
- Preheat the oven to 350°F (177°C).
- Grease a 9-inch round cake pan or springform pan, line the bottom with parchment, and lightly grease the parchment.
- In a medium bowl, whisk together the flour, baking soda, and salt.
- In a large bowl, whisk the melted, cooled butter with the brown sugar and granulated sugar until thick and glossy.
- Whisk in the egg, egg yolk, and vanilla until smooth and slightly lightened.
- Fold the dry ingredients into the wet ingredients just until a few streaks remain.
- Fold in the chocolate chips until evenly distributed; the dough will be thick.
- Press the dough evenly into the prepared pan and smooth the top; sprinkle extra chips on top if desired.
- Bake for 24–28 minutes if using a 9-inch pan or 20–25 minutes if using a 10-inch pan, until the edges are set and golden and the center looks slightly soft.
- Cool in the pan on a rack for 15–20 minutes, then run a knife around the edge and remove from the pan; peel off parchment and transfer to a serving plate.
- For the buttercream, beat softened butter until creamy, then add powdered sugar, vanilla, and a pinch of salt; beat in milk or cream 1 teaspoon at a time until thick but pipeable.
- Pipe a border around the cooled cookie cake, add sprinkles and more chocolate chips if desired, slice, and serve.


