
Authentic Venezuelan Arepas Recipe | Easy Homemade Crispy Corn Bread
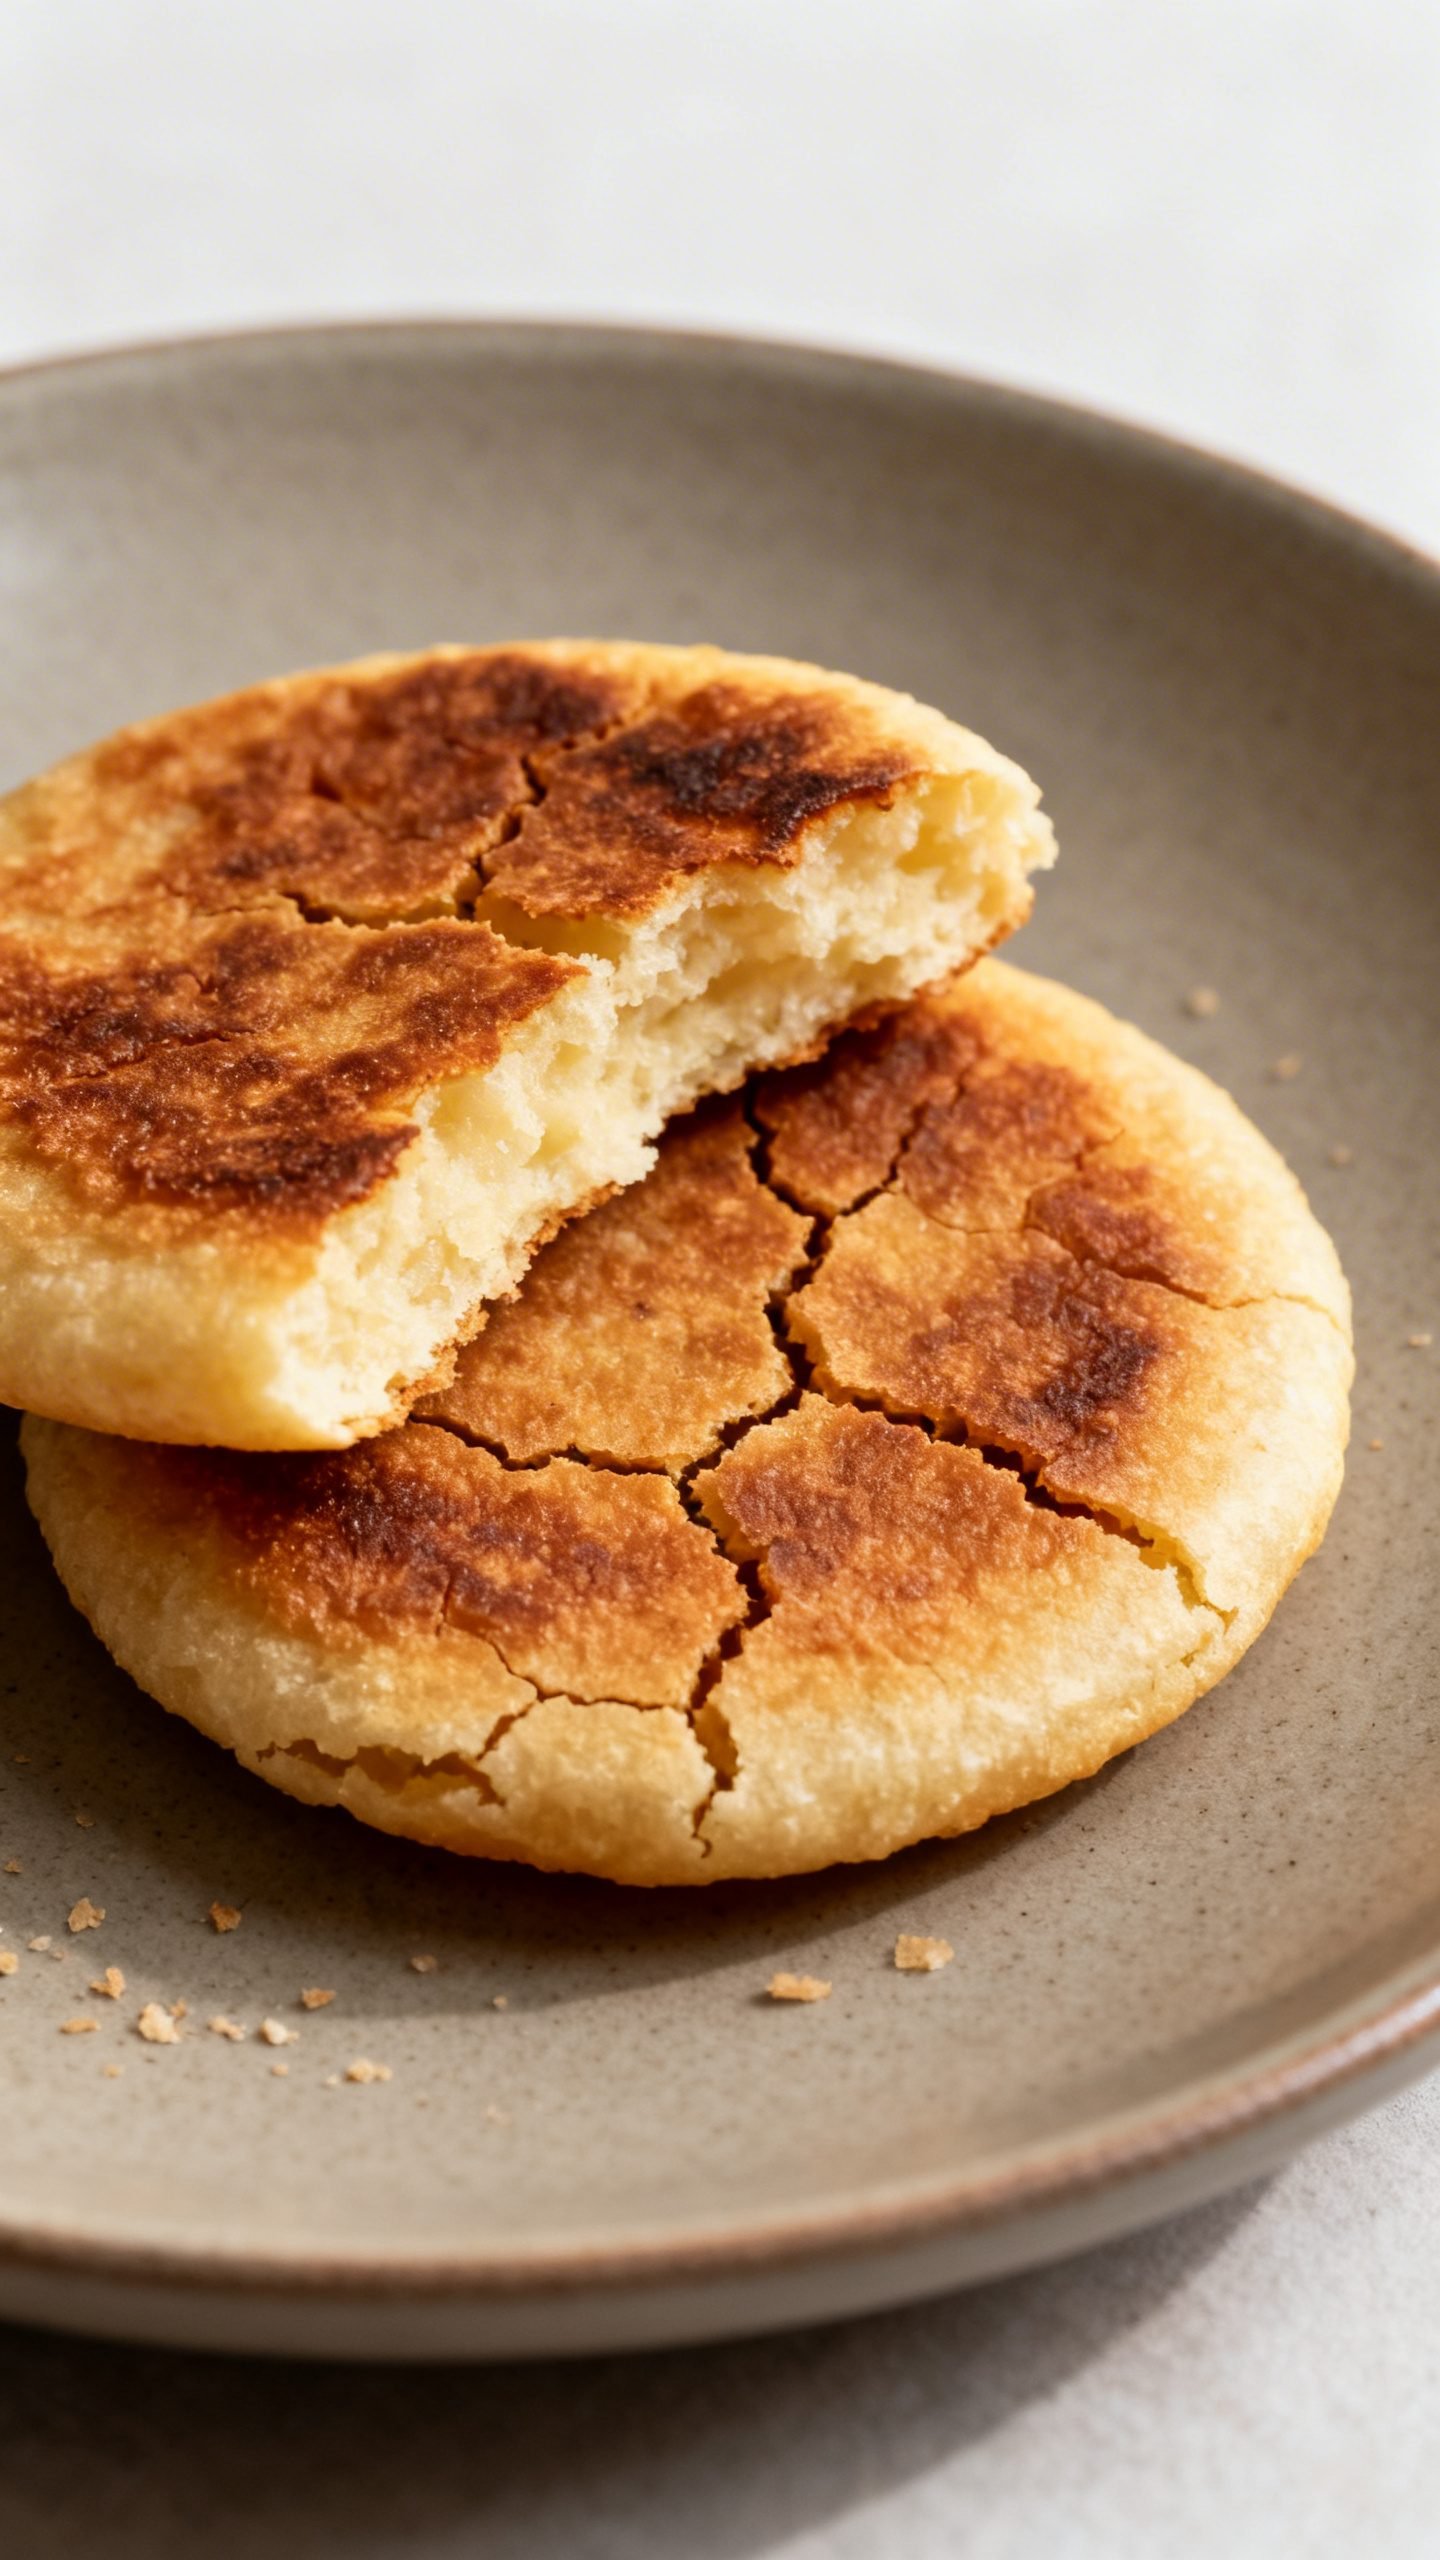
Meet your new go-to: crunchy-on-the-outside, tender-in-the-middle Venezuelan arepas. These golden corn cakes come together fast with just a few pantry staples and deliver serious comfort. I’ll show you exactly how to nail that signature crispy crust and fluffy center every single time.
Whether you fill them with cheese, shredded chicken, black beans, or avocado, arepas make a perfect breakfast, snack, or dinner. You’ll mix, shape, and cook in under 30 minutes, and the results taste like they came straight from an arepera. Let’s make a batch you’ll crave on repeat.
Why This Easy Crispy Arepa Recipe Works
- Right flour, right texture: Precooked white cornmeal (harina de maíz precocida) hydrates fast and forms a dough that fries and bakes beautifully.
- Perfect hydration ratio: Measured water-to-flour gives you a dough that shapes cleanly and won’t crack or stick.
- Rest time matters: A short rest lets the cornmeal absorb moisture evenly for a tender crumb.
- Two-step cooking: Quick pan-sear for crust, then oven finish to cook through without drying out.
- Minimal ingredients, big flavor: Salt and a touch of oil bring out the toasty corn taste you want in authentic arepas.
Ingredients
For the Arepa Dough
- 2 cups precooked white cornmeal (harina PAN or similar)
- 2 1/2 cups warm water (plus 1–2 tablespoons if needed)
- 1 teaspoon fine sea salt
- 1 tablespoon neutral oil (for the dough)
For Cooking
- 2–3 tablespoons neutral oil or softened butter for the skillet
Optional Fillings and Toppings
- Fresh cheese (queso blanco), mozzarella, or feta
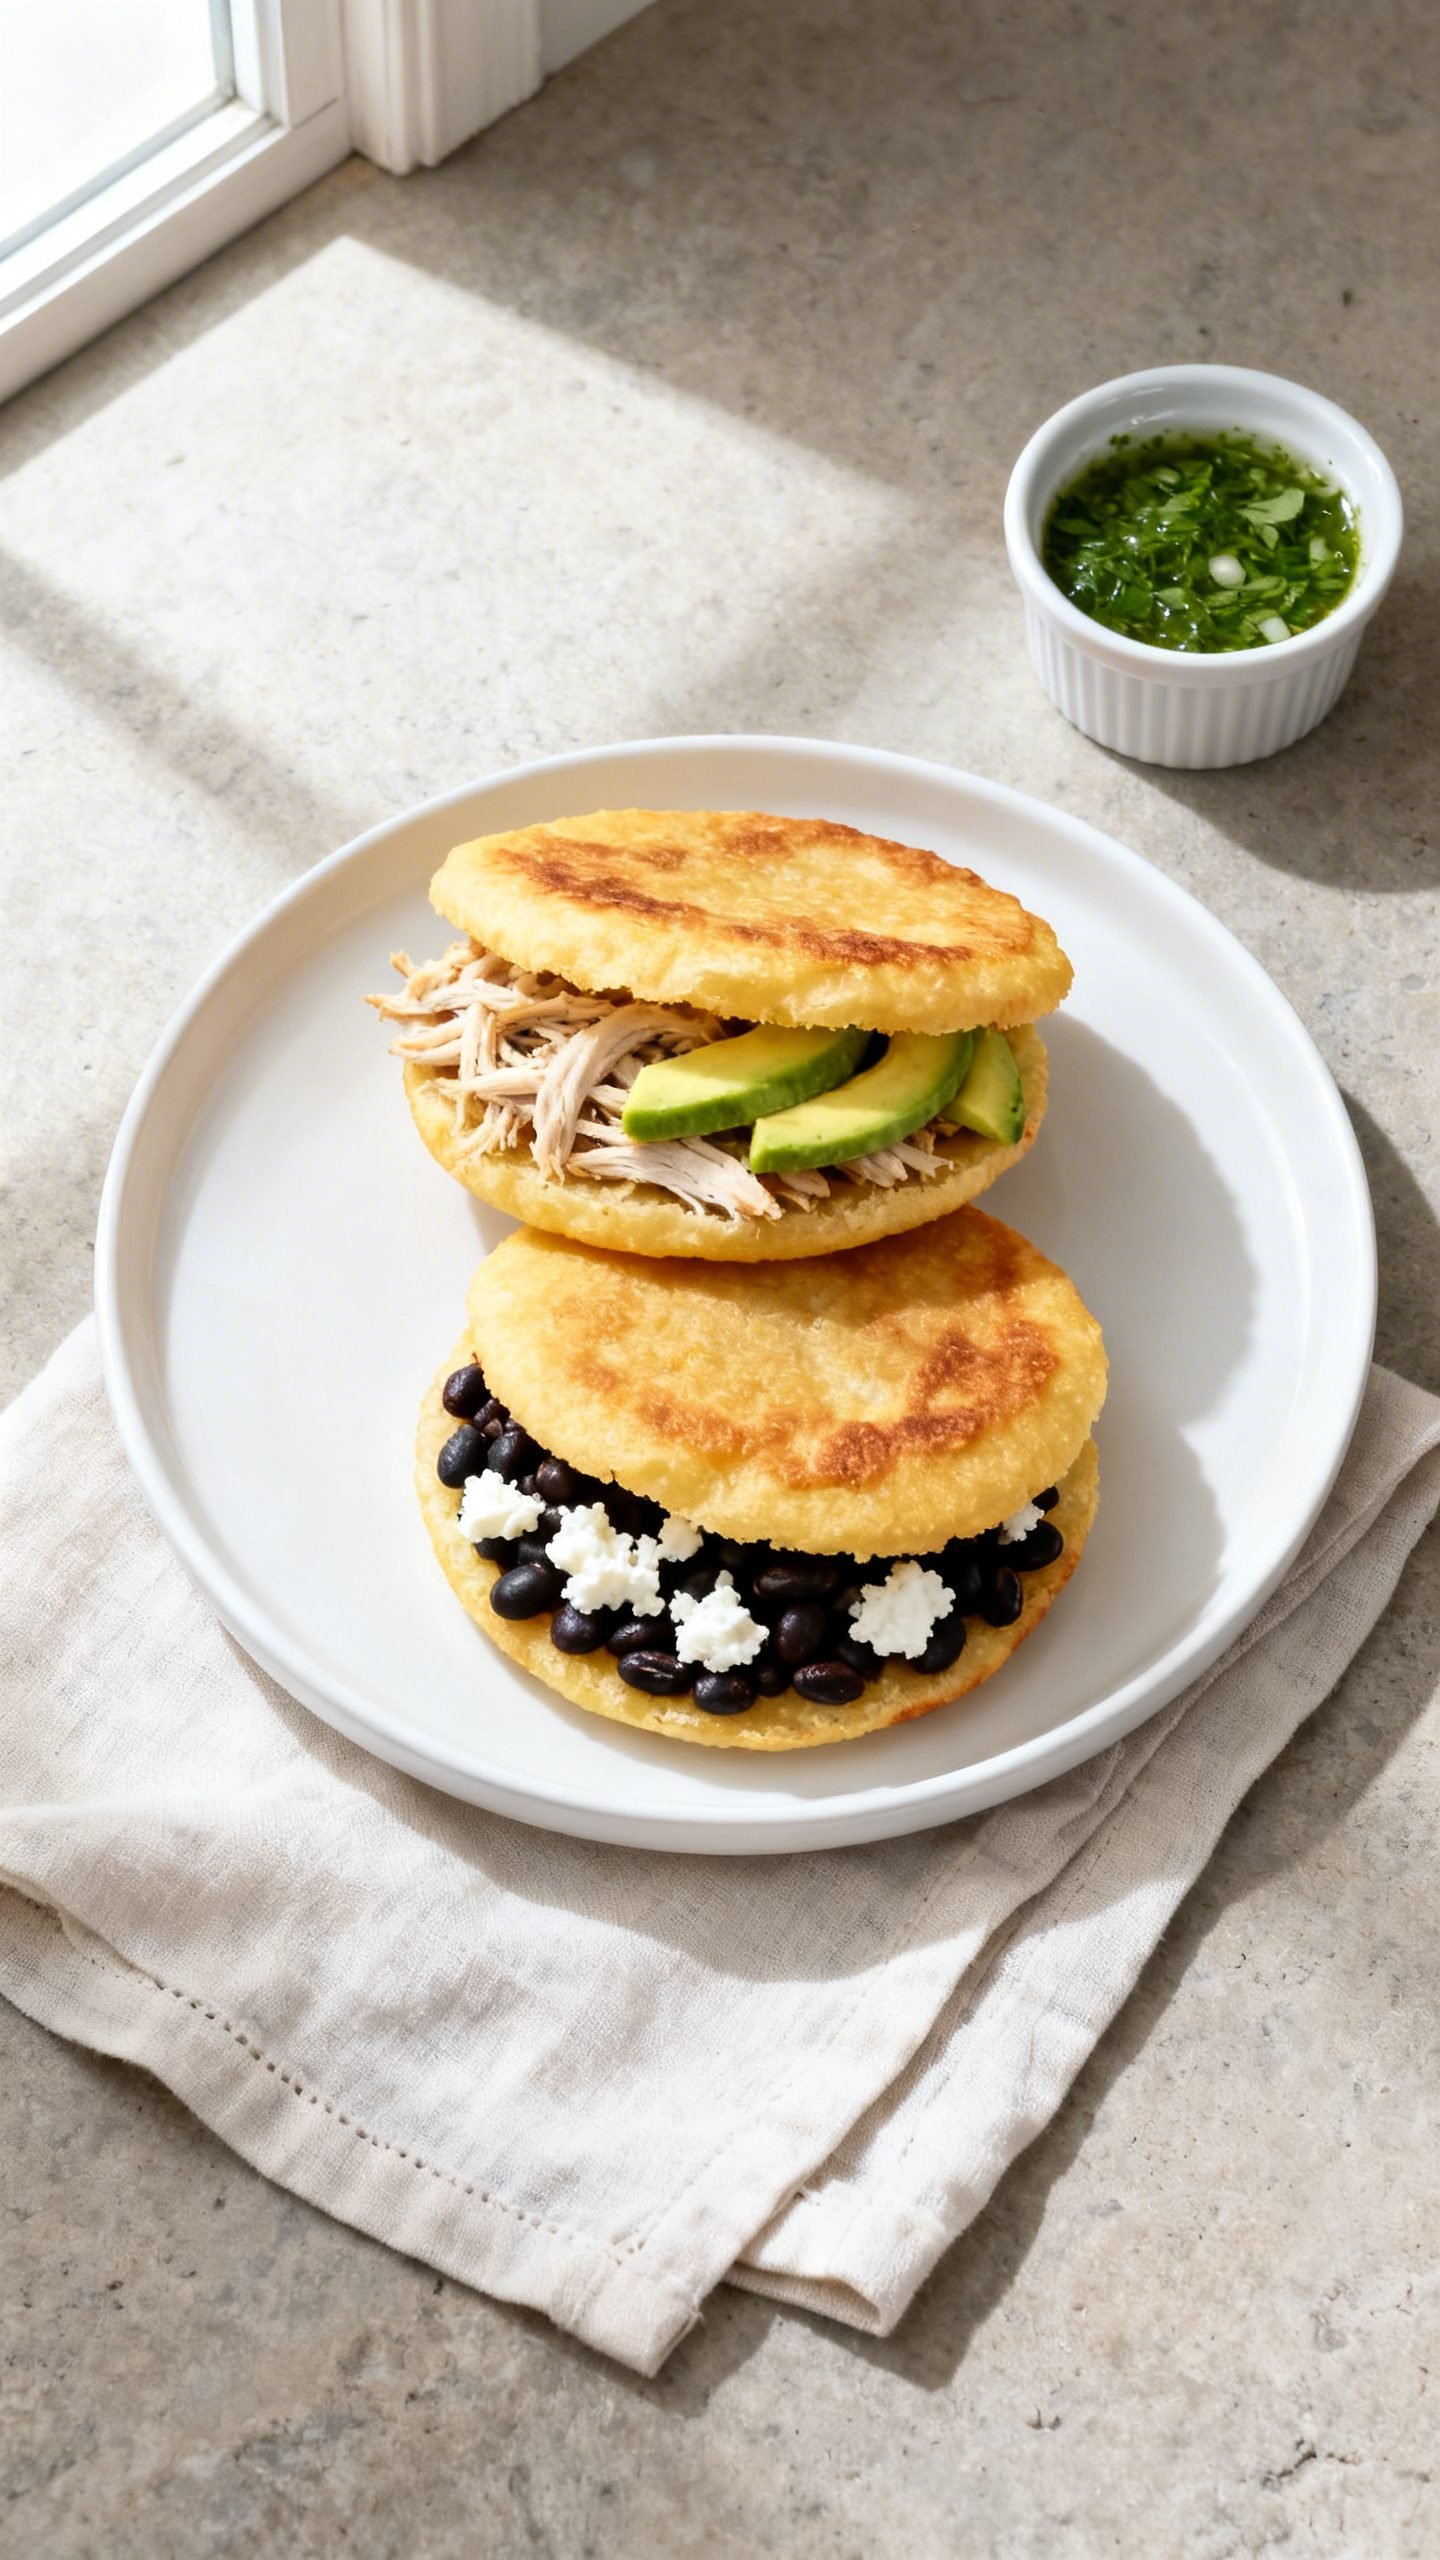
- Shredded chicken or beef (reina pepiada filling with avocado is classic)
- Black beans, ripe plantains, and crumbled cheese
- Avocado slices, tomato, hot sauce, or garlic-cilantro sauce
How to Make Crispy Homemade Arepas
1) Mix the Dough
- In a large bowl, whisk the warm water with the salt until dissolved.
- Gradually sprinkle in the cornmeal while stirring with your hand or a wooden spoon to avoid lumps.
- Add the tablespoon of oil and keep mixing until a soft dough forms. It should feel moist but not sticky.
2) Rest the Dough
- Let the dough sit for 5–10 minutes. This short rest allows full hydration.
- If the dough cracks when you shape it, work in 1–2 tablespoons extra warm water. If it sticks to your hands, dust with a little more cornmeal.
3) Shape the Arepas
- Divide the dough into 8 equal portions for medium arepas or 6 for larger ones.
- Roll each piece into a ball, then gently flatten into a disk about 1/2 inch thick and 3–4 inches wide.
- Smooth the edges by rotating the disk in your hands and lightly pressing any cracks together.
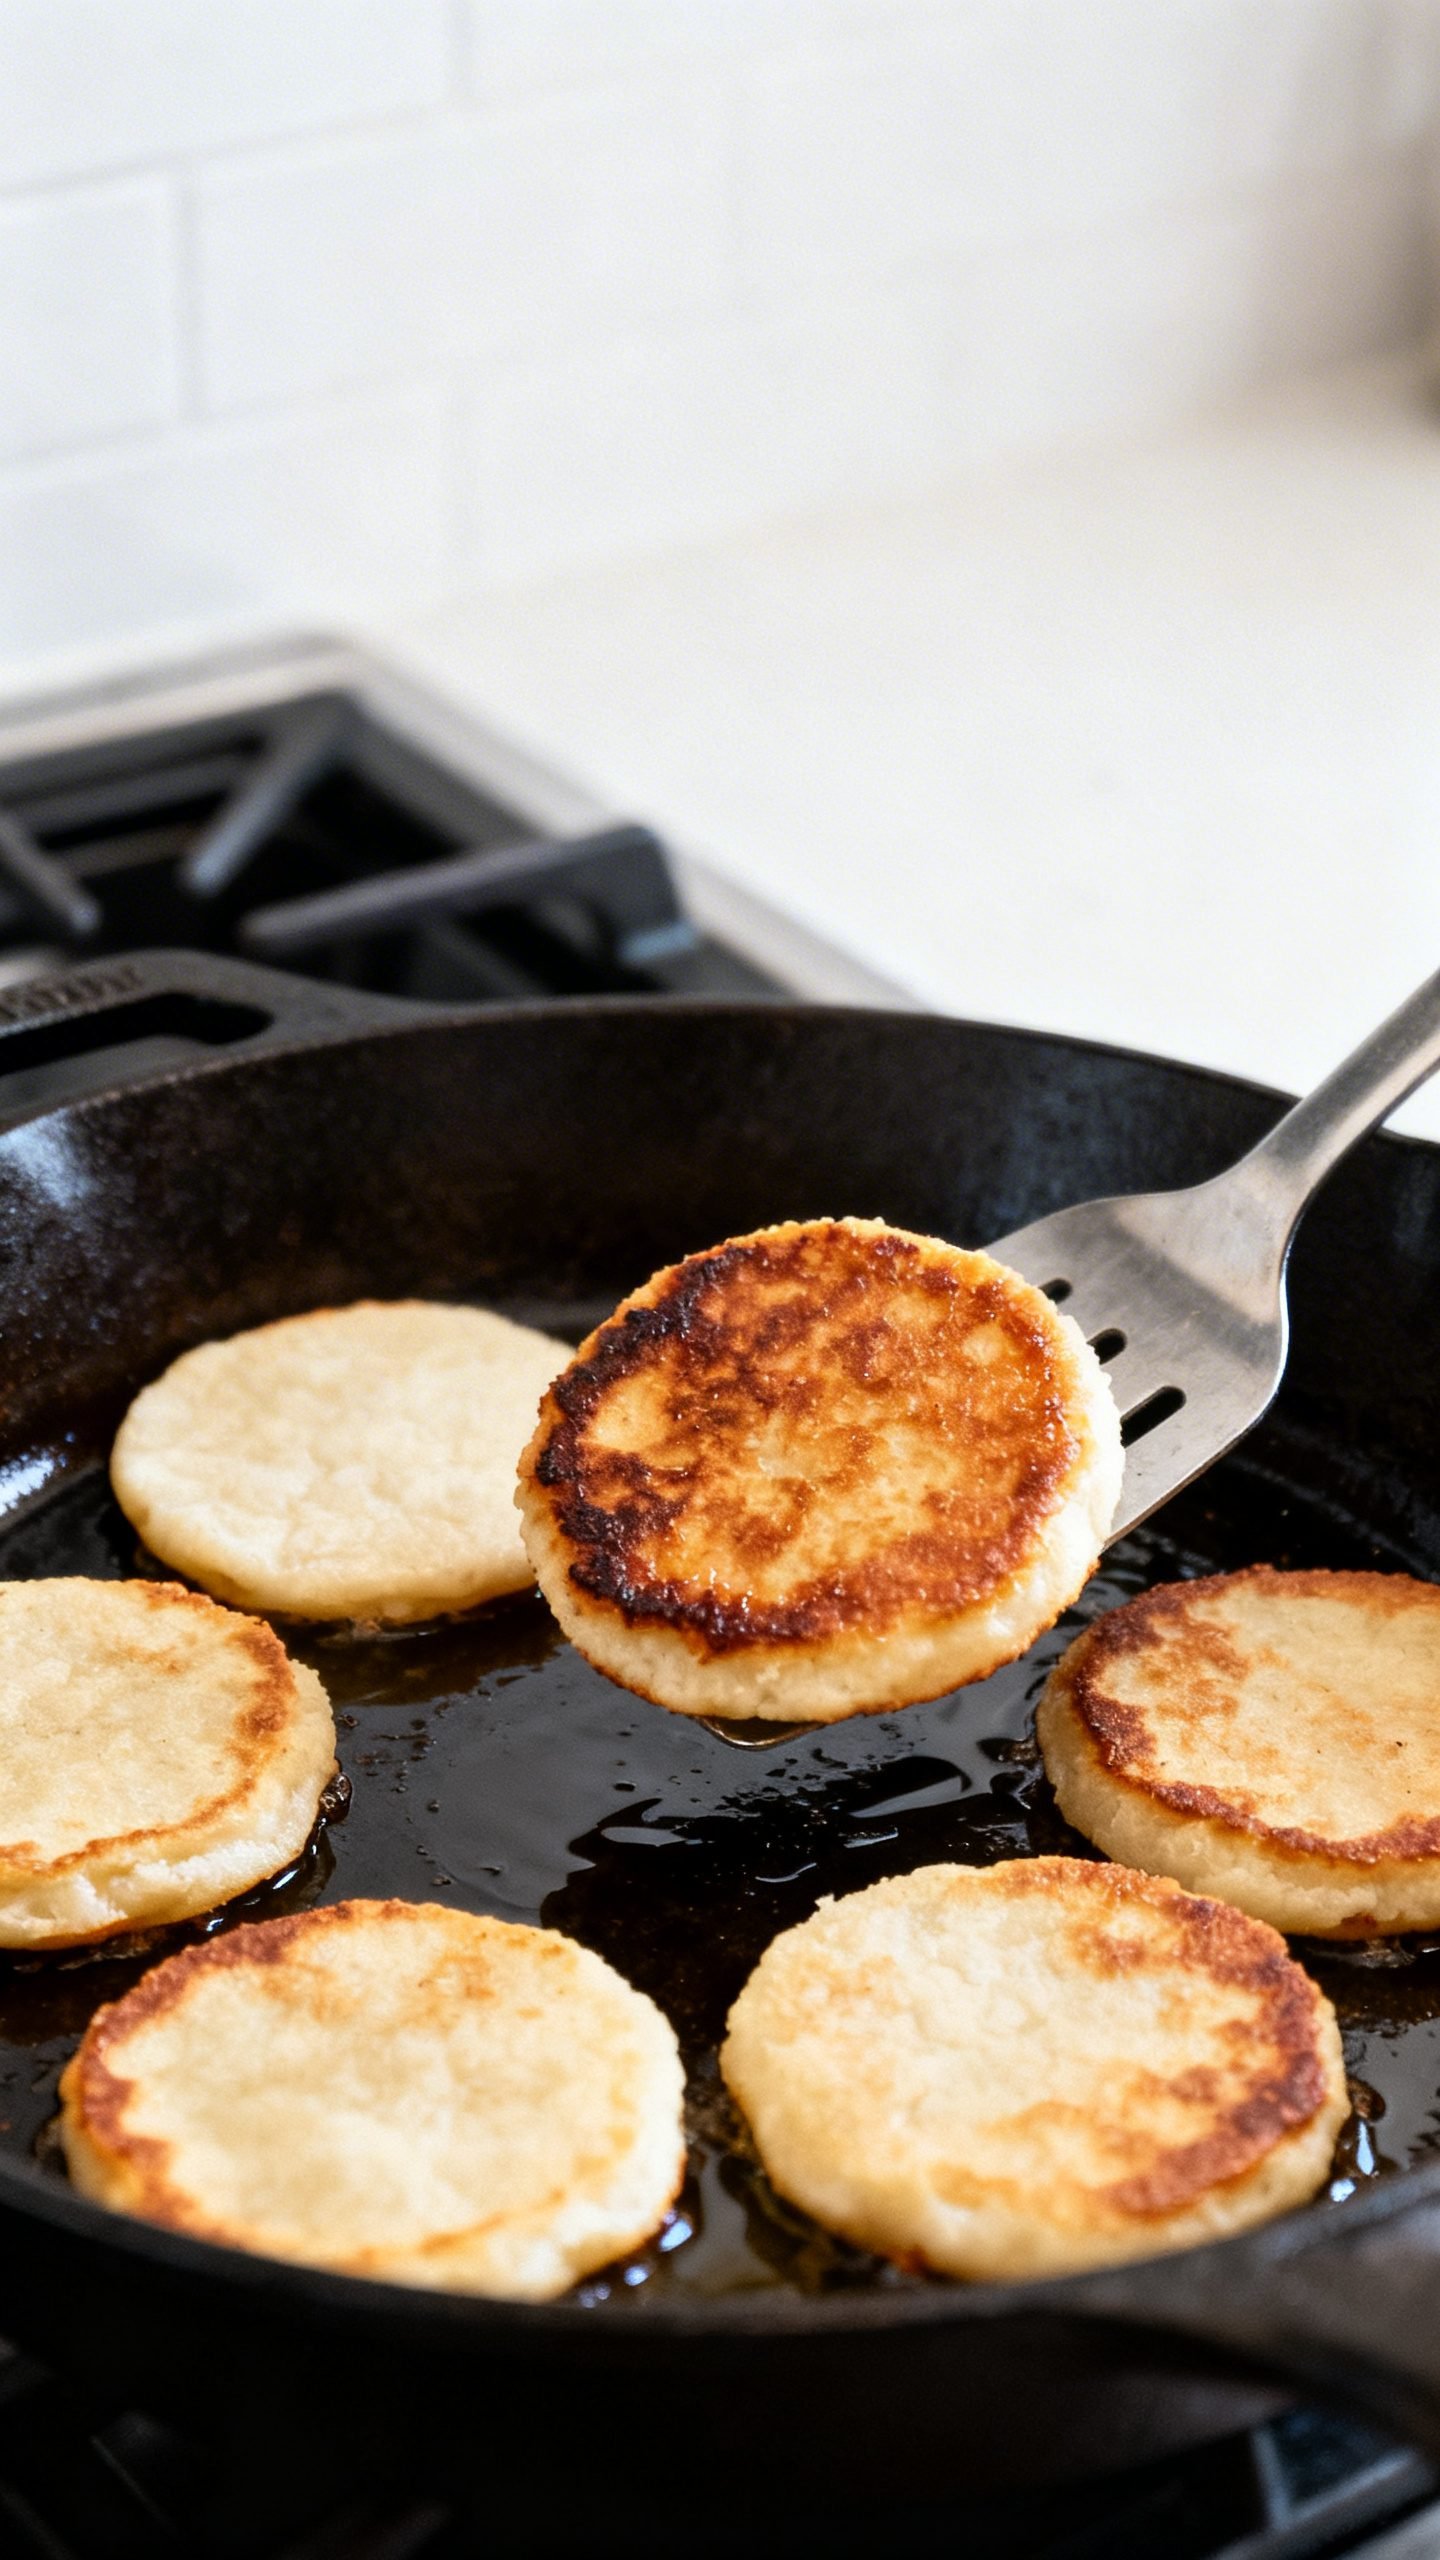
4) Sear on the Stovetop
- Preheat a cast-iron or nonstick skillet over medium heat. Add a thin film of oil.
- Place the arepas in the skillet without crowding. Cook 5–6 minutes per side until golden and crisp. Adjust heat so they brown, not burn.
5) Finish in the Oven
- Transfer seared arepas to a baking sheet. Bake at 375°F (190°C) for 8–12 minutes until they sound hollow when tapped and feel set in the center.
- Rest 5 minutes. Slice halfway like a pocket and stuff with your favorite fillings, or split entirely and sandwich.
Pro Tips
- Use the right flour: Only precooked cornmeal works here. Do not use masa harina or regular cornmeal.
- Thickness matters: Thinner disks crisp faster; thicker ones stay extra soft inside. Adjust to your preference.
- Test one first: Cook a single arepa to check seasoning and hydration, then tweak before cooking the rest.
- Cheese trick: For cheesy centers, tuck a tablespoon of shredded cheese inside the dough ball before flattening and cook as directed.
How to Store Your Homemade Arepas
- Room temperature (same day): Keep cooked arepas covered with a clean towel for up to 6 hours to maintain crisp edges.
- Refrigerator: Cool completely. Store in an airtight container for up to 4 days.
- Freezer: Wrap each arepa tightly and freeze for up to 2 months. Thaw overnight in the fridge.
- Reheat:
- Skillet: 3–4 minutes per side over medium heat with a touch of oil for renewed crispness.
- Oven/Toaster oven: 375°F (190°C) for 8–10 minutes.
- Air fryer: 350°F (175°C) for 6–8 minutes.
Benefits of Making Arepas at Home
- Naturally gluten-free: Precooked cornmeal keeps the texture tender without wheat.
- Budget-friendly: Four ingredients turn into a stack of satisfying corn breads.
- Customizable: Fill with protein, veggies, or cheese to match any craving.
- Any meal, any time: Breakfast with eggs, lunch with beans and avocado, or dinner with shredded meat.
- Fast and reliable: From mixing bowl to table in about 30 minutes.
What to Avoid for Best Results
- Don’t swap the flour: Masa harina and cornmeal behave differently and won’t give authentic texture.
- Don’t skip the rest: Without it, the dough cracks and cooks unevenly.
- Don’t rush the sear: Pale arepas won’t develop that signature crust.
- Don’t over-hydrate: Sticky dough leads to dense centers. Add water slowly.
- Don’t slice too soon: Rest a few minutes so steam settles and pockets hold their shape.
Flavor Twists and Variations
Classic Fillings
- Reina Pepiada: Shredded chicken mixed with avocado, lime, mayo, and cilantro.
- Domino: Black beans with crumbled white cheese.
- Pernil: Slow-cooked pork with pan juices and pickled onions.
- Queso fundido: Melted cheese with jalapeño or roasted peppers.
Dough Add-Ins
- Cheese inside: Fold grated mozzarella or queso blanco into each dough ball.
- Herb boost: Mix in chopped cilantro or scallions for fresh flavor.
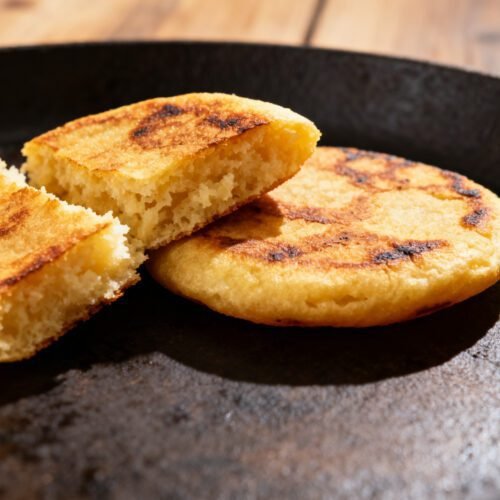
- Yellow arepas: Use precooked yellow cornmeal for a sweeter, deeper corn taste.
Cooking Methods
- Griddle only: Cook 7–8 minutes per side over medium-low heat until cooked through.
- Air fryer finish: After searing, air fry at 350°F (175°C) for 6–8 minutes.
- All-oven method: Brush with oil and bake at 400°F (200°C) for 18–22 minutes, flipping once, for lighter crust.
Frequently Asked Questions
What is the best cornmeal for arepas?
Use precooked white or yellow cornmeal labeled “harina de maíz precocida.” Brands like PAN or Areparina work great. Regular cornmeal and masa harina won’t give the right texture.
Why do my arepas crack?
Cracks mean the dough needs more moisture or more rest. Add 1–2 tablespoons warm water and rest 5 more minutes. Smooth edges while shaping.
How do I know they’re cooked inside?
They should feel set, sound hollow when tapped, and release a little steam when you slice. If gummy, return to the oven for a few more minutes.
Can I make the dough ahead?
Yes. Mix and rest, then cover tightly and refrigerate for up to 24 hours. Bring to room temp and knead briefly, adding a splash of water if needed.
What oil should I use?
Use a neutral, high-heat oil like avocado, canola, or light olive oil. Butter adds flavor but browns faster—watch the heat.
How thick should I shape them?
About 1/2 inch thick keeps the center tender while the edges crisp. Go slightly thinner for extra crunch.
Wrap-Up: Make These Arepas Tonight
You only need a bowl, a skillet, and a handful of ingredients to turn out arepas with shattering crust and a soft, steamy center. Once you nail the feel of the dough, you’ll whip them up from memory and fill them with whatever you’ve got on hand. Keep a bag of precooked cornmeal in the pantry and you’re always 30 minutes from crispy, homemade comfort.
Try the recipe as written first, then play with fillings and add-ins. I think you’ll love how versatile—and addicting—these authentic Venezuelan arepas taste.
Authentic Venezuelan Arepas Recipe | Easy Homemade Crispy Corn Bread
Ingredients
Ingredients
- 2 cups precooked white cornmeal (harina PAN or similar)
- 2 1/2 cups warm water (plus 1–2 tablespoons if needed)
- 1 teaspoon fine sea salt
- 1 tablespoon neutral oil (for the dough)
- 2–3 tablespoons neutral oil or softened butter for the skillet
- Optional fillings: fresh cheese (queso blanco), mozzarella, or feta
- Optional fillings: shredded chicken or beef
- Optional fillings: black beans, ripe plantains, and crumbled cheese
- Optional toppings: avocado slices, tomato, hot sauce, or garlic-cilantro sauce
Instructions
Instructions
- Whisk warm water and salt in a large bowl until dissolved.
- Gradually sprinkle in the precooked cornmeal while stirring to avoid lumps, then mix in the tablespoon of oil until a soft, moist but not sticky dough forms.
- Let the dough rest for 5–10 minutes to hydrate fully.
- If the dough cracks when shaped, knead in 1–2 tablespoons warm water; if sticky, dust with a little more cornmeal.
- Divide the dough into 8 equal portions, roll into balls, and flatten into 1/2-inch-thick disks about 3–4 inches wide, smoothing the edges.
- Preheat a cast-iron or nonstick skillet over medium heat and add a thin film of oil.
- Cook the arepas 5–6 minutes per side until golden and crisp, adjusting heat to prevent burning.
- Transfer arepas to a baking sheet and bake at 375°F (190°C) for 8–12 minutes until they sound hollow when tapped and feel set in the center.
- Rest for 5 minutes, then slice halfway to form a pocket or split completely and fill with desired fillings.


