
Best Sugar Cookie Frosting Recipe | Smooth Icing for Cut Out Cookies
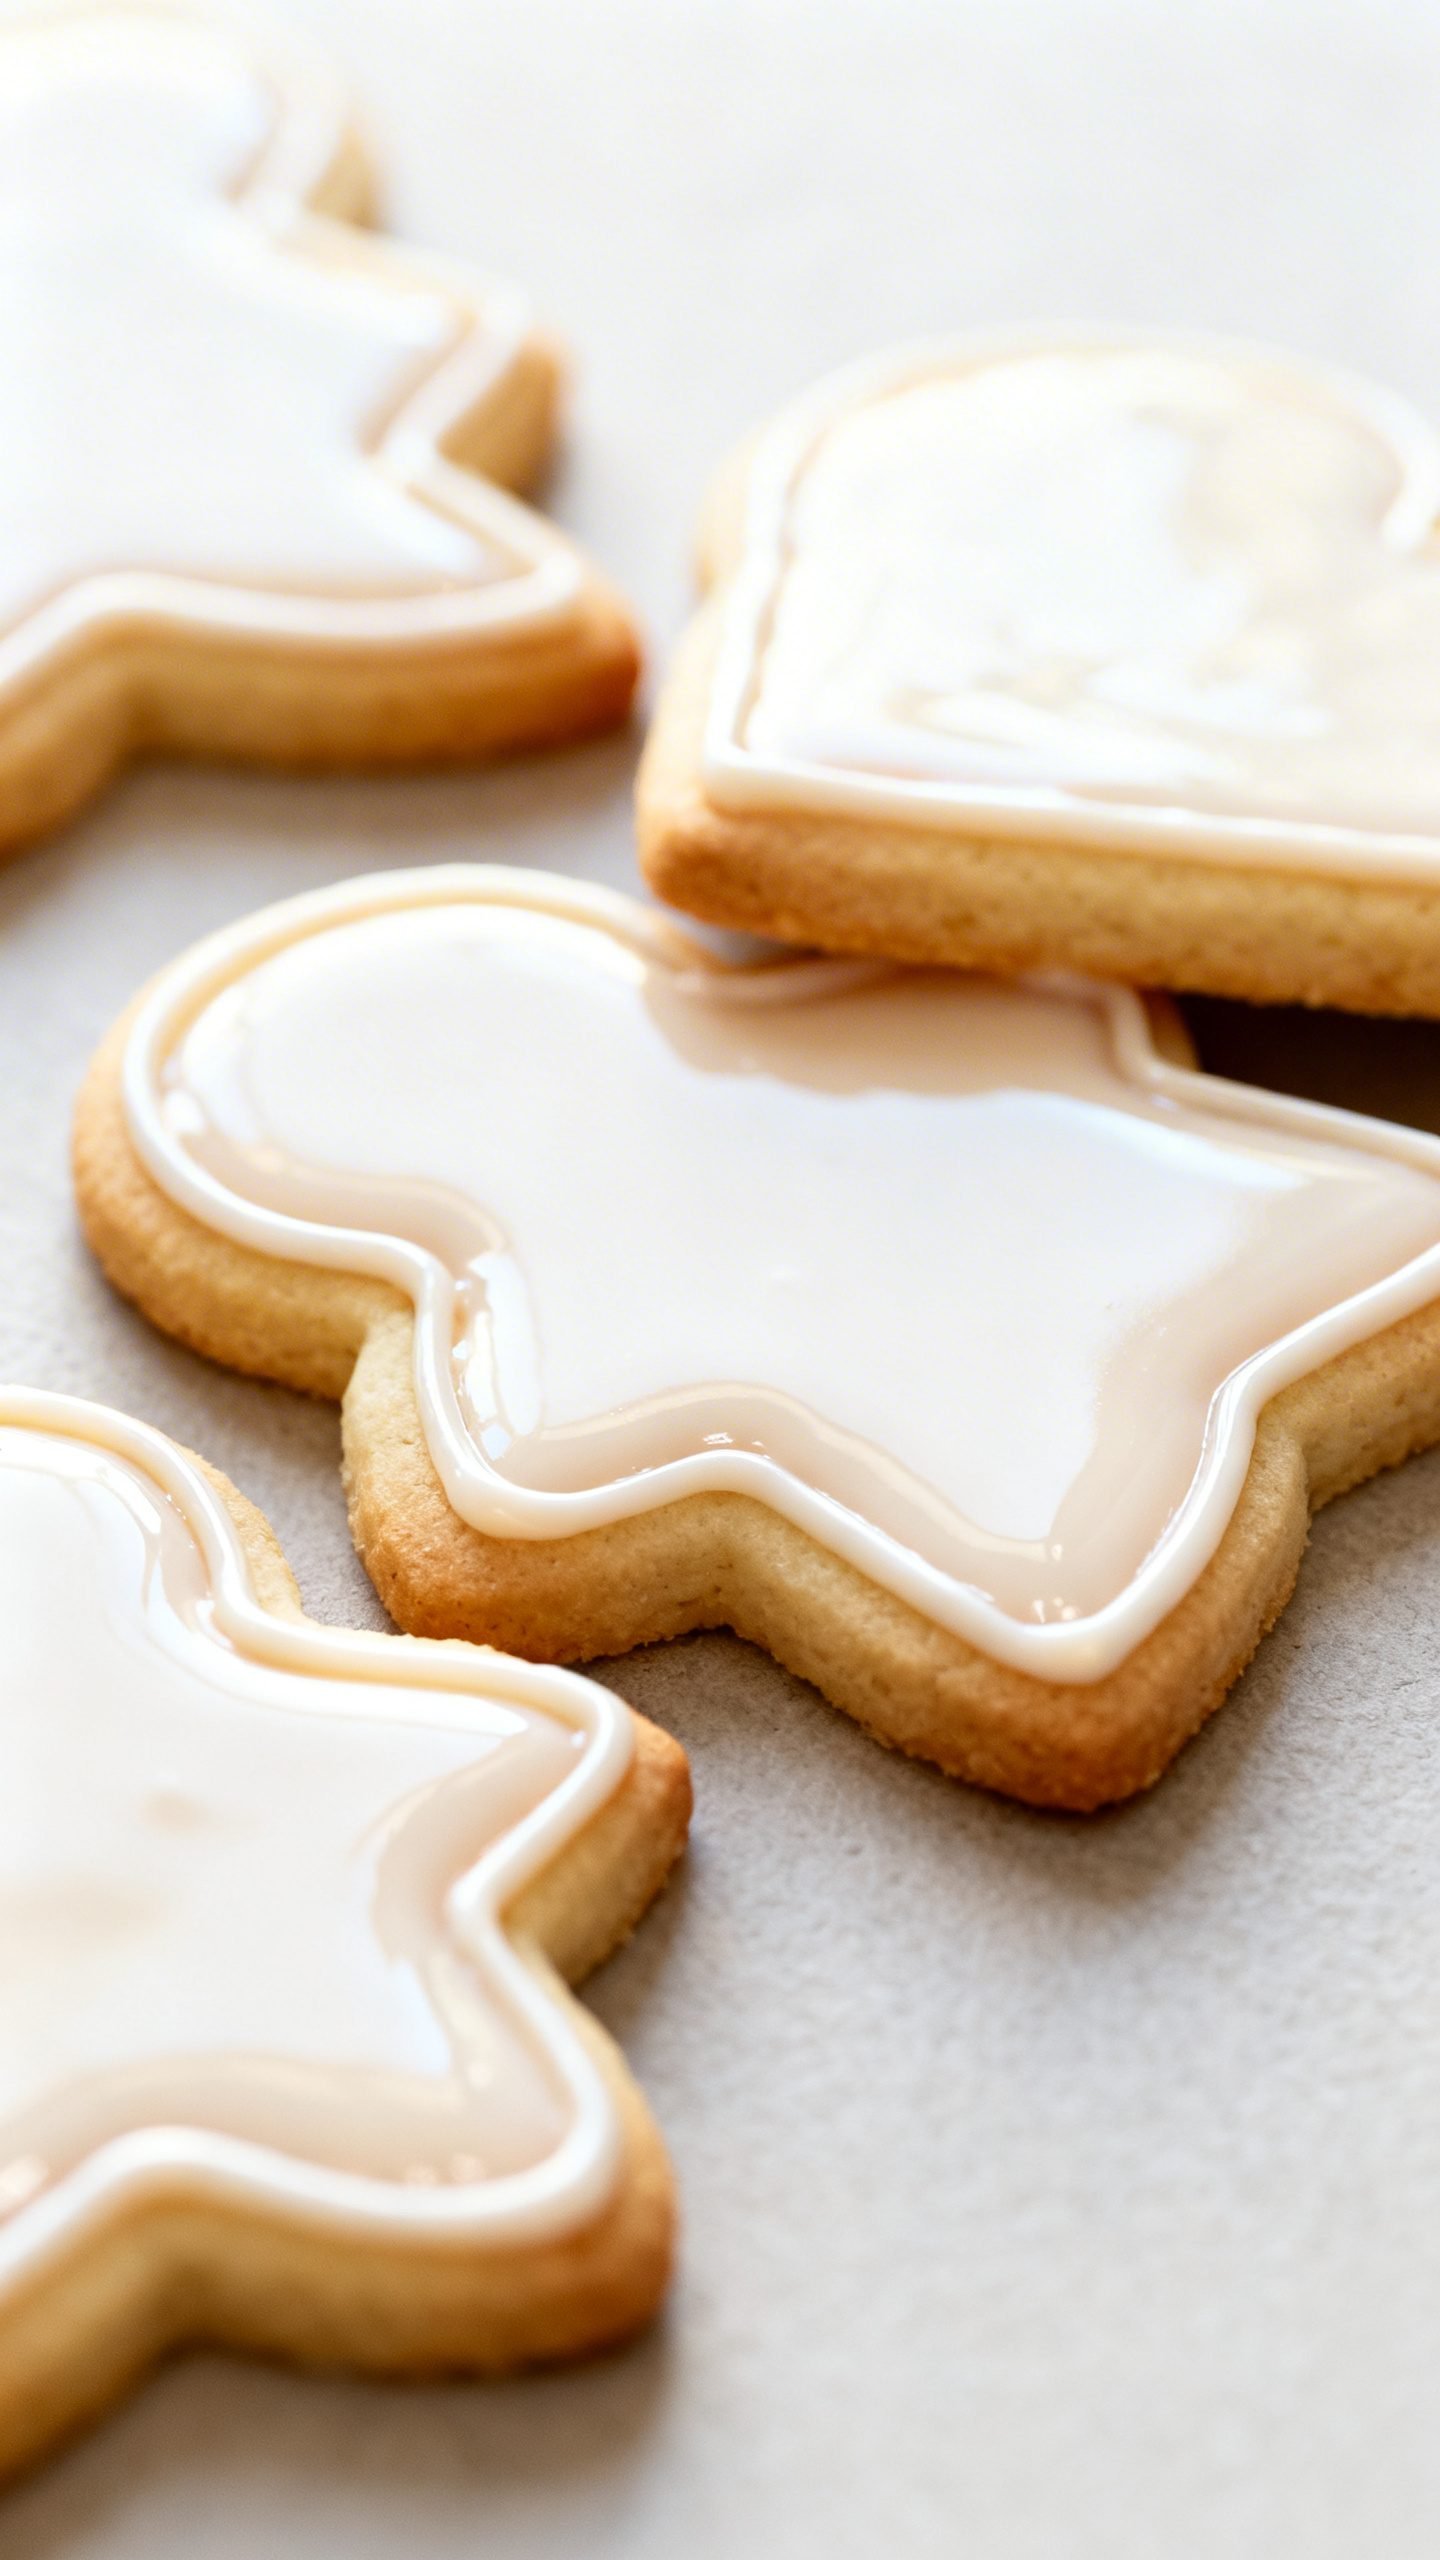
Looking for a smooth, glossy sugar cookie frosting that sets just enough for stacking but still tastes rich and buttery? You’re in the right place. This is my go-to frosting for cut-out cookies when I want crisp edges, clean lines, and vibrant colors—without that hard, crunchy bite.
This frosting comes together fast, pipes like a dream, and dries to a soft, satiny finish. It holds its shape for outlines and floods perfectly for a smooth surface. If you’ve struggled with runny icing or gritty textures, this recipe fixes that with simple ratios and a few pro tips.
Why This Smooth Sugar Cookie Frosting Delivers Perfect Results
This frosting balances flavor, texture, and ease. Here’s why it works:
- Creamy base with structure: Butter and a touch of corn syrup give body, shine, and a smooth finish without turning glass-hard.
- Stable sweetness: Confectioners’ sugar sweetens and thickens while cornstarch in the sugar helps prevent weeping.
- Just-right consistency: Milk thins the frosting in tiny increments, so you can switch from outlining to flooding in minutes.
- Clean vanilla flavor: A mix of vanilla and almond extract makes that classic bakery taste pop. Use clear vanilla if you want bright white icing.
- Beginner-friendly: No raw egg whites or tricky stages. You can mix and decorate the same day.
Ingredients
- Unsalted butter – Softened, for a creamy, non-chalky base and better flavor than shortening.
- Confectioners’ sugar (powdered sugar) – Sifted for the smoothest texture.
- Light corn syrup – Adds shine, helps set, and improves pipe-ability.
- Pure vanilla extract – For warm, classic flavor. Use clear vanilla to keep icing bright white.
- Almond extract – Optional, but a little goes a long way for “bakery sugar cookie” vibes.
- Milk or heavy cream – To thin to outline and flood consistencies. Cream makes a richer frosting.
- Fine sea salt – Just a pinch to balance the sweetness.
- Gel food coloring – Highly concentrated, gives bold color without thinning the icing.
Note: If you need a dairy-free option, swap butter with a high-quality dairy-free butter block and thin with non-dairy milk.
How to Make Smooth Icing for Cut-Out Sugar Cookies
Step 1: Prep and Sift
- Bring butter to room temperature—soft but not greasy.
- Sift confectioners’ sugar into a large bowl to eliminate lumps. Do not skip this if you want glassy-smooth frosting.
Step 2: Beat the Base
- In a stand mixer with the paddle (or a large bowl with a hand mixer), beat softened butter on medium until creamy and light, about 2 minutes.
- Add half the sifted sugar and beat on low until combined. Scrape the bowl.
- Add the remaining sugar, 1 tablespoon corn syrup, vanilla, almond extract (if using), and a pinch of salt. Mix on low until incorporated, then increase to medium and beat 1 minute until smooth.
Step 3: Adjust Consistency
- For outlining: Add milk 1 teaspoon at a time until the frosting flows slowly off a spoon and holds a line for 2–3 seconds before settling. You want a toothpaste-like thickness you can pipe without it spreading.
- For flooding: Scoop a portion of the outlining icing into a separate bowl. Add milk a few drops at a time until it reaches a 8–10 second consistency (a ribbon disappears into itself in about 8–10 seconds).
- Stir in a tiny extra drizzle of corn syrup if you want more shine.
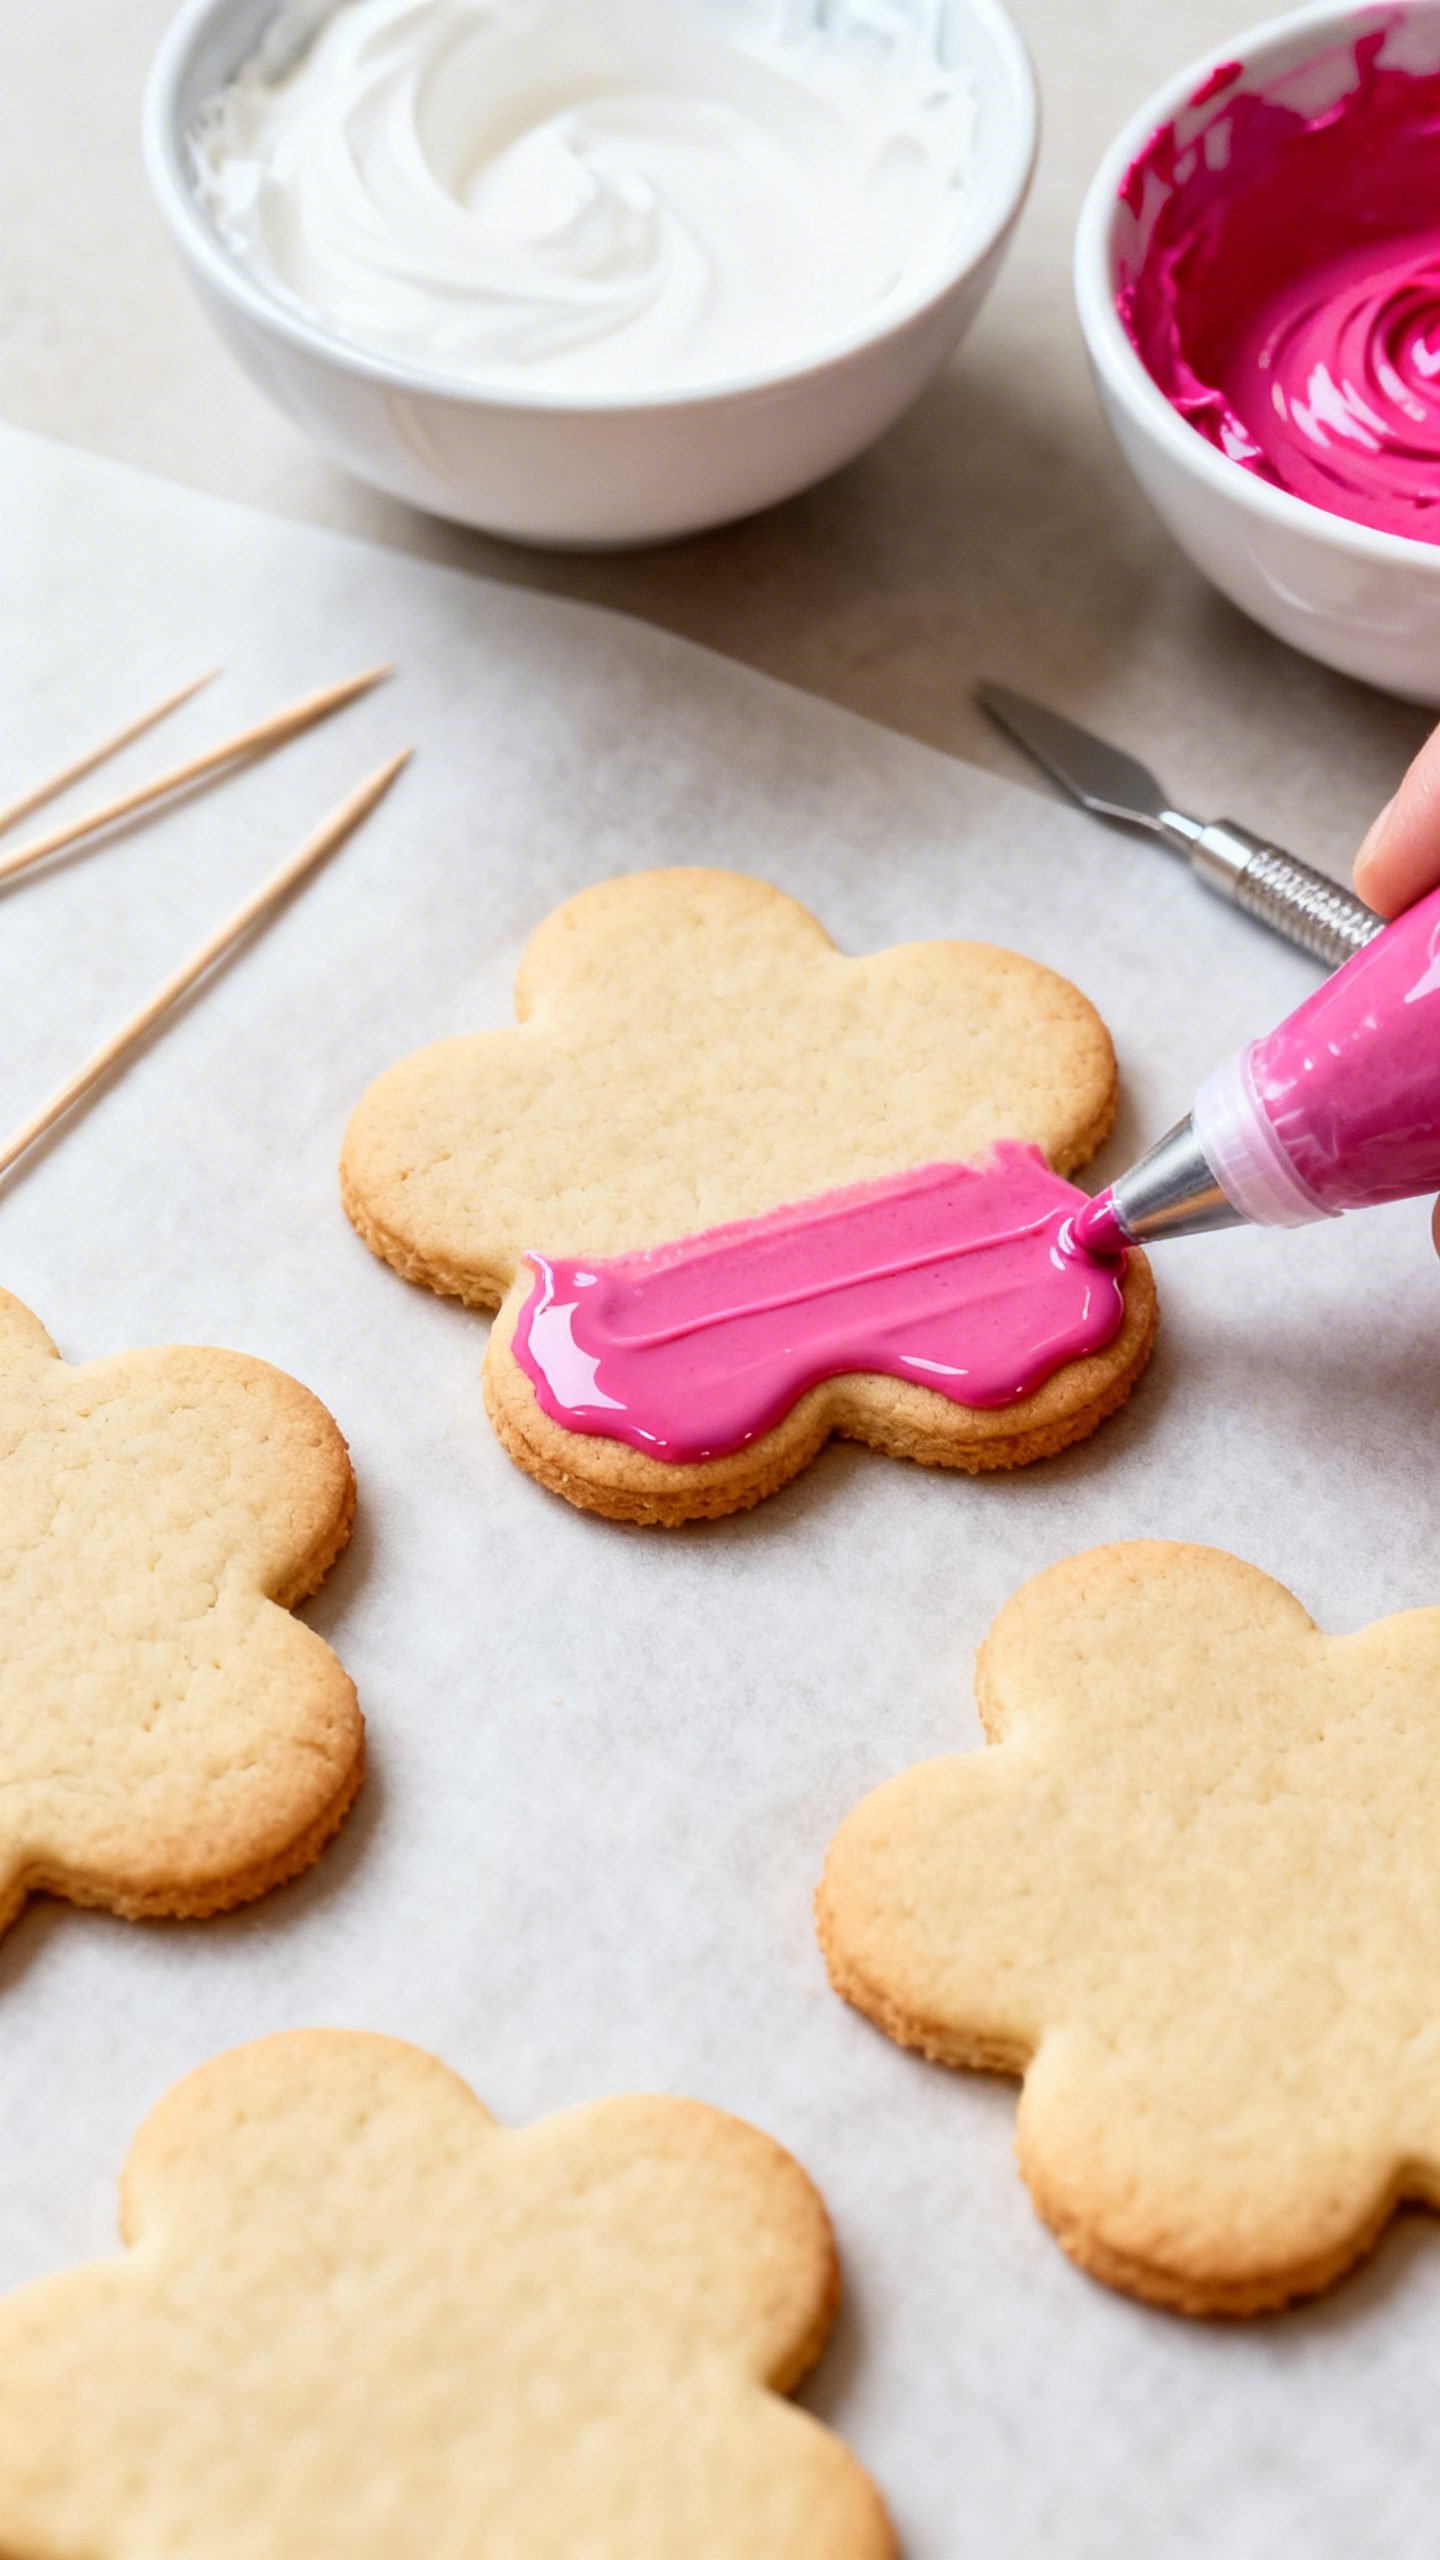
Step 4: Color the Icing
- Divide icing into bowls. Add gel color with a toothpick—build slowly.
- Stir gently to avoid air bubbles. Let colored icing rest 5–10 minutes, then tap the bowl to bring bubbles to the surface and pop them.
Step 5: Decorate
- Transfer outlining icing to piping bags fitted with small round tips (Wilton #2–#3). Pipe a tidy border.
- Fill a second bag or squeeze bottle with flood icing. Flood inside the border, then nudge icing into corners with a scribe or toothpick.
- Pop any visible bubbles with a scribe. Add sprinkles right away if using.
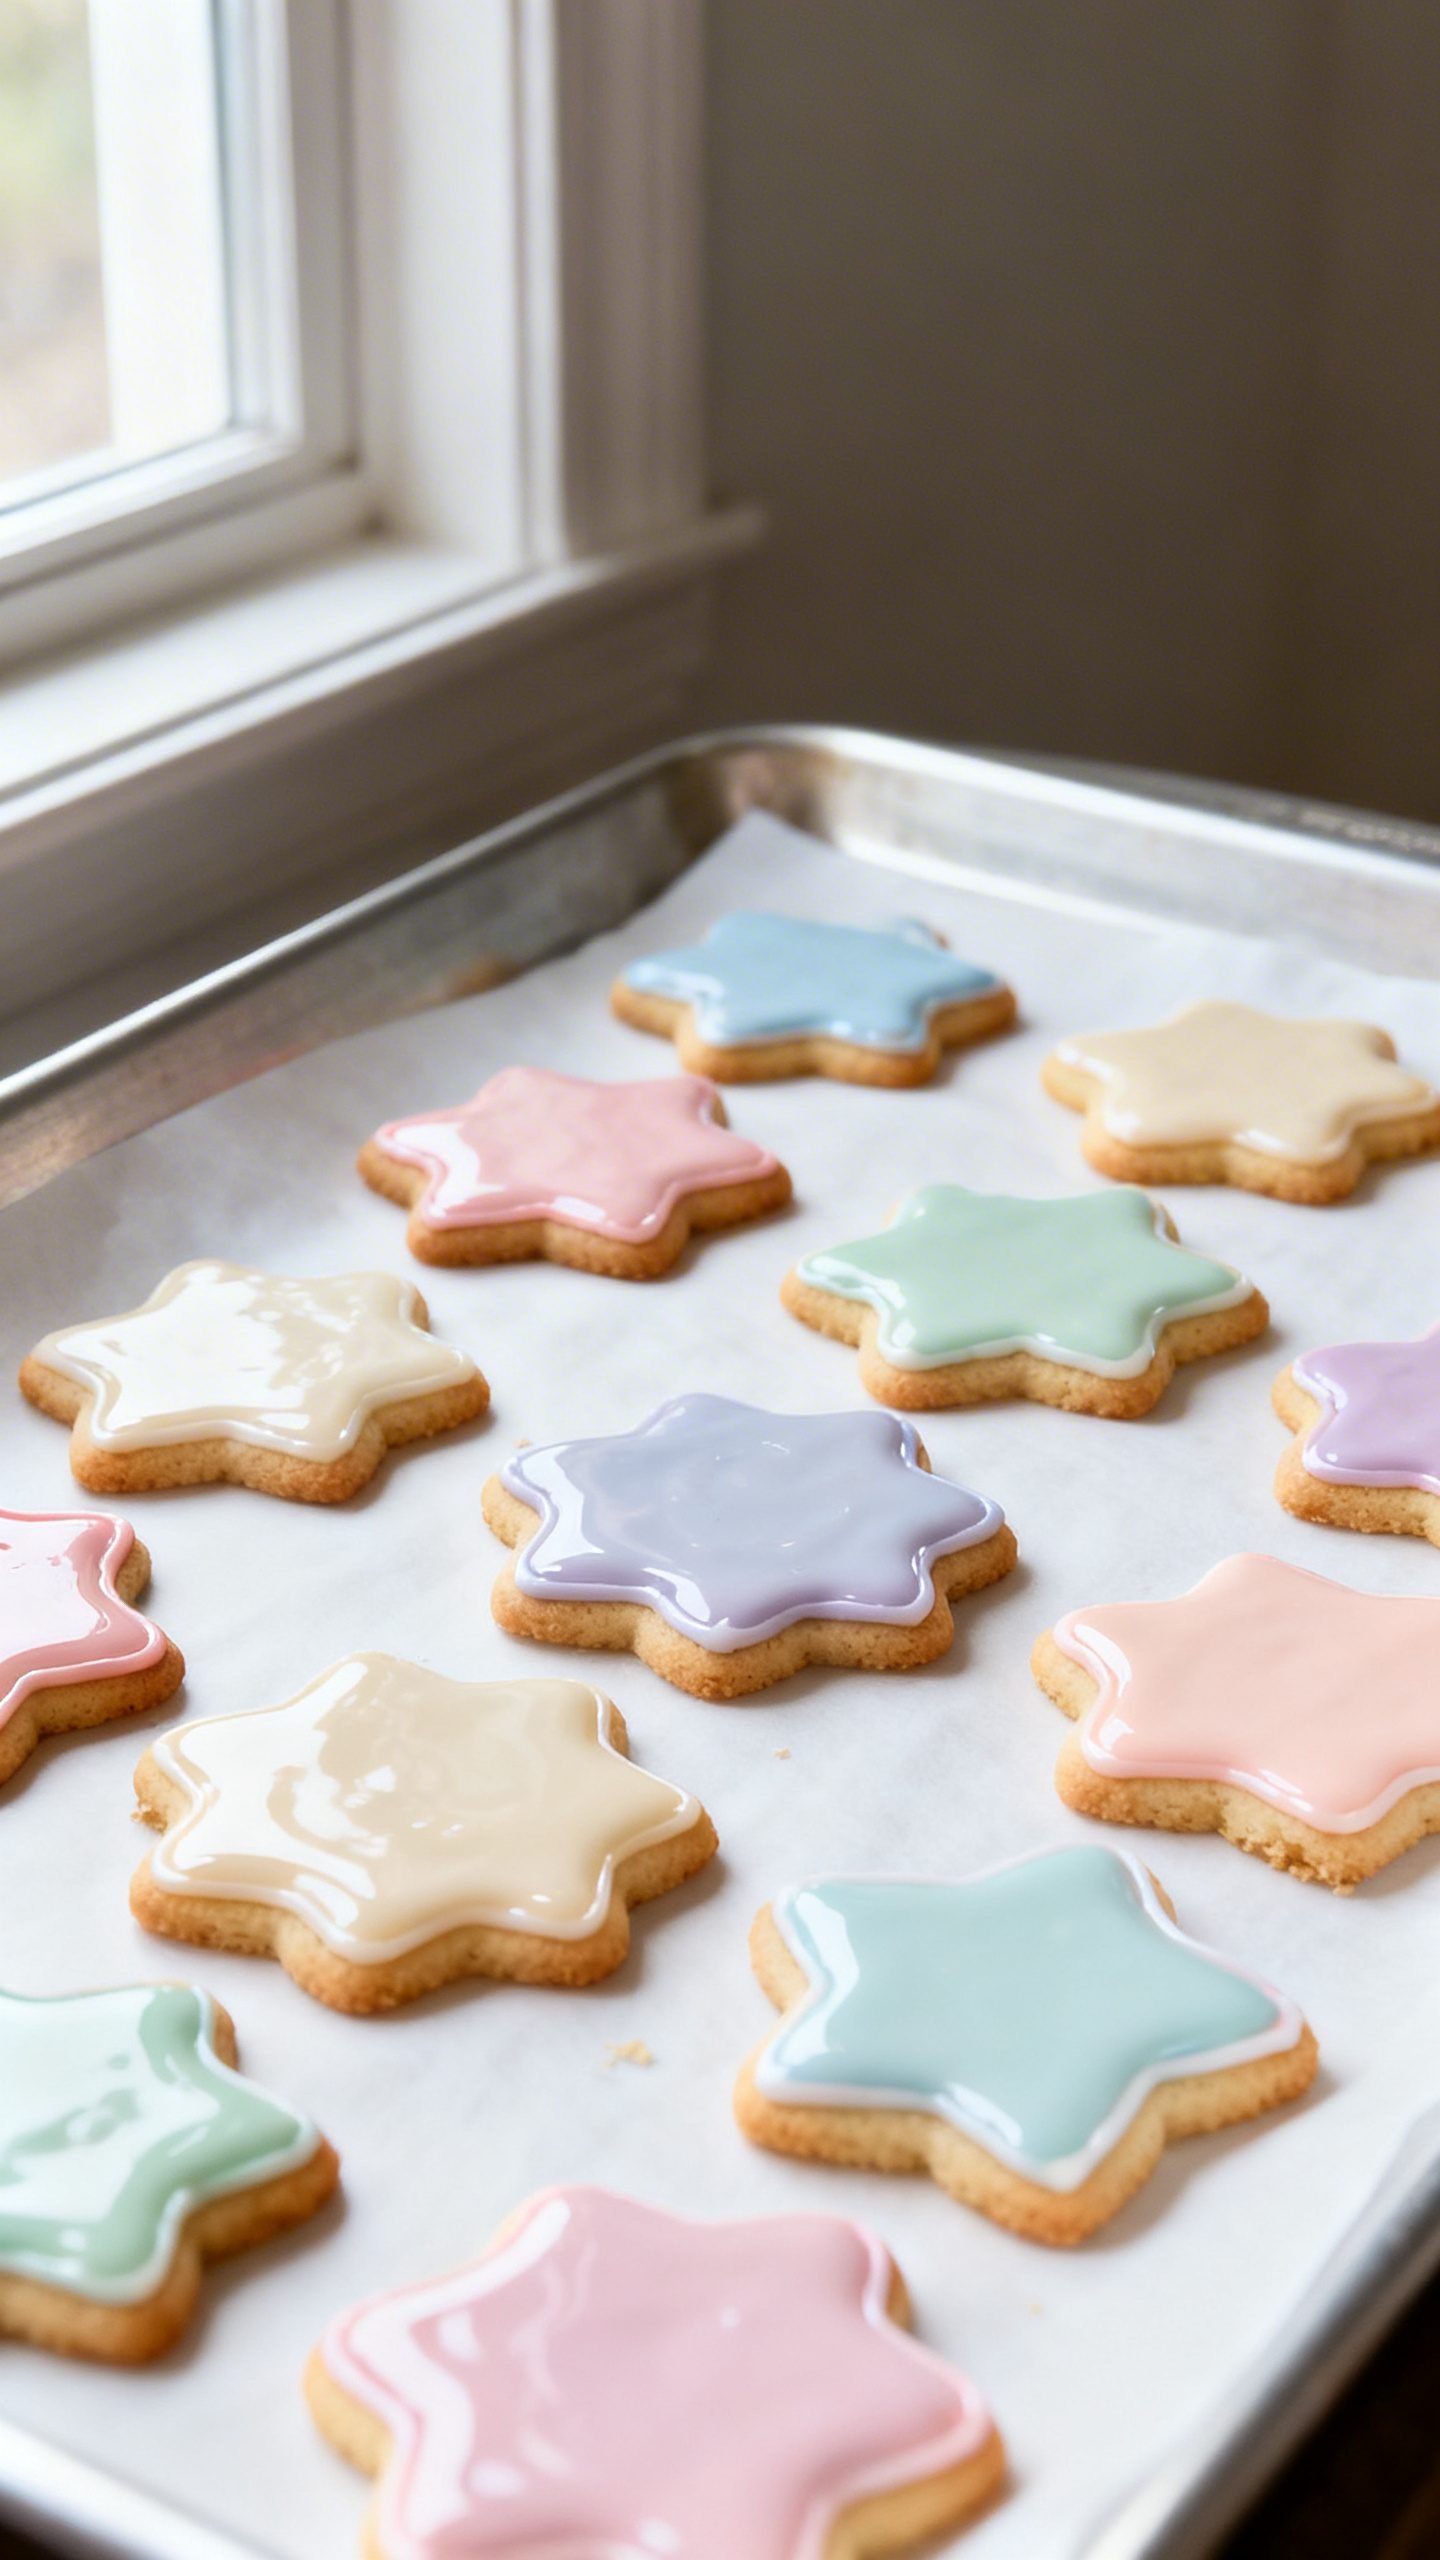
- Let cookies dry uncovered at room temperature: 4–6 hours for gentle handling, or overnight for stacking.
How to Store This Sugar Cookie Frosting
- At room temperature: Keep covered bowls or piping bags for up to 8 hours while decorating. Stir if a thin crust forms.
- Refrigerate: Store icing in airtight containers for 1 week. Press plastic wrap directly onto the surface to prevent crusting.
- Freeze: Freeze up to 2 months. Thaw overnight in the fridge, then bring to room temp and stir well. Add a few drops of milk if it thickens.
- Decorated cookies: Once dry, store in airtight containers at room temp for 4–5 days. Layer with parchment to protect designs.
Benefits of Using This Frosting for Cut-Out Cookies
- Soft bite, clean look: It dries with a satin finish—not crunchy royal icing, not melty buttercream—perfect middle ground.
- Beginner-proof: No meringue powder, no egg whites, no scary sugar stages.
- Vibrant colors that don’t bleed: The corn syrup and proper thickness help keep borders sharp and colors from running.
- Great flavor: Real butter and vanilla deliver that bakery taste instead of a bland sugary glaze.
- Versatile textures: One batch makes outline and flood icing with quick tweaks.
- Stackable designs: Once set, cookies stack neatly for gifting and shipping.
What to Avoid for Best Results
- Don’t skip sifting: Lumps lead to streaky, bumpy icing.
- Don’t over-thin: Add milk drop by drop. If you go too far, fix it with more sifted sugar.
- Don’t rush drying: Humidity slows set time—give it the hours it needs.
- Don’t use liquid food coloring: It waters down icing and dulls color. Use gel.
- Don’t pipe on warm cookies: Heat melts butter and ruins edges. Cool cookies completely.
- Don’t overmix after coloring: You’ll whip in air and create bubbles. Stir gently.
Flavor and Color Variations to Try
- Lemon sugar cookie frosting: Swap almond extract for 1/2–1 teaspoon lemon extract and add fine lemon zest to the base.
- Vanilla bean: Use vanilla bean paste for specks and deeper flavor. Note: it will tint icing slightly off-white.
- Peppermint: Replace almond with 1/4–1/2 teaspoon peppermint extract—great for holiday cookies.
- Almond-amaretto: Add a splash of amaretto extract for a nutty, bakery-like aroma.
- Cocoa glaze: Whisk 2–3 tablespoons sifted cocoa powder into a portion of icing and thin as needed.
- Pastel set: Use the tiniest touch of gel color for soft spring shades; white gel brightens tones.
- Bold holiday hues: Color one day ahead; deeper reds and blacks develop overnight.
FAQ
Does this frosting harden?
It sets firm enough to stack but stays soft to bite. For a harder finish, reduce butter slightly and add a touch more corn syrup and sugar.
Can I use water instead of milk?
Yes, but milk or cream gives better flavor and mouthfeel. If using water, add a drop more vanilla.
How do I fix icing that’s too thick or too thin?
- Too thick: Add milk a few drops at a time.
- Too thin: Add sifted confectioners’ sugar 1 tablespoon at a time.
Why is my icing dull, not shiny?
Add a small drizzle of corn syrup and gently stir. Overmixing and air bubbles also reduce shine—let the icing rest and tap out bubbles.
Do I need meringue powder?
No. This recipe skips it entirely and still sets beautifully.
How long should cookies dry before packaging?
Overnight is safest. In dry conditions, 6–8 hours works. Test by lightly touching a corner—no tackiness means go ahead.
Can I write or draw details on top?
Yes. Use thicker icing for lines and lettering, or food-grade markers once the base dries fully.
Conclusion
This sugar cookie frosting gives you the best of both worlds: smooth, shiny cookies that taste as good as they look. With a creamy base, easy consistency tweaks, and gel colors for clean designs, you’ll get bakery-level results at home. Make one batch, mix your shades, and decorate with confidence—your cut-outs are about to steal the show.

Best Sugar Cookie Frosting Recipe | Smooth Icing for Cut Out Cookies
Ingredients
Ingredients
- Unsalted butter, softened
- Confectioners’ sugar (powdered sugar), sifted
- Light corn syrup
- Pure vanilla extract (use clear vanilla for bright white)
- Almond extract (optional)
- Milk or heavy cream, as needed to thin
- Fine sea salt, a pinch
- Gel food coloring (optional)
Instructions
Instructions
- Bring the butter to room temperature until soft but not greasy and sift the confectioners’ sugar to remove lumps.
- Beat the softened butter on medium speed until creamy and light, about 2 minutes.
- Add half of the sifted sugar and mix on low until combined, then scrape the bowl.
- Add the remaining sugar, 1 tablespoon light corn syrup, vanilla, almond extract if using, and a pinch of salt; mix on low until incorporated, then beat on medium for about 1 minute until smooth.
- Adjust to outlining consistency by adding milk or cream 1 teaspoon at a time until the frosting flows slowly off a spoon and a line holds for 2–3 seconds before settling.
- For flooding, transfer some outlining icing to a separate bowl and add milk or cream a few drops at a time until an 8–10 second ribbon disappears into itself; add a tiny drizzle of corn syrup for extra shine if desired.
- Divide icing into bowls and add gel food coloring gradually with a toothpick, stirring gently to avoid air bubbles; let rest 5–10 minutes and tap to release bubbles.
- Transfer outlining icing to piping bags fitted with small round tips and pipe borders on cooled cookies, then flood inside the borders and nudge icing into corners; pop any visible bubbles and add sprinkles immediately if using.
- Let decorated cookies dry uncovered at room temperature for 4–6 hours for gentle handling or overnight for stacking.


