Pinsa Romana Recipe | Authentic Roman Style Pizza Dough at Home
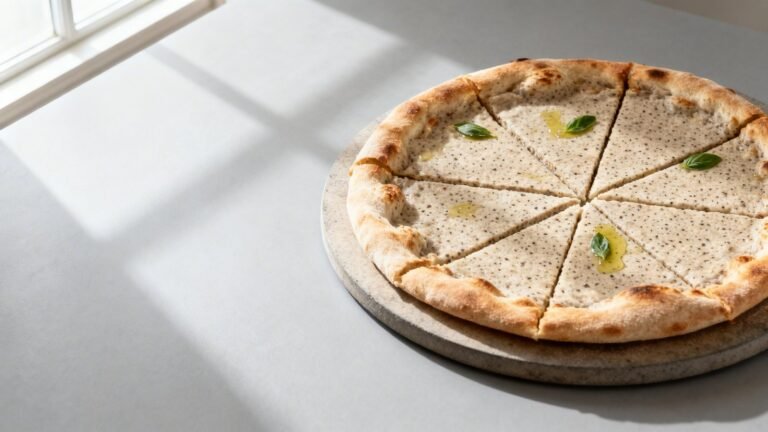
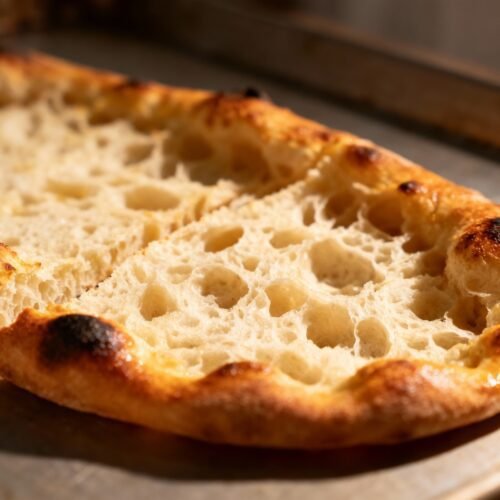
If you love crisp edges, airy crumb, and that whisper-light chew, you’re about to become obsessed with pinsa. This Roman-style “pizza” dough uses a blend of flours, a higher hydration, and a long cold rise to deliver a crust that feels lighter than classic pizza yet tastes deeply complex.
I’ll walk you through the flour mix, hydration, and folding method that makes authentic pinsa happen at home—no special oven required. You’ll get exact timing, texture cues, and pro tips so your first batch bakes up bakery-level delicious.
Why This Roman-Style Pinsa Dough Works
- Blend of flours: Wheat flour brings structure, rice flour adds crispness, and a touch of soy or spelt boosts tenderness and aroma.
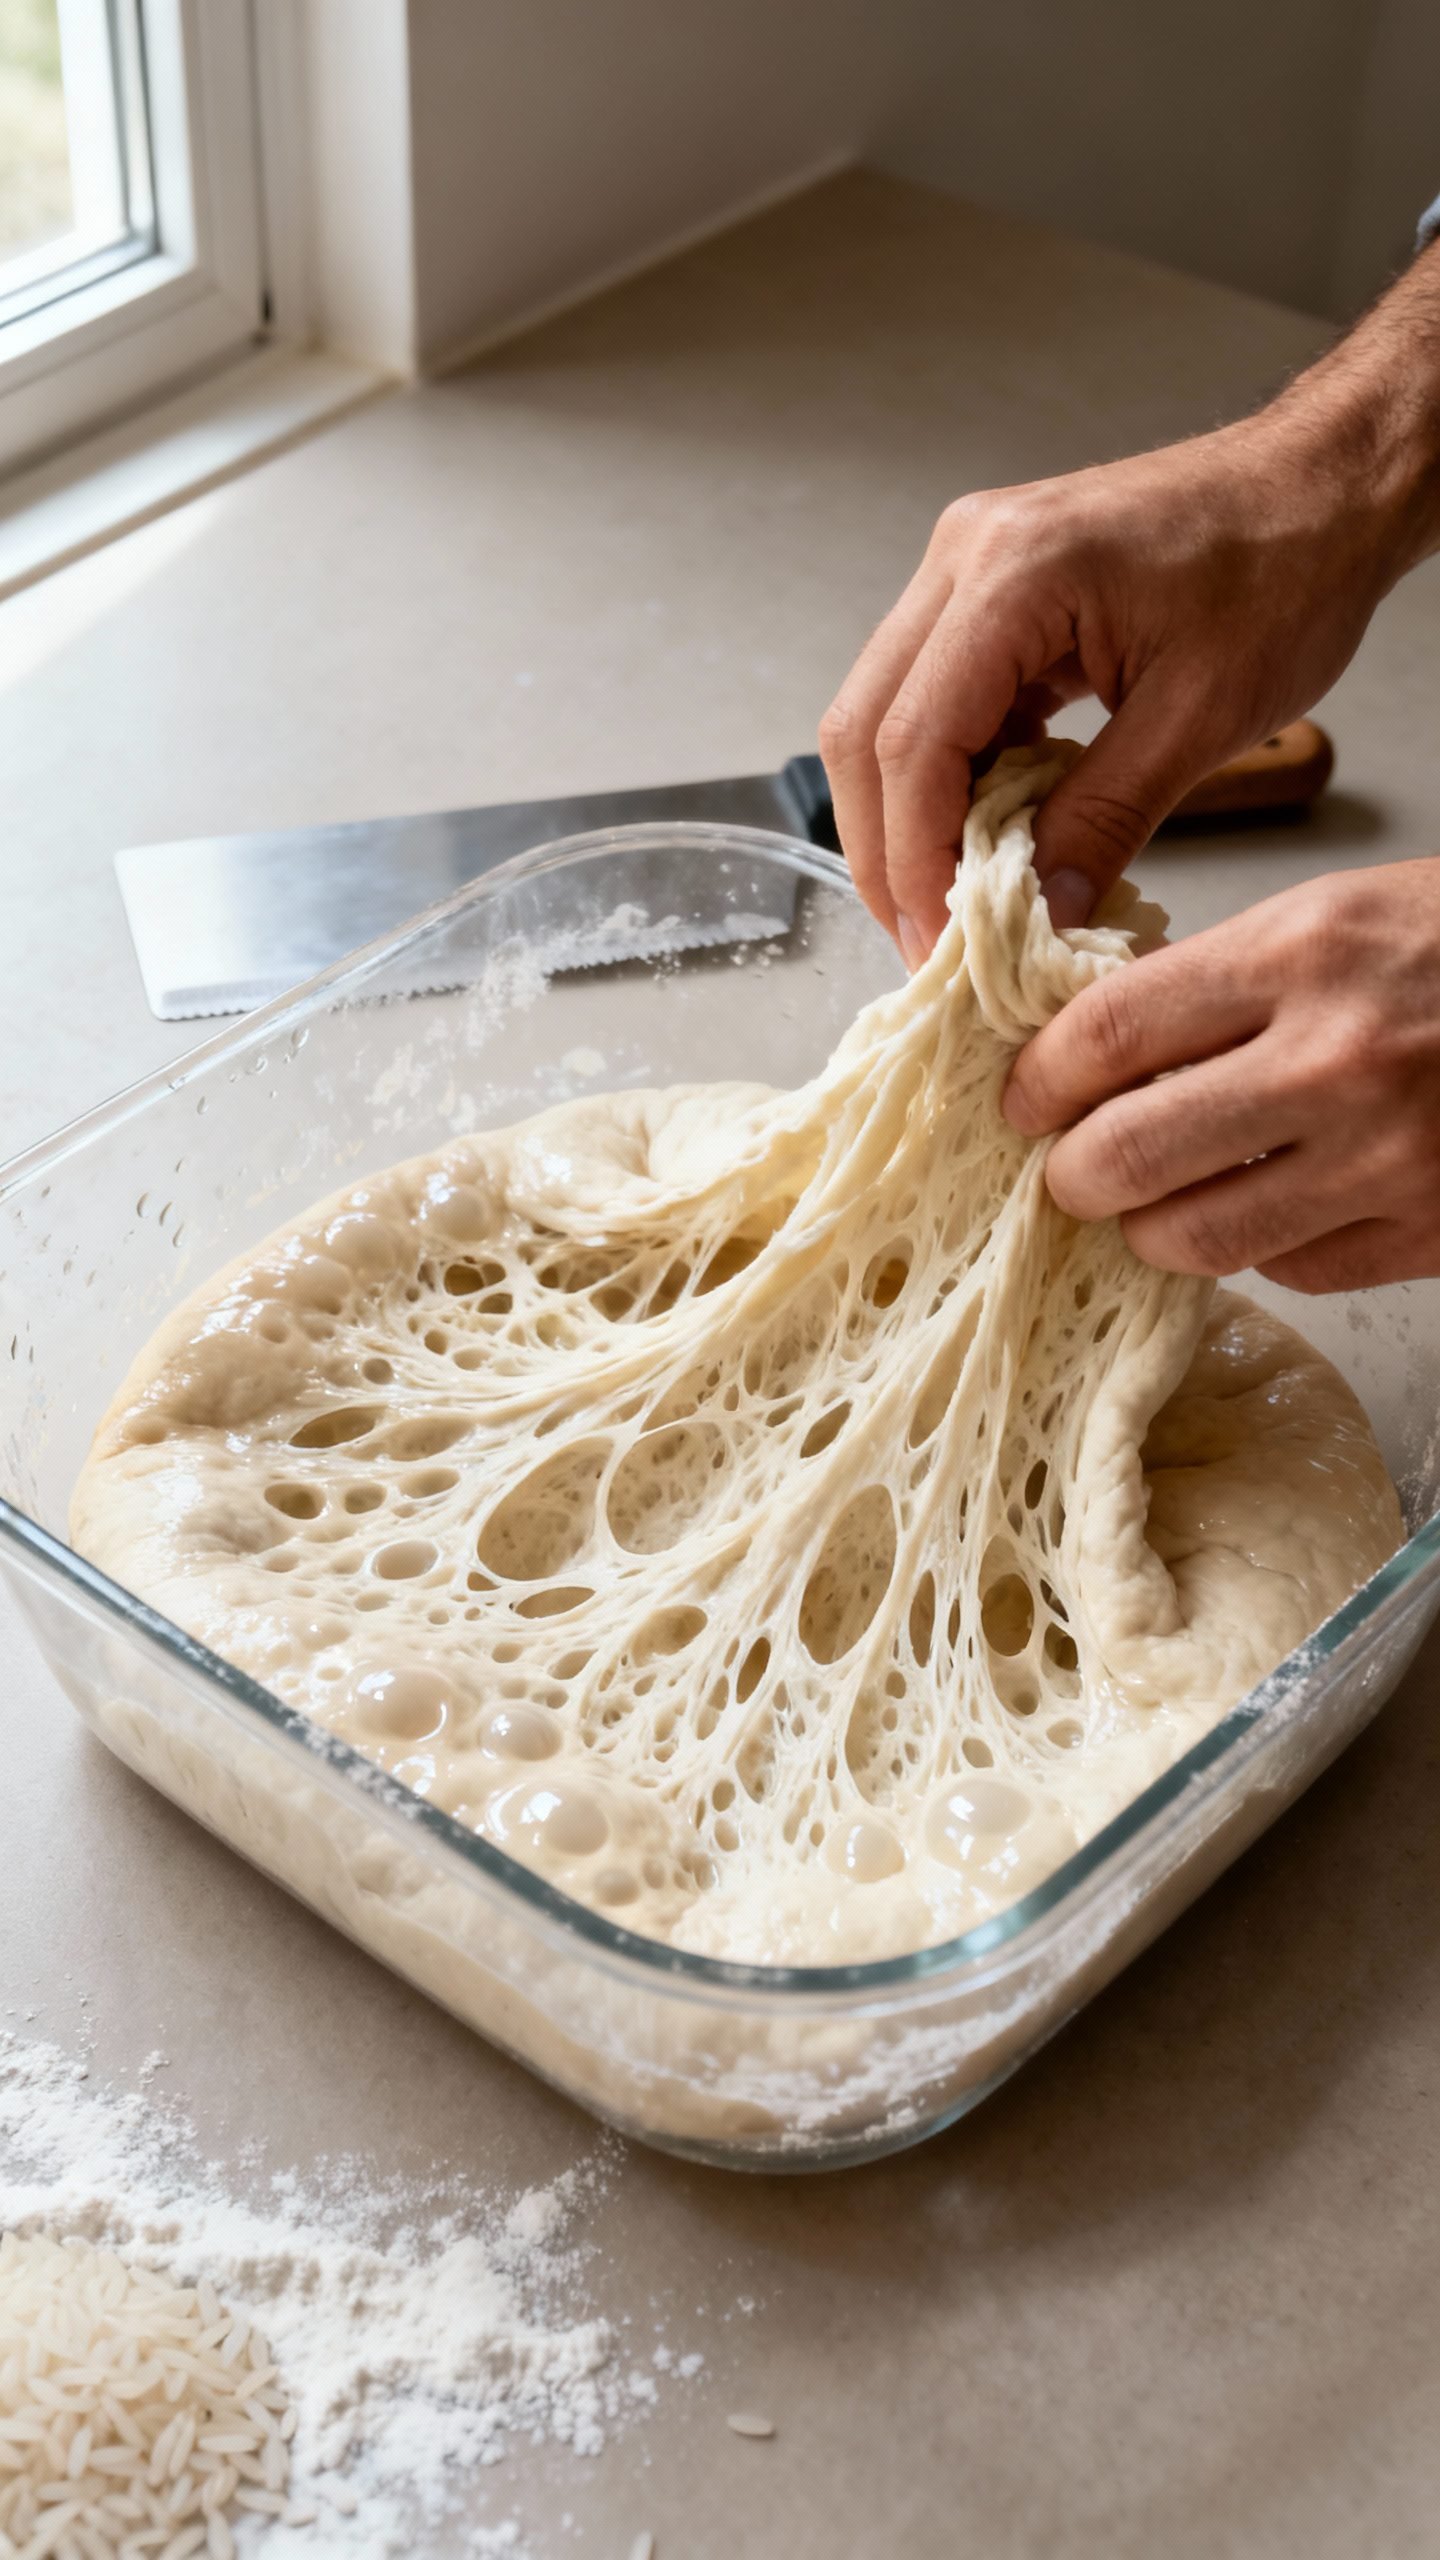
- High hydration: More water means open crumb, lightness, and those signature air pockets.
- Long cold fermentation: Slow time in the fridge develops flavor and makes the dough digestible and easy to stretch.
- Minimal yeast: A small amount of yeast with time equals better texture and fewer off flavors.
- Gentle folds, not hard kneading: Stretch-and-fold organizes gluten without toughening the dough.
Ingredients
For the dough (makes 3 medium pinsa)
- 350 g bread flour (high-protein, 12–13%)
- 100 g rice flour (fine white rice flour, not glutinous)
- 50 g soy flour or spelt flour (classic pinsa uses a touch of soy; spelt works beautifully too)
- 420–450 g cold water (start with 420 g; add up to 450 g if dough feels stiff)
- 10 g fine sea salt
- 2 g instant yeast (about 3/4 teaspoon)
- 10 g extra-virgin olive oil (plus more for hands and pans)
For par-baking and topping
- Semolina or rice flour for dusting
- Olive oil for brushing
- Your favorite toppings (crushed tomatoes, fresh mozzarella, prosciutto, arugula, mushrooms, artichokes, etc.)
How to Make Airy, Authentic Pinsa at Home
1) Mix the dough
- In a large bowl, whisk bread flour, rice flour, and soy/spelt flour. Stir in instant yeast.
- Add 400 g cold water and mix with a spoon until you see no dry pockets. Rest 20 minutes (autolyse) to hydrate.
- Sprinkle in salt, add olive oil, and mix. Drizzle in the remaining water (20–50 g) while squeezing the dough to fully incorporate. The dough should feel tacky and loose but hold together.
2) Develop gluten with folds
- Wet your hands to prevent sticking. Grab one edge of the dough, stretch it up, and fold it over itself. Rotate the bowl and repeat 4–6 times to complete one set.
- Rest 20 minutes. Do 3 total sets of stretch-and-folds over 60 minutes. The dough will tighten and smooth out each round.
3) Cold ferment
- Lightly oil a container. Transfer dough, cover, and refrigerate 24–72 hours. Longer fermentation equals better flavor and digestibility.
- During the first 12 hours, if you can, give the dough one extra set of gentle folds in the container to strengthen it.
4) Divide and proof
- Flour your work surface with rice flour. Turn out the cold dough and divide into 3 equal pieces (about 300 g each).
- Shape each piece into a loose ball by tucking edges underneath. Place on a floured tray, cover, and rest at room temperature 60–90 minutes until puffy.
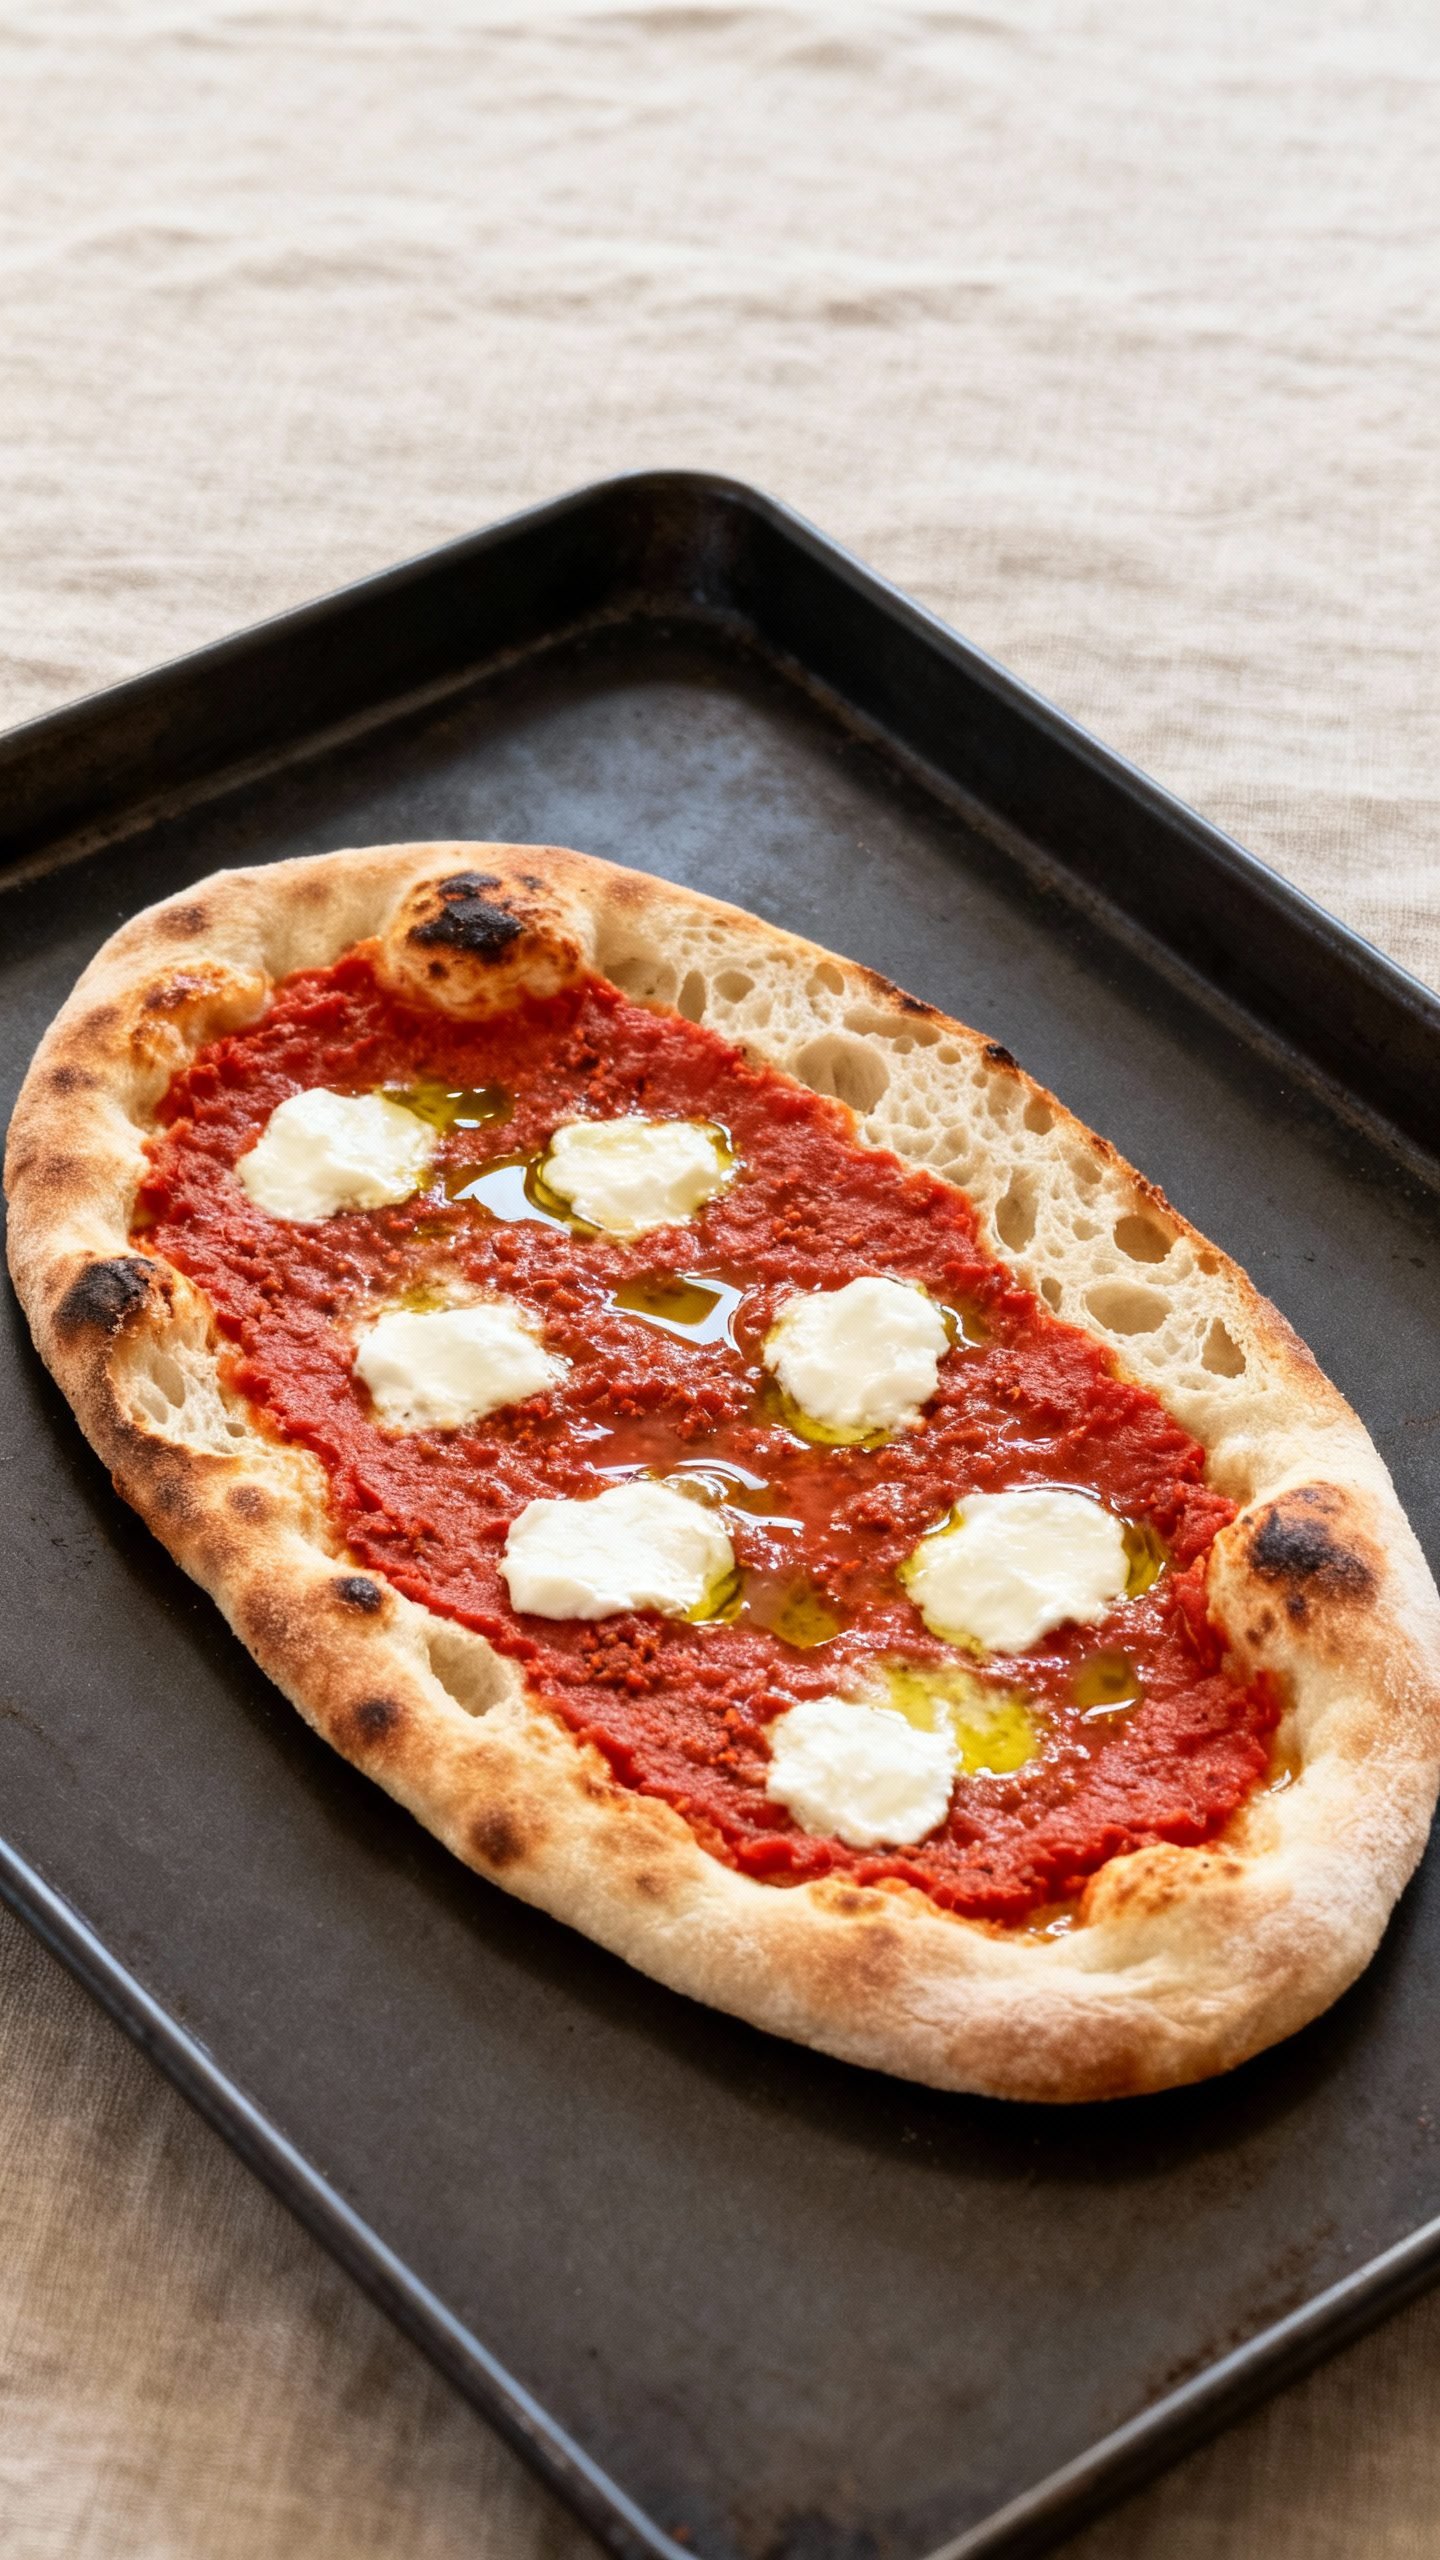
5) Shape the classic oval
- Preheat your oven to 500°F/260°C. If using a steel or stone, preheat it for at least 45 minutes. If using a sheet pan, place it in the oven to preheat.
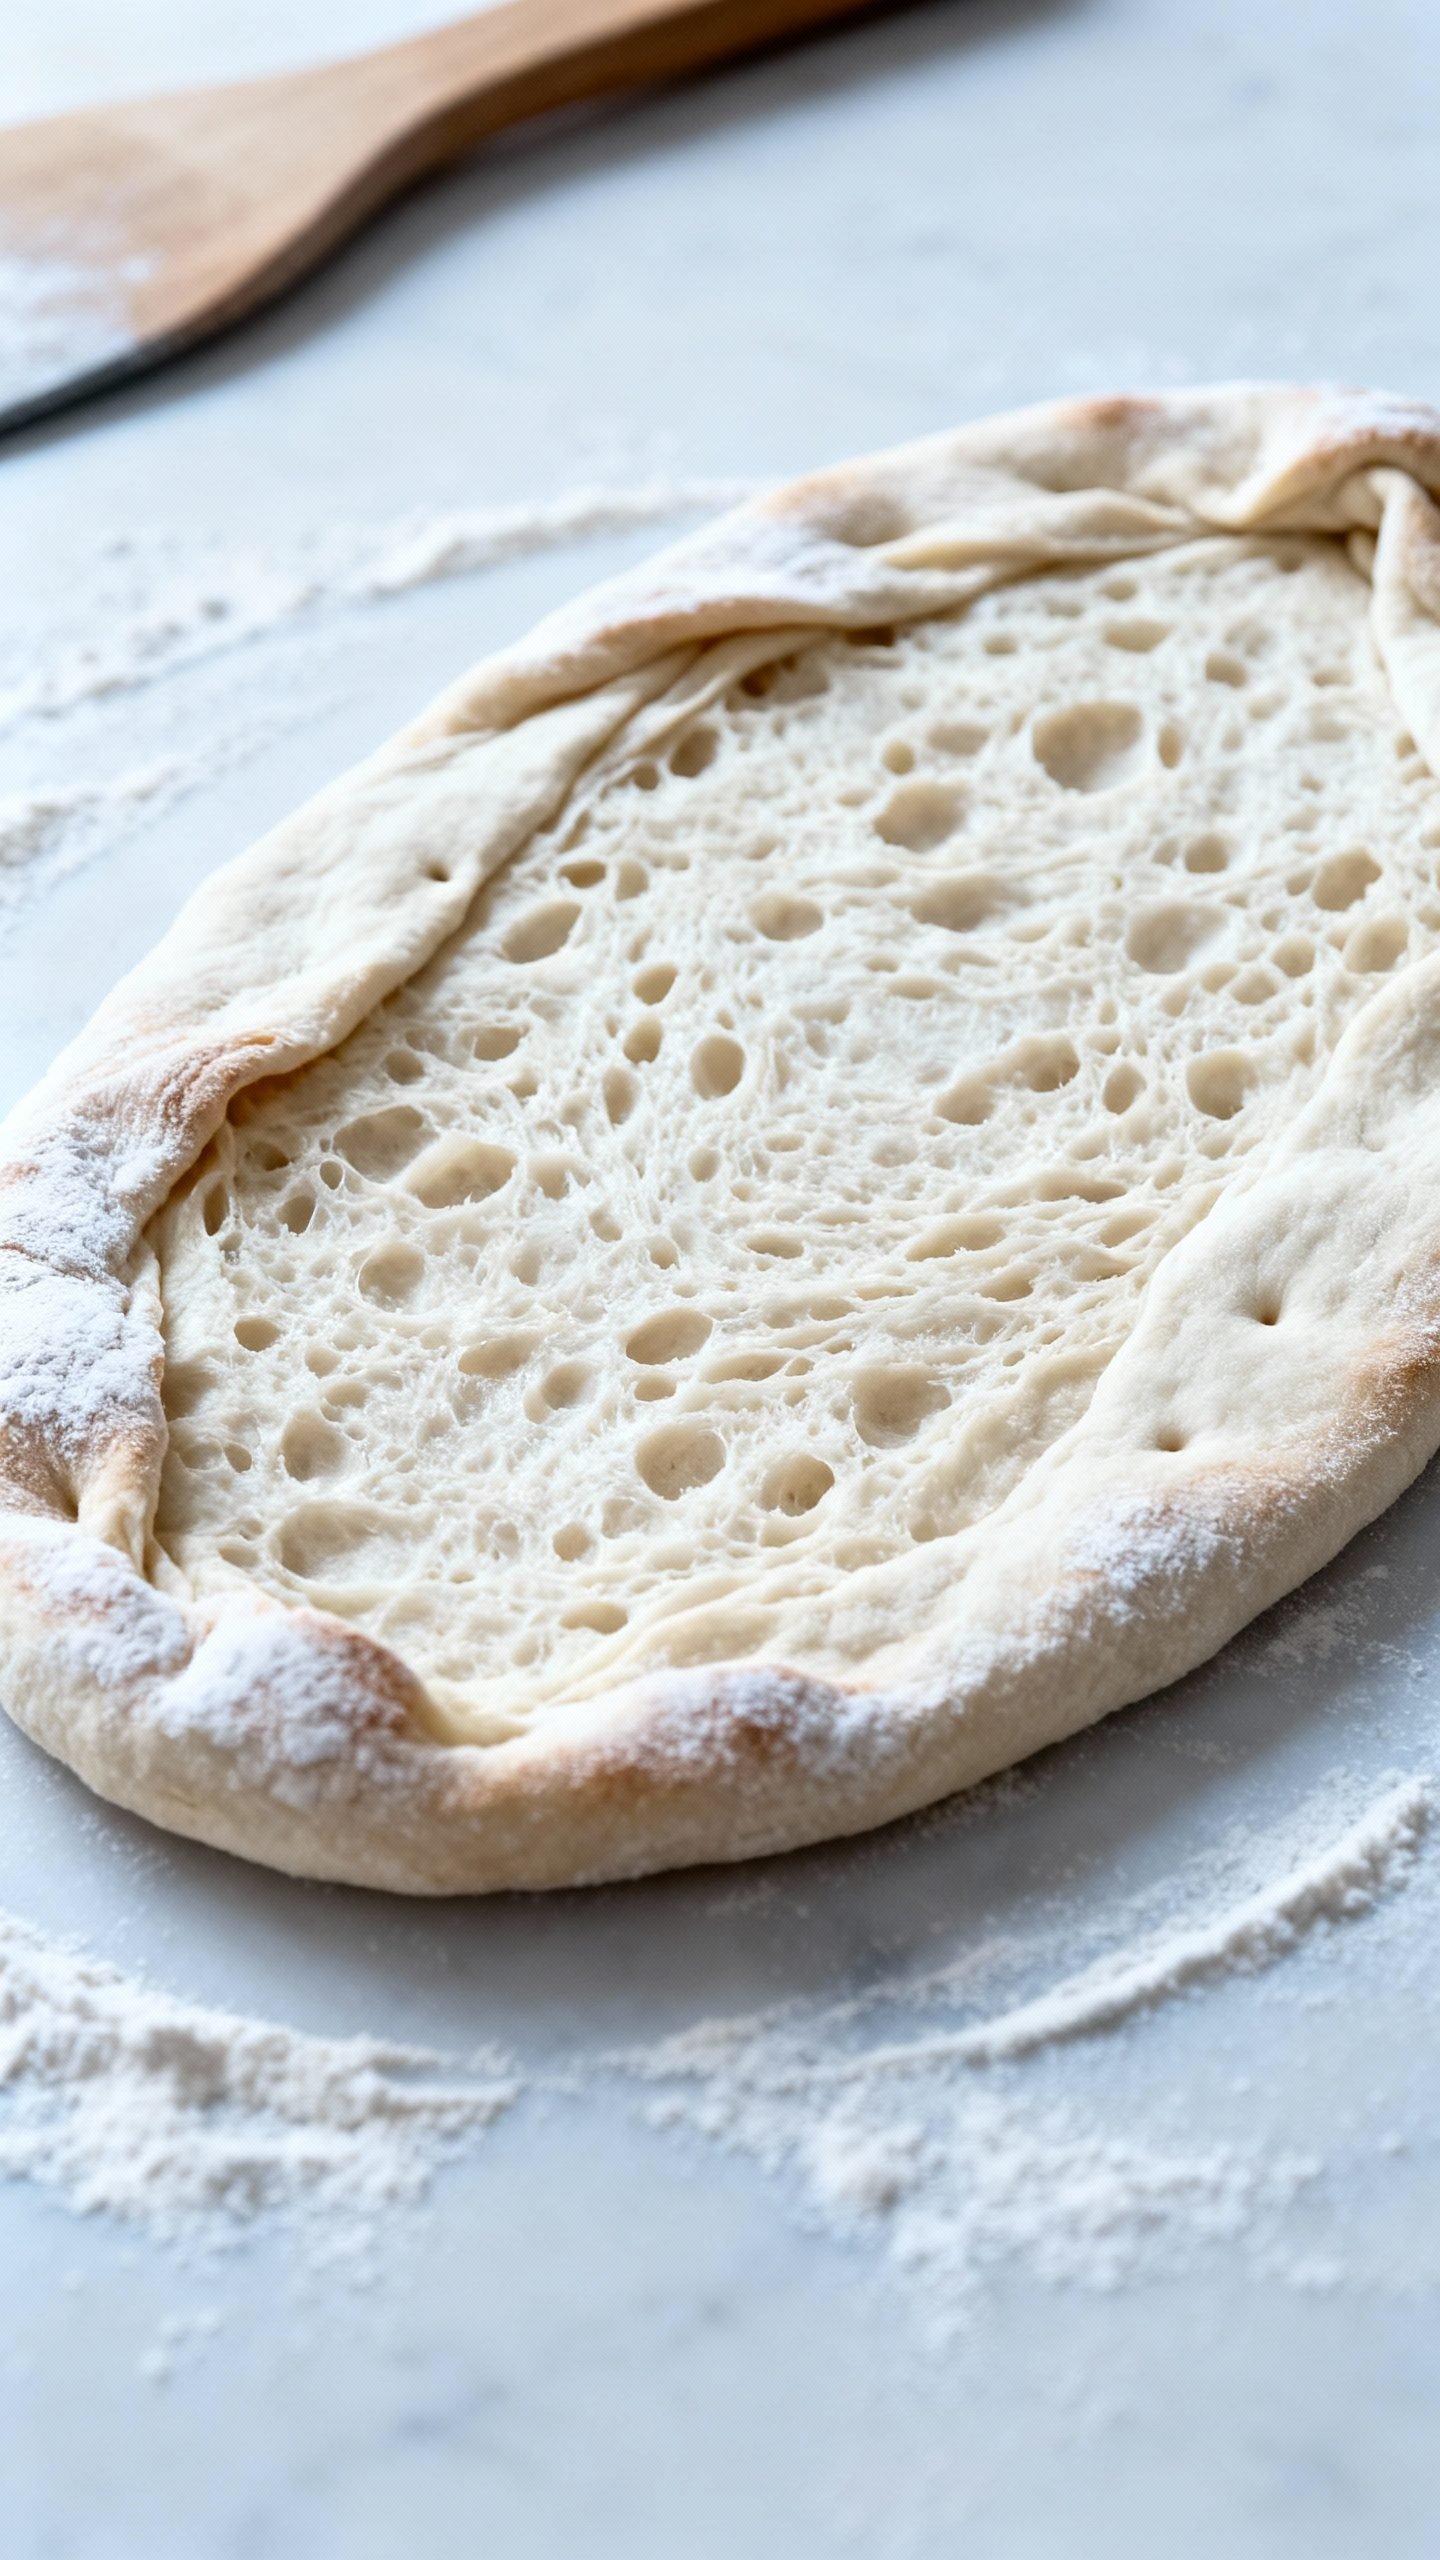
- Dust the top of a dough ball with rice flour. Flip onto a floured surface. Using your fingertips, press from the center outward, leaving a slightly thicker rim. Lift the dough and let gravity help stretch it into an oval, about 10–12 inches long.
- Place on a floured peel or a sheet of parchment for easy transfer.
6) Par-bake for structure
- Brush the surface lightly with olive oil. Dock lightly with your fingertips to keep giant bubbles in check.
- Bake plain for 4–6 minutes until the surface sets and the bottom begins to color. This step gives pinsa its crisp exterior and airy interior.
7) Top and finish
- Remove the par-baked crust. Add toppings with a light hand—pinsa loves balance, not overload.
- Return to the oven and bake 5–8 minutes until cheese melts and edges turn golden with little blisters.
- Finish with olive oil, basil, arugula, or shaved Parmigiano if you like. Slice and serve hot.
How to Store Pinsa Dough and Baked Crusts
- Cold-fermented dough: Keep in the fridge up to 72 hours. For longer, portion and freeze for up to 1 month; thaw overnight in the fridge, then proof at room temp until puffy.
- Par-baked crusts: Cool completely, wrap well, and refrigerate up to 3 days or freeze up to 1 month. Reheat from frozen directly on a hot stone/steel.
- Leftover baked pinsa: Store in an airtight container in the fridge up to 2 days. Recrisp on a hot steel or in a 450°F/230°C oven for 5–7 minutes.
Benefits of Making Pinsa at Home
- Lighter texture: The flour blend and hydration create a cloudlike crumb with a crackly base.
- Better flavor: Slow fermentation builds complex, nutty, slightly tangy notes.
- Digestibility: Extended cold proof helps enzymes do their thing, so the crust feels easier on the stomach.
- Flexible schedule: Mix once, bake anytime over the next 1–3 days.
- Endless topping options: Neutral, fragrant dough pairs with simple or bold flavors.
What to Avoid for Best Results
- Don’t rush fermentation: Short proof equals bland dough and tight crumb.
- Don’t drown the dough: Too many wet toppings will sog out the center.
- Don’t over-knead: Hard kneading tightens gluten; stick to stretch-and-fold.
- Don’t skip par-bake: It locks in structure and keeps toppings from soaking through.
- Don’t under-preheat: You need a ripping-hot surface for lift and crispness.
Variations You Can Try
- Bianca (white) pinsa: Brush with olive oil, top with fresh rosemary and flaky salt, then finish with stracciatella and lemon zest.
- Classica margherita: Crushed San Marzano tomatoes, fior di latte, basil, and a drizzle of olive oil.
- Funghi e tartufo: Sautéed mushrooms, mozzarella, a whisper of truffle oil after baking.
- Prosciutto e rucola: Light tomato base or bianca, mozzarella, then top with prosciutto and arugula after baking.
- Veggie primavera: Roasted zucchini, peppers, and artichokes with a sprinkle of pecorino.
- Whole-grain twist: Swap 50 g of bread flour for whole wheat; add 10–15 g more water to compensate.
FAQ
Can I make pinsa without soy flour?
Yes. Use spelt flour in the same amount. You’ll get lovely aroma and tenderness.
Do I need a pizza stone or steel?
No, but they help. A preheated steel or stone gives maximum oven spring and crunch. If you don’t have one, use an inverted sheet pan preheated in the oven.
What hydration should I aim for?
Between 70–75% works well at home. Start at 420 g water for 500 g flour and adjust up if the dough feels stiff.
Why is my dough sticky?
High hydration makes it tacky. Lightly oil your hands, use a dough scraper, and flour with rice flour when shaping. Stickiness means open crumb later—embrace it.
Can I bake at a lower temperature?
You can, but expect less puff and crisp. If your oven tops at 475°F/245°C, extend bake time by 2–3 minutes and preheat longer.
How thin should I stretch pinsa?
Keep the center around 1/4 inch with a slightly thicker rim. The oval shape and even thickness help it bake evenly.
Can I skip the par-bake?
I wouldn’t. Par-baking ensures a crisp base and prevents soggy centers, especially with fresh mozzarella or juicy veggies.
Conclusion
Pinsa delivers the best of both worlds: shatteringly crisp edges with a light, airy crumb that never feels heavy. With a smart flour blend, high hydration, and a lazy-but-powerful cold ferment, you’ll pull bakery-quality crusts from a home oven.
Mix a batch today, let time work its magic, and get ready for Roman nights at your table—golden ovals, simple toppings, and that irresistible crunch in every bite.
Pinsa Romana Recipe | Authentic Roman Style Pizza Dough at Home
Ingredients
Ingredients
- 350 g bread flour (12–13% protein)
- 100 g rice flour (fine white, not glutinous)
- 50 g soy flour or spelt flour
- 420–450 g cold water
- 10 g fine sea salt
- 2 g instant yeast (about 3/4 teaspoon)
- 10 g extra-virgin olive oil (plus more for hands and pans)
- Semolina or rice flour for dusting
- Olive oil for brushing
- Toppings of choice (crushed tomatoes, fresh mozzarella, prosciutto, arugula, mushrooms, artichokes, etc.)
Instructions
Instructions
- Whisk bread flour, rice flour, and soy or spelt flour in a large bowl, then stir in the instant yeast.
- Add 400 g cold water and mix until no dry pockets remain, then rest 20 minutes to hydrate.
- Sprinkle in salt, add olive oil, and mix, then drizzle in 20–50 g additional water while squeezing the dough until tacky and cohesive.
- With wet hands, perform one set of stretch-and-folds around the bowl (4–6 folds), rest 20 minutes, and repeat for a total of 3 sets over 60 minutes.
- Lightly oil a container, transfer the dough, cover, and refrigerate 24–72 hours; optionally give one extra gentle fold in the first 12 hours.
- Flour the work surface with rice flour, turn out the cold dough, divide into 3 pieces (about 300 g each), shape into loose balls, cover, and rest 60–90 minutes until puffy.
- Preheat the oven to 500°F/260°C with a stone or steel for 45 minutes (or preheat an inverted sheet pan).
- Dust a dough ball with rice flour, flip onto a floured surface, press from center outward leaving a slight rim, and stretch into an oval 10–12 inches long; place on a floured peel or parchment.
- Brush the dough lightly with olive oil, dock lightly with fingertips, and par-bake 4–6 minutes until the surface sets and the bottom begins to color.
- Add toppings sparingly and return to the oven to bake 5–8 minutes until cheese melts and edges are golden with small blisters.
- Finish with olive oil, basil, arugula, or shaved Parmigiano if desired, then slice and serve hot.