
Decadent Homemade Ice Cream Sandwiches | Easy No-Bake Frozen Treat
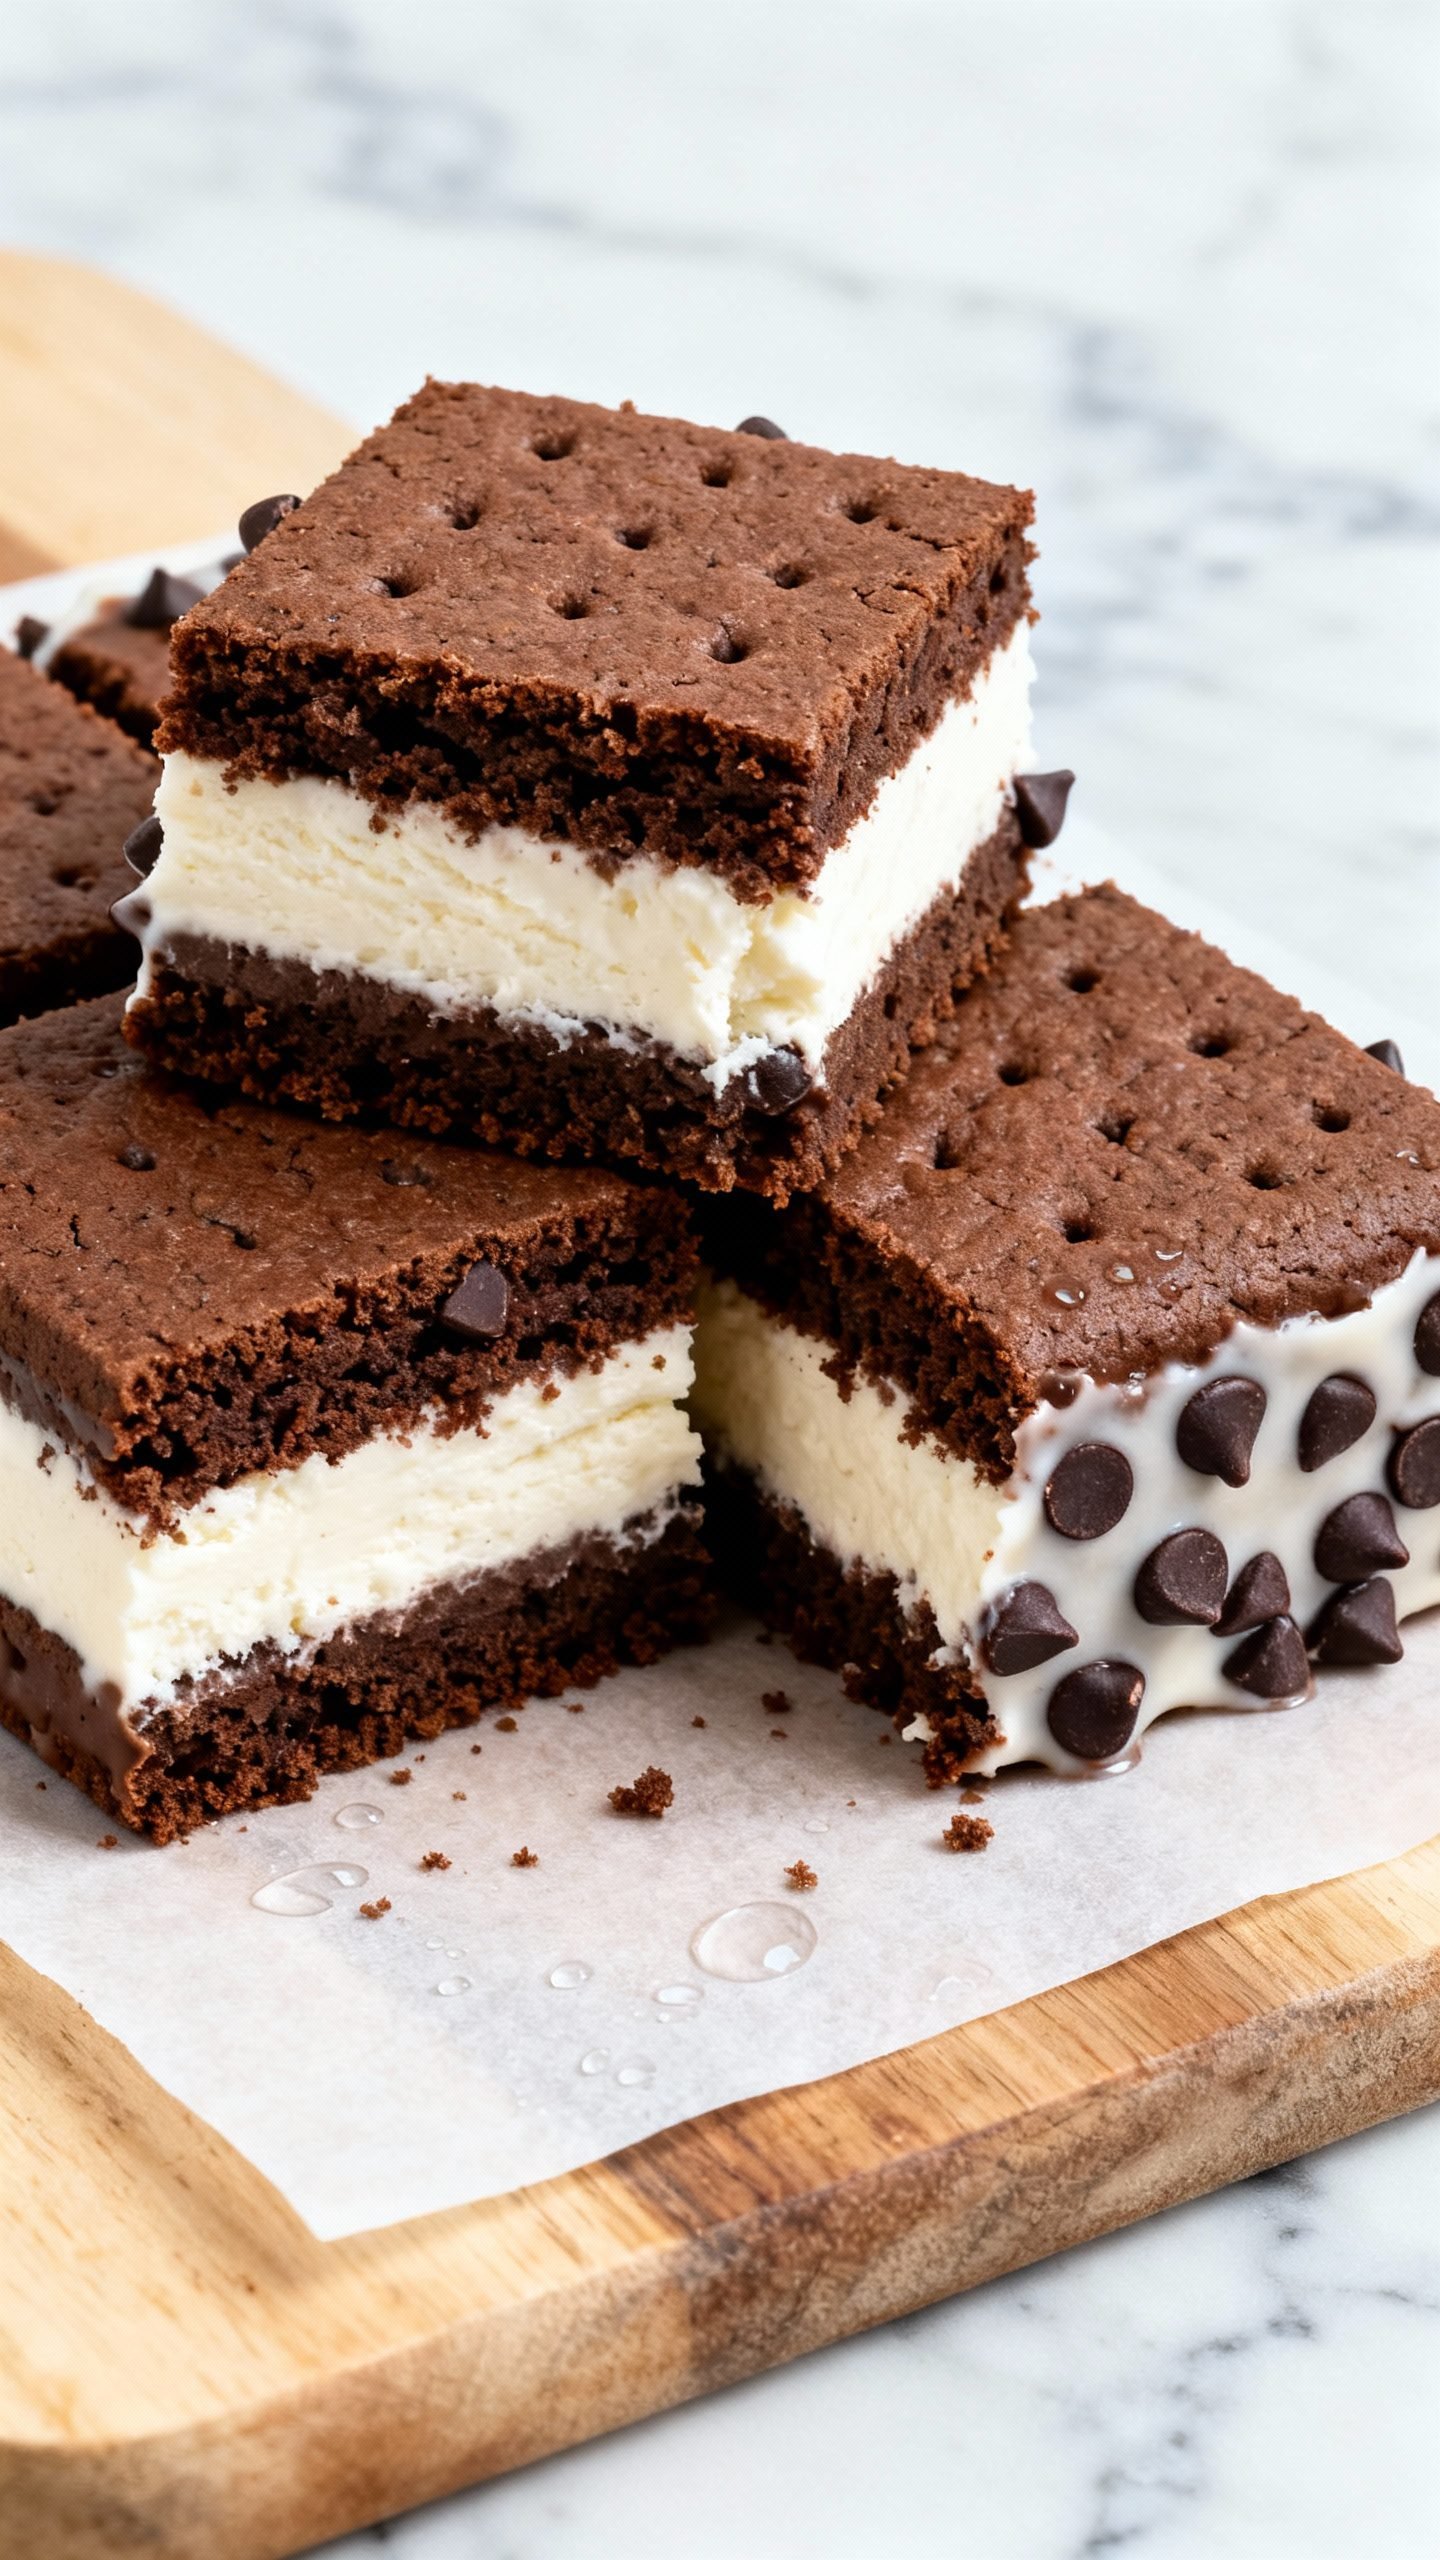
Some desserts feel nostalgic the second you bite in. These homemade ice cream sandwiches deliver that exact joy: creamy ice cream, soft-chewy cookie layers, and tidy square edges that make you feel like a kitchen wizard. You don’t need a churn, you don’t need to bake, and you don’t need special equipment—just a freezer, a pan, and a little patience.
I’ll walk you through making the base, pressing the layers, and cutting clean squares that look bakery-ready. We’ll keep the steps simple, offer smart swaps, and make sure your sandwiches hold together beautifully. Let’s get you to that first glorious, frosty bite.
Why This Ice Cream Sandwich Recipe Works
- No-bake method means zero oven time and fast assembly.
- Soft-chewy “cookie” layer holds together cold but never turns rock-hard.
- Sliceable slab technique gives you neat, uniform sandwiches every time.
- Freezer-friendly and make-ahead: prep once, enjoy all week.
- Customizable flavors let you mix and match cookies, add-ins, and coatings.
Ingredients
For the Soft Chocolate Sandwich Layer
- Chocolate wafer cookies or chocolate graham crackers – 3 cups finely crushed
- Unsalted butter, melted – 1/2 cup (1 stick)
- Light corn syrup or maple syrup – 2 tablespoons (helps keep the layer soft)
- Pinch of fine sea salt
- Vanilla extract – 1 teaspoon
- Milk – 2 to 3 tablespoons, as needed for a pliable dough
For the Ice Cream Filling
- Ice cream – 1.5 quarts (vanilla, chocolate, or your favorite flavor), slightly softened
- Optional mix-ins: mini chocolate chips, crushed cookies, sprinkles, or chopped nuts (about 1 cup total)
For Dipping/Coating (Optional)
- Mini chocolate chips, sprinkles, or toasted coconut
- Chocolate shell (melt together 1 cup chocolate chips + 2 tablespoons coconut oil)
How to Make These No-Bake Ice Cream Sandwiches
Before You Start
- Line a 9×13-inch baking pan with parchment, leaving overhang on two sides for easy lifting.
- Let the ice cream sit at room temp 10–15 minutes until scoopable but not soupy.
Make the Sandwich Layer
- Crush the cookies into fine crumbs. Use a food processor or a zip-top bag with a rolling pin.
- Stir together crumbs, melted butter, corn syrup, salt, and vanilla. Add milk 1 tablespoon at a time until the mixture feels like damp sand that clumps when pressed.
- Divide the mixture in half. Press one half firmly and evenly into the lined pan to form the bottom layer. Use the bottom of a measuring cup for a compact, even surface.
- Transfer the pan to the freezer for 10–15 minutes to set.
Add the Ice Cream
- In a bowl, fold mix-ins into the softened ice cream if using. Don’t over-stir; keep it cold and thick.
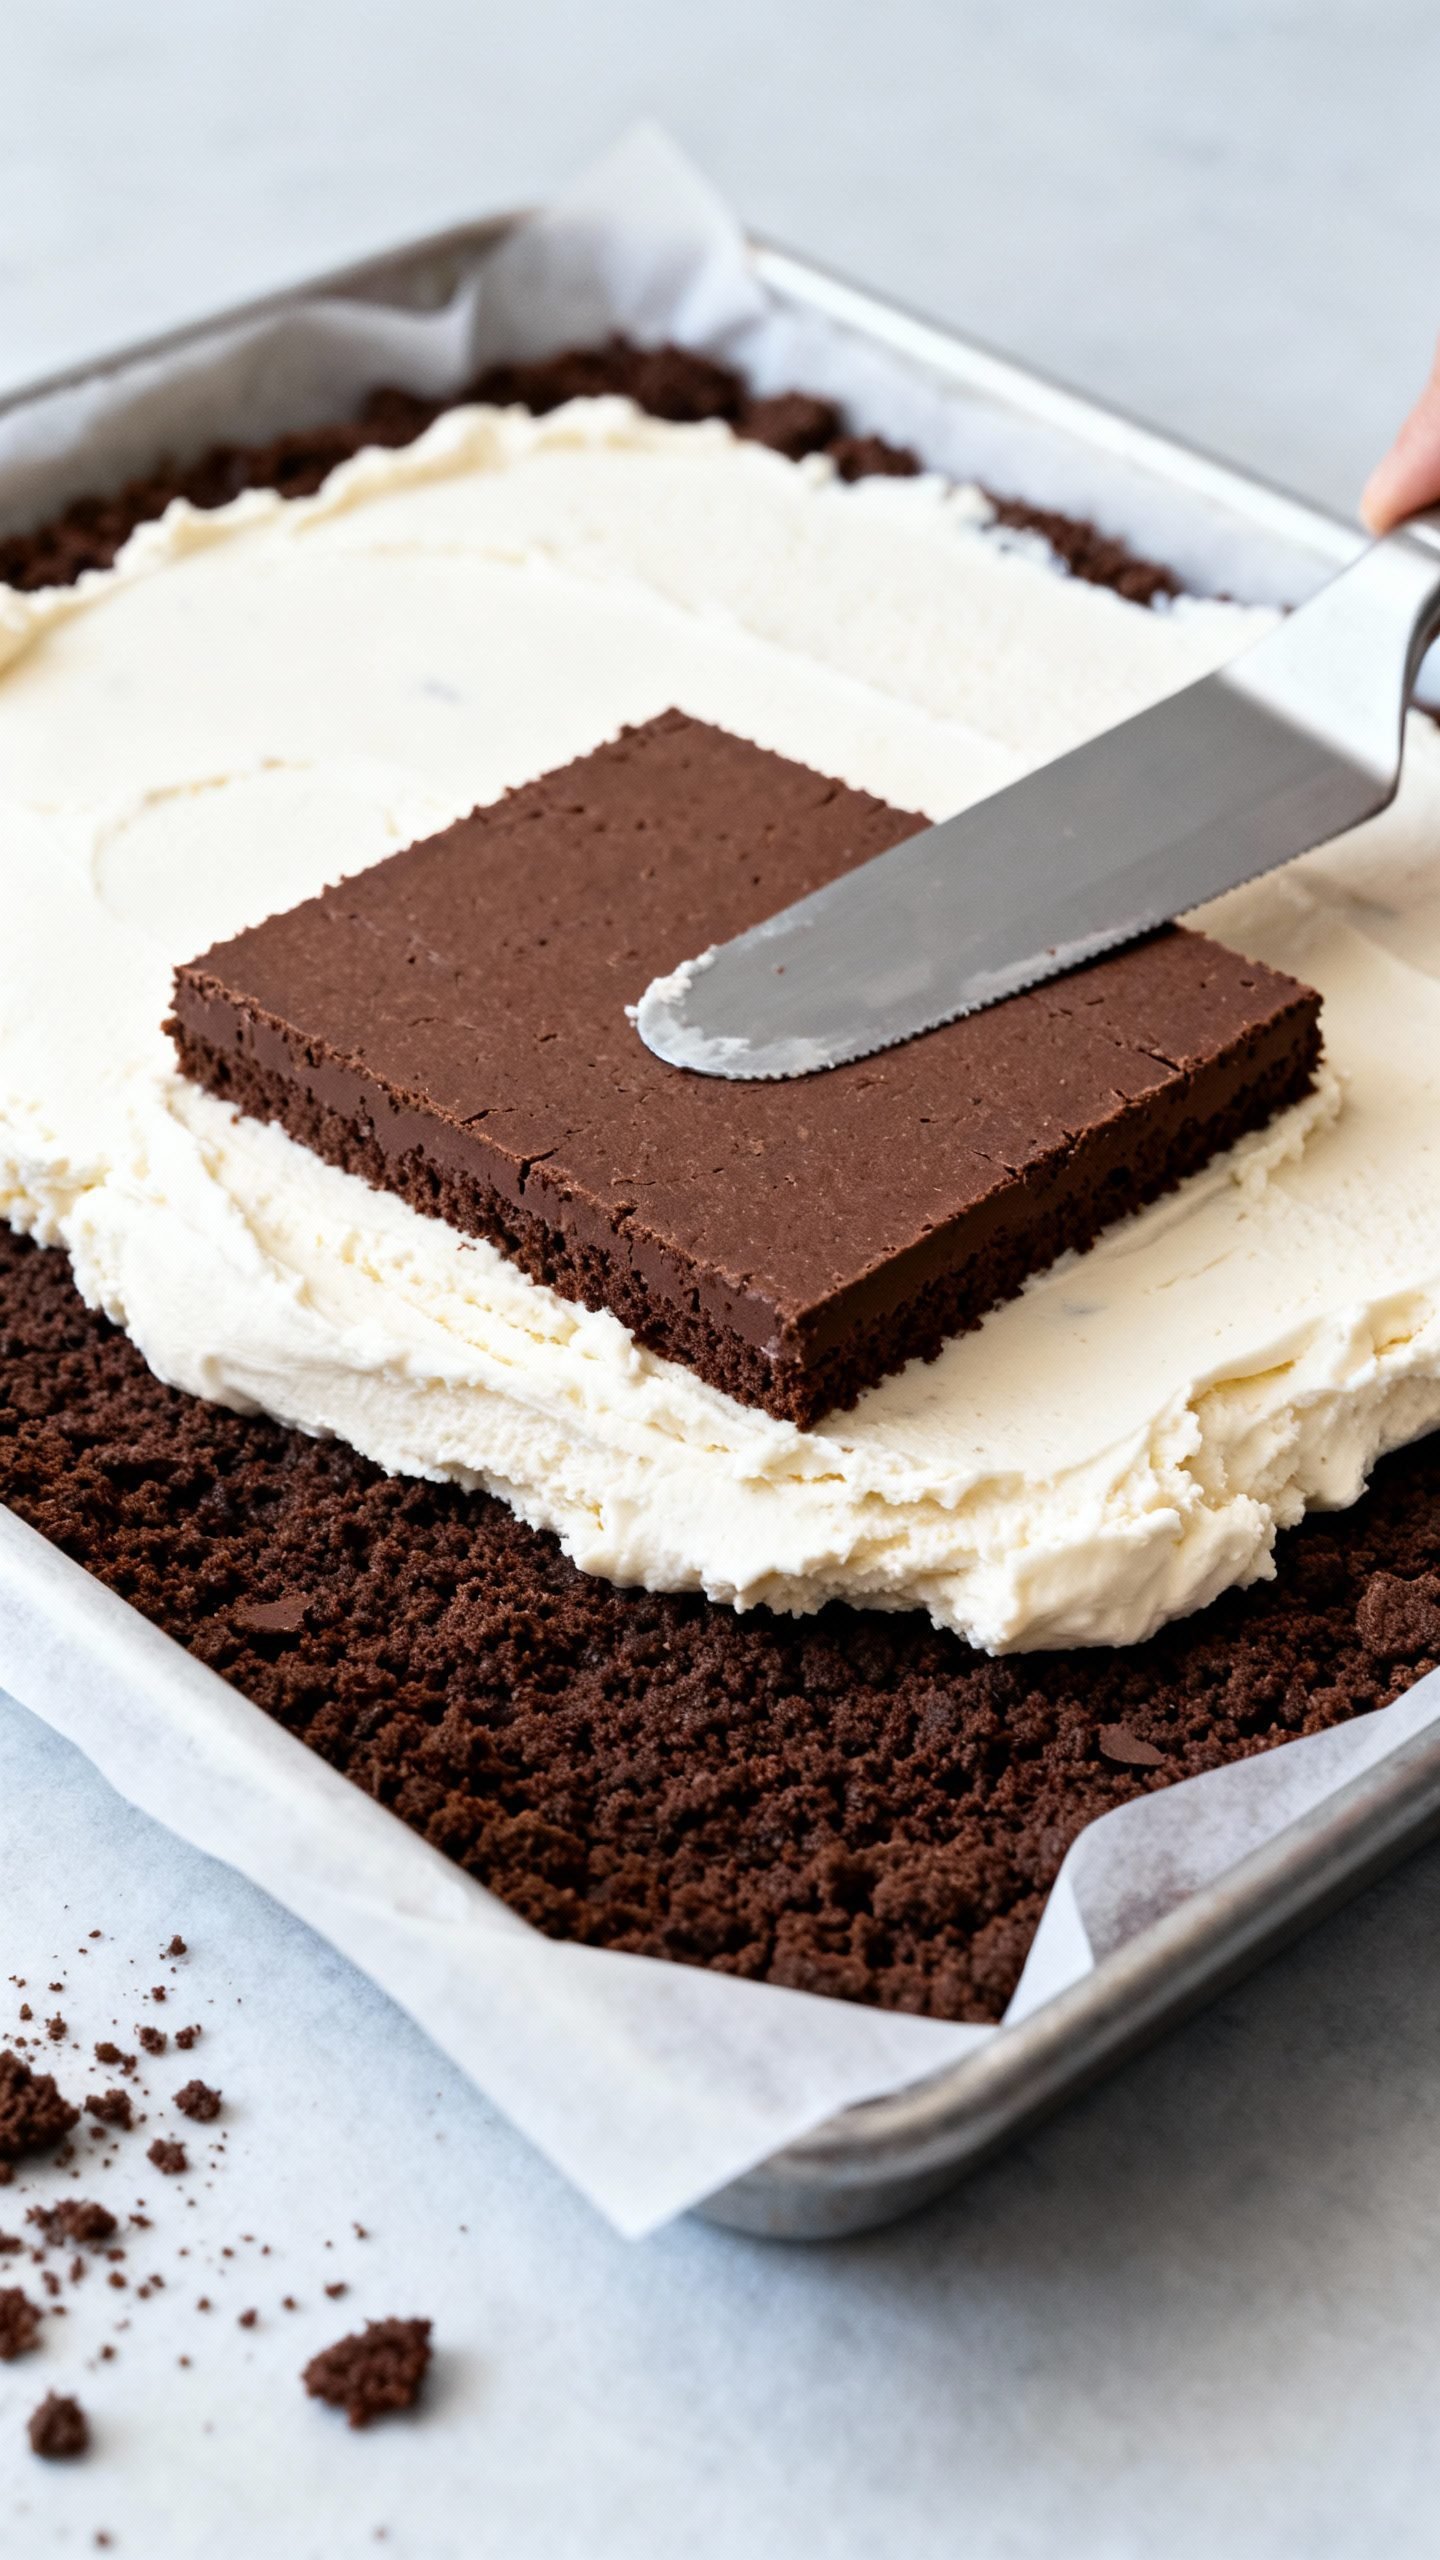
- Spread the ice cream over the chilled base in an even layer. Work quickly and smooth the top with an offset spatula.
Finish the Top Layer
- On a sheet of parchment, press the remaining crumb mixture into a rectangle roughly the size of the pan. Slide or flip it onto the ice cream layer. Patch any gaps with extra crumbs and press gently to adhere.
- Cover the pan tightly and freeze until solid, at least 6 hours, preferably overnight for clean cuts.
Slice and Serve
- Lift the slab out of the pan using the parchment overhang. Place it on a cutting board.
- Warm a sharp knife in hot water, wipe dry, and cut into 12–16 rectangles. Re-warm and wipe the knife between cuts for crisp edges.
- Optional: Dip the sides in mini chips or sprinkles, or drizzle with chocolate shell and freeze 10 minutes to set.
How to Store These Ice Cream Sandwiches
- Individually wrap each sandwich in parchment or wax paper, then place in a zip-top freezer bag or airtight container.
- Freeze up to 1 month for best texture and flavor.
- Temper before eating: let a sandwich sit at room temp 3–5 minutes so the layers soften slightly.
- Prevent freezer burn by pressing out air from bags and keeping the container toward the back of the freezer.
Benefits of Making Your Own Ice Cream Sandwiches
- Control the ingredients: pick high-quality ice cream, adjust sweetness, and skip preservatives.
- Budget-friendly: a big batch costs less than buying individually wrapped treats.
- Custom flavors: match the cookie layer to your ice cream and go wild with mix-ins.
- Make-ahead convenience: stash a box for parties, BBQs, or weeknight dessert cravings.
- Kid- and crowd-approved: build a topping bar and let everyone personalize.
What Not to Do
- Don’t use warm or melty ice cream: you’ll get uneven layers and icy texture after refreezing.
- Don’t skip pressing the crumb layers firmly: loose crumbs cause crumbling and messy cuts.
- Don’t rush the freeze time: slicing before it’s solid leads to smushed sandwiches.
- Don’t overload with mix-ins: 1 cup total keeps slices neat and biteable.
- Don’t store unwrapped: exposure to air creates frost and off flavors.
Variations You Can Try
Flavor Swaps
- Classic vanilla + chocolate wafer: timeless and always hits the spot.
- Mint chip + Oreo crumb: add peppermint extract (1/4 teaspoon) to the ice cream.
- Strawberry + vanilla wafer: swap chocolate wafers for vanilla wafers; add freeze-dried strawberry crumbs.
- Peanut butter + chocolate: swirl 1/3 cup warm peanut butter into chocolate ice cream.
- Coffee + dark chocolate: espresso ice cream with bittersweet chocolate shell drizzle.
Texture Tweaks
- Brownie-esque layer: add 2 tablespoons cocoa powder to the crumbs for deeper chocolate.
- Gluten-free: use gluten-free chocolate cookies; ensure mix-ins are GF.
- Dairy-free: pick creamy coconut or oat-based ice cream and vegan butter.
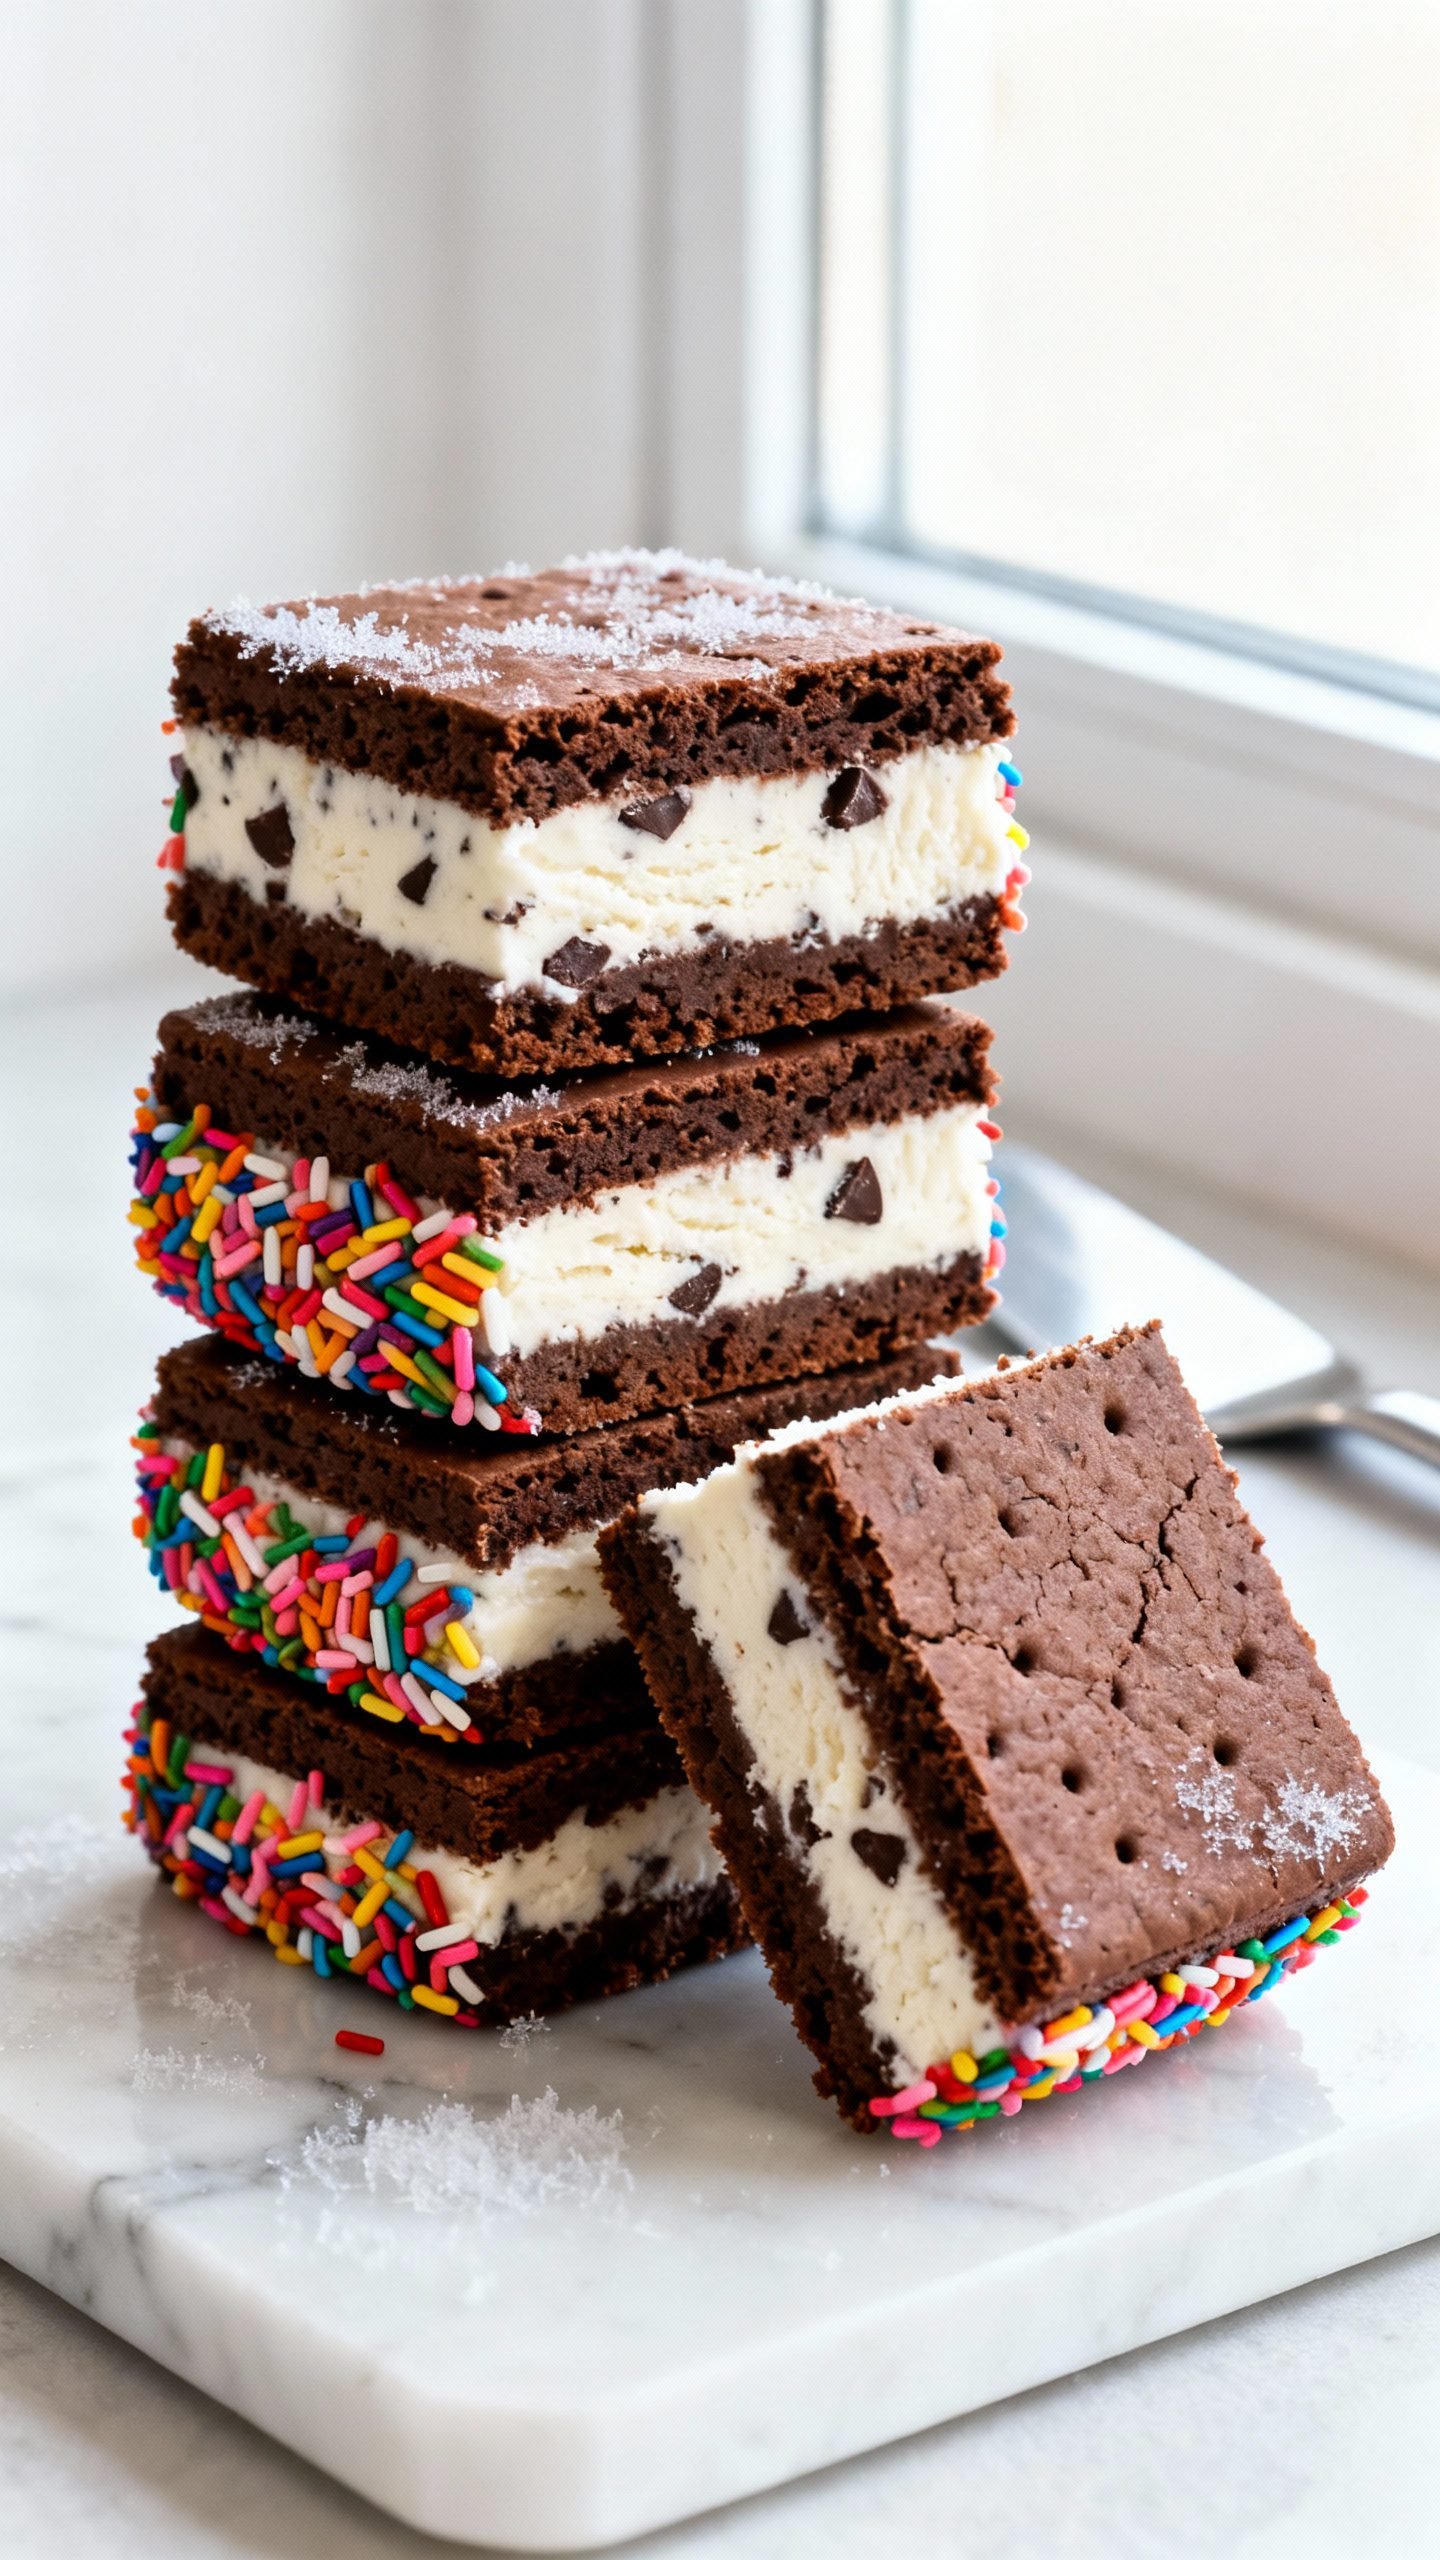
Fun Coatings
- Neapolitan edges: roll sides in a mix of mini chips, strawberry crisps, and vanilla cookie crumbs.
- Toasted coconut rim: adds crunch and tropical flavor.
- Half-dip in chocolate shell: creates a snappy finish that looks bakery-made.
FAQ
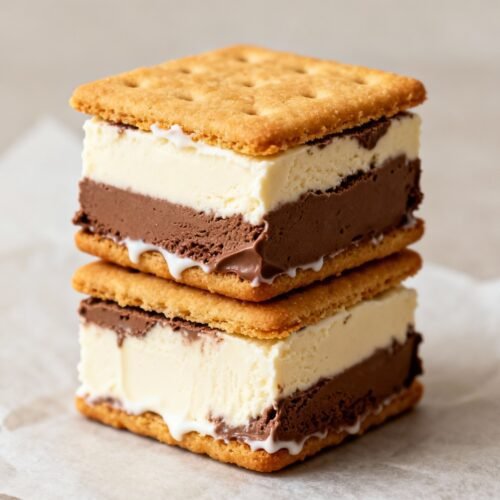
Can I use store-bought cookies instead?
Yes. Sandwich scoops of ice cream between soft cookies, press gently, and freeze. The crumb layer method just gives more uniform, tidy squares.
How do I keep the layers from cracking when slicing?
Freeze fully, use a hot knife, and cut with confident, single strokes. If the top layer seems too firm, let the slab sit 2 minutes before slicing.
What if I don’t have a 9×13 pan?
Use two 8×8 pans or a rimmed sheet pan; keep thickness even. Adjust the number of sandwiches accordingly.
Do I need corn syrup?
No, but a little syrup keeps the layer soft. Swap maple syrup or honey. If skipping entirely, add an extra tablespoon of butter and 1 more tablespoon milk.
How long can I freeze them?
They taste best within 1 month. After that, texture and flavor slowly decline.
Can I make different flavors in one batch?
Absolutely. Spread half the slab with one ice cream flavor and the other half with another. Mark the sections with different coatings.
Conclusion
These homemade ice cream sandwiches hit every summer craving: creamy, chewy, cold, and ridiculously satisfying. The no-bake layers stay tender, the slab cuts cleanly, and the flavors flex to whatever you love. Make a batch today, wrap them up tight, and treat yourself to a freezer full of small joys—all ready whenever the mood strikes.
Decadent Homemade Ice Cream Sandwiches | Easy No-Bake Frozen Treat
Ingredients
Ingredients
- 3 cups finely crushed chocolate wafer cookies or chocolate graham crackers
- 1/2 cup unsalted butter, melted
- 2 tablespoons light corn syrup or maple syrup
- Pinch of fine sea salt
- 1 teaspoon vanilla extract
- 2 to 3 tablespoons milk, as needed
- 1.5 quarts ice cream (vanilla, chocolate, or preferred flavor), slightly softened
- About 1 cup optional mix-ins (mini chocolate chips, crushed cookies, sprinkles, or chopped nuts)
- Optional coatings: mini chocolate chips, sprinkles, or toasted coconut
- Optional chocolate shell: 1 cup chocolate chips melted with 2 tablespoons coconut oil
Instructions
Instructions
- Line a 9x13-inch baking pan with parchment, leaving overhang on two sides.
- Let the ice cream sit at room temperature 10–15 minutes until scoopable but not melted.
- Crush the cookies into fine crumbs using a food processor or a rolling pin in a zip-top bag.
- Stir together the crumbs, melted butter, corn syrup or maple syrup, salt, and vanilla.
- Add milk 1 tablespoon at a time until the mixture feels like damp sand that clumps when pressed.
- Divide the crumb mixture in half.
- Press one half firmly and evenly into the lined pan to form the bottom layer.
- Freeze the pan for 10–15 minutes to set the base.
- Fold optional mix-ins into the softened ice cream, keeping it thick and cold.
- Spread the ice cream evenly over the chilled base and smooth the top.
- On a sheet of parchment, press the remaining crumb mixture into a rectangle roughly the size of the pan.
- Transfer or flip the top layer onto the ice cream, patching gaps and pressing gently to adhere.
- Cover tightly and freeze until solid, at least 6 hours or preferably overnight.
- Lift the slab out using the parchment overhang and place it on a cutting board.
- Warm a sharp knife in hot water, wipe dry, and cut into 12–16 rectangles, rewarming and wiping between cuts.
- Optionally dip the sides in coatings or drizzle with chocolate shell and freeze 10 minutes to set.


