Light Chocolate Sponge Cake | Soft and Airy Chocolate Cake
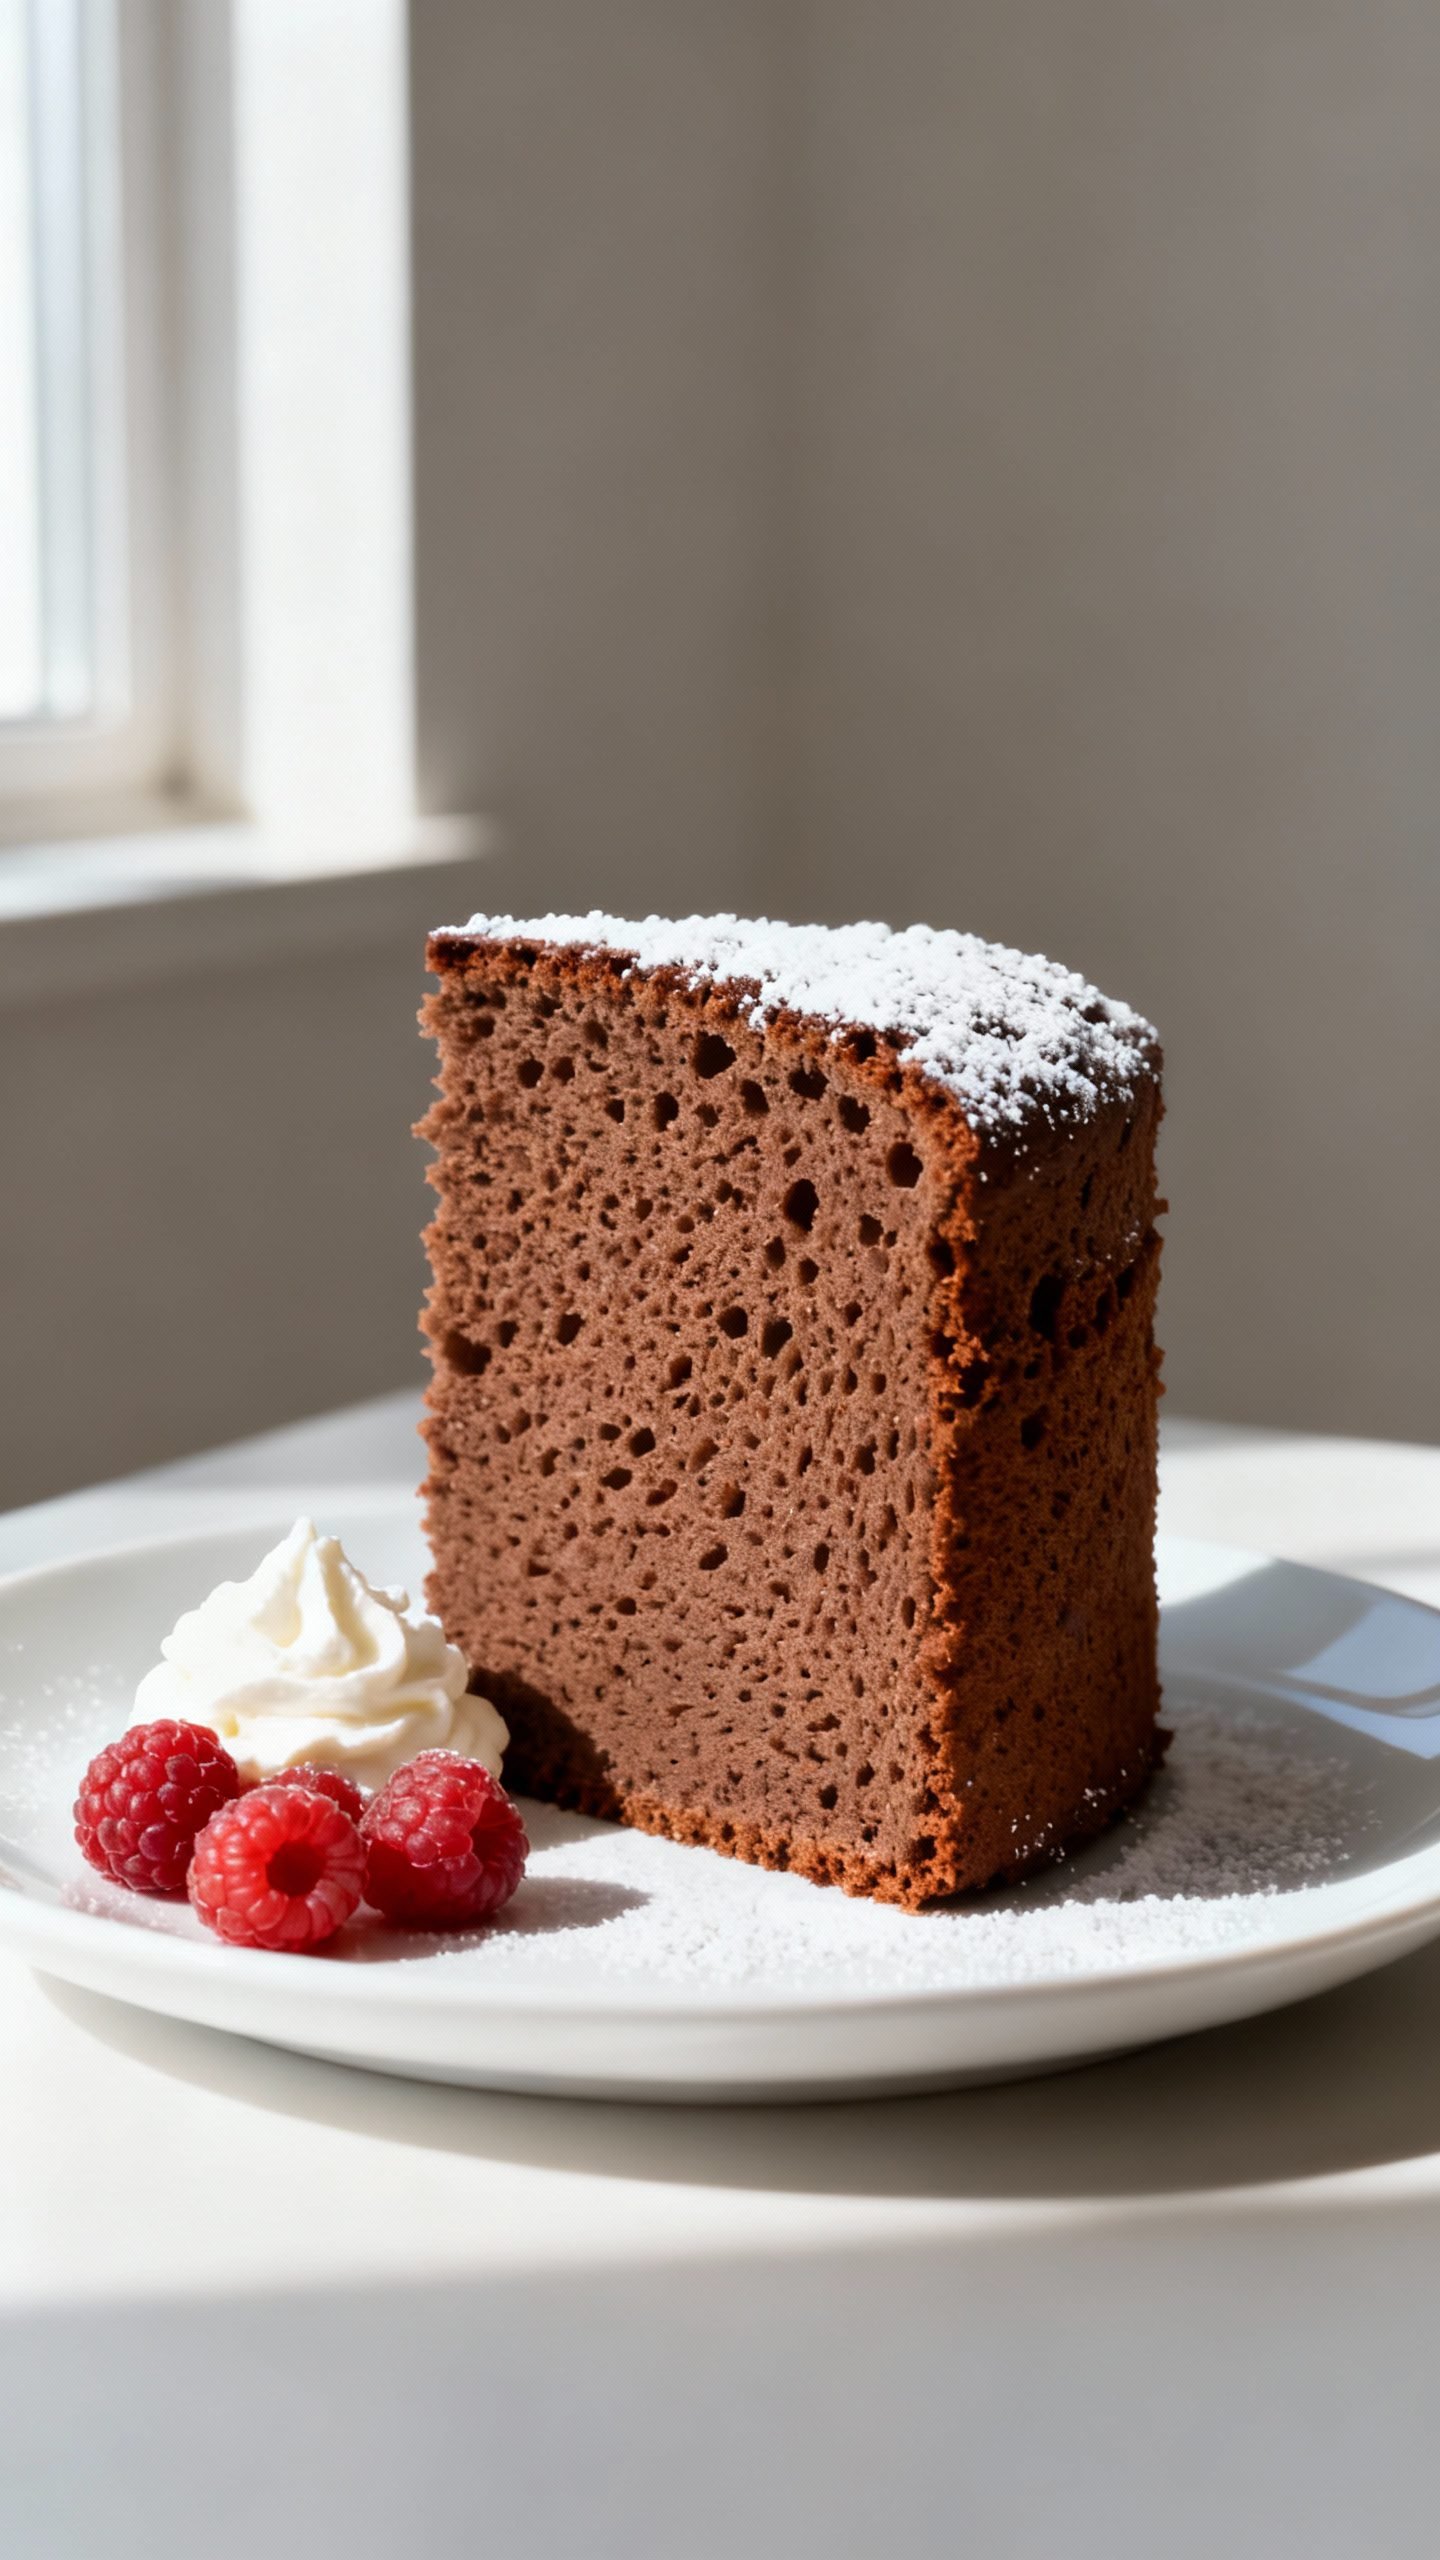
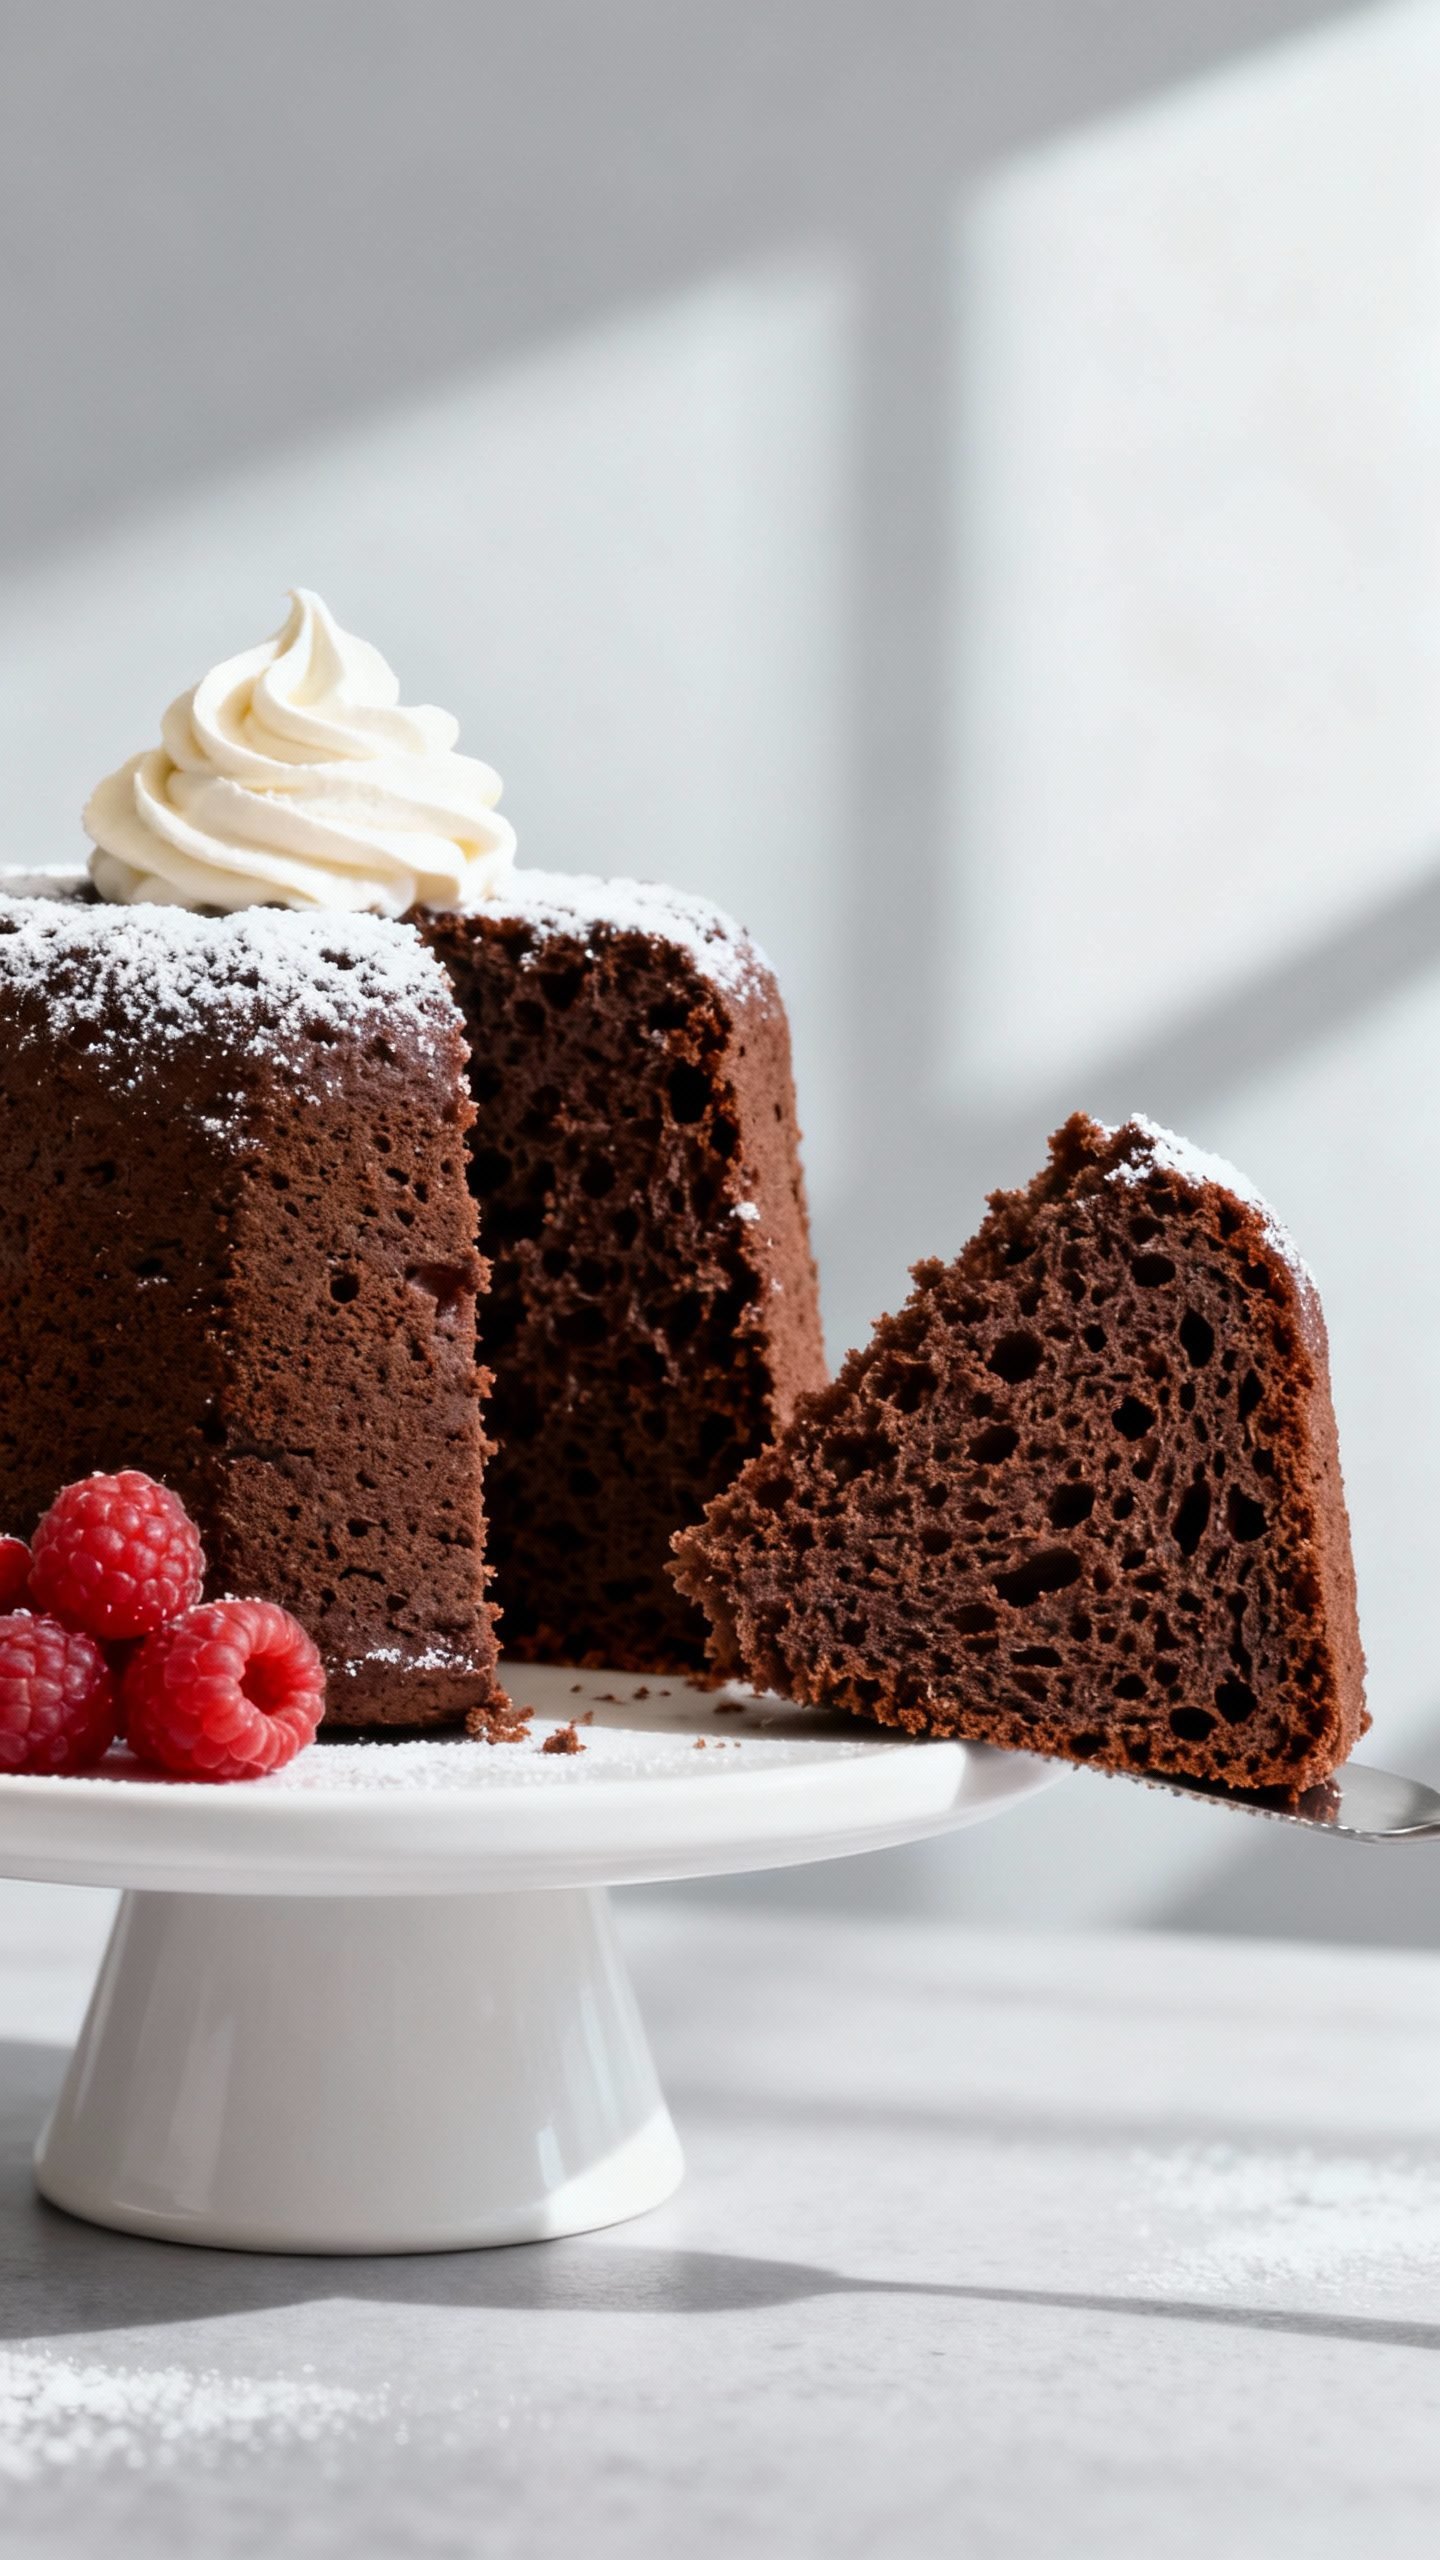
Meet your new go-to dessert: a light chocolate sponge cake that tastes rich yet feels feather-soft. It rises tall, stays moist, and slices like a dream. You get deep cocoa flavor without heaviness, and it pairs beautifully with whipped cream or fresh berries for an easy, elegant finish.
I’ll walk you through the steps that matter—whipping eggs correctly, folding with confidence, and baking for perfect lift. If you love classic, airy cakes with clean chocolate flavor and a tender crumb, this one belongs in your recipe box.
Why This Light Chocolate Sponge Cake Turns Out So Airy
This cake relies on technique more than fat. You build structure with eggs and a gentle hand, so the crumb stays open and delicate.
- Whipped eggs equal lift: Beating whole eggs with sugar traps air that becomes the cake’s rise.
- Cornstarch keeps the crumb soft: A small swap lightens the flour blend and prevents density.
- Bloomed cocoa for flavor: Mixing cocoa with hot water deepens chocolate notes without weighing the batter down.
- Oil adds moisture, not heft: A bit of neutral oil keeps slices tender for days.
- Gentle folding protects air pockets: The batter stays fluffy when you avoid overmixing.
Ingredients
Use room-temperature ingredients for best volume and a smooth, lump-free batter.
- 4 large eggs (room temperature)
- 3/4 cup (150 g) granulated sugar
- 3/4 cup (90 g) cake flour (or 3/4 cup all-purpose flour minus 1 tablespoon, then add 1 tablespoon cornstarch)
- 2 tablespoons (16 g) cornstarch (omit if using true cake flour and you already subbed with cornstarch)
- 1/3 cup (28 g) unsweetened cocoa powder (natural or Dutch-processed)
- 1/3 cup (80 ml) hot water (just off the boil)
- 2 tablespoons (30 ml) neutral oil (canola, grapeseed, or light olive oil)
- 1 teaspoon vanilla extract
- 1/2 teaspoon fine sea salt
- 1 teaspoon baking powder
Optional finishes:
- Lightly sweetened whipped cream
- Fresh berries or shaved chocolate
- Dusting of cocoa powder or powdered sugar
How to Make a Soft and Airy Chocolate Sponge Cake
Tools You’ll Need
- 8-inch (20 cm) round cake pan (at least 2 inches tall)
- Stand mixer or hand mixer
- Fine-mesh sieve, rubber spatula, parchment paper
Prep the Pan and Oven
- Preheat the oven to 350°F (175°C).
- Line the bottom of an 8-inch round pan with parchment. Do not grease the sides; the batter needs traction to climb and rise.
Bloom the Cocoa
- In a small bowl, whisk cocoa with hot water until smooth and glossy. Stir in the vanilla and oil. Set aside to cool slightly.
Whip the Eggs and Sugar
- Add eggs, sugar, and salt to a large bowl. Beat on medium-high for 6–8 minutes until the mixture triples in volume, looks pale, and forms thick ribbons that sit on the surface for a few seconds before melting back in.
- If the bowl feels cool or the eggs looked chilled, go the full time to build structure.
Combine Dry Ingredients
- In a separate bowl, sift together flour, cornstarch, and baking powder. Sift twice for extra lightness.
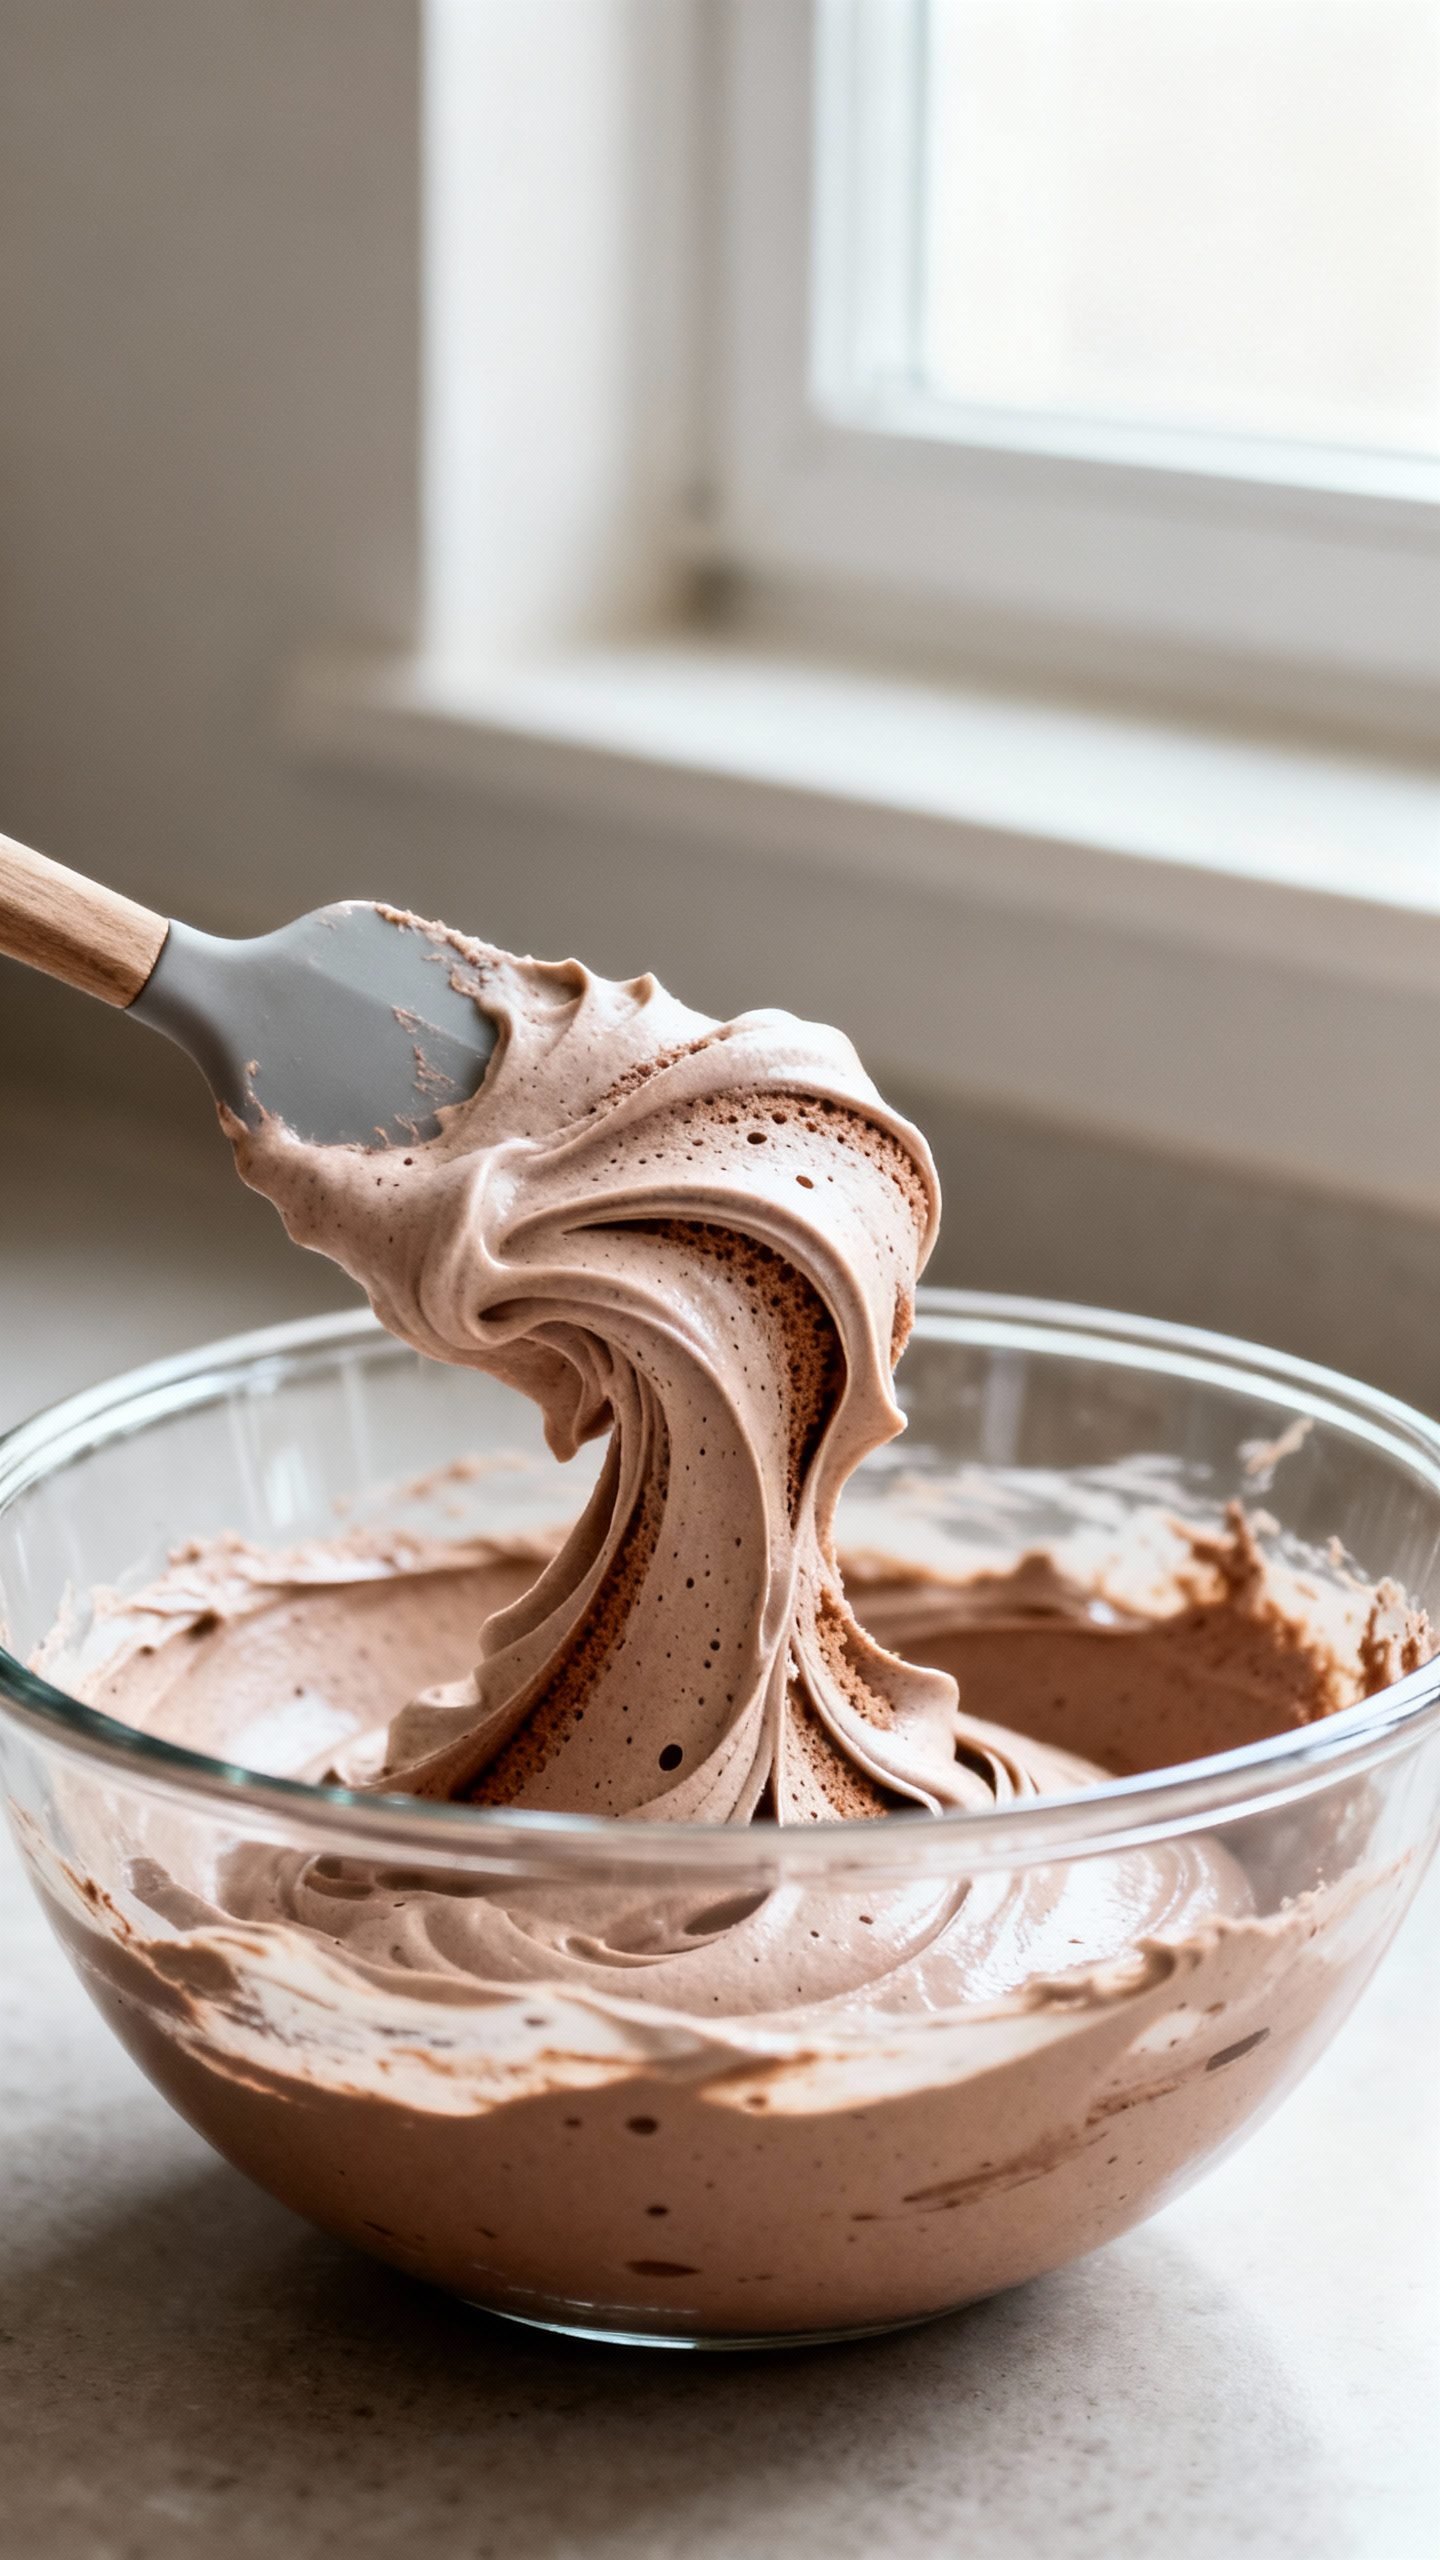
Fold the Batter
- Stream the cocoa mixture around the edges of the whipped eggs. Fold gently with a spatula 6–8 turns.
- Sift in the dry ingredients in 2 additions, folding with broad, gentle strokes from the bottom up. Rotate the bowl as you fold.
- Stop folding when no dry streaks remain. Overmixing deflates the batter and leads to a flat cake.
Bake
- Pour the batter into the prepared pan. Tap once on the counter to release large bubbles, but don’t overdo it.
- Bake for 22–28 minutes, until the top springs back and a skewer comes out with a few moist crumbs. Avoid opening the oven for the first 18 minutes.
Cool and Release
- Remove from the oven and run a thin knife around the edge to loosen just the top rim if it clings. Cool in the pan for 5 minutes.
- Invert onto a rack, peel off parchment, then turn upright to finish cooling. Let it reach room temperature before slicing or frosting.
Serving Ideas
- Keep it simple: Dust with cocoa or powdered sugar.
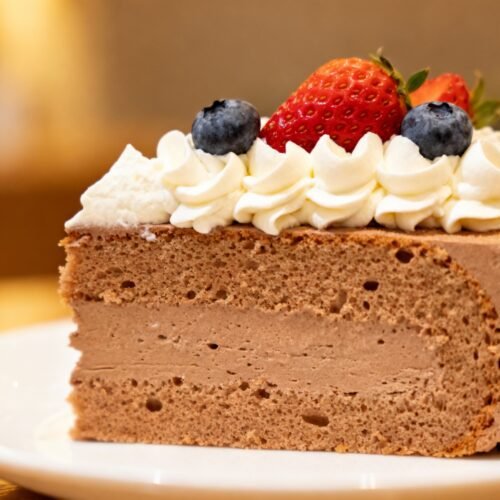
- Dress it up: Layer with lightly sweetened whipped cream and berries.
- Go classic: Brush layers with coffee syrup, then fill with chocolate whipped cream.
How to Store Your Chocolate Sponge
- Room temperature (1–2 days): Wrap tightly in plastic or store in a cake keeper. Keep away from heat and sunlight.
- Refrigerator (3–4 days): Chill if filled with cream or fresh fruit. Bring to room temp before serving for best texture.
- Freezer (up to 2 months): Wrap the cooled cake (whole or layers) in plastic, then foil. Thaw wrapped at room temperature to prevent condensation.
Benefits of This Light Chocolate Cake
- Feather-soft texture: Whipped eggs deliver height and a delicate crumb.
- Balanced chocolate flavor: Bloomed cocoa gives clean, deep notes without extra fat.
- Versatile base: Use it for layer cakes, trifles, or a simple snack cake.
- Make-ahead friendly: It freezes beautifully and stays moist.
- Lighter feel: Less butter than typical cakes, so it tastes airy rather than heavy.
What Not to Do
- Don’t skip room temperature eggs: Cold eggs whip poorly and limit rise.
- Don’t rush the whipping stage: Under-whipped eggs mean a dense cake.
- Don’t overfold: Vigorous mixing knocks out the air you just built.
- Don’t grease the pan sides: The batter needs the walls to climb for height.
- Don’t open the oven early: Sudden temperature changes cause collapse.
- Don’t measure by eye: Use grams when possible for accuracy.
Variations You Can Try
- Mocha sponge: Replace half the hot water with strong espresso and add a pinch of instant coffee to the cocoa.
- Orange-chocolate: Add 1 tablespoon orange zest and swap vanilla for 1 teaspoon orange extract.
- Almond twist: Use almond extract instead of vanilla and sprinkle toasted sliced almonds over whipped cream filling.
- Black forest style: Brush layers with cherry syrup and fill with whipped cream and cherries.
- Gluten-light option: Use a high-quality 1:1 gluten-free baking flour and sift well; handle even more gently.
- Sheet cake version: Bake in an 8×8-inch pan for 18–22 minutes; watch for springy top and moist crumbs.
FAQ
Why did my sponge sink?
Overmixing, underbaking, or opening the oven early causes collapse. Whip the eggs fully, fold gently, and bake until the center springs back.
Can I use butter instead of oil?
Yes, but oil keeps the crumb softer for longer. If you prefer butter flavor, melt 2 tablespoons and cool slightly before mixing into the cocoa slurry.
Do I need cake flour?
No. All-purpose flour plus cornstarch mimics cake flour and keeps the texture light.
Which cocoa works best?
Dutch-processed cocoa gives deeper flavor and color. Natural cocoa tastes a bit brighter. Both work well here.
How do I scale for two layers?
Double the recipe and divide between two 8-inch pans. Bake 18–24 minutes. Level the tops after cooling if needed.
Can I add chocolate chips?
You can, but chips weigh down the batter. If you want extra richness, serve with chocolate ganache or a thin glaze instead.
Why no milk?
Liquid milk can tighten the crumb in sponge cakes. Hot water blooms cocoa without adding heaviness.
Conclusion
You don’t need fancy tricks to bake a tall, tender chocolate sponge—just well-whipped eggs, a balanced cocoa mix, and light hands. Keep those steps in mind, and you’ll pull a soft, airy cake from the oven every time. Dress it simply with whipped cream and berries, or layer it into something dramatic. Either way, this chocolate sponge brings big flavor with an effortless feel—exactly what a weeknight treat or celebration dessert should be.
Light Chocolate Sponge Cake | Soft and Airy Chocolate Cake
Ingredients
Ingredients
Instructions
Instructions
- 8-inch (20 cm) round cake pan (at least 2 inches tall)
- Stand mixer or hand mixer
- Fine-mesh sieve, rubber spatula, parchment paper
- Preheat the oven to 350°F (175°C).
- Line the bottom of an 8-inch round pan with parchment. Do not grease the sides; the batter needs traction to climb and rise.
- In a small bowl, whisk cocoa with hot water until smooth and glossy. Stir in the vanilla and oil. Set aside to cool slightly.
- Add eggs, sugar, and salt to a large bowl. Beat on medium-high for 6–8 minutes until the mixture triples in volume, looks pale, and forms thick ribbons that sit on the surface for a few seconds before melting back in.
- If the bowl feels cool or the eggs looked chilled, go the full time to build structure.
- In a separate bowl, sift together flour, cornstarch, and baking powder. Sift twice for extra lightness.
- Stream the cocoa mixture around the edges of the whipped eggs. Fold gently with a spatula 6–8 turns.
- Sift in the dry ingredients in 2 additions, folding with broad, gentle strokes from the bottom up. Rotate the bowl as you fold.
- Stop folding when no dry streaks remain. Overmixing deflates the batter and leads to a flat cake.
- Pour the batter into the prepared pan. Tap once on the counter to release large bubbles, but don’t overdo it.
- Bake for 22–28 minutes, until the top springs back and a skewer comes out with a few moist crumbs. Avoid opening the oven for the first 18 minutes.
- Remove from the oven and run a thin knife around the edge to loosen just the top rim if it clings. Cool in the pan for 5 minutes.
- Invert onto a rack, peel off parchment, then turn upright to finish cooling. Let it reach room temperature before slicing or frosting.
- Keep it simple: Dust with cocoa or powdered sugar.
- Dress it up: Layer with lightly sweetened whipped cream and berries.
- Go classic: Brush layers with coffee syrup, then fill with chocolate whipped cream.