Classic Nutty Buddy Ice Cream Treat
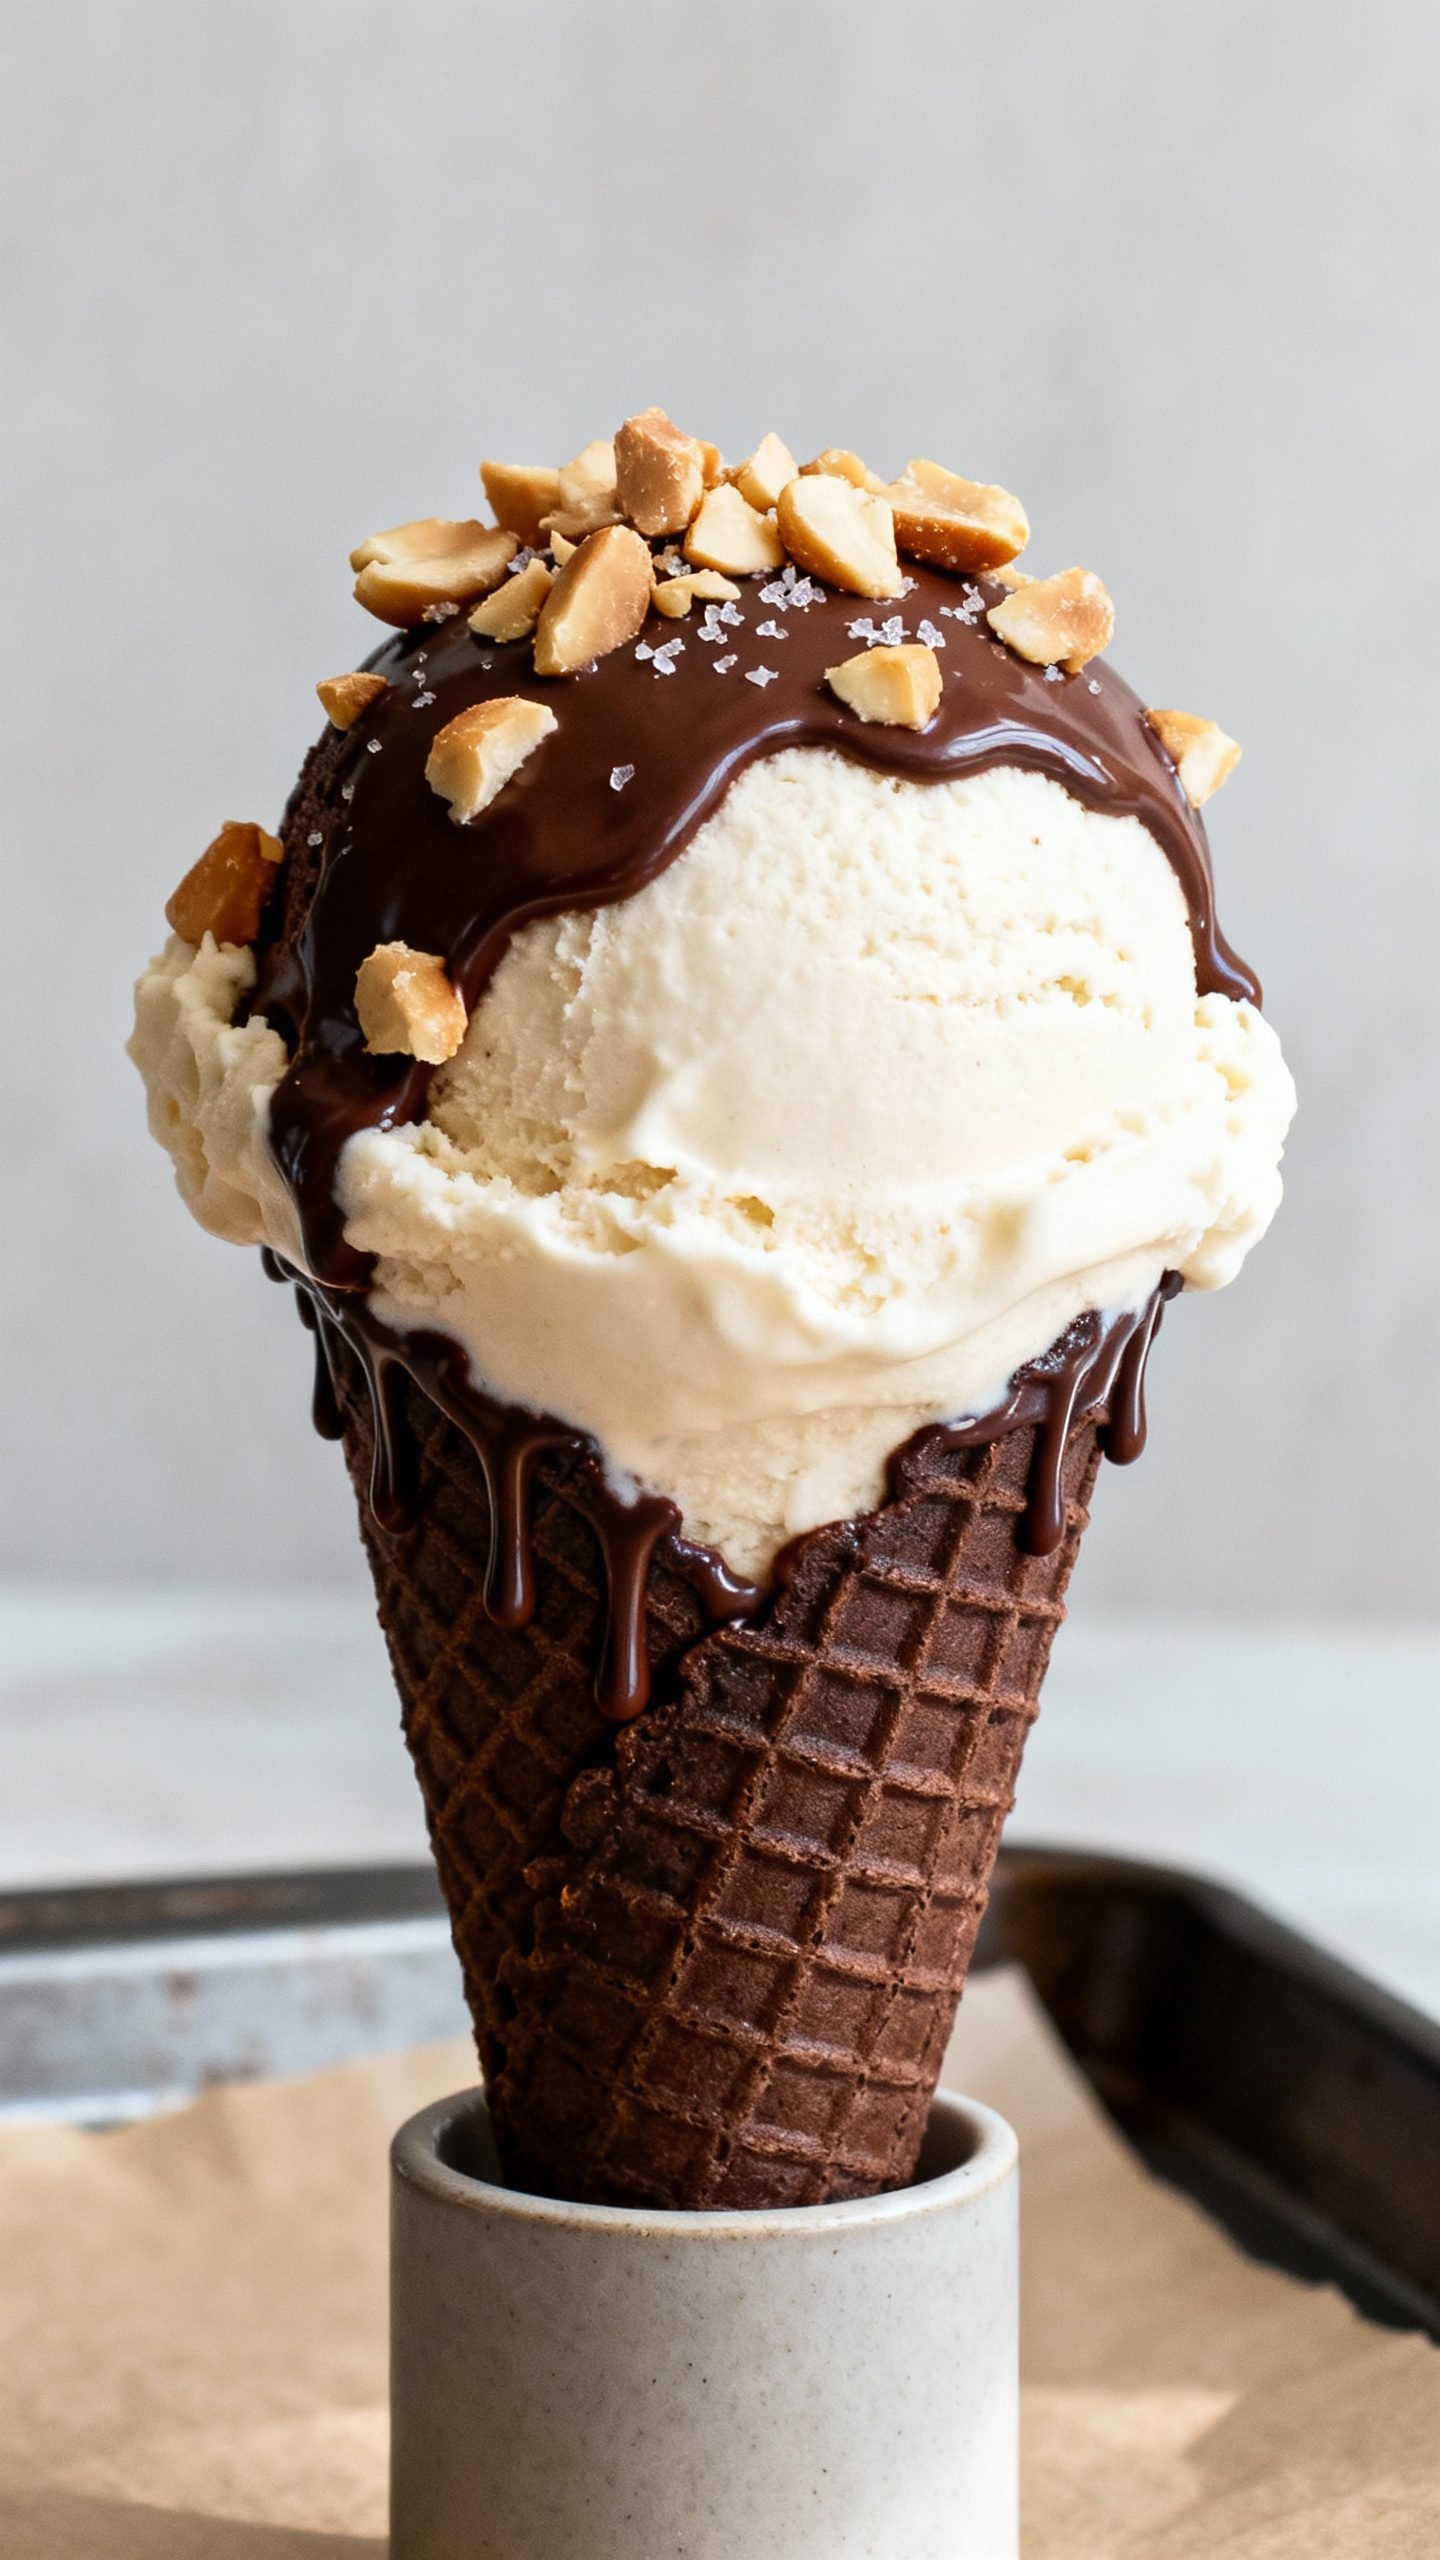
Think ice cream truck nostalgia, but made in your kitchen. This Classic Nutty Buddy Ice Cream Treat has it all: crisp waffle cones, creamy vanilla ice cream, crunchy peanuts, and a firm chocolate shell that shatters just enough with each bite. It tastes like summer break, no matter the month.
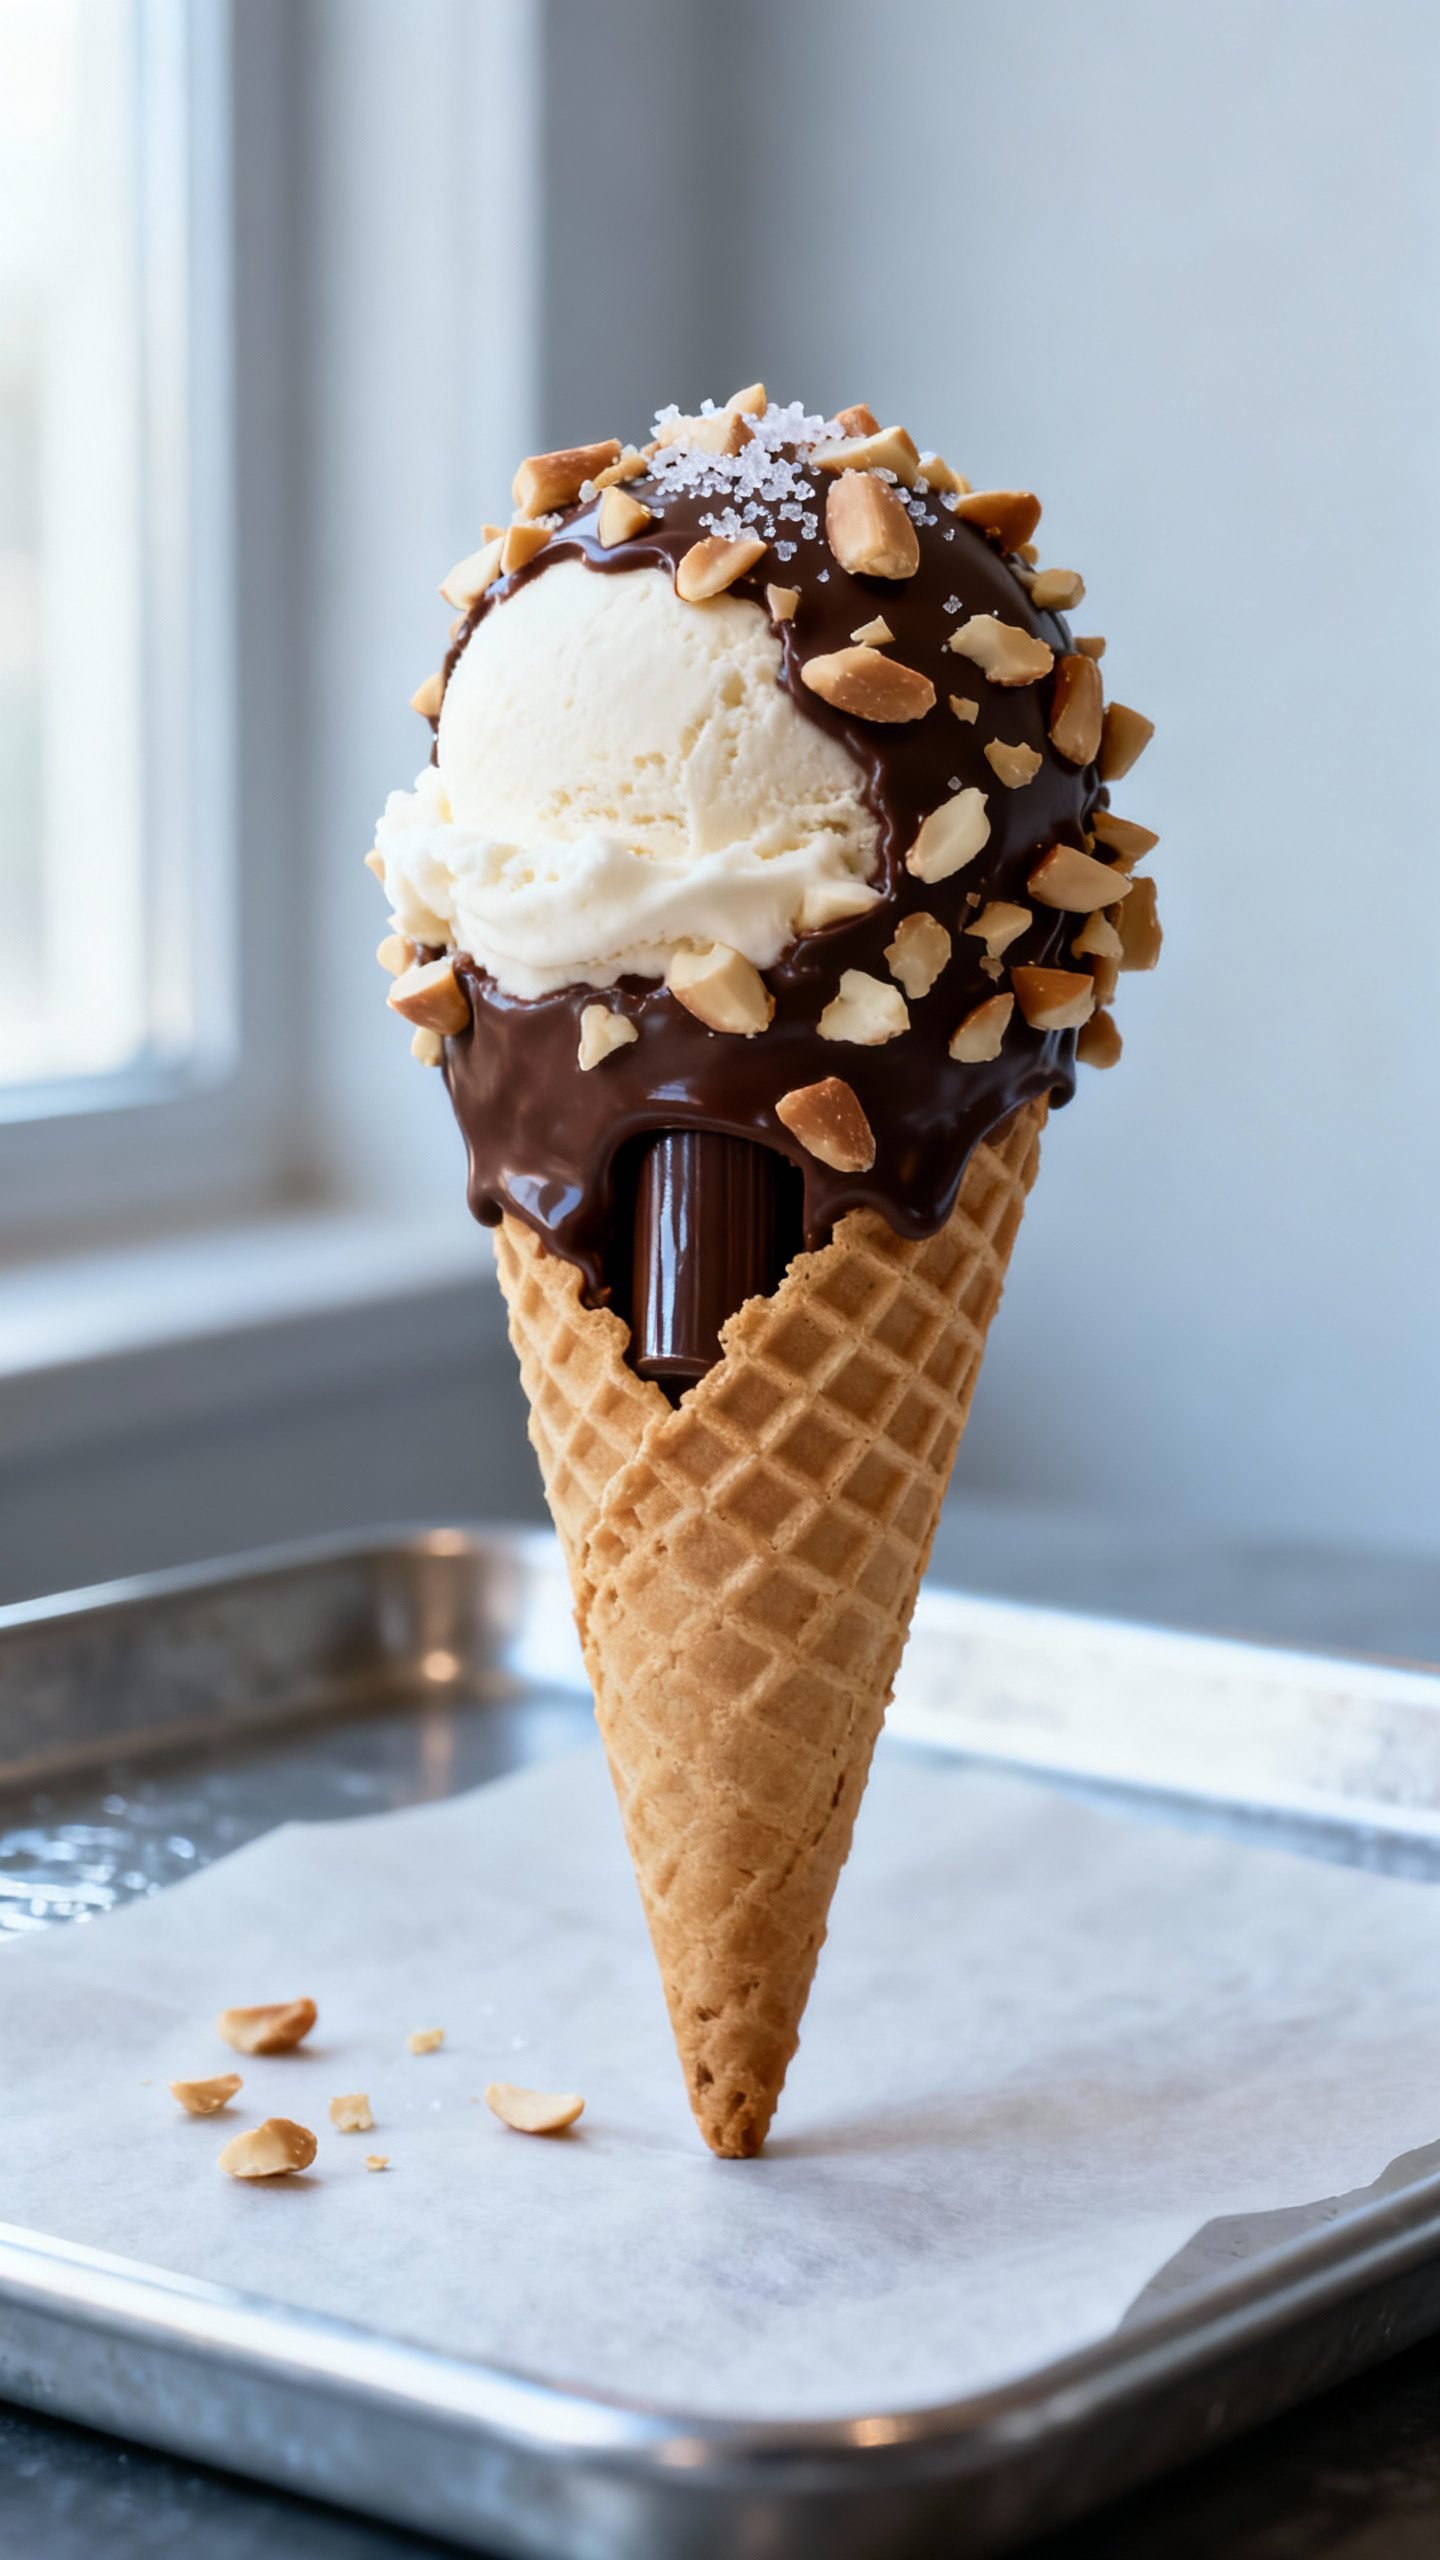
I’ll show you how to get that signature chocolate plug in the bottom of the cone, the neat layers of chocolate and nuts, and the perfect ice cream scoop that doesn’t melt everywhere. You’ll need simple ingredients, a little patience, and a freezer. Let’s build the best Nutty Buddy you’ve ever had.
Why This Nutty Buddy Recipe Works
- Texture on point: Crisp cone, creamy ice cream, crunchy nuts, and a snappy shell hit every craving.
- Smart layering: A chocolate seal in the cone keeps ice cream from leaking and preserves crunch.
- Freezer-first method: Quick chills between steps lock each layer so everything holds together.
- Balanced sweetness: Bittersweet chocolate and salted peanuts keep the treat from tasting cloying.
- Make-ahead friendly: Prep a batch, stash in the freezer, and pull one out whenever the mood strikes.
Ingredients
For the cones
- 8 waffle cones (sturdy, not the super-thin kind)
- 1 1/2 cups vanilla ice cream (slightly softened, high-quality for best flavor)
For the chocolate layers
- 10 ounces chocolate (semisweet or bittersweet, chopped; or use good-quality chips)
- 2 tablespoons refined coconut oil (for a firm, glossy shell)
For the crunchy finish
- 3/4 cup roasted peanuts (salted, roughly chopped)
- Pinch flaky sea salt (optional, for contrast)
Helpful tools
- Small heatproof bowl + saucepan (for melting chocolate)
- Small spoon or piping bag (for the cone plug)
- Sheet pan + parchment
- Ice cream scoop (1.5-ounce size works great)
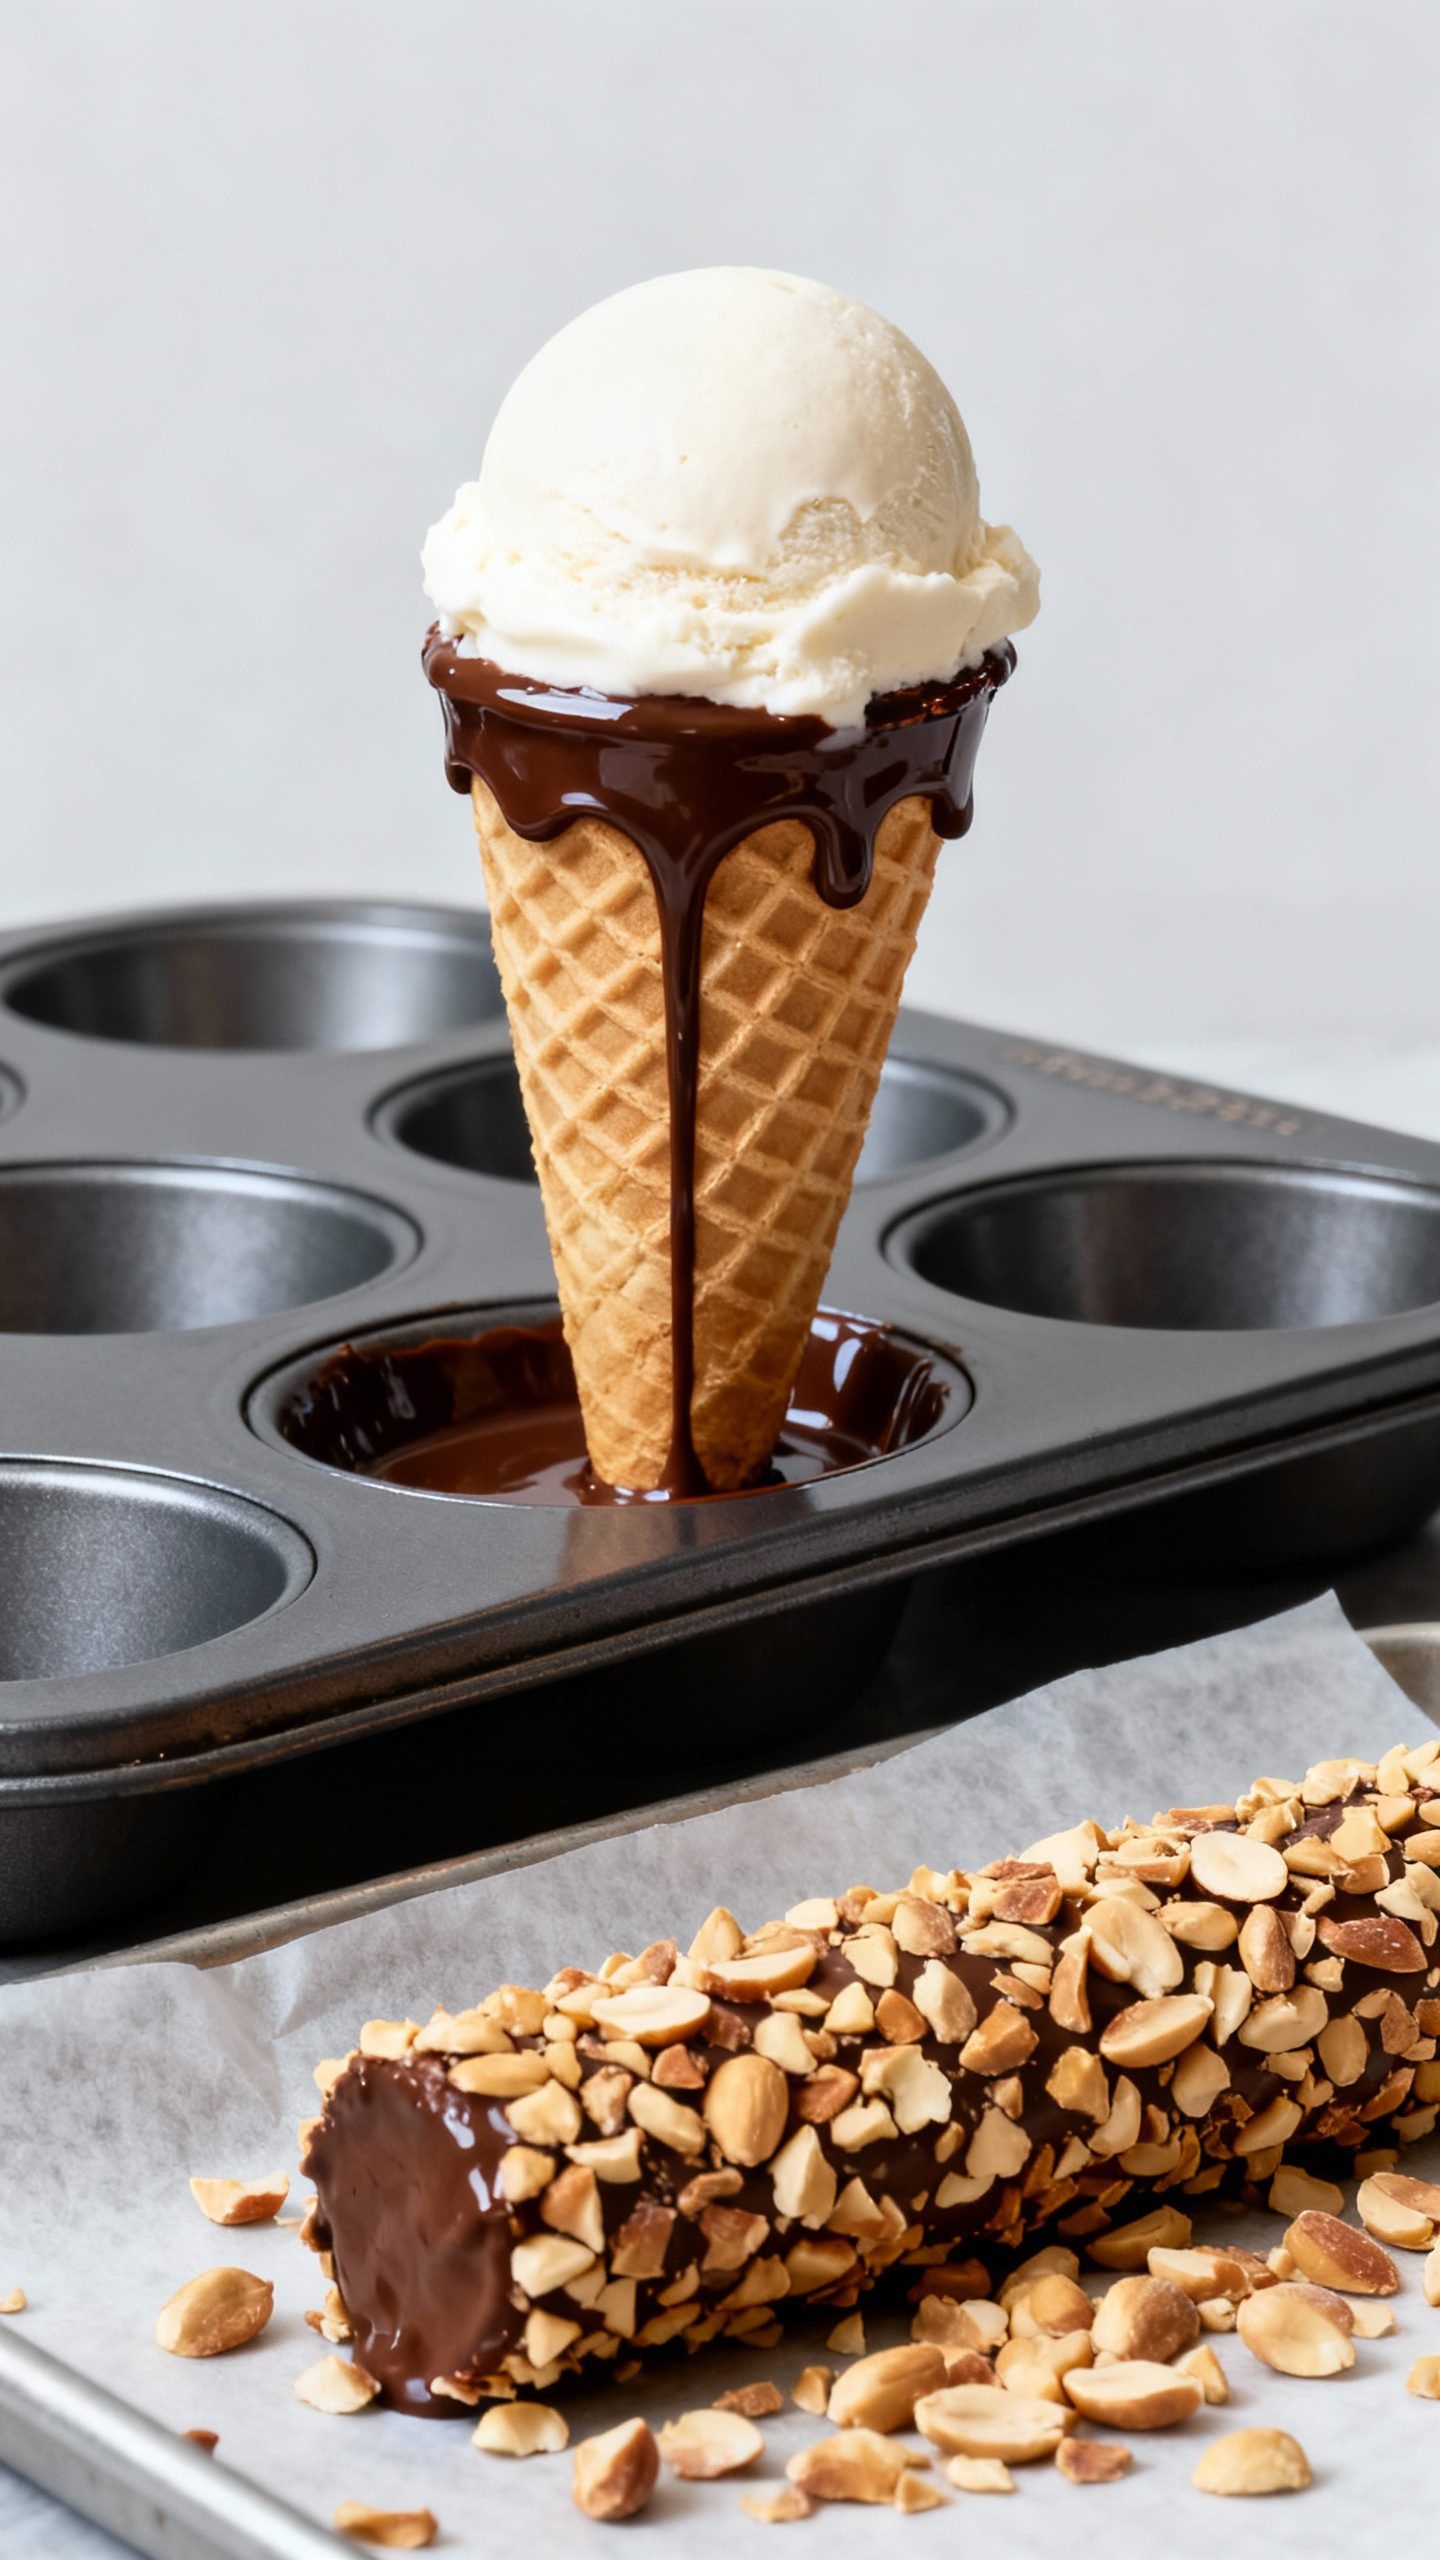
- Cup stand (a muffin tin or a few glasses to hold cones upright)
How to Make Classic Nutty Buddy Ice Cream Treats
1) Melt the chocolate
- Combine chocolate and coconut oil in a heatproof bowl.
- Set over barely simmering water; stir until smooth and glossy.
- Keep warm on the counter. The chocolate should flow but not feel hot.
2) Seal the cone bottoms
- Prop cones upright in a muffin tin or glasses.
- Spoon 1–2 teaspoons melted chocolate into each cone tip, swirling to coat the bottom 1 inch.
- Chill 5–7 minutes until the chocolate sets. This plug stops drips and keeps the cone crisp.
3) Add a chocolate liner (optional but awesome)
- Spoon another 1–2 teaspoons chocolate into each cone and rotate to coat the lower third inside.
- Tip out excess chocolate back into the bowl.
- Freeze 5 minutes. This barrier keeps the cone from softening over time.
4) Scoop and shape the ice cream
- Let the ice cream sit at room temp for 5–8 minutes until scoopable but not melty.
- Pack a small amount into the cone top to anchor the scoop.
- Form a rounded scoop on top, creating a dome that sits slightly wider than the cone rim.
- Freeze 15 minutes to firm the scoop. Firm scoops dip cleaner and hold the shell better.
5) Dip and coat with peanuts
- Stir the chocolate; if thick, warm it briefly so it flows smoothly.
- Dip each cone upside down so the scoop submerges up to the rim. Let excess drip off.
- Immediately sprinkle or roll the top in chopped peanuts. Work quickly so the chocolate doesn’t set before the nuts stick.
- Set cones on a parchment-lined sheet and freeze 10 minutes to set the shell.
6) Finish and store
- Dust the nutty top with a tiny pinch of flaky salt if you like contrast.
- Wrap each cone tightly in parchment or plastic, then place in a zip-top freezer bag or container.
- Freeze at least 1 hour for the classic, crisp-snap experience.
How to Store Nutty Buddy Cones
- Wrap individually: Keep air out to protect crunch and prevent freezer odors.
- Freeze flat: Lay wrapped cones on a sheet until solid, then stack gently.
- Best by: Enjoy within 2–3 weeks for peak cone crispness.
- Do not refrigerate: The shell turns dull and the cone softens; freeze only.
Benefits of Making Your Own Nutty Buddy
- Control the ingredients: Choose better chocolate, creamier ice cream, and high-quality peanuts.
- Custom textures: Extra-thick shell? More nuts? Double chocolate liner? You decide.
- Cost-effective: A batch at home beats the ice cream truck price-wise.
- Allergy-friendly options: Swap peanuts for almonds, hazelnuts, or a nut-free crunch.
- Always on hand: Keep a stash for last-minute desserts or hot afternoons.
What Not to Do
- Don’t skip the cone plug: Without it, the cone can leak and turn soggy.
- Don’t dip warm ice cream: Warm scoops slide off and make a mess. Chill them first.
- Don’t use watery toppings: Avoid sauces that freeze icy or soften the shell.
- Don’t overheat the chocolate: Scorched chocolate thickens and won’t coat smoothly.
- Don’t store unwrapped: Exposed cones absorb moisture and freezer smells.
Variations You Can Try
- Double chocolate: Use chocolate ice cream and add mini chocolate chips under the shell.
- Peanut butter swirl: Spread a thin layer of peanut butter inside the cone before scooping.
- Salted caramel: Drizzle caramel inside the cone and over the scoop, then dip.
- Nut swap: Try toasted almonds, hazelnuts, pistachios, or a mix for extra color.
- Cookie crunch: Fold crushed wafer cookies or cones into the nuts for texture.
- Dairy-free: Use coconut-based ice cream and dairy-free chocolate.
- Mini cones: Make bite-size versions for parties; they set faster and look adorable.
FAQ
How do I keep the cone from getting soggy?
Seal the tip with chocolate and add a thin interior liner. Chill each layer so moisture never penetrates the cone.
What chocolate works best?
Use semisweet or bittersweet with refined coconut oil for a crisp, shiny shell that snaps cleanly.
Can I make these ahead?
Yes. Wrap and freeze for up to 3 weeks. The cone stays crisp if sealed well.
My chocolate turned thick. What happened?
It likely overheated or seized. Warm gently and stir in 1–2 teaspoons coconut oil to loosen the texture.
Do I need a special stand?
No. A muffin tin or a few tall glasses hold cones upright perfectly.
Can I skip the coconut oil?
You can, but the shell sets softer. For the classic crack, keep the coconut oil.
Conclusion
Homemade Nutty Buddy cones taste fresher, crunch louder, and let you build your perfect bite. Seal the cone, chill between steps, and dip with confidence. Stock your freezer, because once friends try one, they’ll ask for another—and you’ll be glad you made a batch.

Classic Nutty Buddy Ice Cream Treat
Ingredients
Ingredients
Instructions
Instructions
- Combine chocolate and coconut oil in a heatproof bowl.
- Set over barely simmering water; stir until smooth and glossy.
- Keep warm on the counter. The chocolate should flow but not feel hot.
- Prop cones upright in a muffin tin or glasses.
- Spoon 1–2 teaspoons melted chocolate into each cone tip, swirling to coat the bottom 1 inch.
- Chill 5–7 minutes until the chocolate sets. This plug stops drips and keeps the cone crisp.
- Spoon another 1–2 teaspoons chocolate into each cone and rotate to coat the lower third inside.
- Tip out excess chocolate back into the bowl.
- Freeze 5 minutes. This barrier keeps the cone from softening over time.
- Let the ice cream sit at room temp for 5–8 minutes until scoopable but not melty.
- Pack a small amount into the cone top to anchor the scoop.
- Form a rounded scoop on top, creating a dome that sits slightly wider than the cone rim.
- Freeze 15 minutes to firm the scoop. Firm scoops dip cleaner and hold the shell better.
- Stir the chocolate; if thick, warm it briefly so it flows smoothly.
- Dip each cone upside down so the scoop submerges up to the rim. Let excess drip off.
- Immediately sprinkle or roll the top in chopped peanuts. Work quickly so the chocolate doesn’t set before the nuts stick.
- Set cones on a parchment-lined sheet and freeze 10 minutes to set the shell.
- Dust the nutty top with a tiny pinch of flaky salt if you like contrast.
- Wrap each cone tightly in parchment or plastic, then place in a zip-top freezer bag or container.
- Freeze at least 1 hour for the classic, crisp-snap experience.