
Easy Apple Pie Recipe | Simple Dessert Using Store-Bought Crust – Comforting and Quick
This apple pie keeps things simple without losing the cozy, homemade feel. Using a store-bought crust means you get to the good part faster: warm, cinnamon-spiced apples and a golden, flaky top. It’s the kind of dessert you can pull off on a weeknight or bring to a potluck without stress.
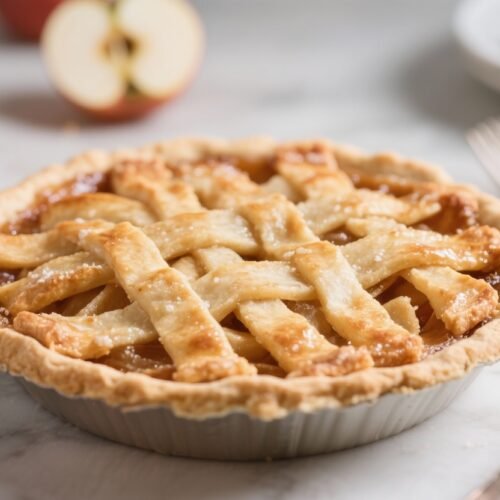
The filling is juicy but not runny, sweet but balanced, and the crust bakes up beautifully. If you’re new to pie, this is a great place to start. If you’re experienced, you’ll appreciate how effortlessly it comes together.
What Makes This Special
- Low effort, high reward: Pre-made crust cuts prep time to minutes while still delivering that classic pie flavor.
- Perfect texture: A simple trick keeps the filling thick and sliceable, not soupy.
- Balanced sweetness: Uses just enough sugar to enhance the apples without making it candy-sweet.
- Flexible: Works with most apple varieties and allows for easy tweaks to spices and sweetness.
- Make-ahead friendly: You can assemble in advance, bake later, and it reheats beautifully.
Ingredients
- 2 store-bought pie crusts (one for the bottom, one for the top; 9-inch)
- 6–7 medium apples (about 2 to 2.5 pounds; a mix like Honeycrisp, Granny Smith, and Gala works well)
- 1/2 cup granulated sugar
- 1/4 cup light brown sugar (packed)
- 2 tablespoons lemon juice (fresh, if possible)
- 2 teaspoons ground cinnamon
- 1/4 teaspoon ground nutmeg
- 1/8 teaspoon ground allspice (optional)
- 1/4 teaspoon fine salt
- 3 tablespoons cornstarch (or 1/4 cup all-purpose flour)
- 2 tablespoons unsalted butter (cut into small pieces)
- 1 egg (for egg wash, beaten with 1 tablespoon water)
- 1 tablespoon coarse sugar (optional, for sprinkling)
Instructions
- Preheat and prep: Set the oven to 425°F (220°C).
Place a rack in the lower third and set a rimmed baking sheet on it to catch drips.
- Thaw the crusts: If frozen, let the pie crusts sit at room temperature until pliable but still cool. Keep one in the fridge while you work on the filling.
- Prep the apples: Peel, core, and slice apples about 1/4-inch thick. Aim for even slices so they cook uniformly.
- Toss the filling: In a large bowl, combine apples with granulated sugar, brown sugar, lemon juice, cinnamon, nutmeg, allspice (if using), salt, and cornstarch.
Stir until every slice looks lightly coated and glossy.
- Line the pie dish: Fit one crust into a 9-inch pie dish, letting excess hang over the edge. Gently press into the corners without stretching.
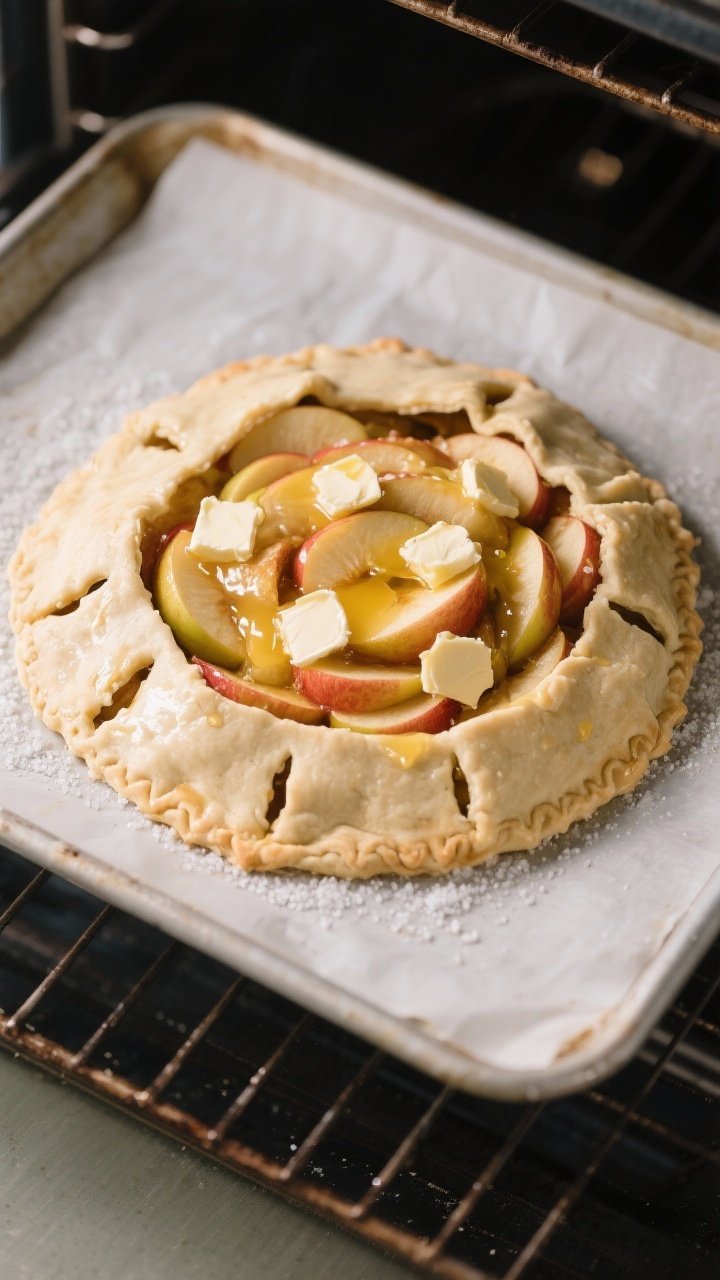
- Fill the pie: Spoon the apple mixture into the crust, mounding slightly in the center. Dot the top with small pieces of butter.
- Add the top crust: Place the second crust over the apples.
Trim excess so there’s about 1 inch overhang, then fold and crimp the edges to seal.
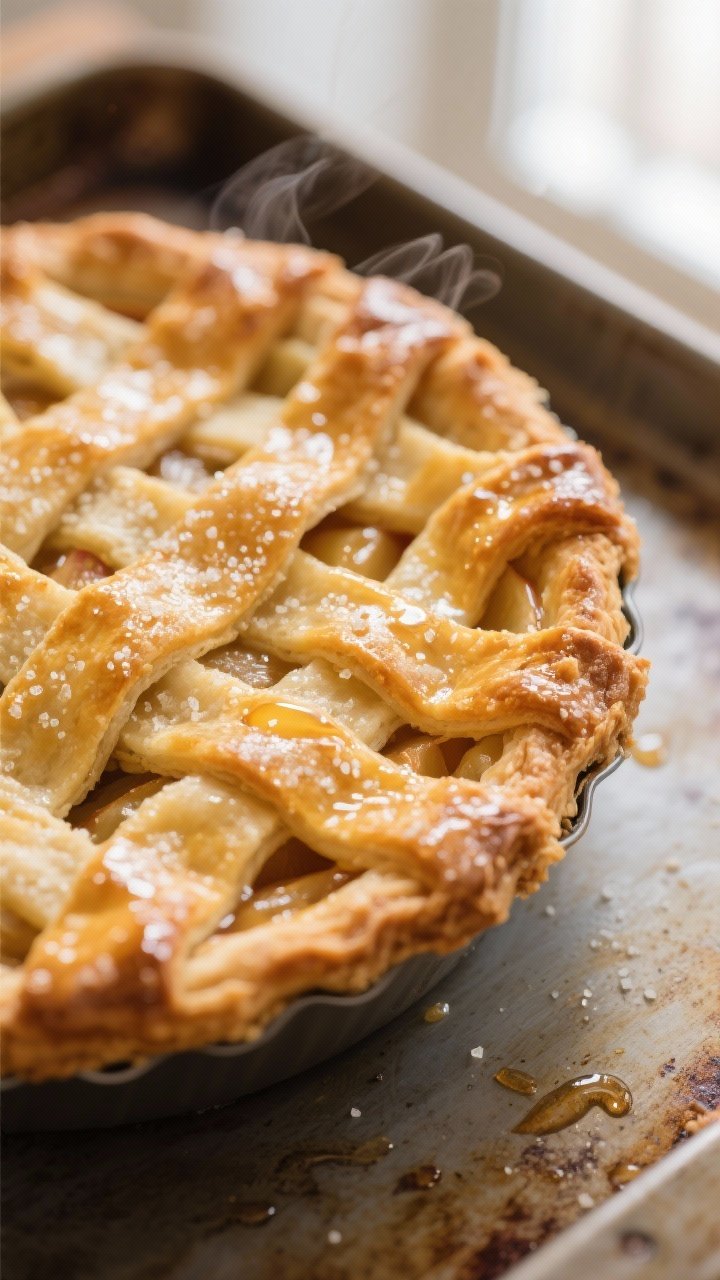
- Vent and glaze: Cut 4–5 small slits in the top crust for steam. Brush with egg wash and sprinkle with coarse sugar, if using.
- Bake hot to set the crust: Place the pie on the preheated baking sheet. Bake at 425°F (220°C) for 20 minutes.
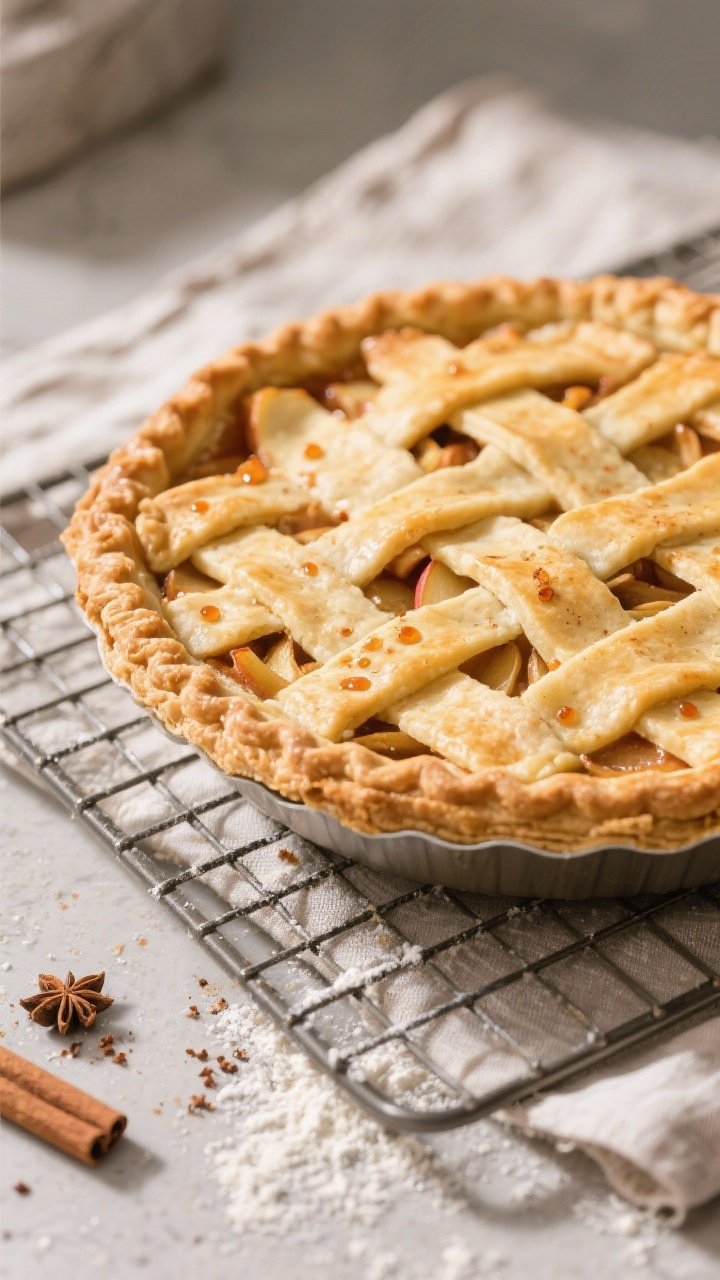
- Reduce and finish: Lower the oven to 375°F (190°C) and bake 30–40 more minutes, until the crust is deep golden and you see thick, steady bubbling through the vents.
- Cool before slicing: Transfer to a rack and let cool for at least 2–3 hours.
This helps the filling thicken so slices hold together.
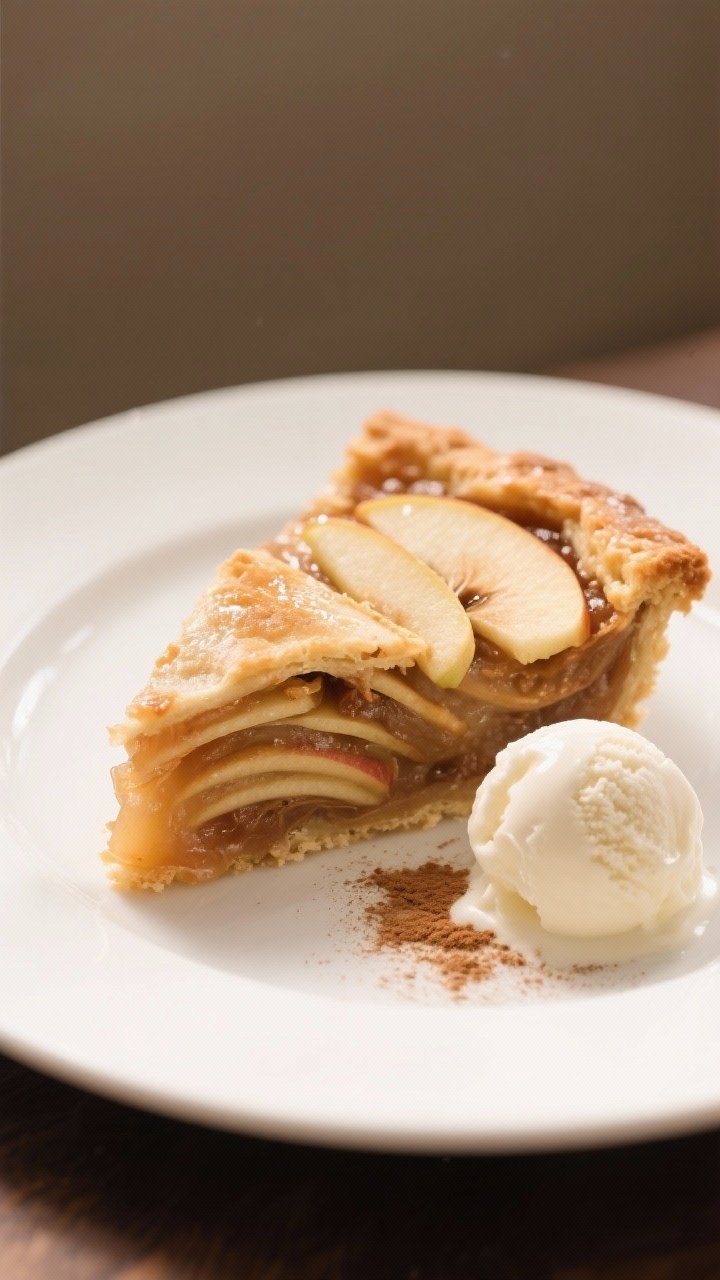
- Serve: Slice and serve as is, or add vanilla ice cream or whipped cream.
Keeping It Fresh
- Room temperature: Keep leftover pie loosely covered at room temperature for up to 2 days.
- Refrigerate: For longer storage, cover and refrigerate up to 5 days. Reheat slices at 300°F (150°C) for 10–12 minutes.
- Freeze: Wrap baked, cooled pie tightly in plastic and foil. Freeze up to 3 months.
Reheat from frozen at 350°F (175°C) until warmed through, about 35–45 minutes.
- Make ahead: Assemble the unbaked pie, freeze on a sheet until firm, then wrap well. Bake from frozen at 375°F (190°C) for 75–90 minutes, shielding the edges if they brown too fast.
Benefits of This Recipe
- Time-saving: Store-bought crust gives you homemade taste with minimal prep.
- Beginner-friendly: Straightforward steps and forgiving ingredients.
- Reliable texture: Cornstarch keeps the filling thick and sliceable.
- Versatile: Works with different apple varieties and spice levels.
- Budget-conscious: Uses pantry staples and common produce.
What Not to Do
- Don’t skip venting: Without slits in the top, steam builds and the crust can burst or get soggy.
- Don’t cut too soon: Slicing while hot leads to a runny mess. Cooling is key.
- Don’t overfill with liquid: If your apples are very juicy, avoid adding extra liquid from the bowl beyond what clings to the slices.
- Don’t underbake: Pale crust equals undercooked filling.
Look for deep golden color and bubbling juices.
- Don’t forget the baking sheet: It catches drips and helps bake the bottom crust evenly.
Recipe Variations
- Caramel Apple Pie: Drizzle 1/4 cup caramel sauce over the apples before adding the top crust. Reduce sugar slightly if your caramel is very sweet.
- Dutch Crumb Topping: Skip the top crust. Mix 3/4 cup flour, 1/2 cup brown sugar, 1 teaspoon cinnamon, and 6 tablespoons cold butter until crumbly.
Sprinkle over apples and bake.
- Maple Spice: Swap half the granulated sugar for pure maple syrup (2–3 tablespoons) and increase cornstarch by 1 tablespoon.
- Bourbon Twist: Add 1 tablespoon bourbon to the filling with the lemon juice. Warm, subtle depth without overpowering.
- Cheddar Crust Moment: Sprinkle 1/2 cup shredded sharp cheddar between the bottom crust and apples for a savory-sweet contrast.
- Gluten-Free: Use a gluten-free crust and replace cornstarch with 3 tablespoons tapioca starch.
FAQ
What apples are best for this pie?
A mix of firm, tart, and sweet apples gives the best flavor and texture. Try Granny Smith for tartness plus Honeycrisp or Gala for sweetness.
Avoid apples that turn mushy, like Red Delicious.
How do I keep the bottom crust from getting soggy?
Bake on a preheated baking sheet in the lower third of the oven. This boosts heat to the bottom. Vent the top crust well, and let the pie cool fully so the filling thickens before slicing.
Can I use frozen apple slices?
Yes, but thaw and pat them dry first.
Frozen apples can release more liquid, so add an extra 1/2 to 1 tablespoon cornstarch to help thicken the filling.
Do I have to peel the apples?
Peeling gives a softer bite and more classic texture. If you like a bit of chew and want to save time, you can leave the peels on. Slice a little thinner if you do.
How do I prevent over-browning?
Check at the 30-minute mark.
If the edges brown too quickly, cover the rim with a pie shield or strips of foil. Keep baking until the center is bubbling.
Can I make the filling ahead of time?
You can mix the sugars and spices ahead, but slice the apples the day you bake. If you prep the apples early, toss with lemon juice and store covered in the fridge for up to 6 hours.
What if I don’t have cornstarch?
Use 1/4 cup all-purpose flour.
It thickens well and gives the filling a slightly more rustic texture.
How will I know the pie is done?
Look for thick, syrupy bubbles through the vents and a deep golden crust. If it’s not bubbling, the filling may be thin and the apples undercooked.
Final Thoughts
This easy apple pie proves you don’t need fancy techniques to make something memorable. The store-bought crust keeps things approachable, while the spiced apple filling delivers that nostalgic, from-scratch flavor.
Keep your steps simple, watch for bubbling, and give it time to cool. You’ll end up with neat slices, a flaky crust, and a dessert that feels like home. Serve warm, share generously, and enjoy every bite.
Easy Apple Pie Recipe | Simple Dessert Using Store-Bought Crust - Comforting and Quick
Ingredients
- 2 store-bought pie crusts (one for the bottom, one for the top; 9-inch)
- 6–7 medium apples (about 2 to 2.5 pounds; a mix like Honeycrisp, Granny Smith, and Gala works well)
- ½ cup granulated sugar
- ¼ cup light brown sugar (packed)
- 2 tablespoons lemon juice (fresh, if possible)
- 2 teaspoons ground cinnamon
- ¼ teaspoon ground nutmeg
- ⅛ teaspoon ground allspice (optional)
- ¼ teaspoon fine salt
- 3 tablespoons cornstarch (or 1/4 cup all-purpose flour)
- 2 tablespoons unsalted butter (cut into small pieces)
- 1 egg (for egg wash, beaten with 1 tablespoon water)
- 1 tablespoon coarse sugar (optional, for sprinkling)
Instructions
- Preheat and prep: Set the oven to 425°F (220°C).Place a rack in the lower third and set a rimmed baking sheet on it to catch drips.
- Thaw the crusts: If frozen, let the pie crusts sit at room temperature until pliable but still cool. Keep one in the fridge while you work on the filling.
- Prep the apples: Peel, core, and slice apples about 1/4-inch thick. Aim for even slices so they cook uniformly.
- Toss the filling: In a large bowl, combine apples with granulated sugar, brown sugar, lemon juice, cinnamon, nutmeg, allspice (if using), salt, and cornstarch.Stir until every slice looks lightly coated and glossy.
- Line the pie dish: Fit one crust into a 9-inch pie dish, letting excess hang over the edge. Gently press into the corners without stretching.
- Fill the pie: Spoon the apple mixture into the crust, mounding slightly in the center. Dot the top with small pieces of butter.
- Add the top crust: Place the second crust over the apples.Trim excess so there’s about 1 inch overhang, then fold and crimp the edges to seal.
- Vent and glaze: Cut 4–5 small slits in the top crust for steam. Brush with egg wash and sprinkle with coarse sugar, if using.
- Bake hot to set the crust: Place the pie on the preheated baking sheet. Bake at 425°F (220°C) for 20 minutes.
- Reduce and finish: Lower the oven to 375°F (190°C) and bake 30–40 more minutes, until the crust is deep golden and you see thick, steady bubbling through the vents.
- Cool before slicing: Transfer to a rack and let cool for at least 2–3 hours.This helps the filling thicken so slices hold together.
- Serve: Slice and serve as is, or add vanilla ice cream or whipped cream.


