Soft Chapati Recipe | Buttery Flaky Roti and Layered Flatbread
If you want soft, buttery chapati (roti) that puff nicely and flake into tender layers, you’re in the right place. This guide walks you through every step—from mixing and kneading to rolling and cooking—so you can make restaurant-quality flatbread at home without fuss.
I’ll share the exact water-to-flour ratio that keeps dough supple, the resting trick that guarantees flexibility, and the simple lamination step that creates gorgeous layers. You’ll get reliable results even if you’ve never made roti before.
Why This Soft, Buttery Chapati Recipe Works
- Right hydration: A slightly higher water ratio hydrates whole wheat flour (atta) fully, which keeps chapati soft for hours.
- Gentle kneading: Just enough kneading builds structure without toughness.
- Rest time matters: Resting relaxes gluten so you can roll thin without spring-back.
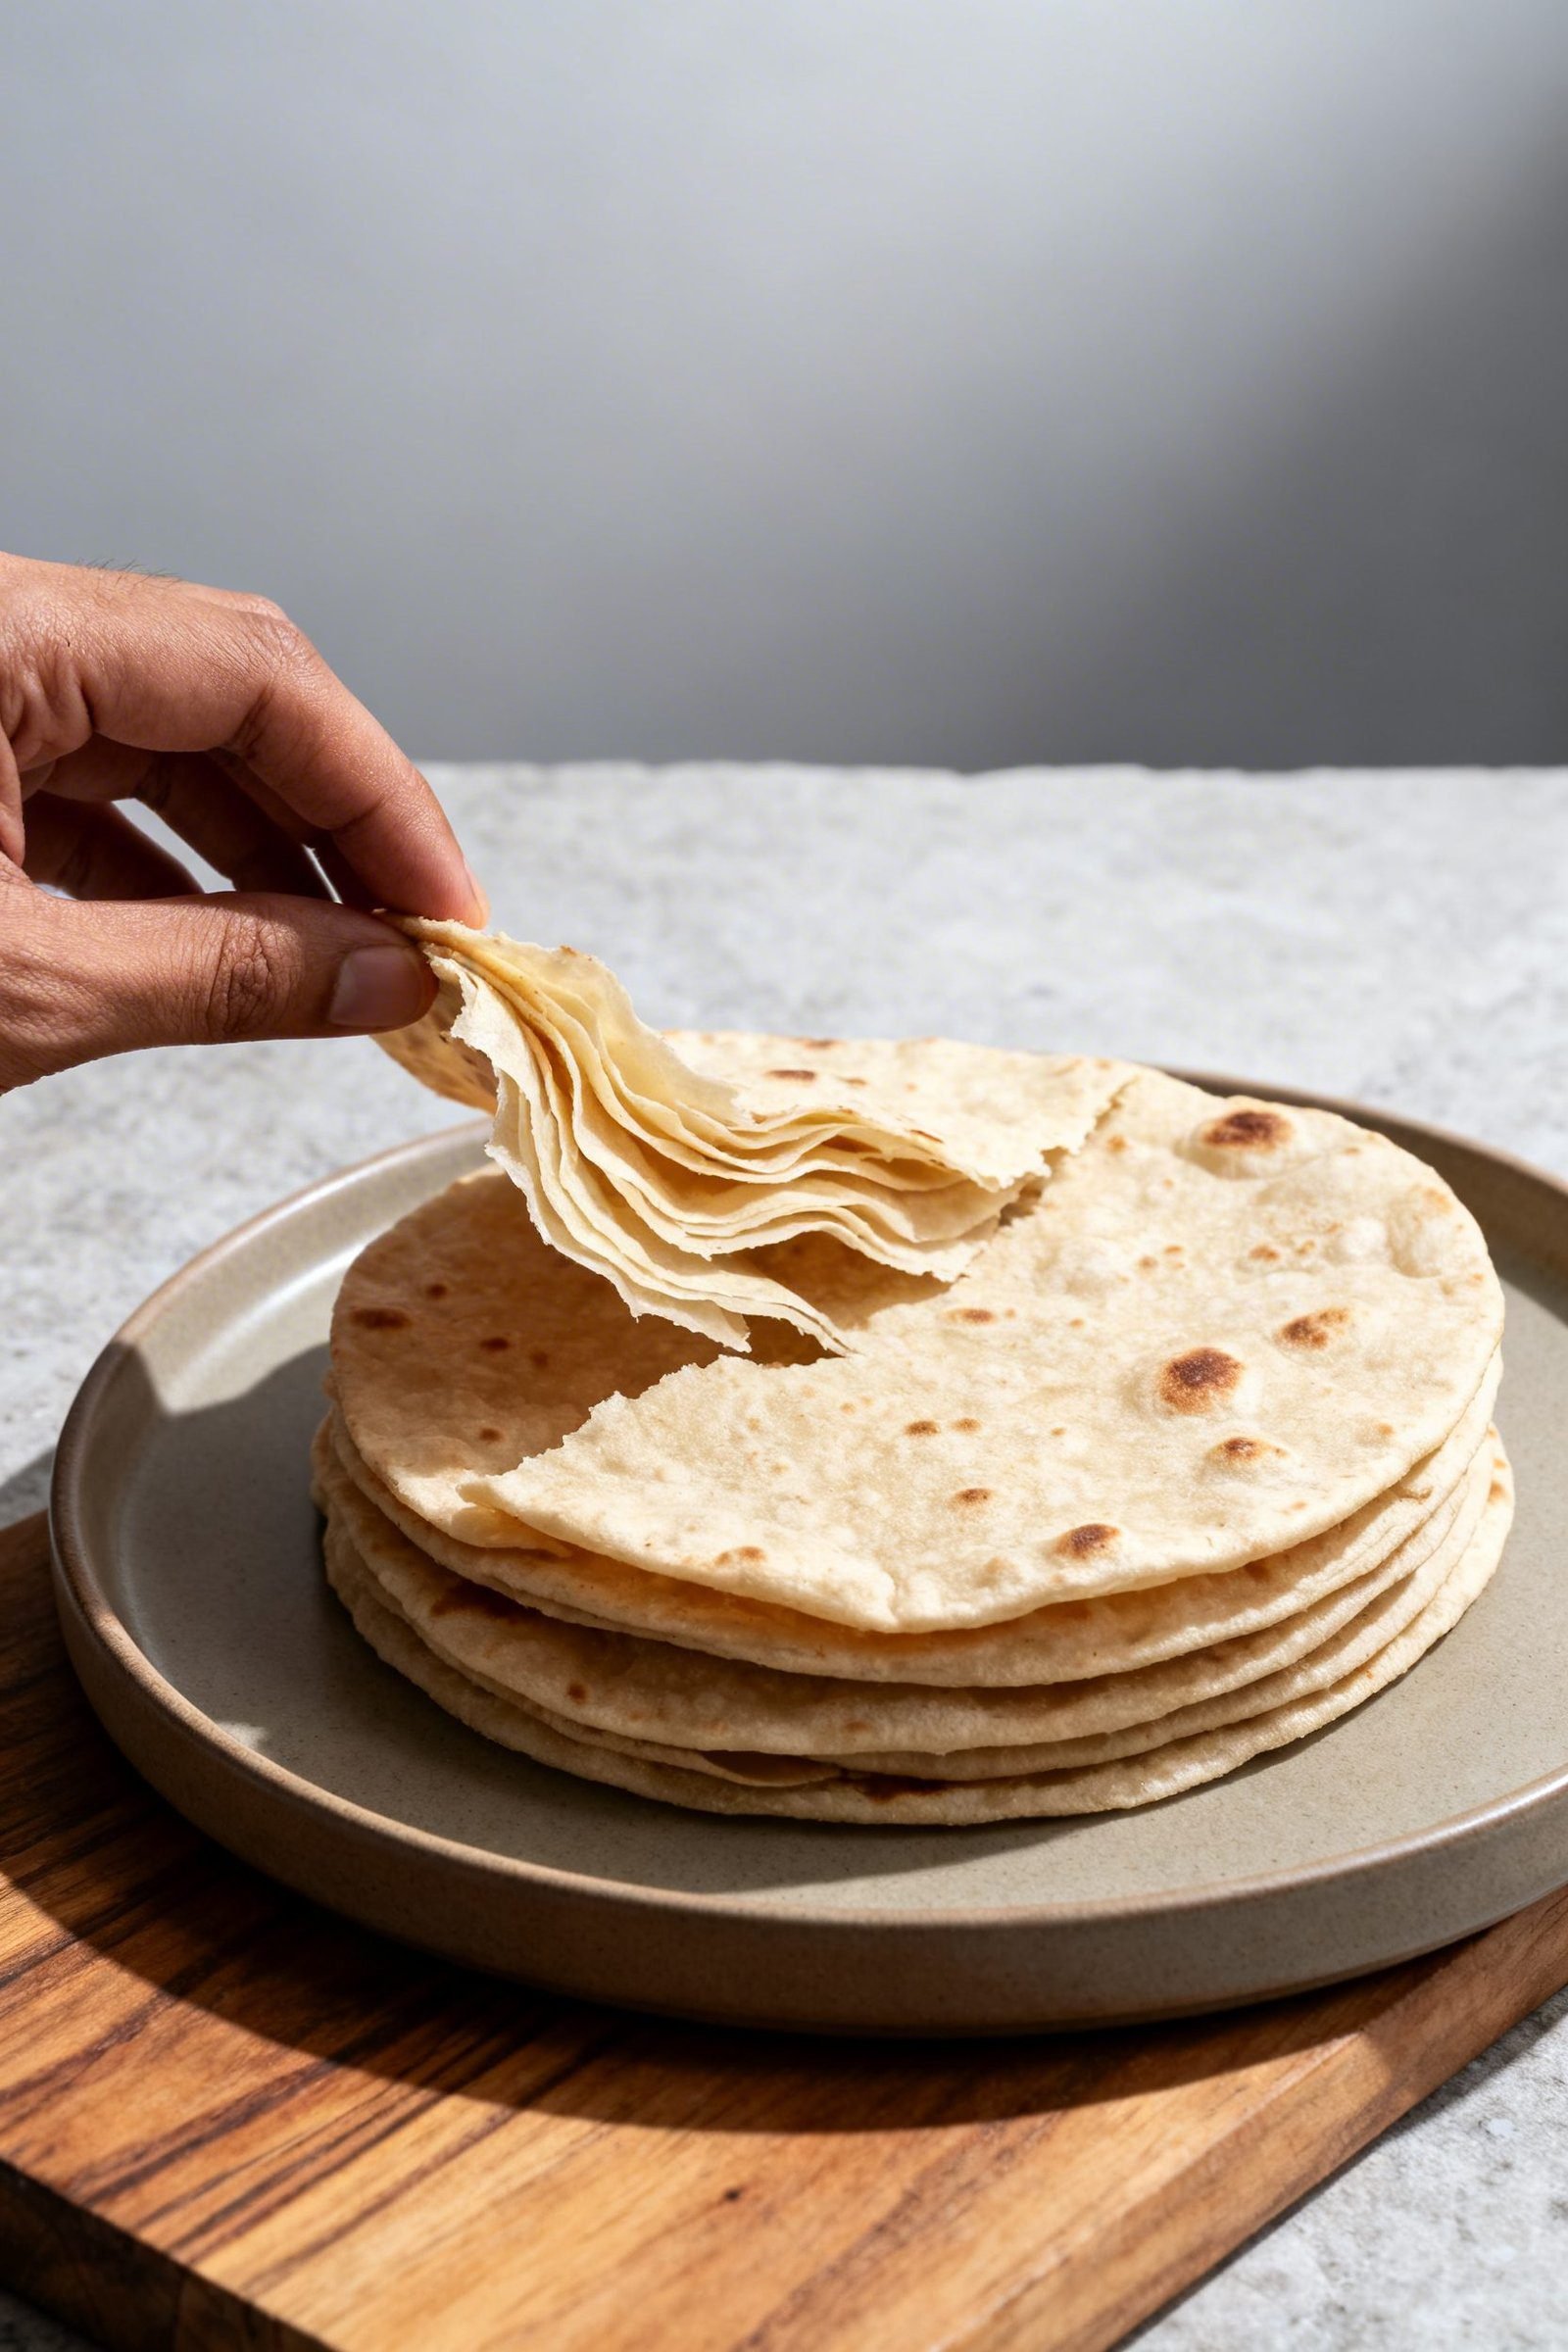
- Layering with fat: A light smear of ghee or oil creates flaky, shatter-soft layers as the roti puffs.
- High-heat finish: Quick cooking on a hot tawa locks in moisture and encourages puffing.
Ingredients
- 2 cups (260 g) whole wheat atta (preferably fine, stone-ground)
- 3/4 to 1 cup (180–240 ml) warm water (start with 3/4 cup; add more as needed)
- 1–2 tablespoons ghee or neutral oil (for dough and layering)
- 1/2 teaspoon fine sea salt (optional but recommended)
- Extra atta for dusting
Ingredient notes:
- Atta vs. all-purpose flour: Use traditional chapati atta for best softness and aroma. All-purpose flour changes texture and flavor.
- Ghee vs. oil: Ghee gives buttery flavor and flaky layers. Oil works well if you prefer dairy-free.
- Water temperature: Warm—not hot—water hydrates bran and keeps dough supple.
How to Make Soft, Flaky Chapati
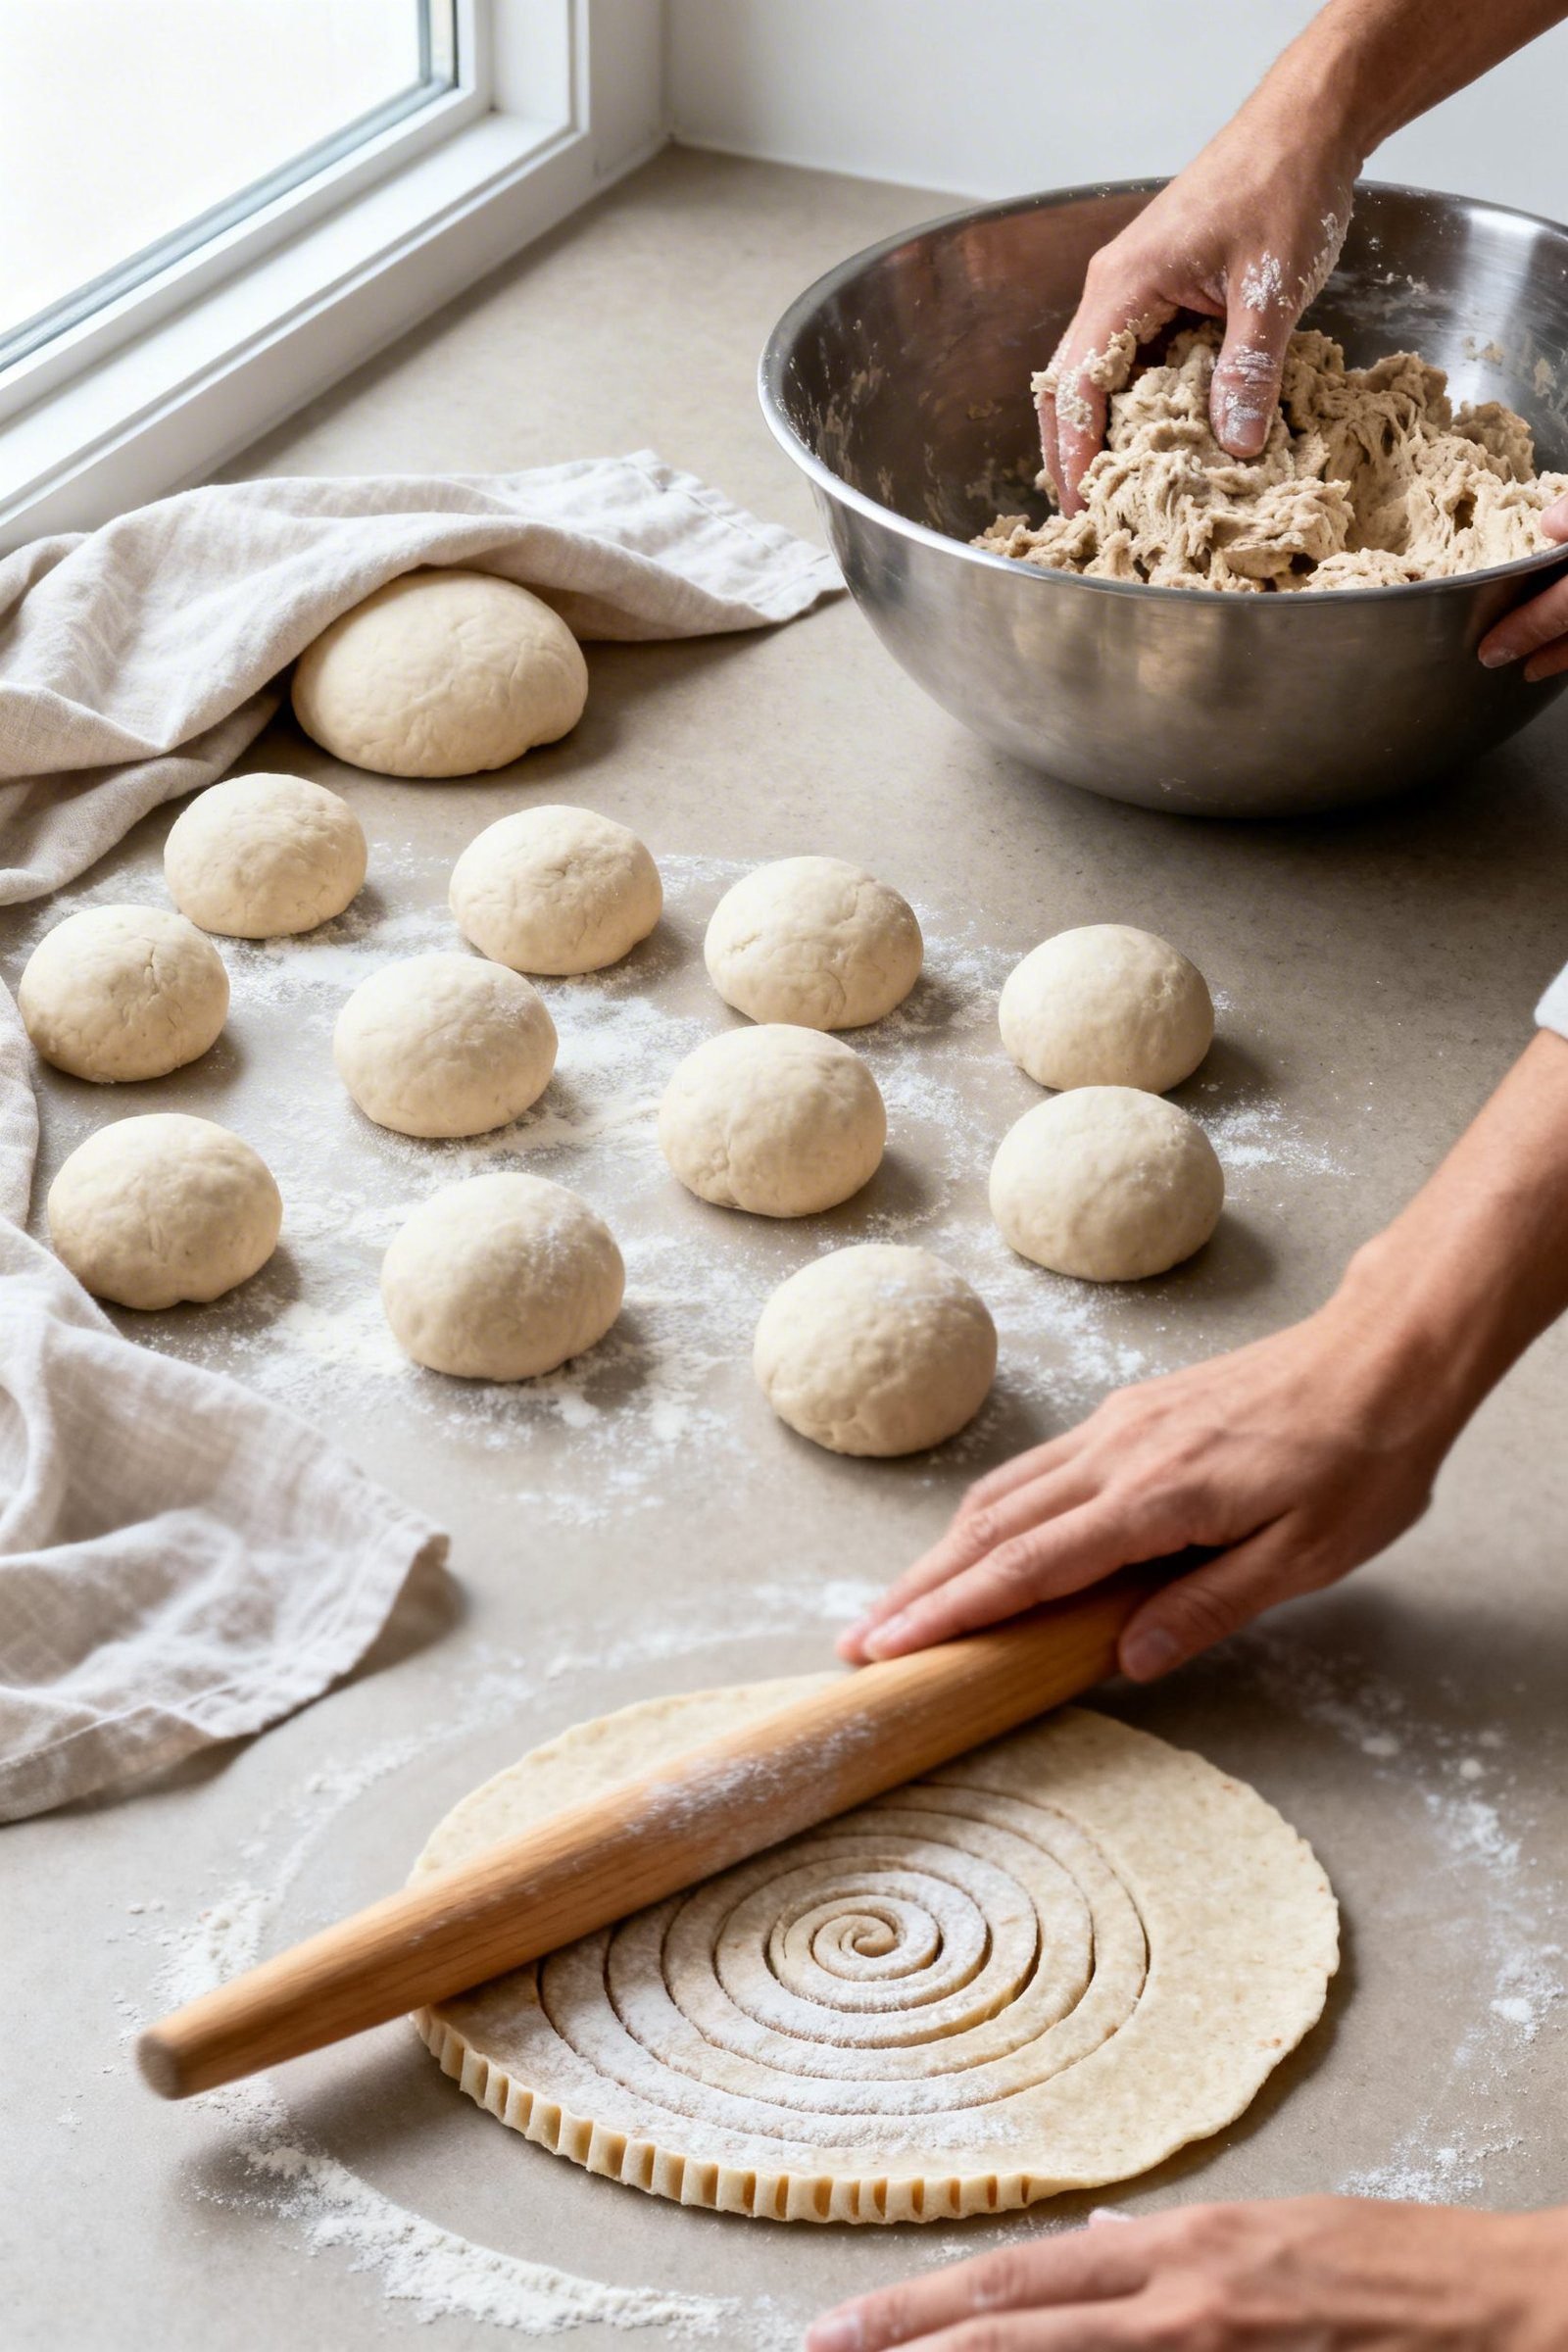
1) Mix and Knead the Dough
- In a bowl, combine atta and salt. Drizzle in 1 teaspoon oil or ghee.
- Add 3/4 cup warm water gradually while mixing with fingers until shaggy clumps form.
- Knead 5–7 minutes until smooth, soft, and slightly tacky. Add teaspoons of water if dry or pinches of flour if sticky.
- Cover and rest 20 minutes to hydrate fully.
2) Rest Again for Flexibility
- Knead briefly (20–30 seconds) after the first rest. The dough should feel pliable and elastic.
- Divide into 10–12 equal pieces (about golf-ball size). Roll each into a smooth ball; keep covered.
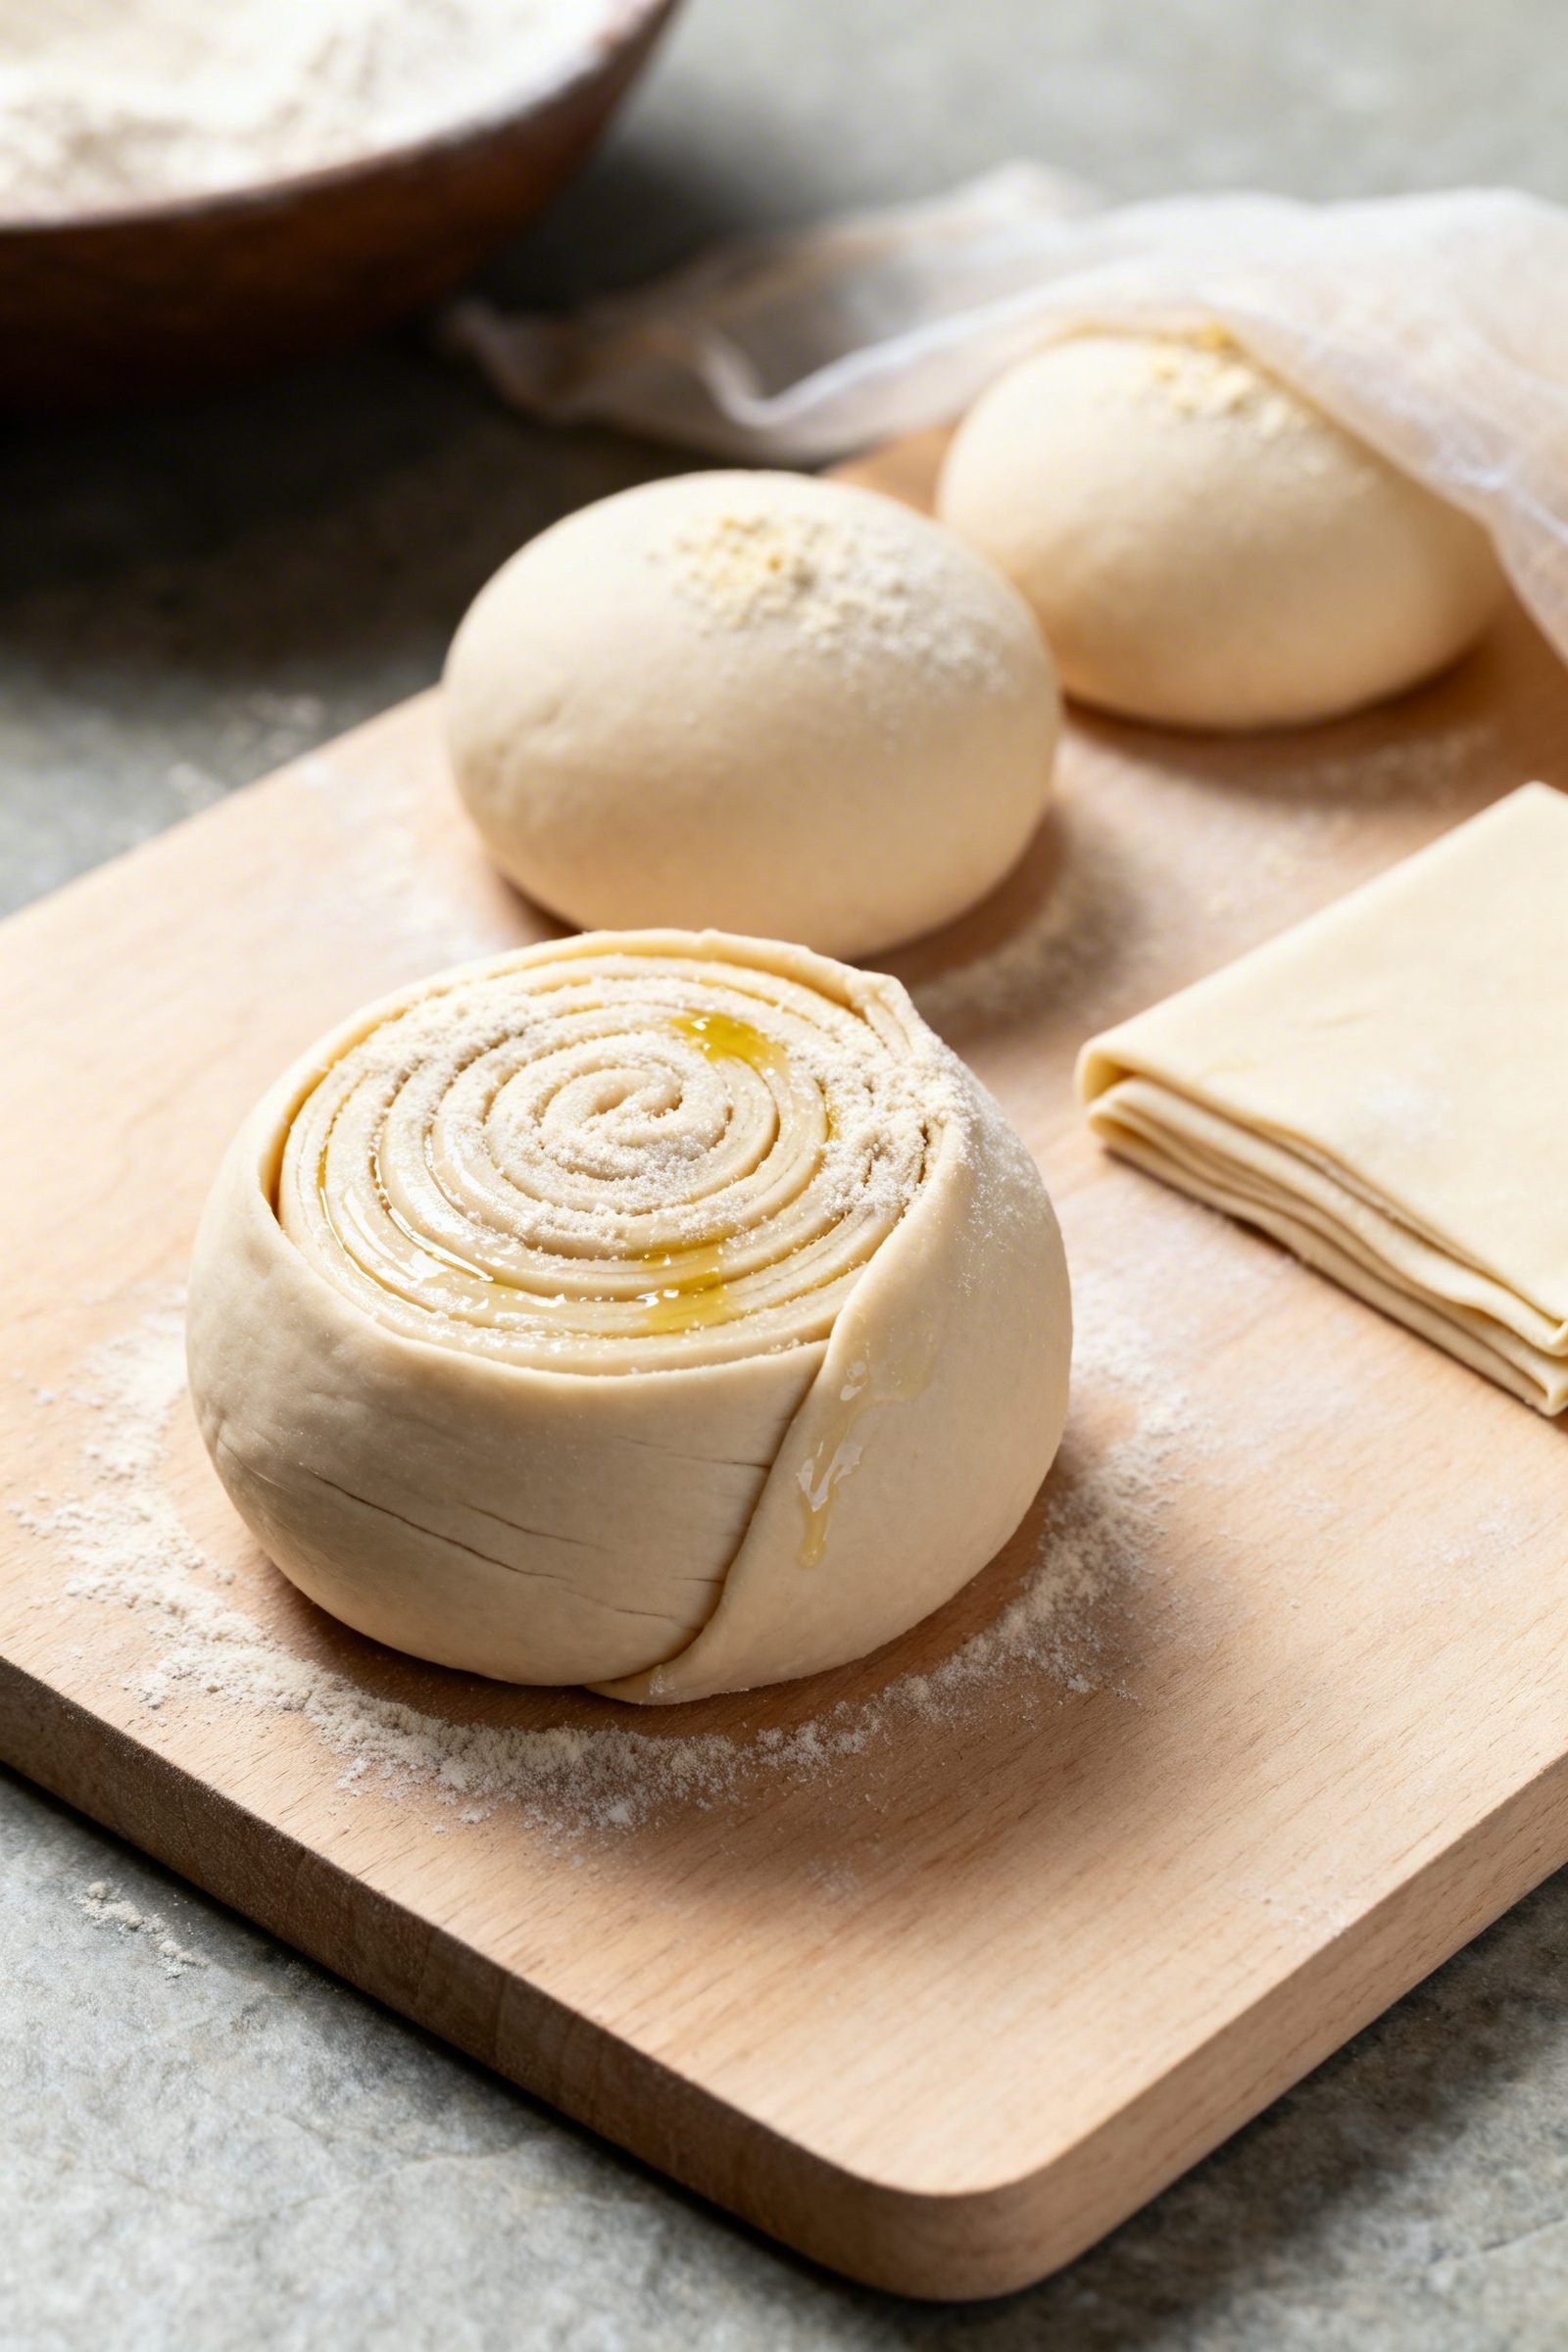
3) Create Layers (Optional but Amazing)
Choose one lamination style:
- Spiral (lachha) method: Roll a ball into a thin oval. Brush lightly with ghee. Dust with a pinch of atta. Roll up like a jelly roll, then coil into a spiral. Rest 5 minutes.
- Folded square method: Roll thin. Brush with ghee. Fold like a letter, then again to make a square. Rest 5 minutes.
4) Roll the Chapati
- Preheat a tawa, cast-iron skillet, or heavy pan over medium-high heat for 5 minutes.
- Lightly dust work surface and a dough ball. Roll from center outward, rotating a quarter turn between strokes.
- Keep thickness even—about 1–2 mm for soft puffing. Avoid over-dusting; excess flour can scorch.
5) Cook for Puff and Softness
- Lay the rolled chapati onto the hot pan. Cook 20–30 seconds until small bubbles appear and the underside shows light brown spots.
- Flip. Cook 20–30 seconds. Press gently around edges with a clean cloth or spatula to encourage puffing.
- Flip again. Optional: move directly over an open gas flame with tongs for full puff (1–2 seconds per side). Electric stove users can press with cloth to mimic puff.
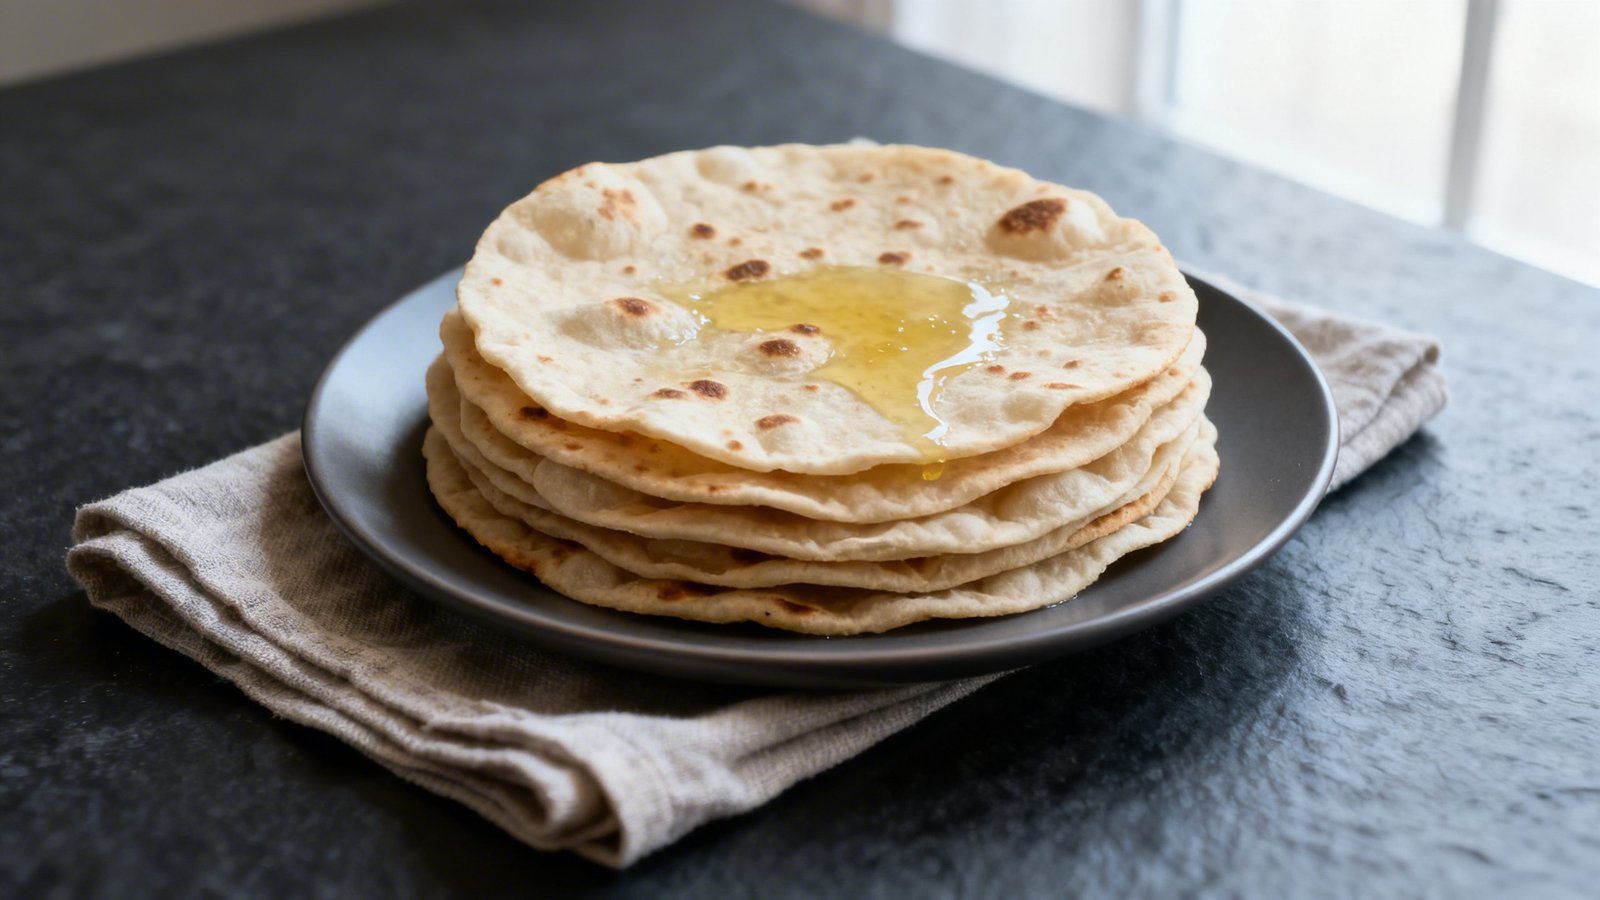
- Brush with ghee immediately for a soft, buttery finish. Stack in a lined container and keep covered.
Timing Guide
- Mix + knead: 10 minutes
- Rest: 20 minutes (plus 5 minutes after lamination)
- Rolling + cooking: 20–25 minutes for 10–12 chapatis
How to Store Soft Chapati
- Short-term (same day): Stack hot chapatis in an insulated container or wrap in a clean towel. Keep covered to trap steam and maintain softness.
- Refrigerate (2–3 days): Cool completely. Layer with parchment, slip into an airtight bag, and refrigerate. Reheat on a hot pan 15–30 seconds per side.
- Freeze (up to 2 months): Par-cook each chapati for 10–15 seconds per side, cool, stack with parchment, and freeze flat. Cook from frozen on a hot pan.
- Storing dough: Lightly oil, cover, and chill for up to 24 hours. Bring to room temp before rolling.
Benefits of Making Your Own Roti
- Freshness you can taste: Warm, tender chapati beats store-bought every time.
- Control over ingredients: Choose whole grain atta, adjust salt, and swap fats as needed.
- Budget-friendly: Flour and water turn into a stack of fluffy flatbreads for pennies.
- Meal versatility: Pair with curries, eggs, grilled veggies, dal, or wrap for lunches.
- Freezer-ready: Keep a stash for quick weeknight dinners.
What to Avoid for Best Results
- Don’t skimp on water: Too little water gives dry, stiff dough that won’t puff.
- Don’t over-knead: You want smooth and soft, not tight and rubbery.
- Don’t skip the rest: Resting prevents shrink-back and tearing while rolling.
- Don’t use a cool pan: Low heat dries chapati before it puffs. Preheat well.
- Don’t use too much flour for dusting: Excess flour burns and makes roti tough.
- Don’t overcook: Dark spots are fine; full-on browning all over means dryness.
Flavor and Texture Variations
- Classic plain chapati: Skip lamination and ghee for a lighter everyday roti.
- Lachha paratha style: Increase lamination with extra ghee for pronounced flaky layers.
- Herb ghee: Mix melted ghee with chopped cilantro, garlic, or crushed cumin for brushing.
- Multigrain blend: Swap 1/2 cup atta with millet or oat flour; add 1–2 tablespoons extra water.
- Stuffed roti: Enclose spiced mashed potato or paneer in the dough ball, then roll gently.
- Dairy-free: Use neutral oil instead of ghee for both dough and brushing.
- Extra-soft roti: Add 1 tablespoon yogurt to the dough for tenderness.
FAQ
Why don’t my chapatis puff?
Three likely reasons: Dough too dry, pan not hot enough, or uneven rolling. Aim for a soft dough, preheat the pan thoroughly, and roll evenly with slightly thinner edges.
Can I use all-purpose flour?
You can, but atta gives the signature flavor and softness. If using all-purpose, mix 1 3/4 cups AP with 1/4 cup whole wheat for better structure, and reduce water slightly.
What’s the best fat for brushing?
Ghee wins for flavor and layered flakiness. Use oil for a lighter, vegan option.
How do I keep chapatis soft after cooking?
Stack hot, brushed chapatis in a towel-lined container and cover. Trapped steam keeps them pillowy for hours.
Can I make the dough ahead?
Yes. Refrigerate dough up to 24 hours. Let it come fully to room temperature before rolling for best elasticity.
What pan should I use?
A cast-iron tawa or heavy skillet holds heat best and encourages puffing. Nonstick works, but avoid high flames that damage coating.
Conclusion
With the right hydration, a short rest, and quick high-heat cooking, you’ll make soft, buttery chapati that melt in your mouth and layer beautifully. Master the basics once, then play with lamination and flavor twists. Warm roti on the table makes every meal feel special—simple, satisfying, and always worth it.
Soft, Buttery Flaky Chapati (Roti)
Tender, layered chapati with a soft bite and reliable puff using proper hydration, brief resting, and a hot pan.
Ingredients
- 2 cups (260 g) whole wheat atta (preferably fine, stone-ground)
- ¾ to 1 cup (180–240 ml) warm water (start with ¾ cup; add more as needed)
- 1–2 tablespoons ghee or neutral oil (for dough and layering)
- ½ teaspoon fine sea salt (optional but recommended)
- Extra atta for dusting
Instructions
- Combine atta and salt in a bowl; drizzle in about 1 teaspoon ghee or oil.
- Add ¾ cup warm water gradually, mixing until shaggy clumps form; knead 5–7 minutes until smooth, soft, and slightly tacky, adjusting with teaspoons of water or pinches of flour as needed.
- Cover and rest the dough for 20 minutes.
- Knead briefly (20–30 seconds) after resting; divide into 10–12 equal balls, cover to prevent drying.
- Optional lamination (choose one): Spiral (lachha): Roll thin, brush lightly with ghee, dust with atta, roll up like a jelly roll, coil into a spiral, rest 5 minutes. Folded square: Roll thin, brush with ghee, fold like a letter, then again to form a square, rest 5 minutes.
- Preheat a tawa or heavy skillet over medium-high heat for 5 minutes.
- Lightly dust the surface and a dough ball; roll from center outward, rotating between strokes to 1–2 mm thickness without excess dusting.
- Place on hot pan; cook 20–30 seconds until small bubbles appear and light brown spots form.
- Flip; cook 20–30 seconds, pressing gently around edges to encourage puffing.
- Flip again; optionally puff directly over an open flame for 1–2 seconds per side (or press on the pan if using electric).
- Brush with ghee immediately; stack in a towel-lined container and keep covered.
- Repeat with remaining dough balls.