
Homemade Cherry Jam Recipe | Easy Sweet Fruit Preserve for Toast
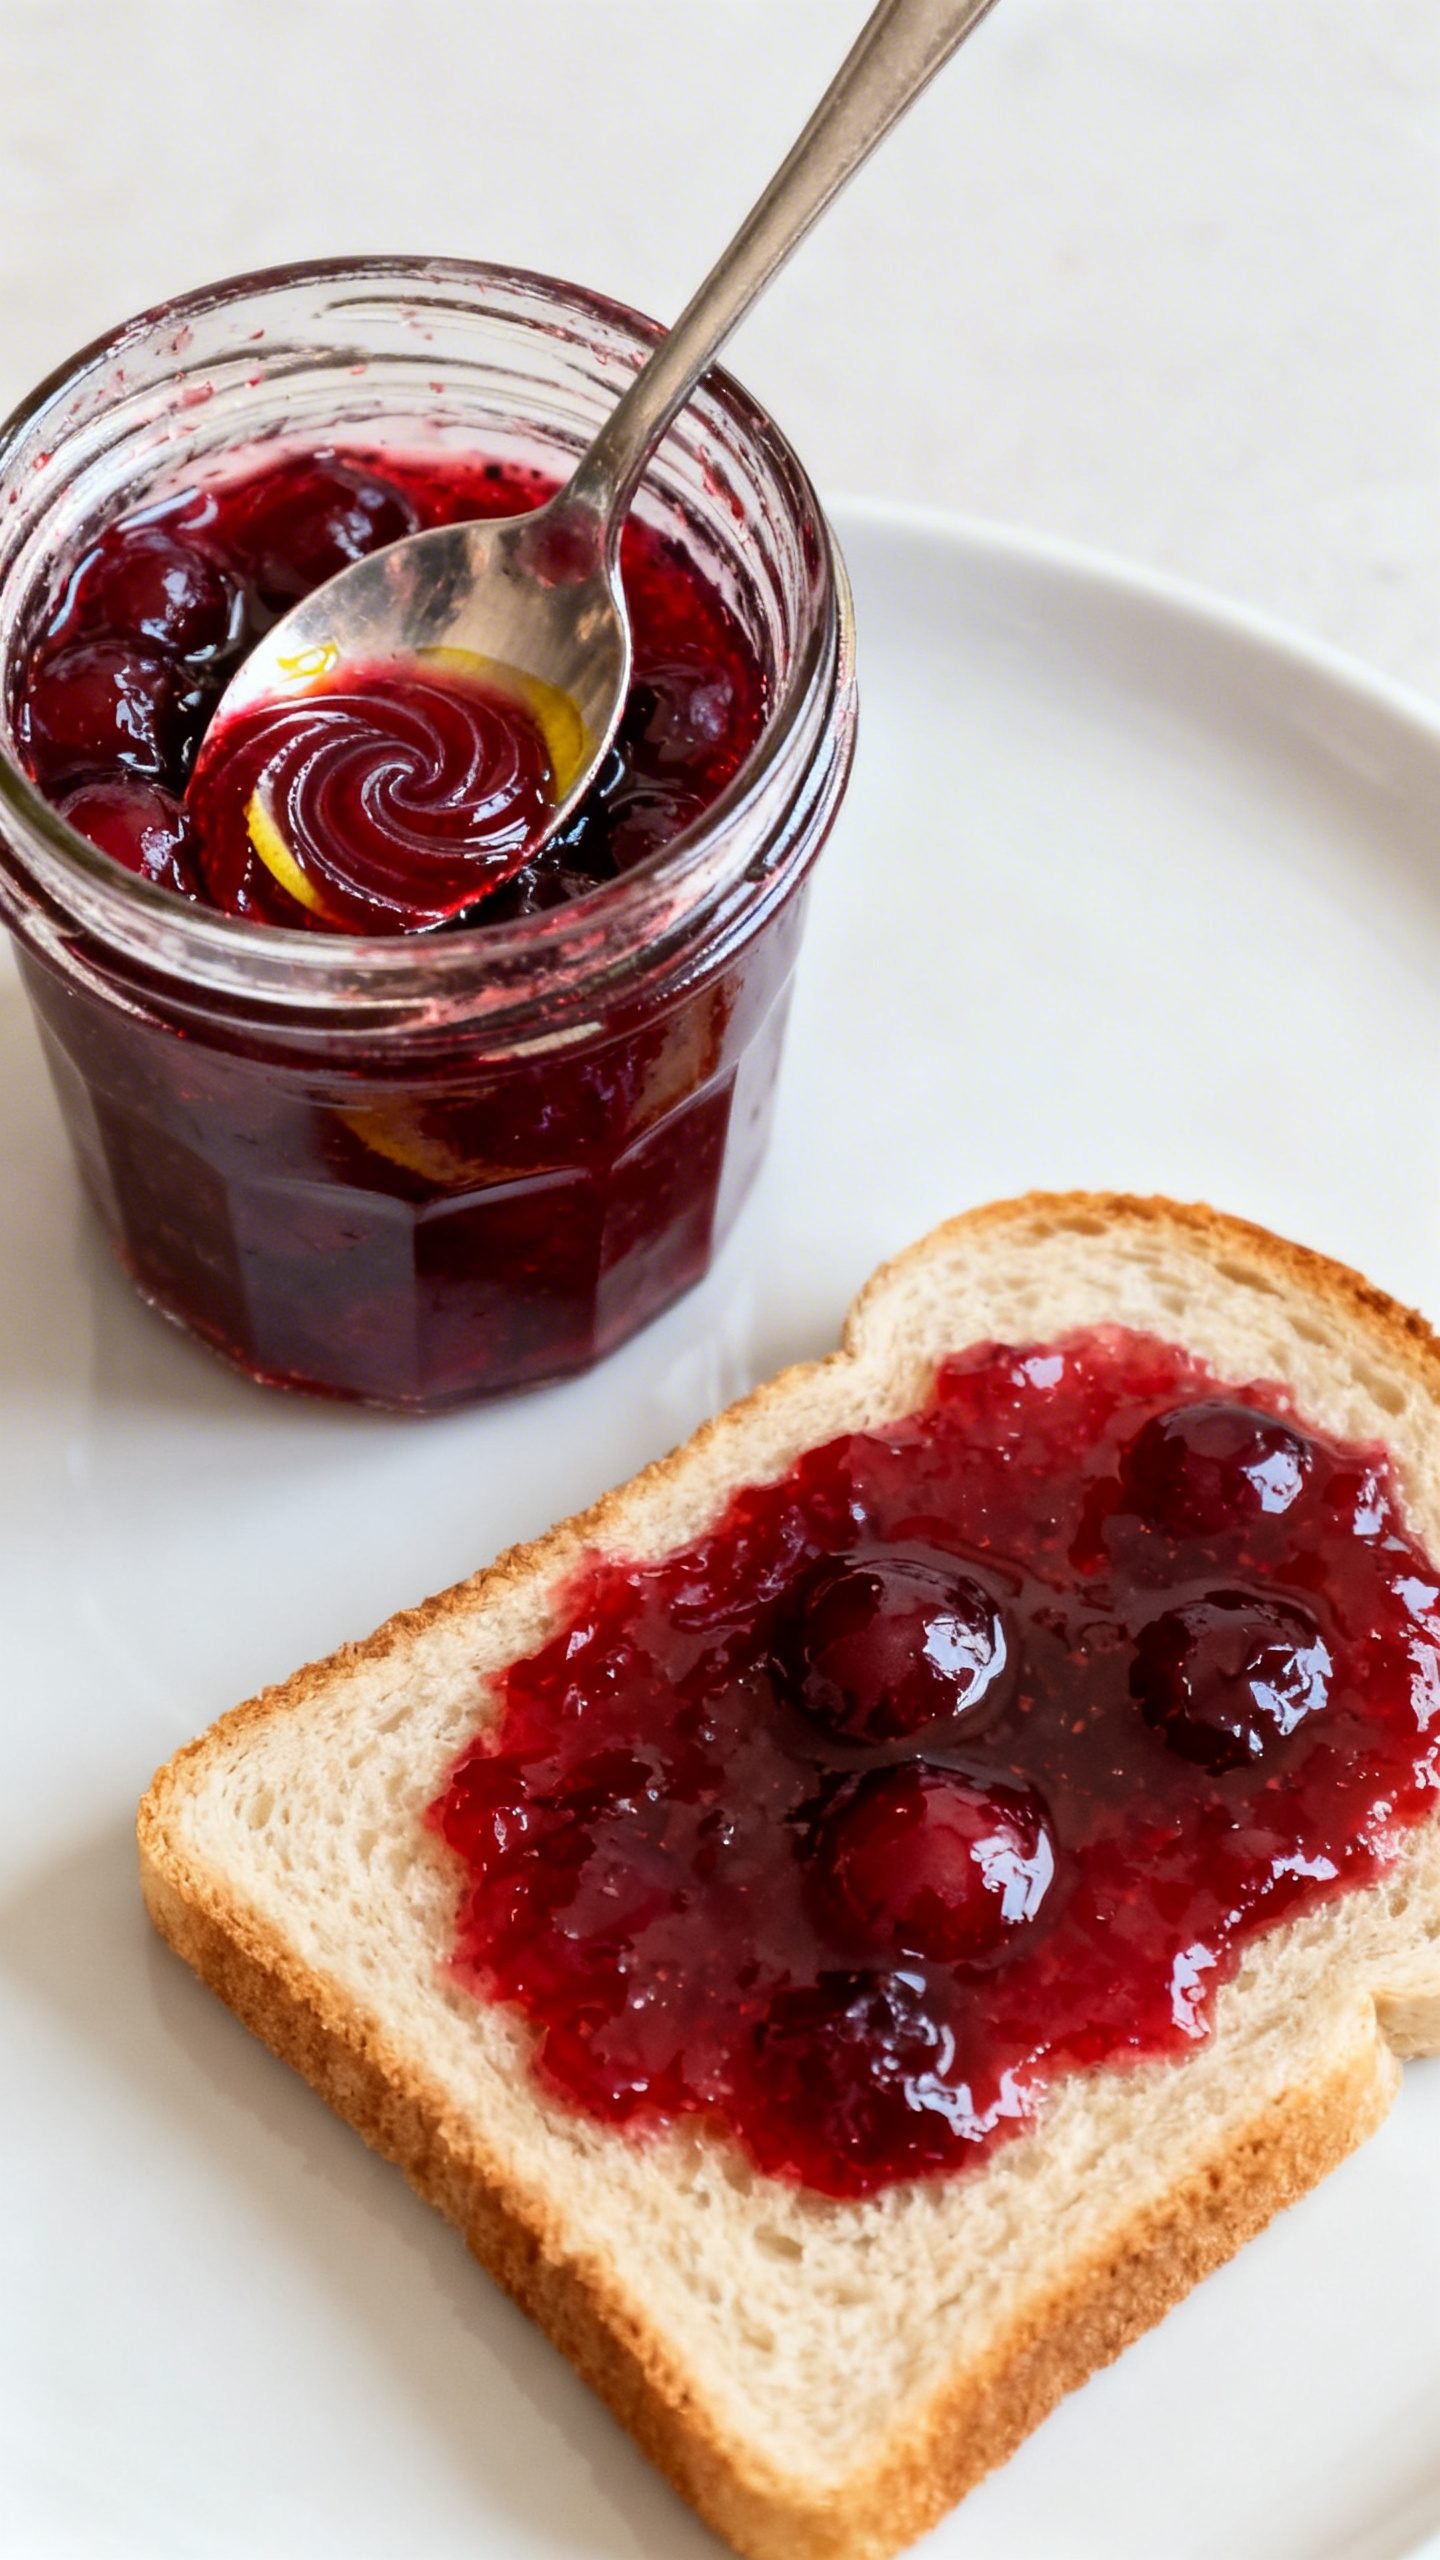
Homemade cherry jam delivers pure summer-in-a-jar vibes with minimal effort. You get bright, juicy cherry flavor, a gorgeous ruby color, and a spread that makes toast, yogurt, and pastries taste special. No fancy gear. No canning experience required. Just a pot, a spoon, and a little patience.
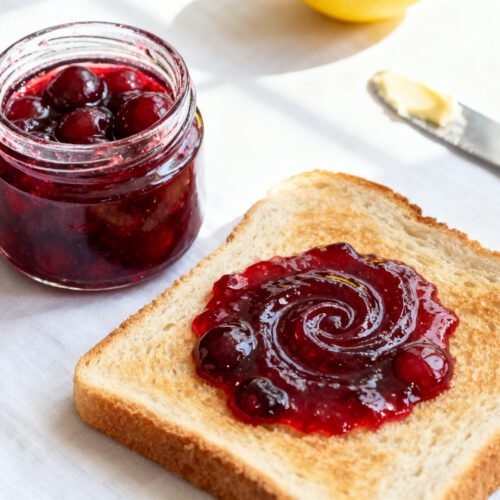
This small-batch recipe makes a soft, spoonable jam with balanced sweetness and a touch of lemon to keep the cherries vibrant. You can use fresh or frozen cherries, so you can make it year-round. I’ll walk you through everything—ingredients, step-by-step cooking, storage tips, and variations—so you feel confident from the first chop to the final jar.
Why This Simple Cherry Jam Recipe Works
I built this recipe for reliability and fresh fruit flavor. Here’s why you’ll love it:
- Just three core ingredients: cherries, sugar, and lemon. That’s it.
- No pectin needed: cherries have natural pectin, and a short simmer thickens the jam beautifully.
- Small-batch friendly: cooks fast and fits in a standard saucepan.
- Soft set, not stiff: spreads easily on toast and swirls into yogurt without clumping.
- Year-round flexibility: use frozen cherries when fresh aren’t available.
Ingredients
- Cherries (4 cups, pitted and roughly chopped): sweet cherries like Bing or Rainier work great; frozen cherries also work.
- Granulated sugar (1.5 to 2 cups): start with 1.5 cups for a less-sweet jam; use 2 cups for a classic sweet preserve.
- Fresh lemon juice (2 tablespoons): brightens flavor and helps the jam set.
- Lemon zest (1 teaspoon, optional): adds citrus aroma and complexity.
- Pinch of fine sea salt: rounds out the sweetness.
- Vanilla extract (1/2 teaspoon, optional): adds warmth and dessert-like notes.
Equipment:
- Medium saucepan (3–4 quart): wide surface helps reduce faster.
- Wooden spoon or heatproof spatula
- Potato masher (optional): for chunkier or smoother texture control.
- Instant-read thermometer (optional): helpful for checking set.
- Clean glass jars with lids: for storing the finished jam.
How to Make Easy Cherry Jam for Toast
Prep the Fruit
- Rinse the cherries. Pit them and roughly chop. You want bite-sized pieces for a spreadable jam with texture.
- Add cherries to the saucepan with sugar, lemon juice, zest (if using), and a pinch of salt. Stir to combine.
- Let the mixture sit for 10–15 minutes. The sugar will draw out cherry juices and kick-start the cooking.
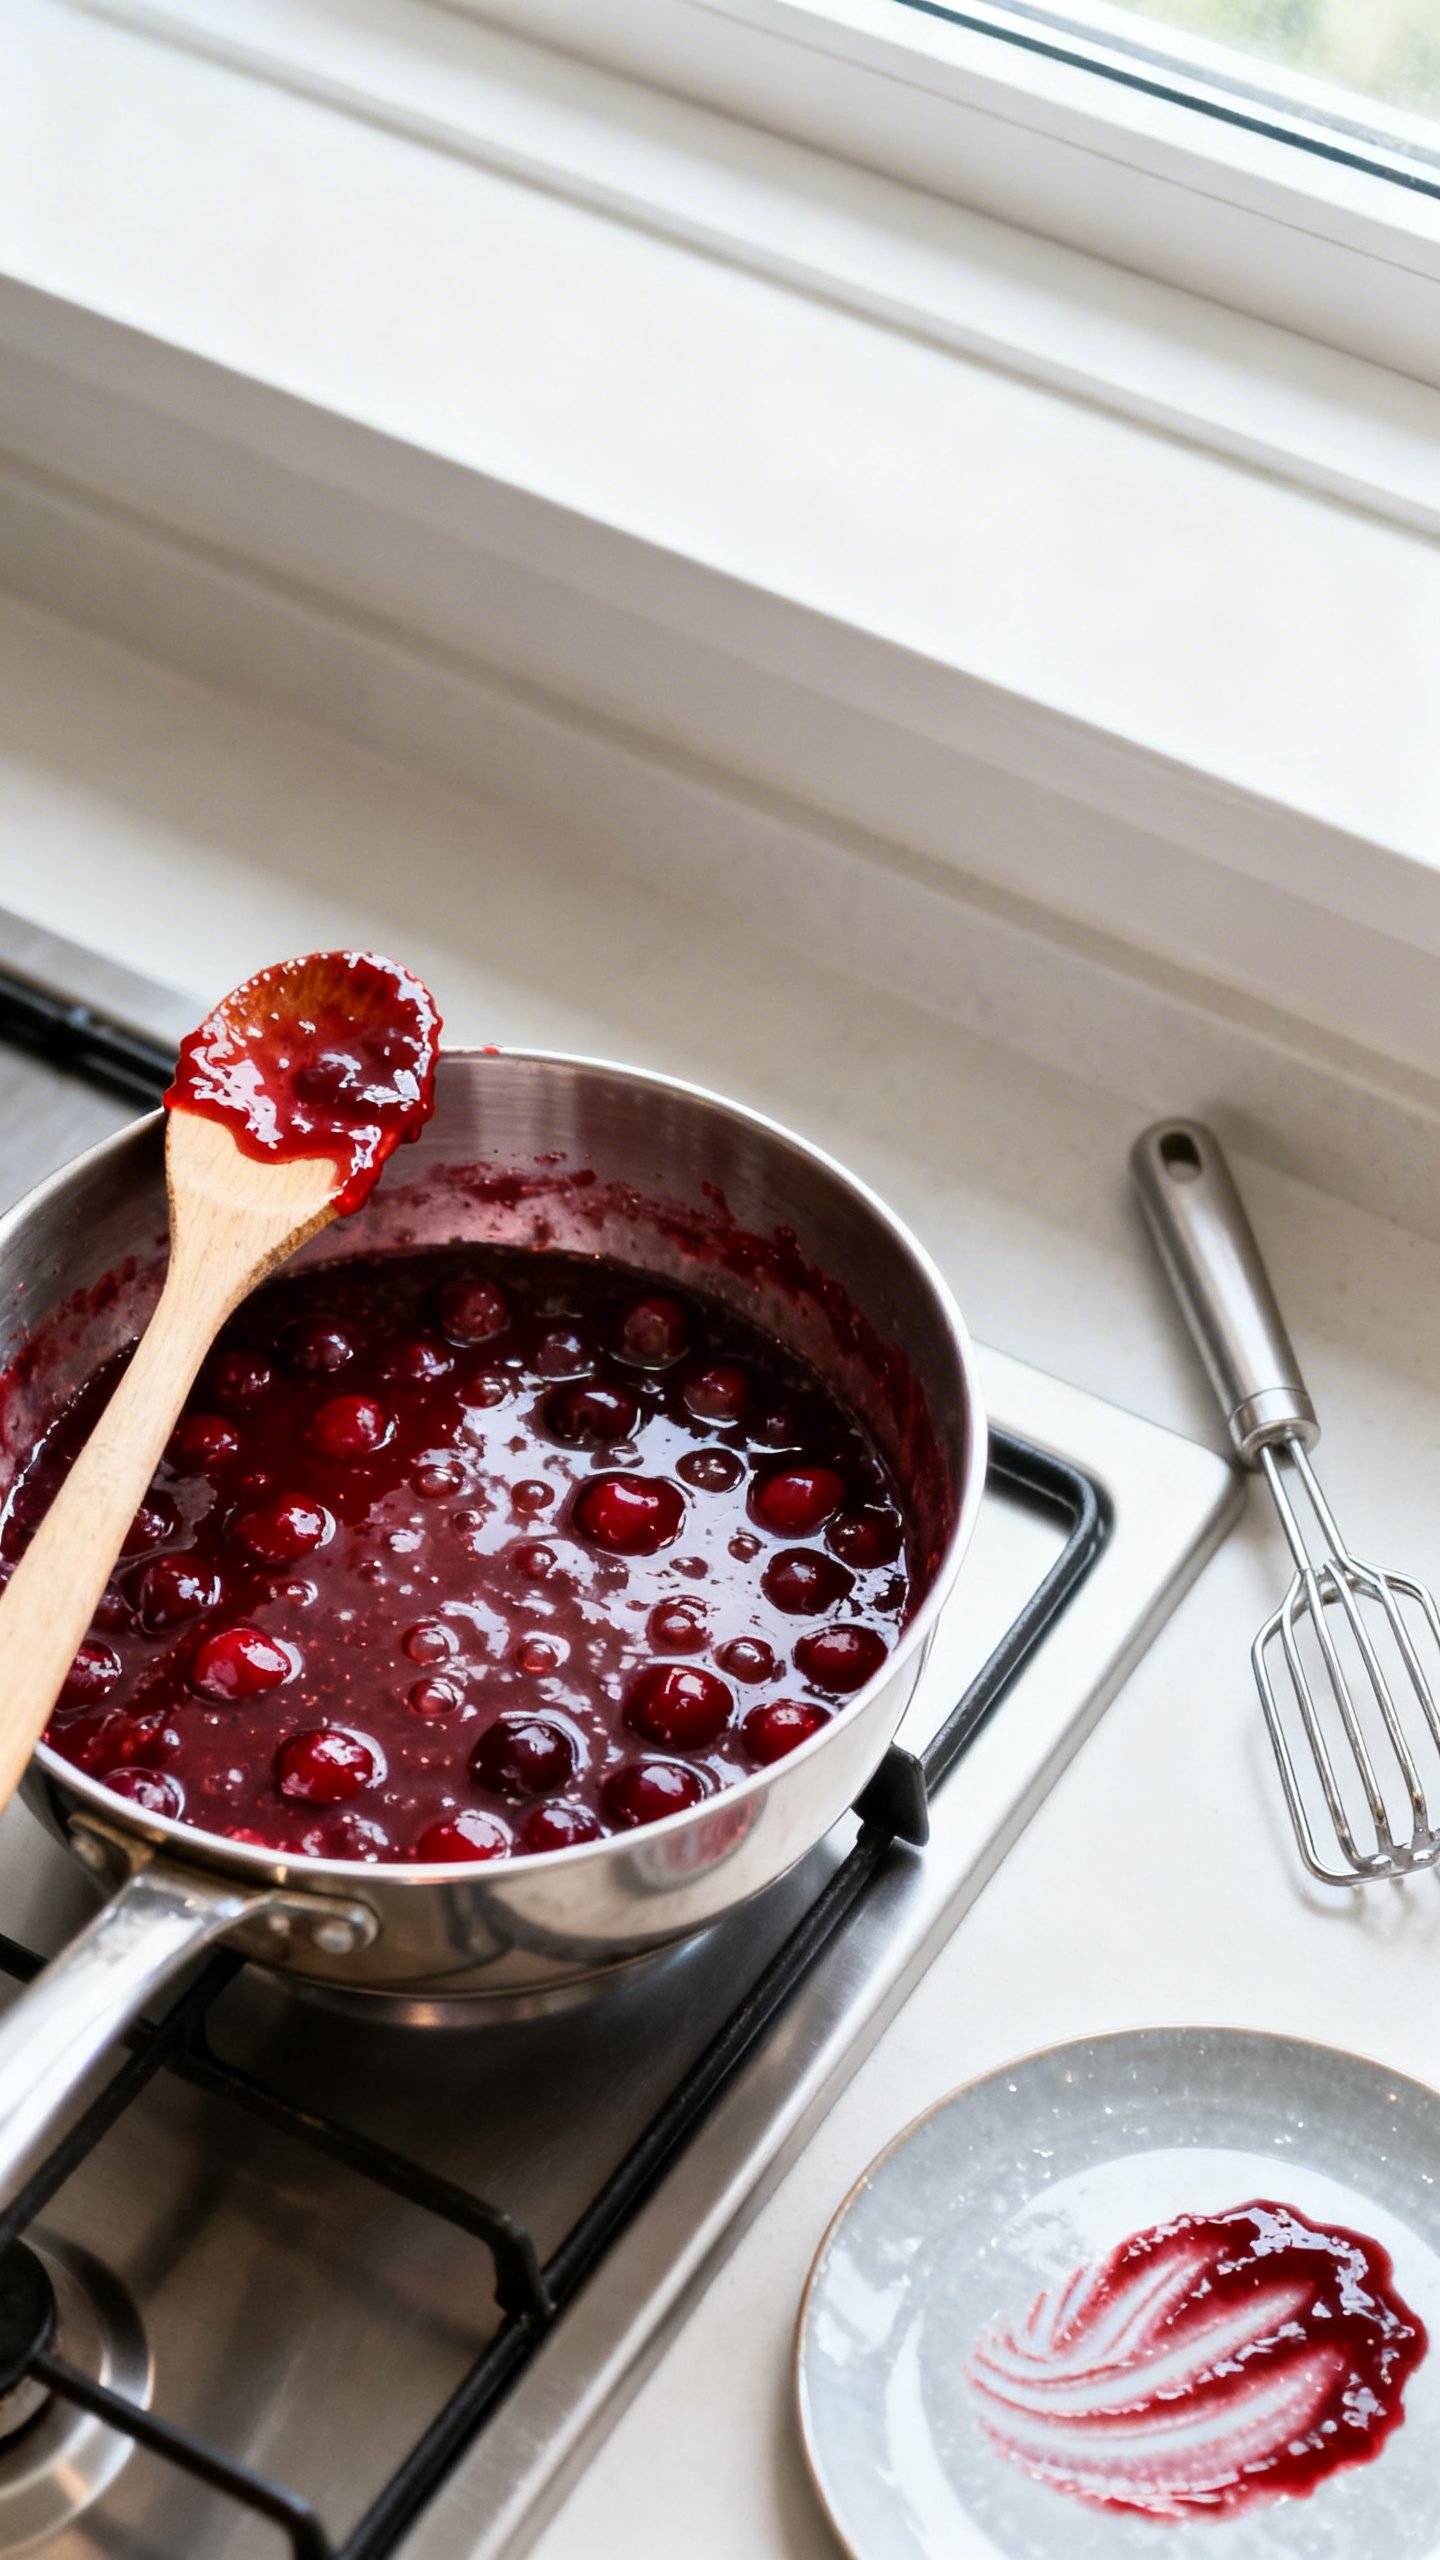
Cook the Jam
- Set the pan over medium heat. Stir until the sugar dissolves and the mixture looks syrupy.
- Bring to a steady simmer. Bubbles should roll across the surface, not explode aggressively. Adjust heat as needed.
- Skim any light foam with a spoon for a clear, glossy finish.
- Simmer 18–28 minutes, stirring often. The jam will thicken as water evaporates. Use a masher anytime to break down fruit to your preferred texture.
- Check for set:
- Cold plate test: Chill a small plate in the freezer. Drop a teaspoon of hot jam on it. Wait 30 seconds, then push with a finger. If it wrinkles and holds a trail, it’s ready.
- Thermometer: Look for 217–220°F at sea level. Adjust a few degrees down if you live at higher altitude.
- Stir in vanilla off heat, if using. Taste and adjust lemon or sugar to balance.
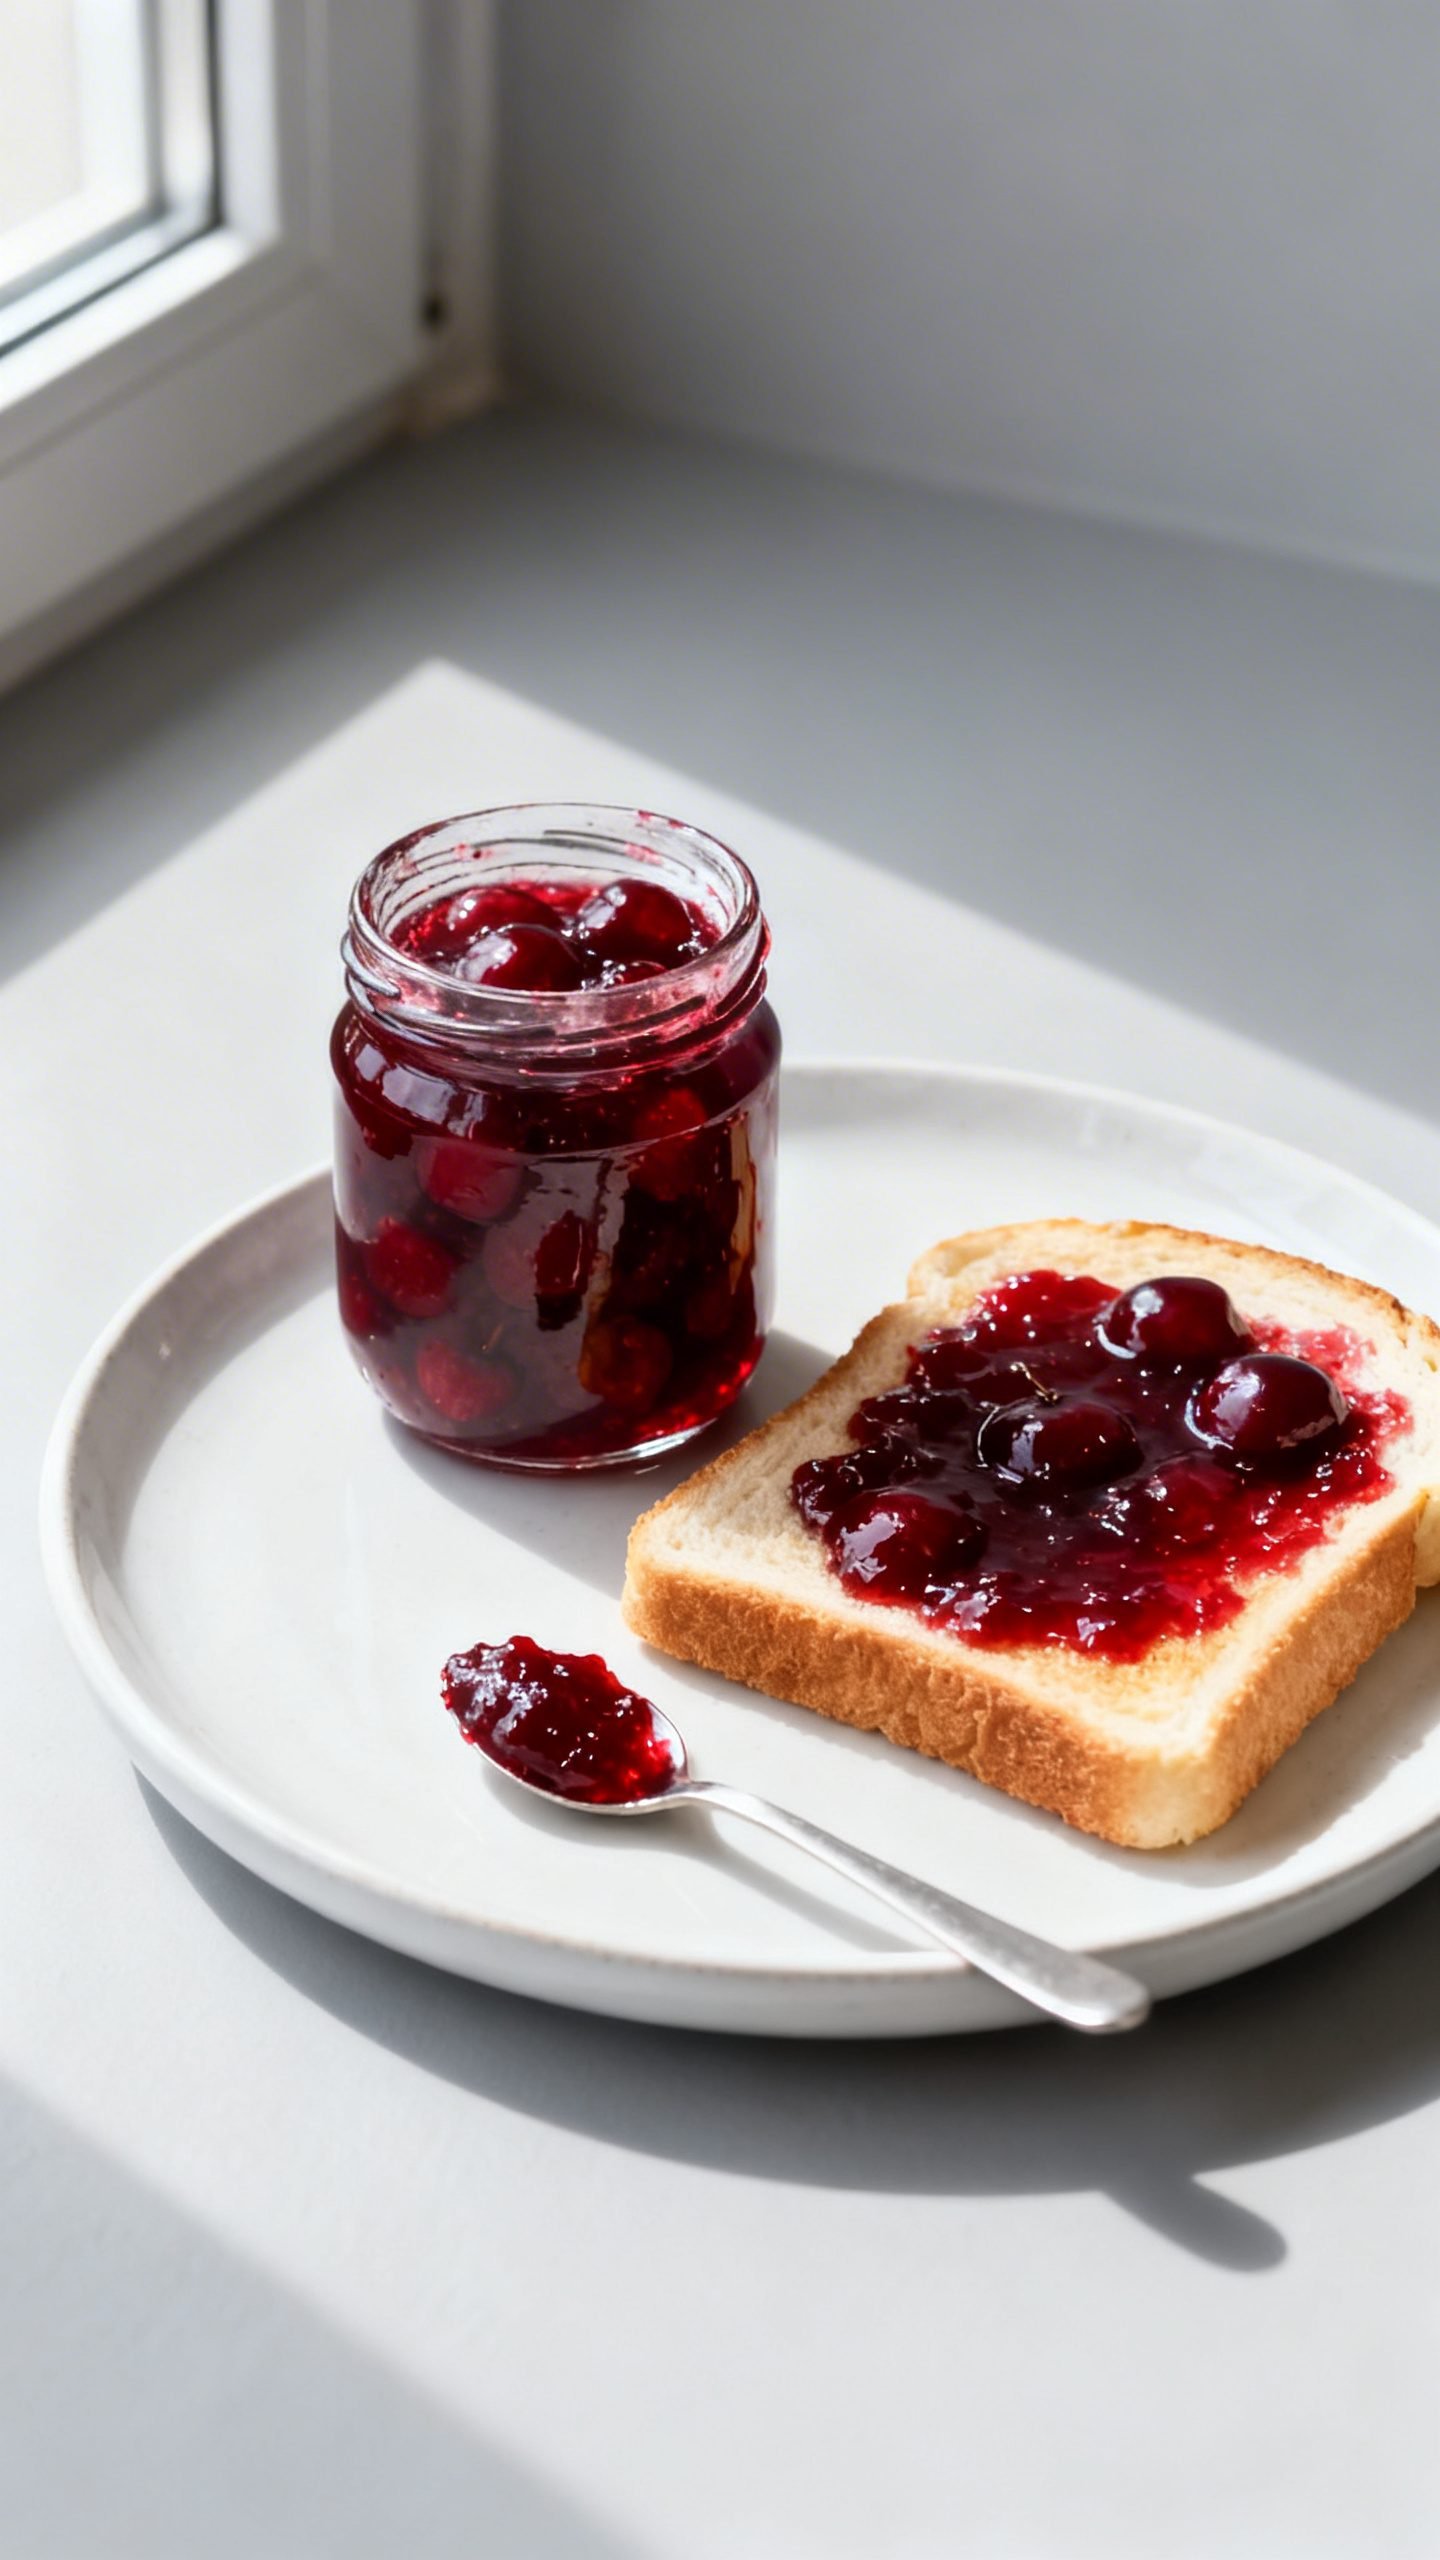
Jar It Up
- Carefully ladle hot jam into clean jars, leaving about 1/4-inch headspace.
- Wipe rims, close lids, and let cool to room temperature.
- Refrigerate once cool. The jam will thicken further overnight.
How to Store Homemade Cherry Jam
- Refrigerator: store sealed jars for up to 3–4 weeks. Always use a clean spoon.
- Freezer: freeze jam in freezer-safe containers for 6–8 months. Leave headspace for expansion.
- Room temperature: only if you water-bath can with proper sterilization and processing. Follow trusted canning guidelines if you go this route.
Signs of spoilage: off smell, mold, gas bubbles, or unusual fizzing. When in doubt, throw it out.
Benefits of Making Your Own Cherry Jam
- Control the sweetness: tailor sugar to your taste without losing a good set.
- Pure fruit flavor: no corn syrup or artificial flavors—just cherries shining through.
- Flexible texture: chunky spoonfuls or smoother spread—you decide.
- Budget-friendly: use seasonal cherries or buy frozen on sale to stock up.
- Gift-worthy: a pretty jar with a ribbon always impresses.
- Zero waste vibes: use up soft or slightly bruised cherries and skip tossing them.
What Not to Do
- Don’t crank the heat high: you’ll scorch the sugars before the jam sets.
- Don’t skip the lemon: you need acidity for flavor and a reliable set.
- Don’t walk away: jam thickens fast near the end; keep stirring to prevent sticking.
- Don’t jar it too early: check set first; over-thin jam won’t firm up much in the fridge.
- Don’t double the batch in one pot: larger volumes cook unevenly and take forever to reduce. Make two batches instead.
Variations You Can Try
- Classic almond-cherry: add 1/2 teaspoon almond extract at the end for Bakewell tart vibes.
- Vanilla bourbon: stir in 1 teaspoon vanilla and 1 tablespoon bourbon off heat.
- Cherry-lime: swap lemon for lime juice and zest for a zippy twist.
- Warm spice: add a small pinch of cinnamon or cardamom while simmering.
- Mixed berry cherry: replace 1 cup cherries with raspberries or strawberries; keep total fruit at 4 cups.
- Low-sugar version: use 1 to 1.25 cups sugar and cook a few minutes longer; expect a softer set.
- Chunky preserves: hold back a cup of chopped cherries and fold in during the last 5 minutes for extra texture.
FAQ
Do I need pectin for this cherry jam?
No. Cherries and lemon provide enough natural pectin for a soft, spreadable set when you reduce the mixture properly.
Can I use frozen cherries?
Yes. Use them straight from the freezer and weigh/measure while frozen. Add a few extra minutes to the simmer.
How sweet is this jam?
With 1.5 cups sugar per 4 cups fruit, you get balanced sweetness with bright cherry flavor. For a more classic preserve, use the full 2 cups.
My jam didn’t set. What now?
Return to the pot and gently simmer 3–5 more minutes, then retest on a cold plate. Worst case, enjoy it as a cherry sauce for pancakes and ice cream.
Can I can this jam for pantry storage?
Yes, but follow trusted water-bath canning guidelines for jam: sterilize jars, fill hot, leave proper headspace, process for the recommended time for your altitude, and confirm sealed lids.
How much does this make?
About 2 to 2.5 cups, depending on how much you reduce the mixture.
What’s the best way to pit cherries?
Use a cherry pitter for speed. No pitter? Press each cherry against a bottle opening with a chopstick to push out the pit, or slice and pop the pit out with your fingers.
Conclusion
With a bowl of cherries, a squeeze of lemon, and a little simmer time, you can make a jam that beats store-bought every day of the week. It spreads like a dream, tastes like peak summer, and turns simple toast into a treat. Make a batch today, stash a jar in the fridge, and plan tomorrow’s breakfast around it—because once you taste this homemade cherry jam, you’ll want it on everything.
Homemade Cherry Jam Recipe | Easy Sweet Fruit Preserve for Toast
Ingredients
Ingredients
- 4 cups cherries, pitted and roughly chopped
- 1.5 to 2 cups granulated sugar
- 2 tablespoons fresh lemon juice
- 1 teaspoon lemon zest (optional)
- Pinch of fine sea salt
- 1/2 teaspoon vanilla extract (optional)
Instructions
Instructions
- Rinse, pit, and roughly chop the cherries.
- Combine cherries, sugar, lemon juice, lemon zest if using, and a pinch of salt in a medium saucepan and stir to mix.
- Let the mixture sit for 10 to 15 minutes until the sugar draws out some juices.
- Set the pan over medium heat and stir until the sugar dissolves and the mixture looks syrupy.
- Bring to a steady simmer, adjusting heat to maintain gentle rolling bubbles.
- Skim any light foam from the surface as it forms.
- Simmer, stirring often, for 18 to 28 minutes until the jam thickens, mashing fruit as desired for texture.
- Test for set using a cold plate or by checking that the temperature reaches about 217 to 220°F at sea level.
- Remove from heat and stir in vanilla if using, then taste and adjust lemon or sugar if needed.
- Ladle hot jam into clean jars, leaving about 1/4 inch headspace, wipe rims, seal, and let cool to room temperature.
- Refrigerate once cool; the jam will thicken further overnight.


